Peering Sessions
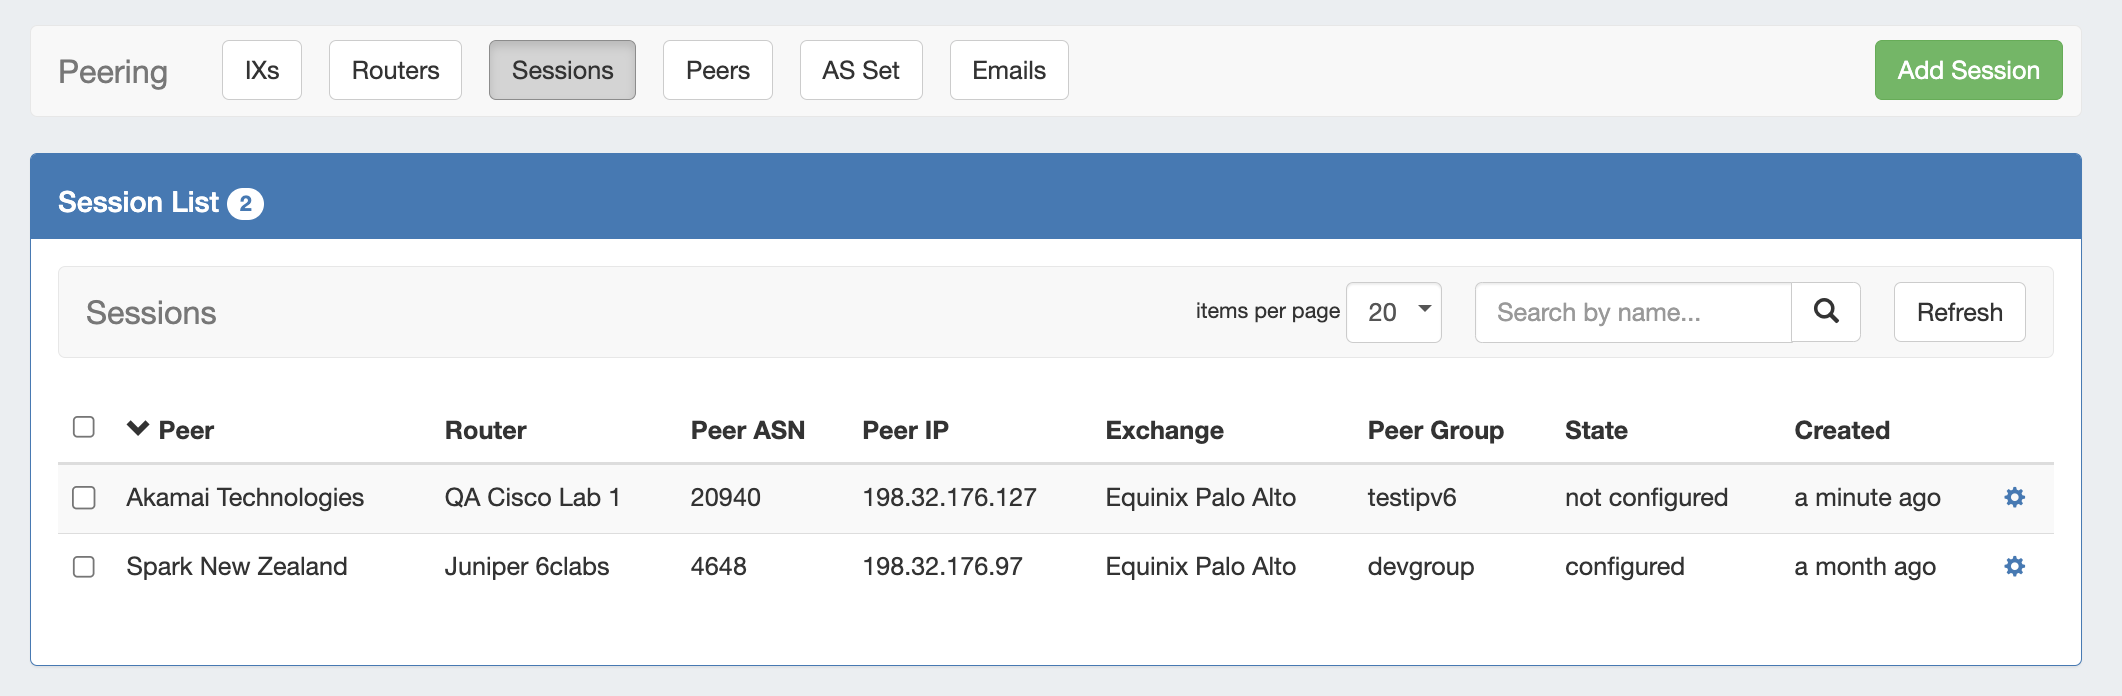
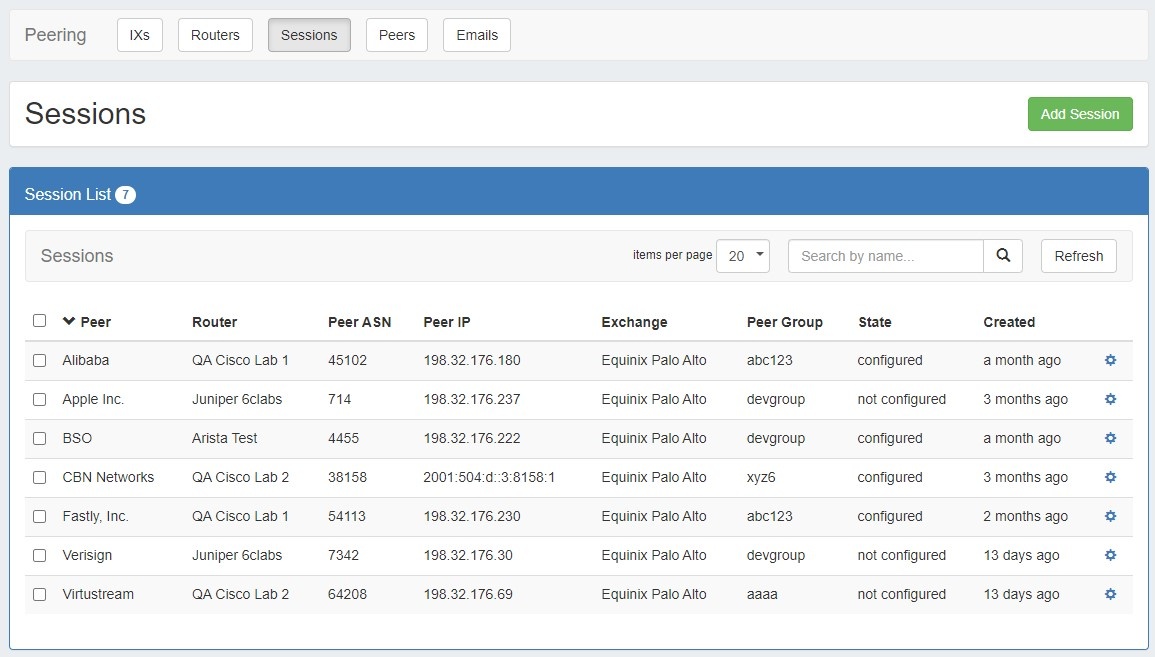
The Sessions subtab is where current sessions may be added, managed, and updated.
...
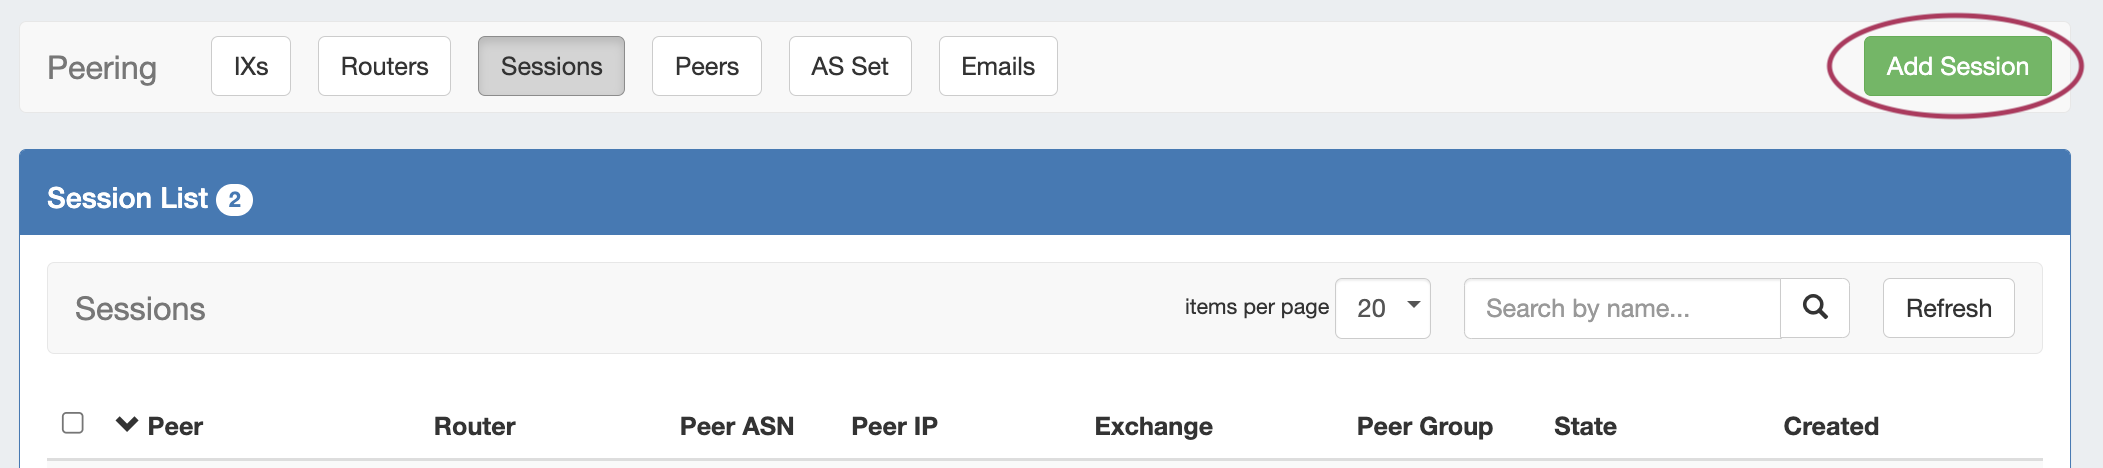
Add a new session by clicking the "Add Session" button.

| Expand | ||
|---|---|---|
| ||
Add Session InformationClick "Add Session" from the Peering → Sessions sub-tab.
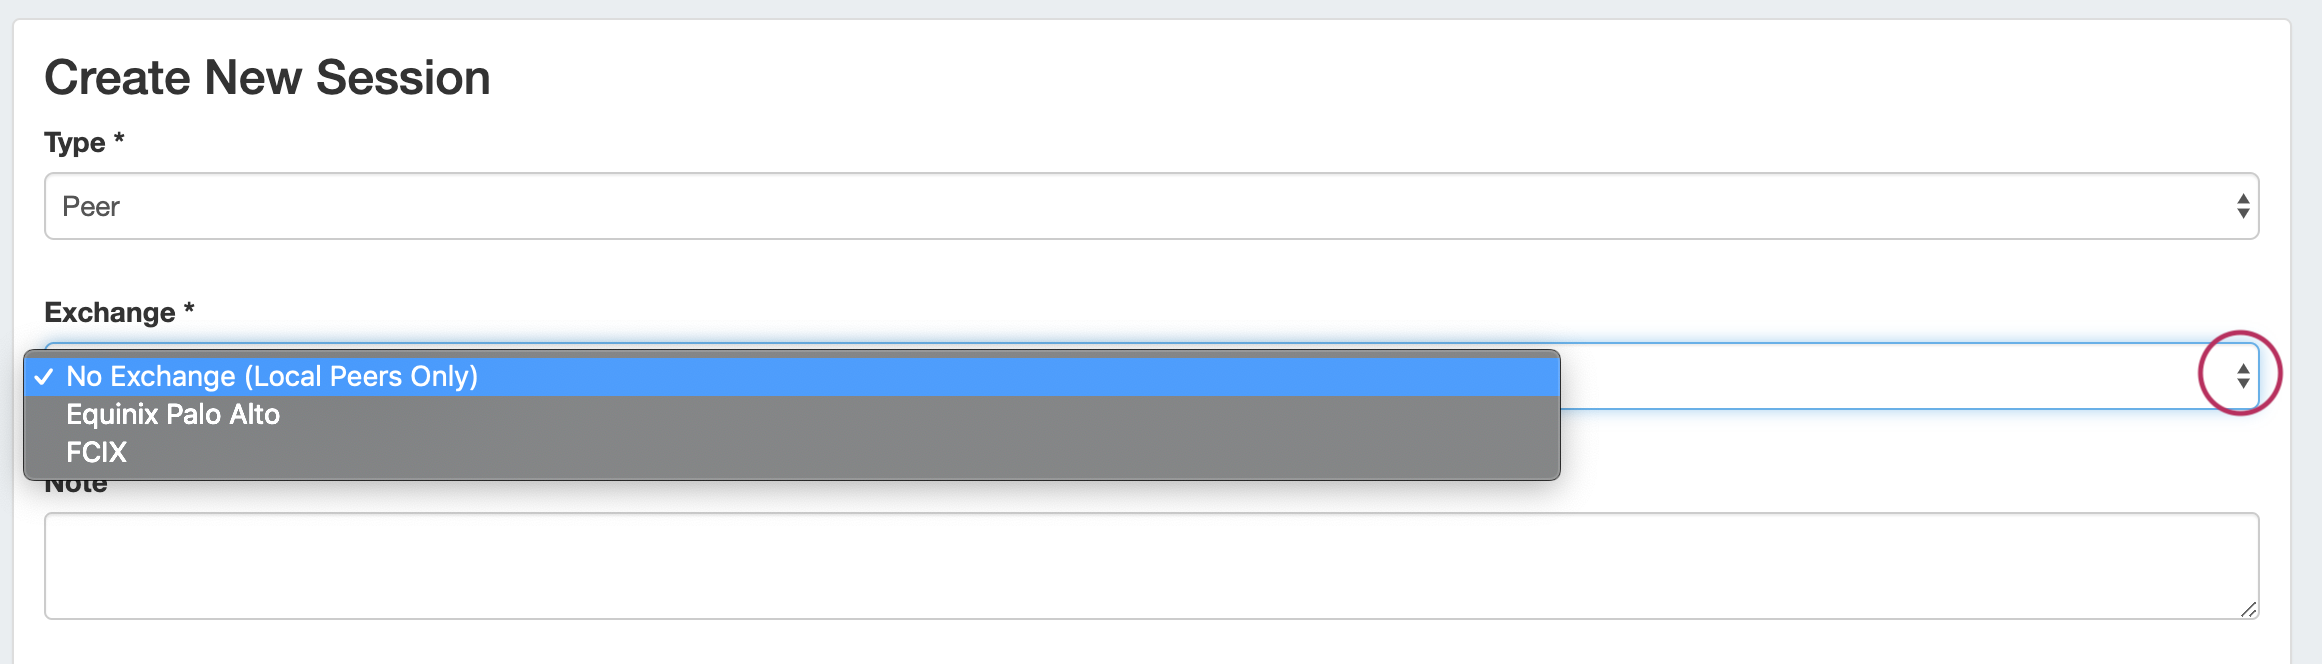
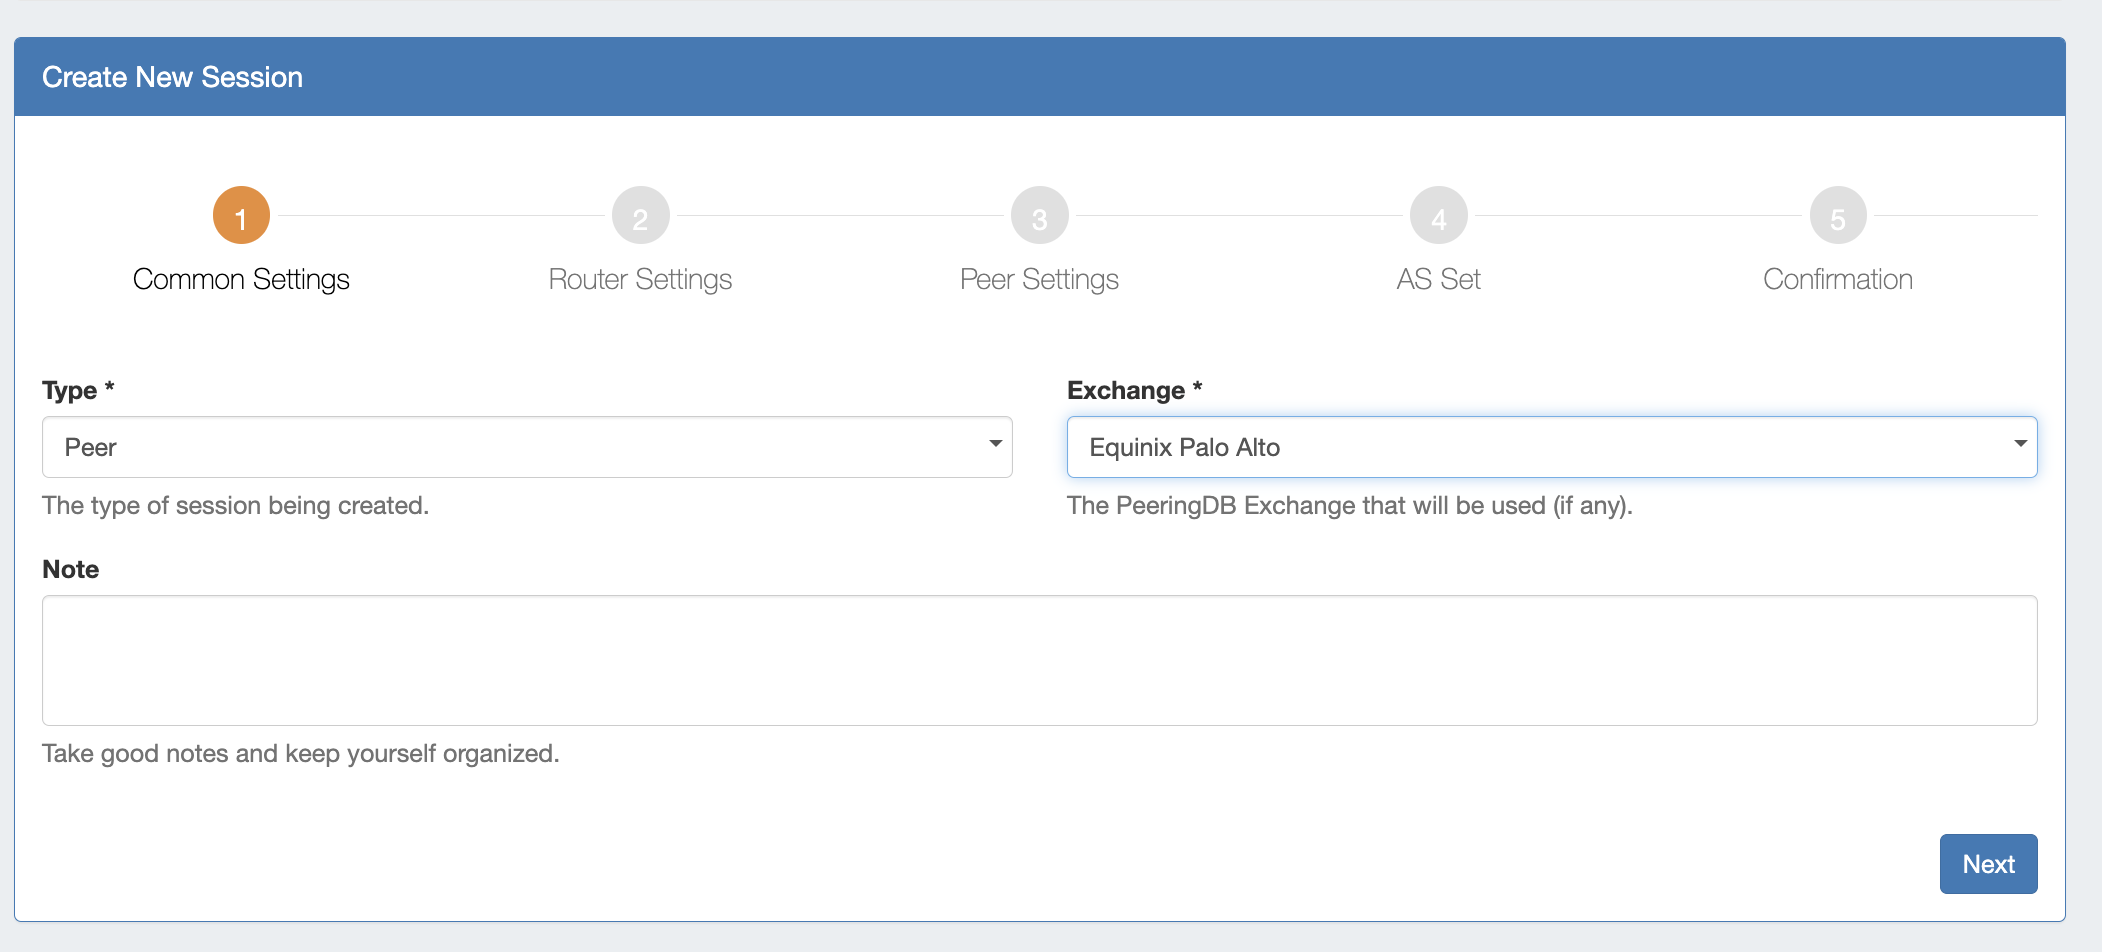
Step 1: Common SettingsIn the Create New Session Form, type select the session information, selecting the appropriate exchange type type and exchange for the planned Peer. If using a Local Peer, "No Exchange" is an available option. You may also add notes, if desired. 
Select or Add Destination
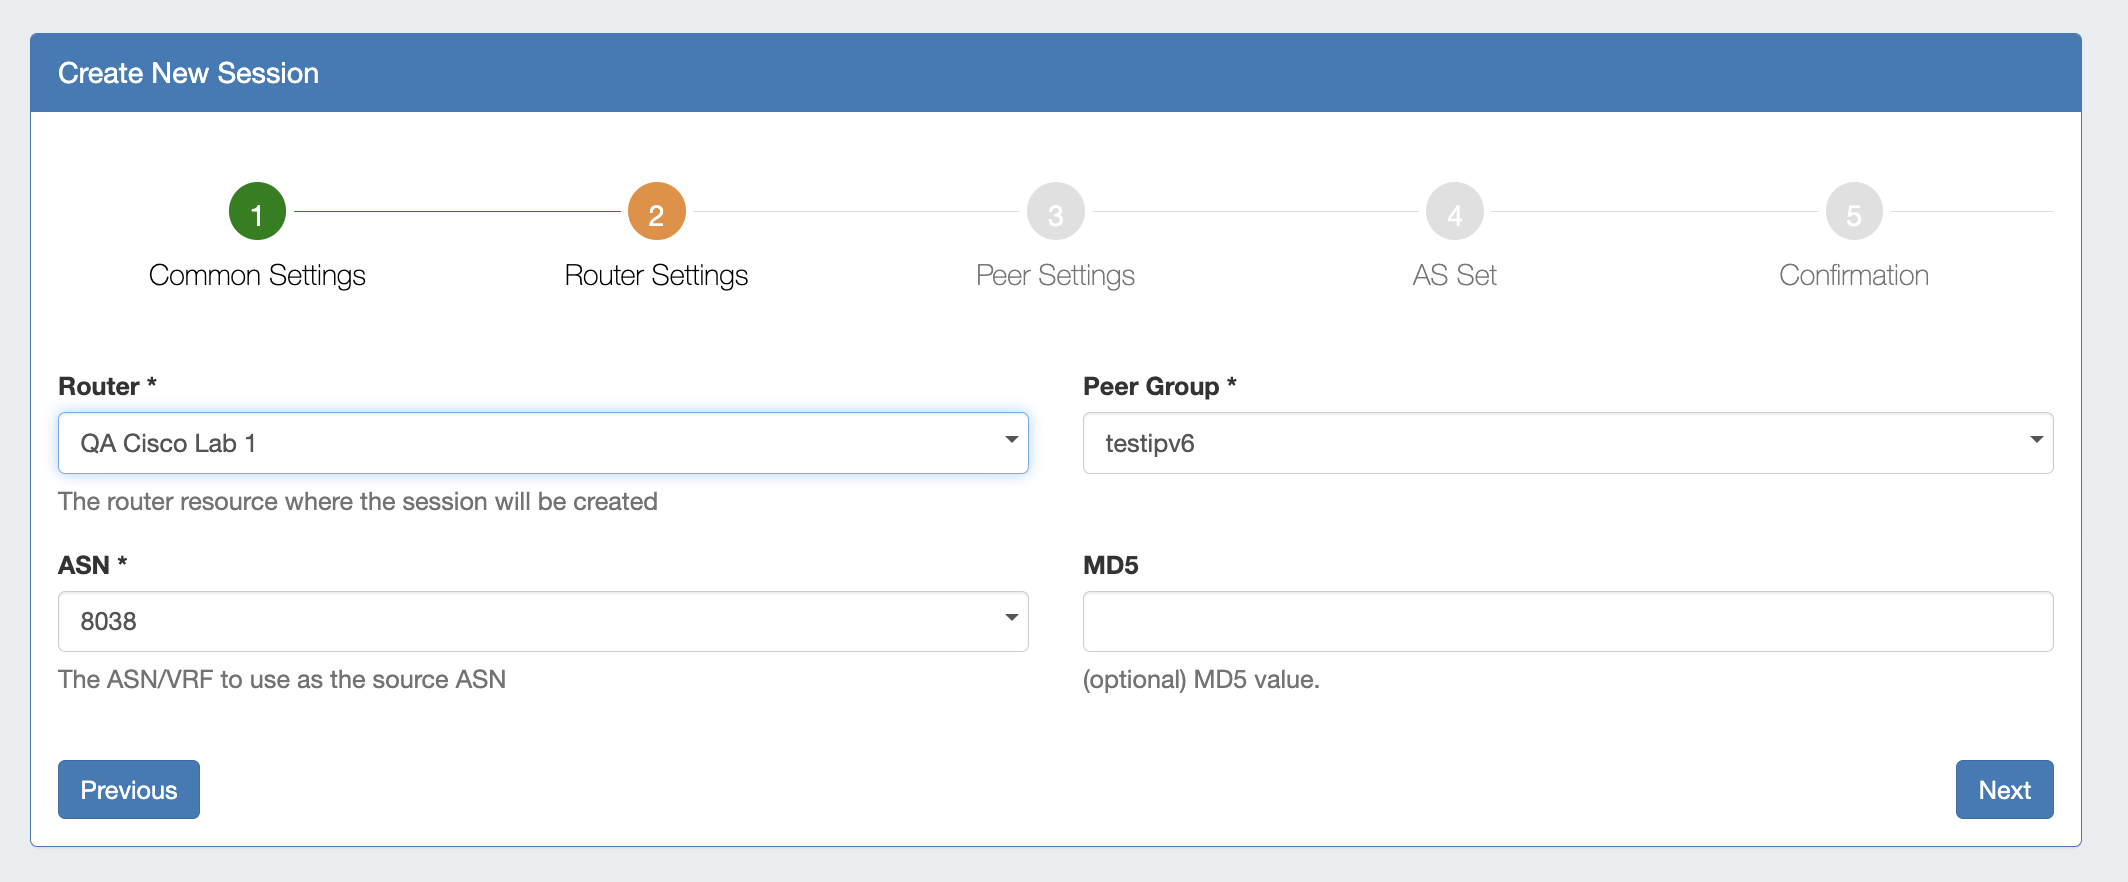
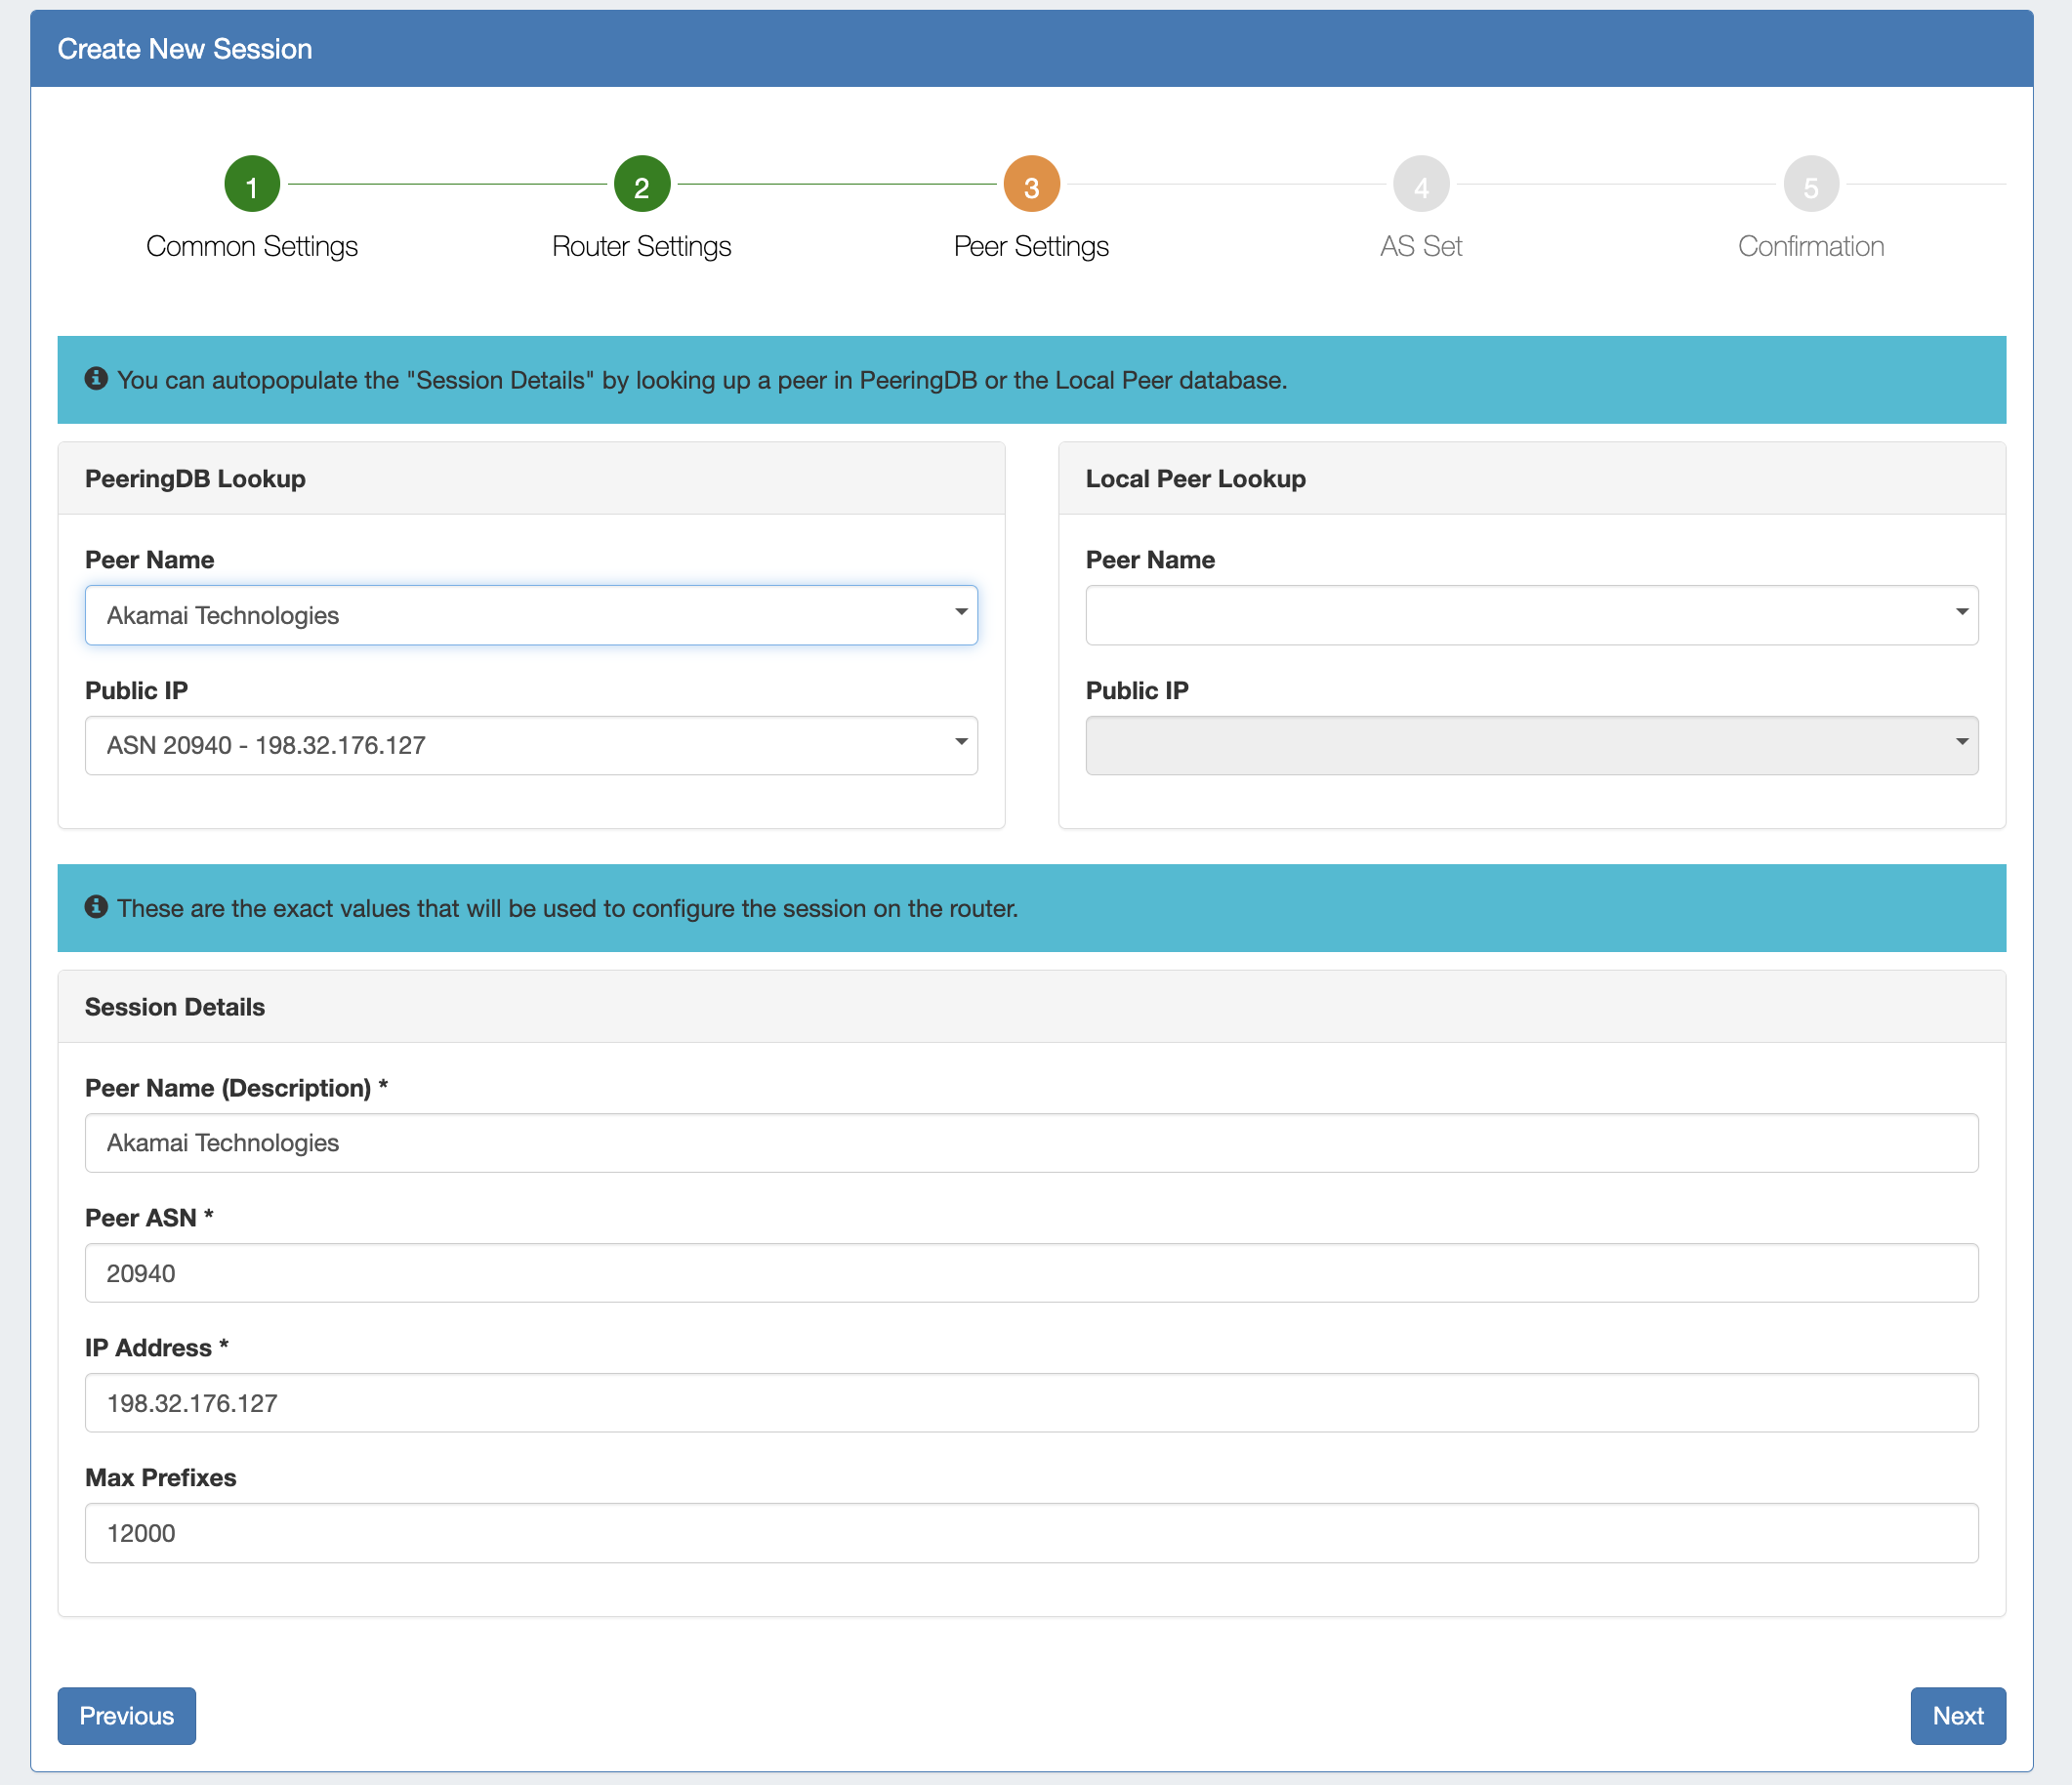
When done, click "Next" to proceed to Router Settings. Step 2: Router SettingsSelect the Router, Peer Group, ASN, and MD5 (optional) values. When done, click "Next" to proceed to Peer Settings. Step 3: Peer SettingsUnder the Peer Settings Under the Destination section, select or type in information for a peer. You may add Peer information from any of the three available methods:
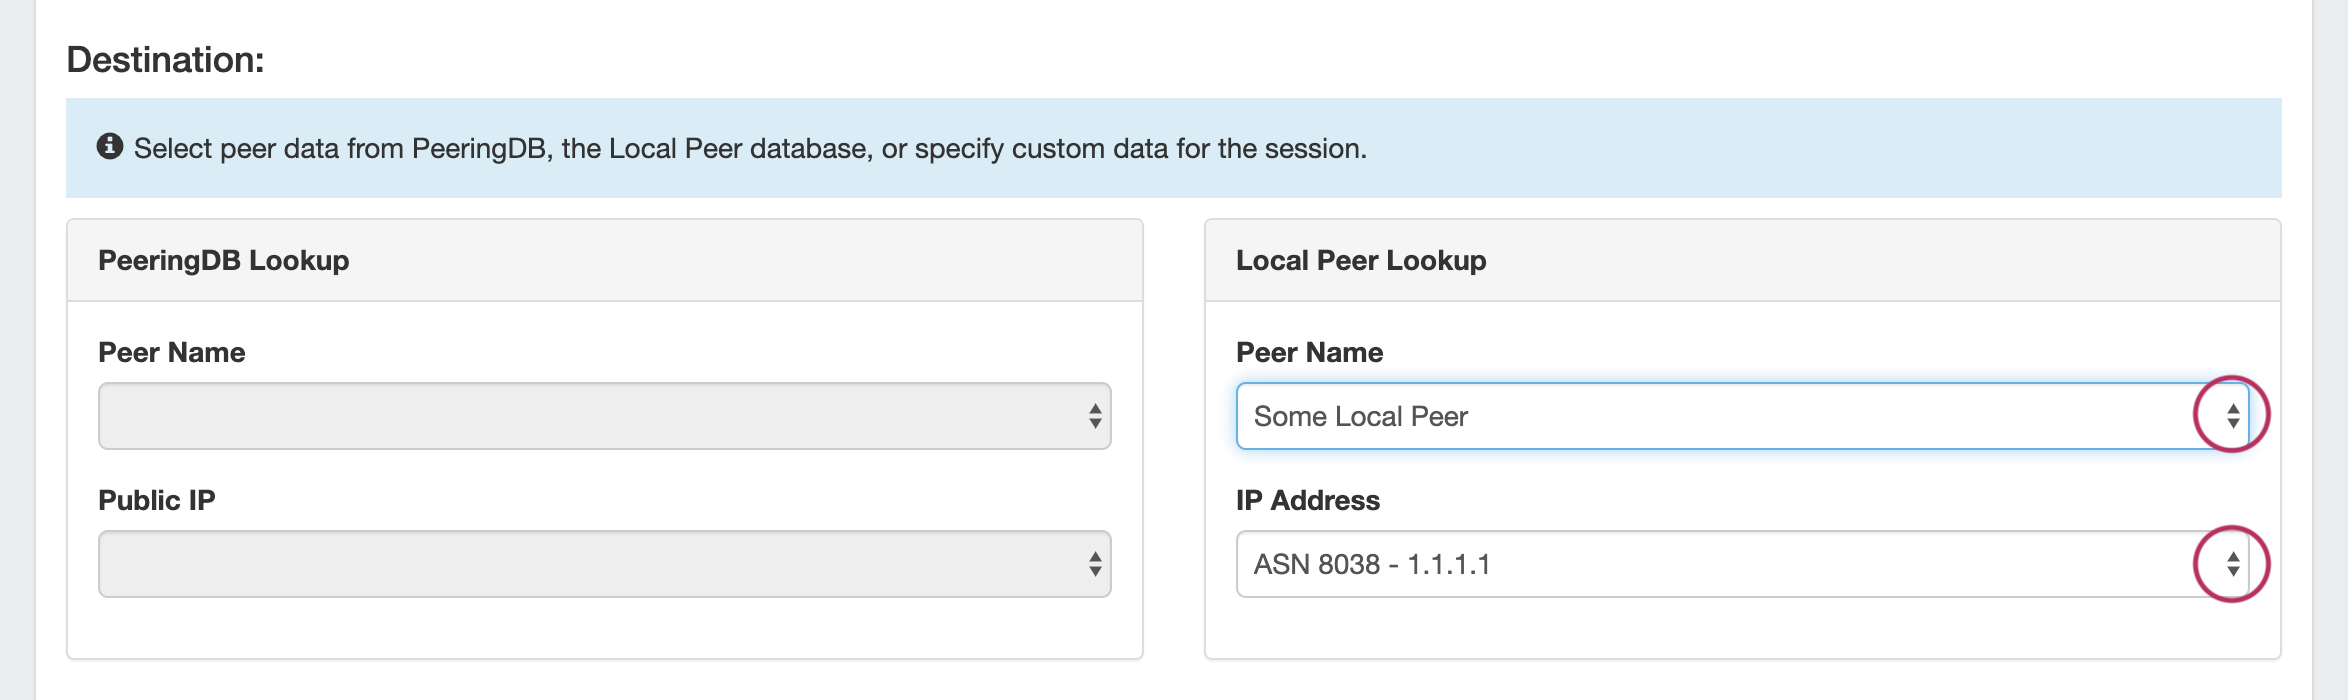  After selecting the Peer Destination information, you have the option of configuring the router immediately after saving. When done, click the "Create" button.
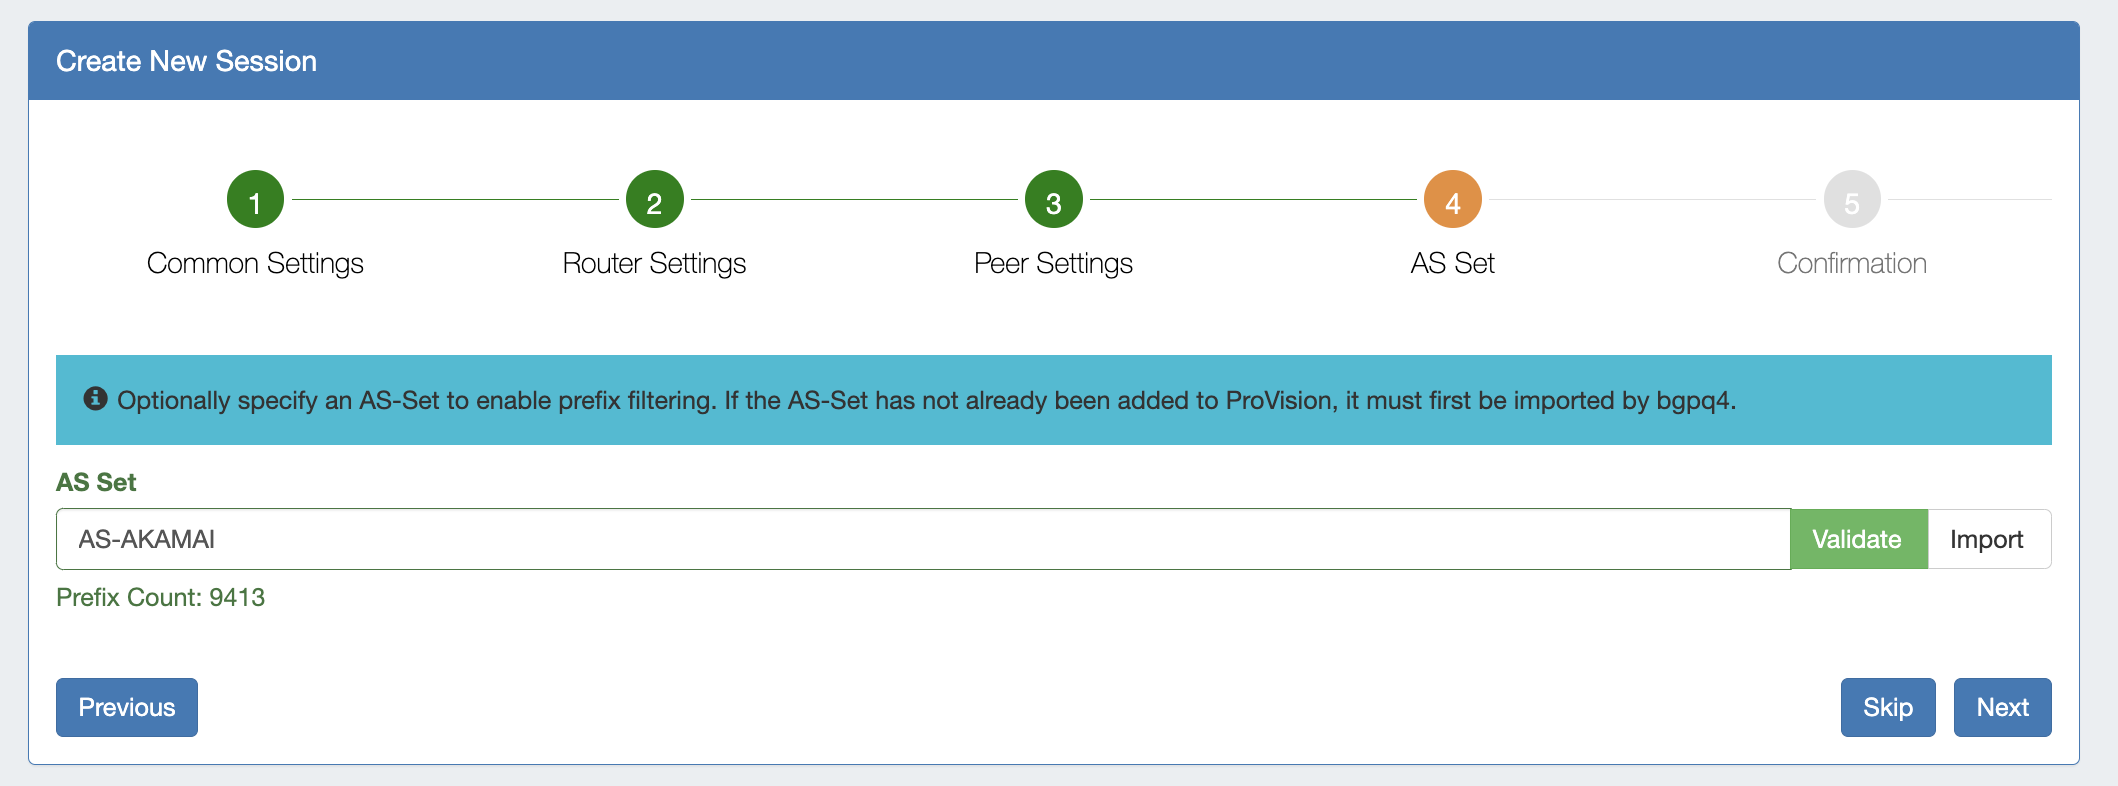
When done, click "Next" to proceed to AS Set options. Step 4: AS Set (Optional)You may optionally specify and AS Set to enabled prefix filtering. If desired, enter the AS Set. If it already exists in ProVision, you may confirm by clicking "Validate". If it does not exist in ProVision, click "Import".
When done, click "Next" to proceed to final confirmation. Step 5: ConfirmationReview your session details, and if correct, click "Create Session" to finish. To correct any details, you may click "Previous" to revisit earlier steps and update values. 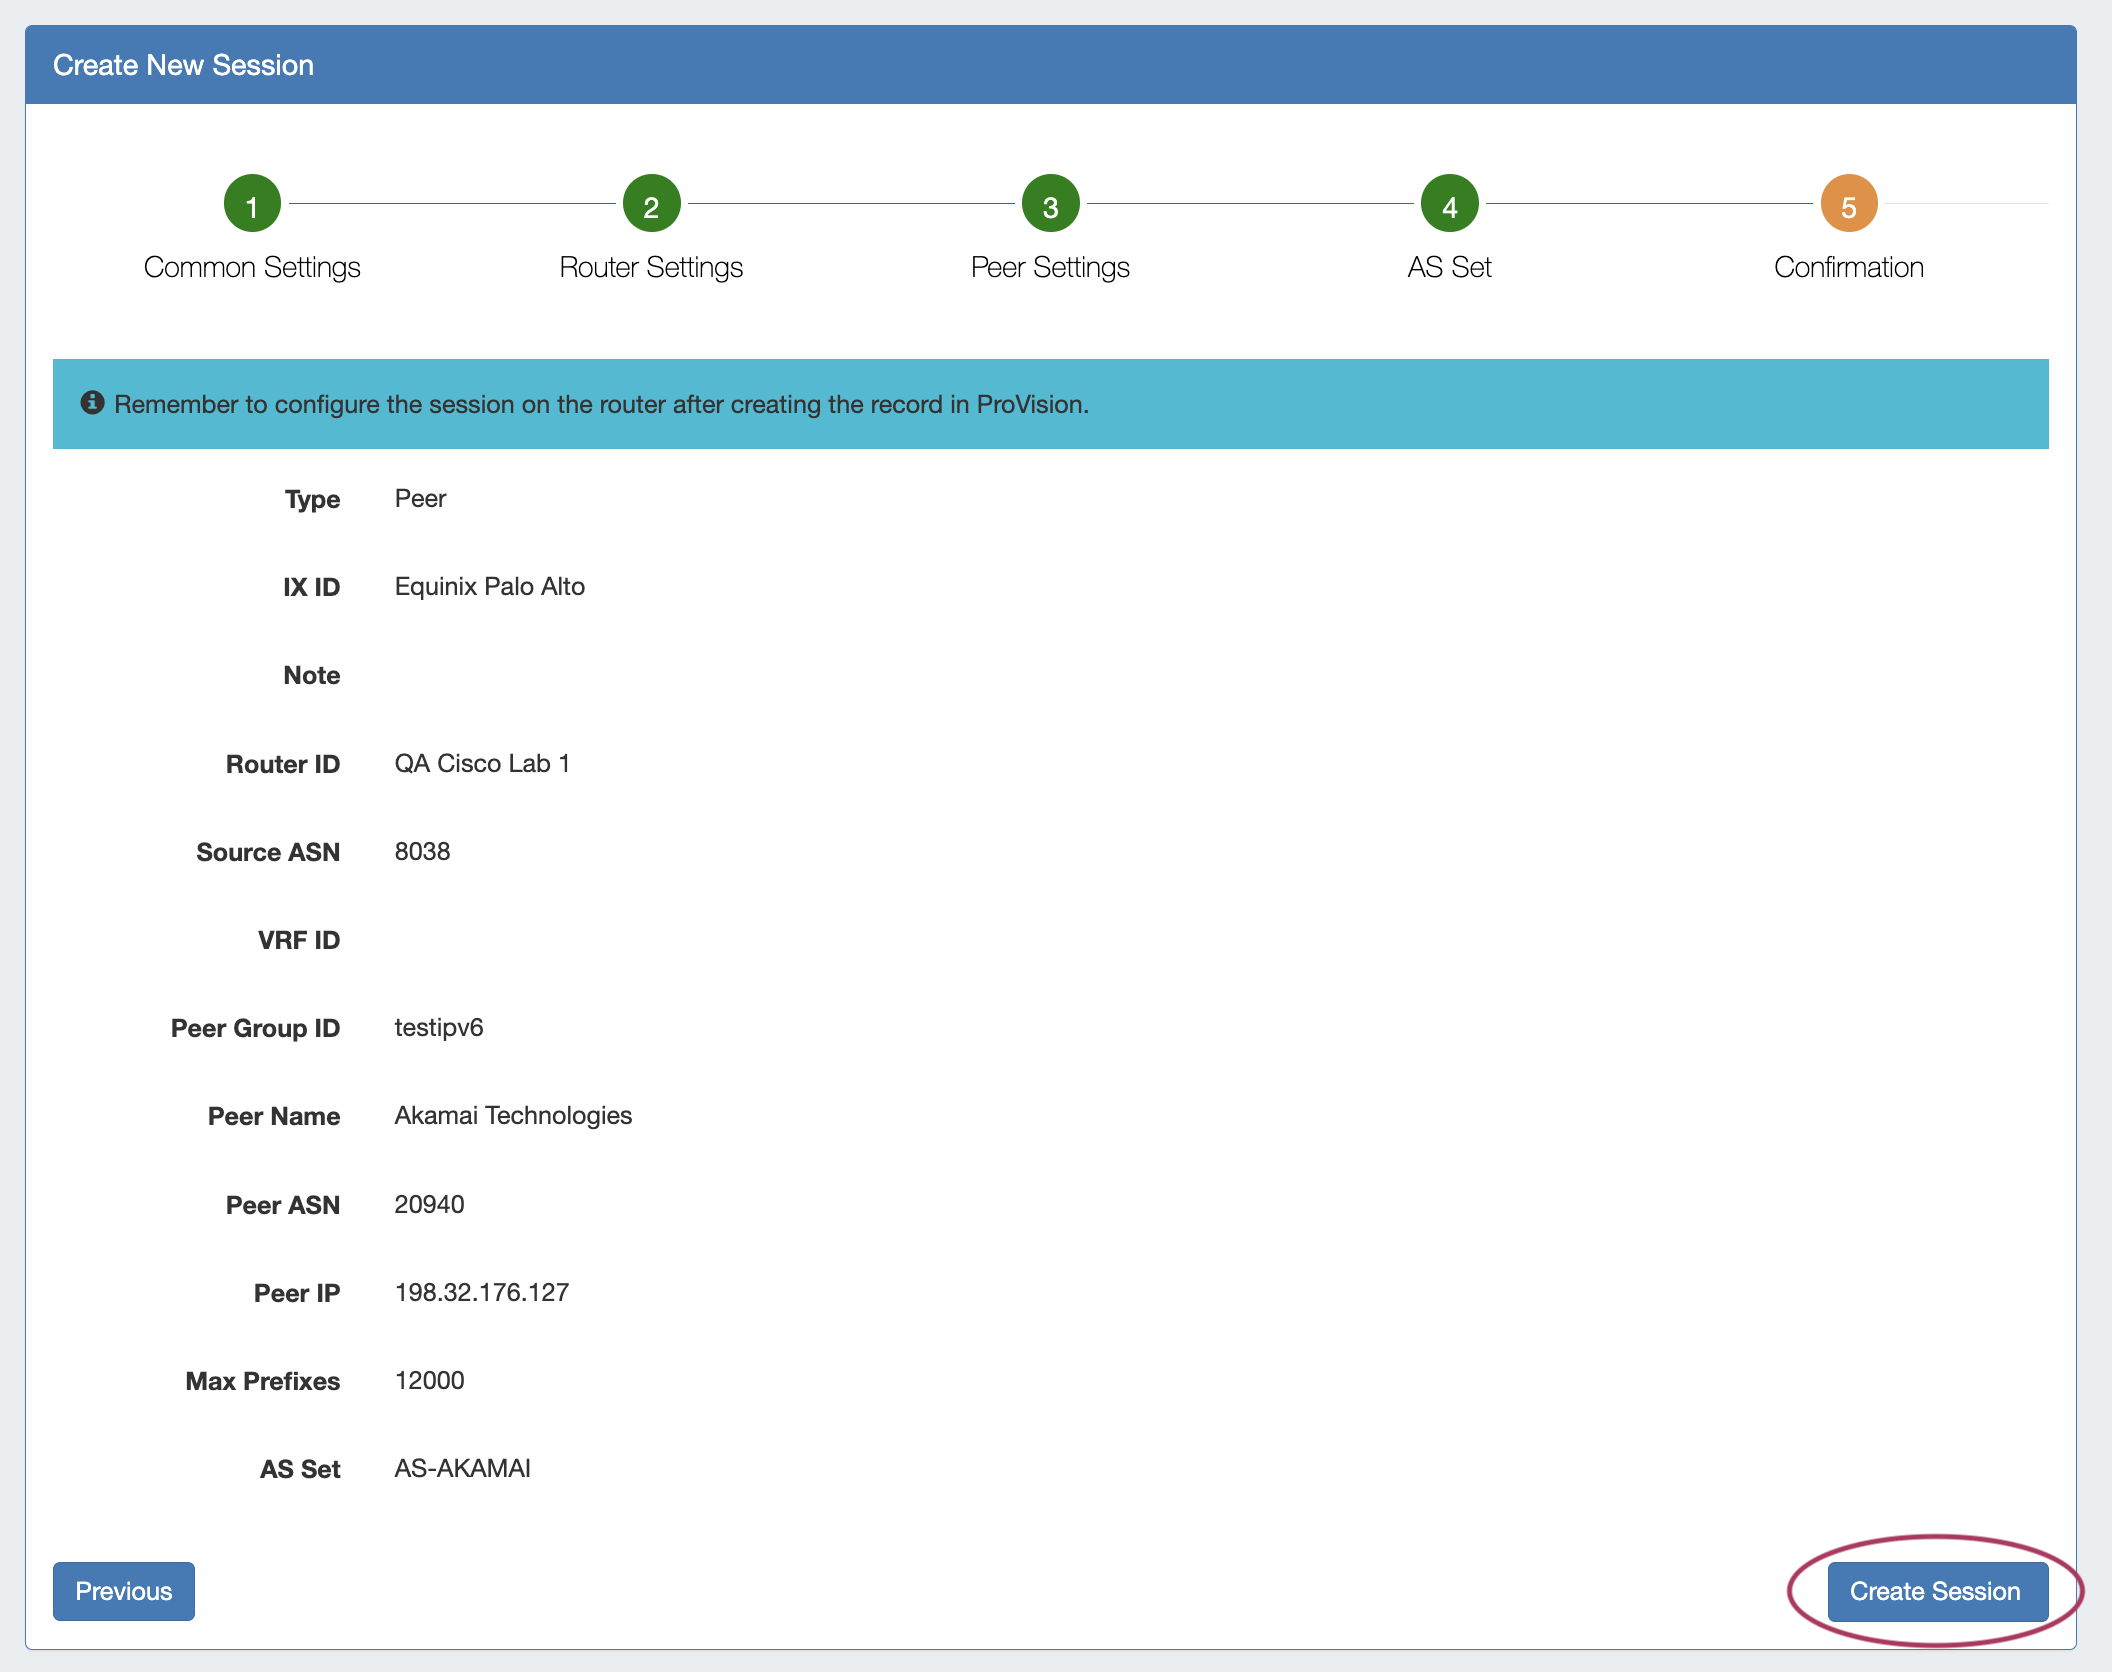 The Session detail page will display for review or to perform actions, and the new session The new Session will be added to the Session List.
|
Manage a Session (The Session Details Page)
...