...
| Expand | ||
|---|---|---|
Section Edit: Users can now access the edit screen from a section's entry list. Open the filter panel at top and click the link at the bottom of the panel.
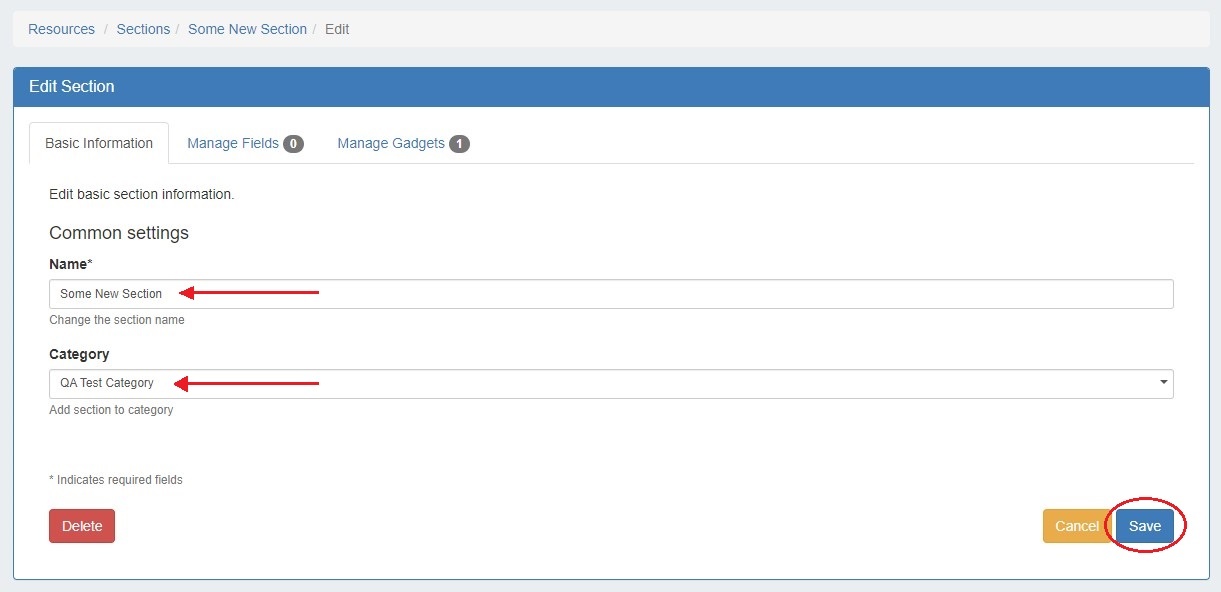
Customizing Sections: The Basic Information tab allows users to edit a edit a Section name or Category. Click "Save" to retain any changes.
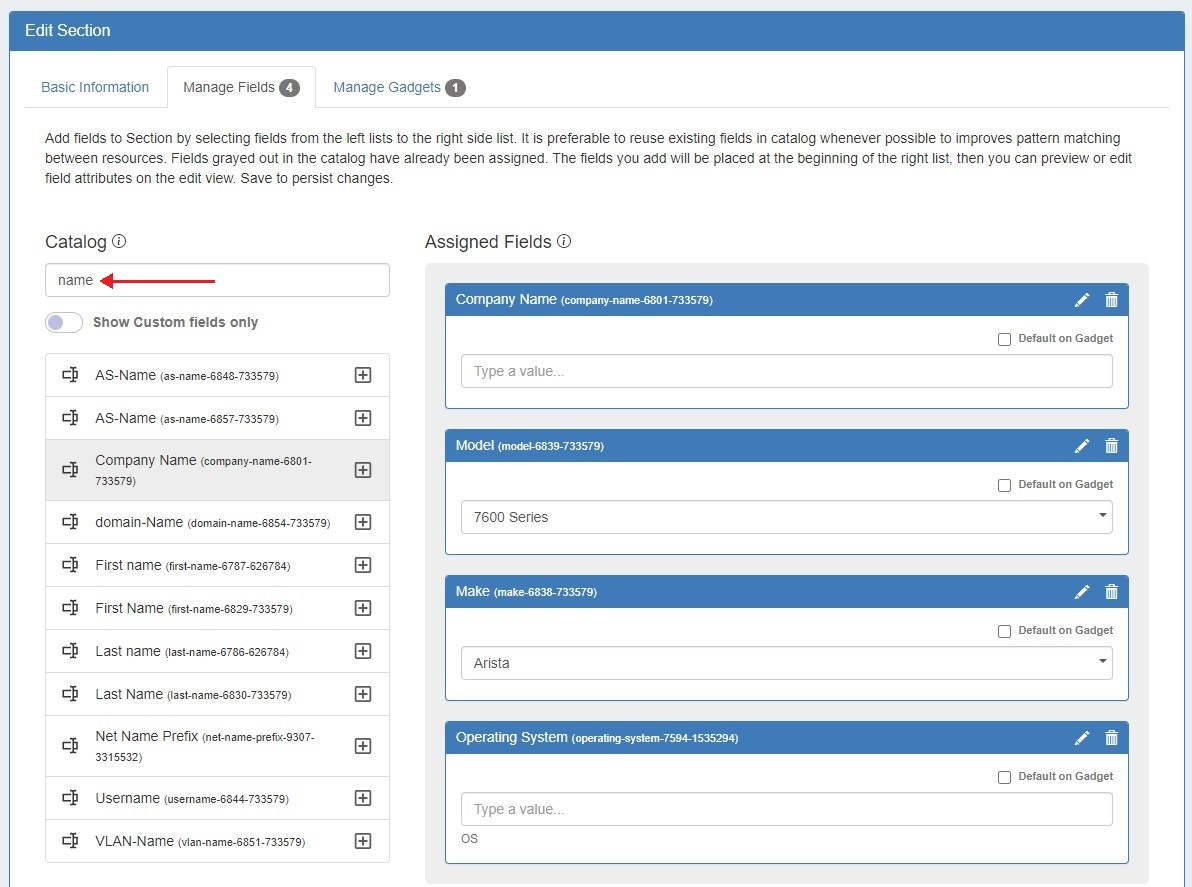
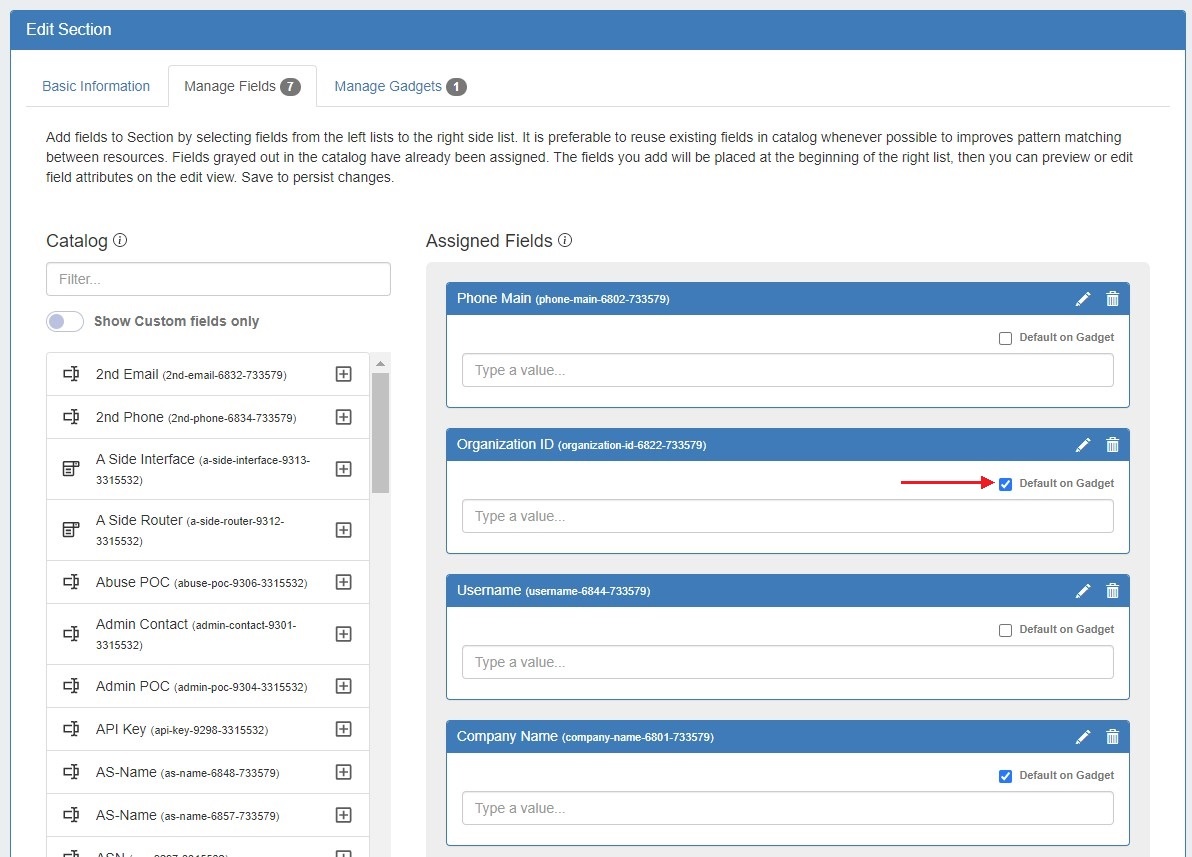
The Manage Fields tab is where users designate fields that will be available in the Field Gadget. Users can also enable chosen fields be added to the gadget by default, making data standardization for resources easier. To search for a specific field, type a field name into the searchbox. Fields already added to the section are shaded grey. You may add duplicate fields to a section, but this is discouraged and a confirmation message will prompt you to confirm that you wish to add the duplicate field. To add a field to a section, click on the + icon and it will be added at the top of the "Assigned Fields" section. To remove a field, click the delete (trash can) icon.
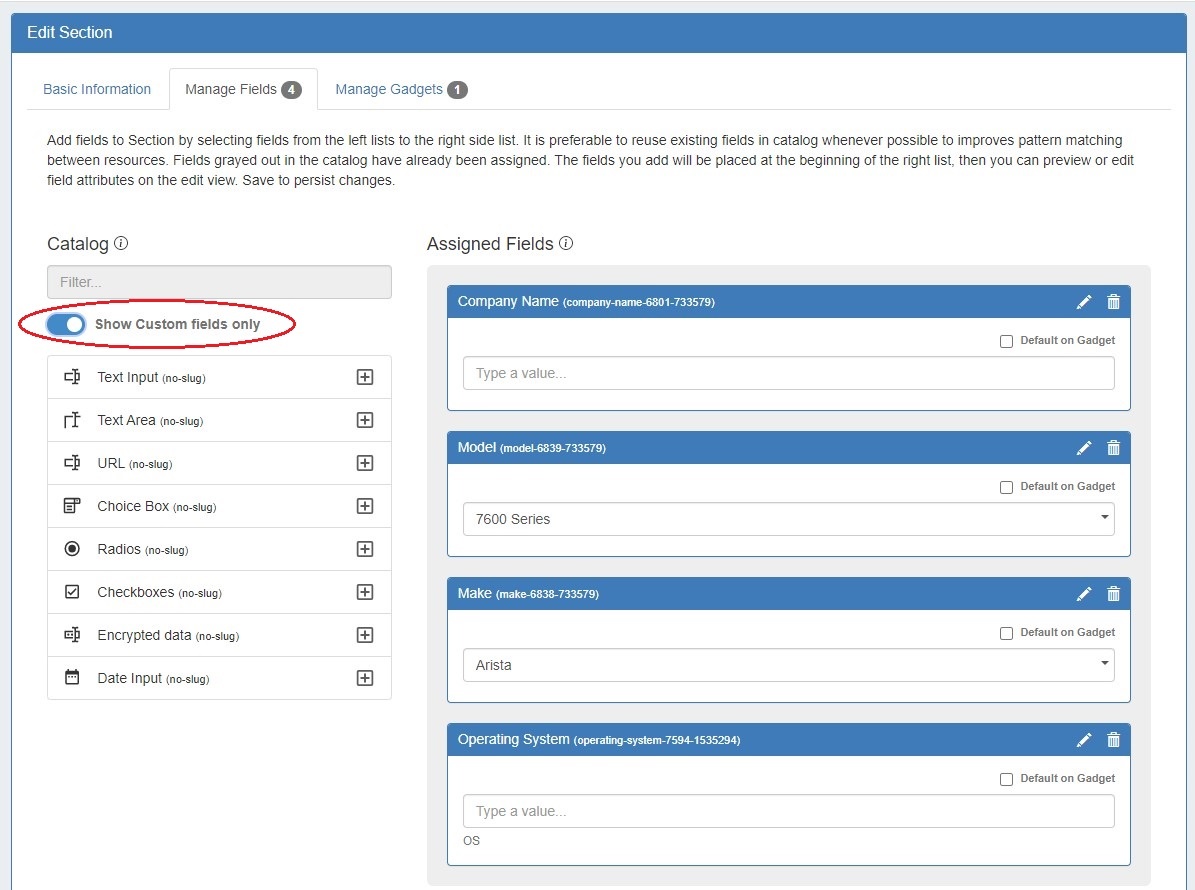
Users can add custom fields of various types (text input, text area, choice box, radios, checkbox, encrypted) to a section. To view only unedited custom fields, enable the toggle below the search box.
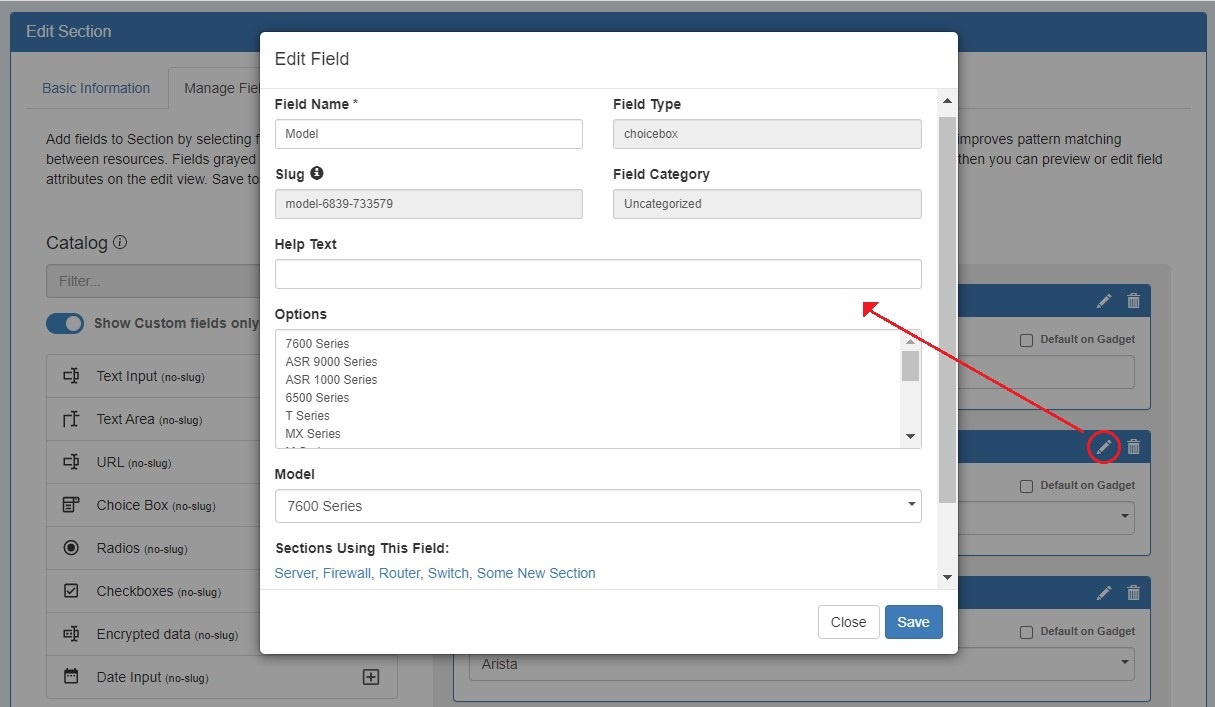
Once fields are added to a section, they may be renamed and have other attributes updated by clicking on the edit icon.
To designate a field be added to the Field Gadget by default, select the checkbox "Default on Gadget".
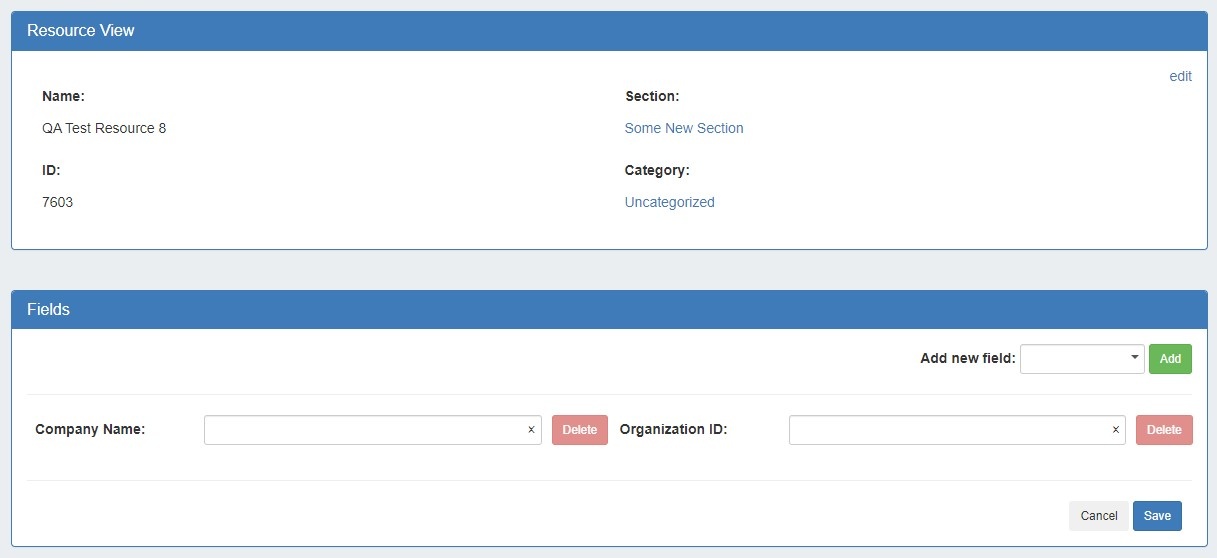
The fields will be added to the Field Gadget for every resource assigned to the section. Default fields cannot be deleted from the Field Gadget.
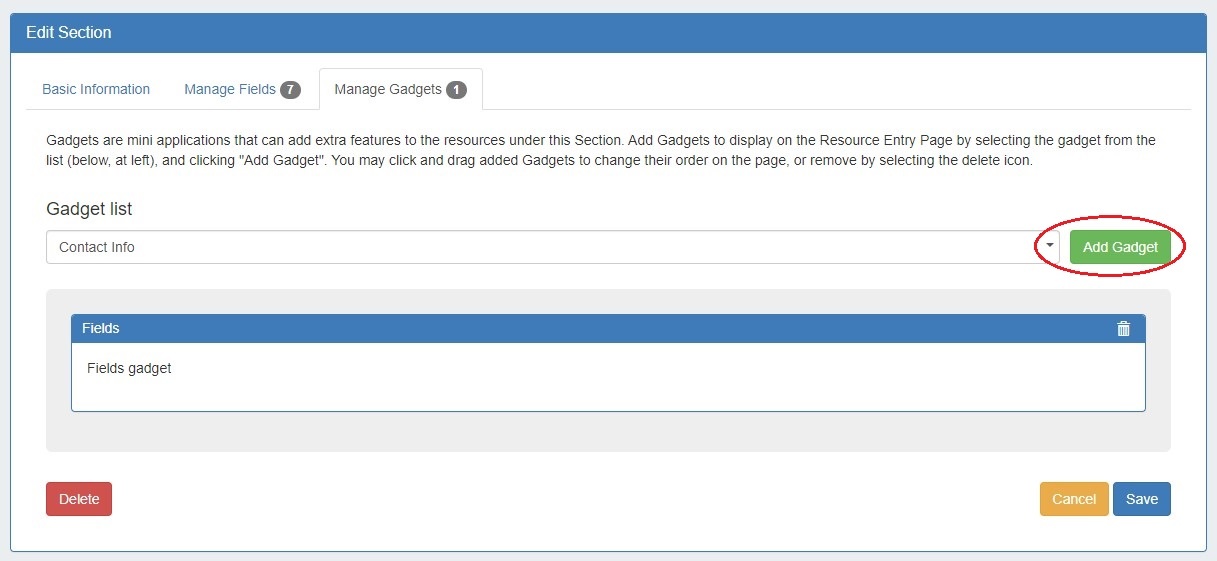
Non-default fields will be available to add to the gadget on a per resource basis. The Manage Gadgets tab allows users to add, edit, relocate, or remove gadgets associated with the section.Simply select the gadget you want to show for that section and hit "Add Gadget".
|

IPAM Alerts Management
CFR - 250: Added per-netblock IPAM Alerts
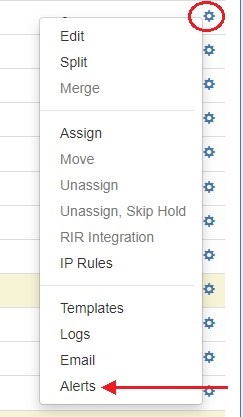
Users may now set IPAM alerts on a per-block level from the Action Menu.
...
Working with Per-block IPAM Alerts
Enable or clear alert emails for an IP block by setting an email address and utilization percentage level. When the block is utilized to the set percent, an email alert will be sent to the provided address.
To set an alert, select the "Alerts" option from the Action Menu.
Enter an email address and utilization level for the alert.
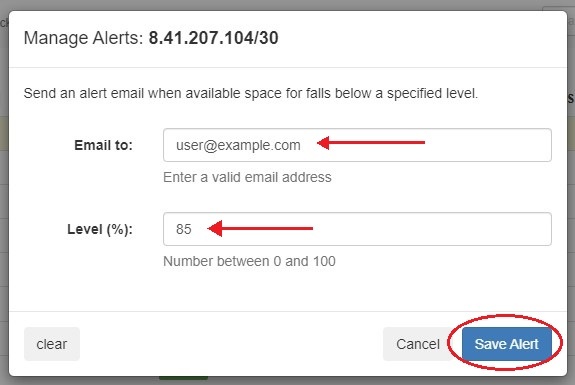
When done, click "Save Alert". To clear an existing alert, hit "Clear Alert", and the alert information will be removed and status saved.

An alert icon will be visible in IPAM Manage next to any block that has an active alert set.
IM - 3282: Module to view and manage all currently set IPAM alerts.
...