...
| Info |
|---|
| Note: The uploader has a file size limit of 14mb, files above this size will not successfully upload. |
Field Gadget
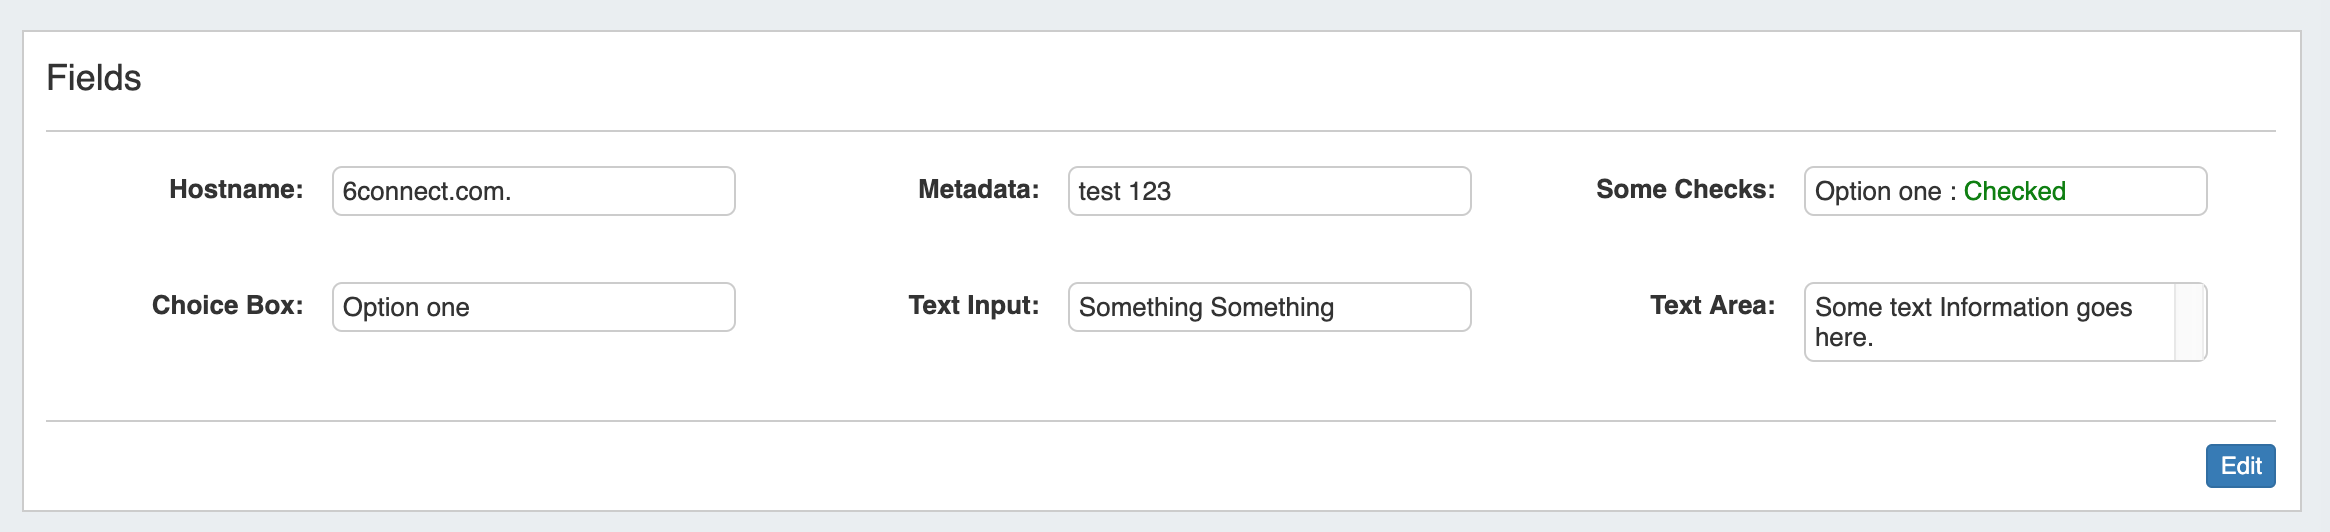
The Field Gadget displays the information fields available for the Section and specific Resource that is being viewed.
Users may add enabled fields to the resource, edit field values, and remove fields from the Resource through this Gadget. Field values in this Gadget (such as Hostname, Username, and Password, among others) may also be used by other Resource Gadgets and Provision modules.
Before You Begin
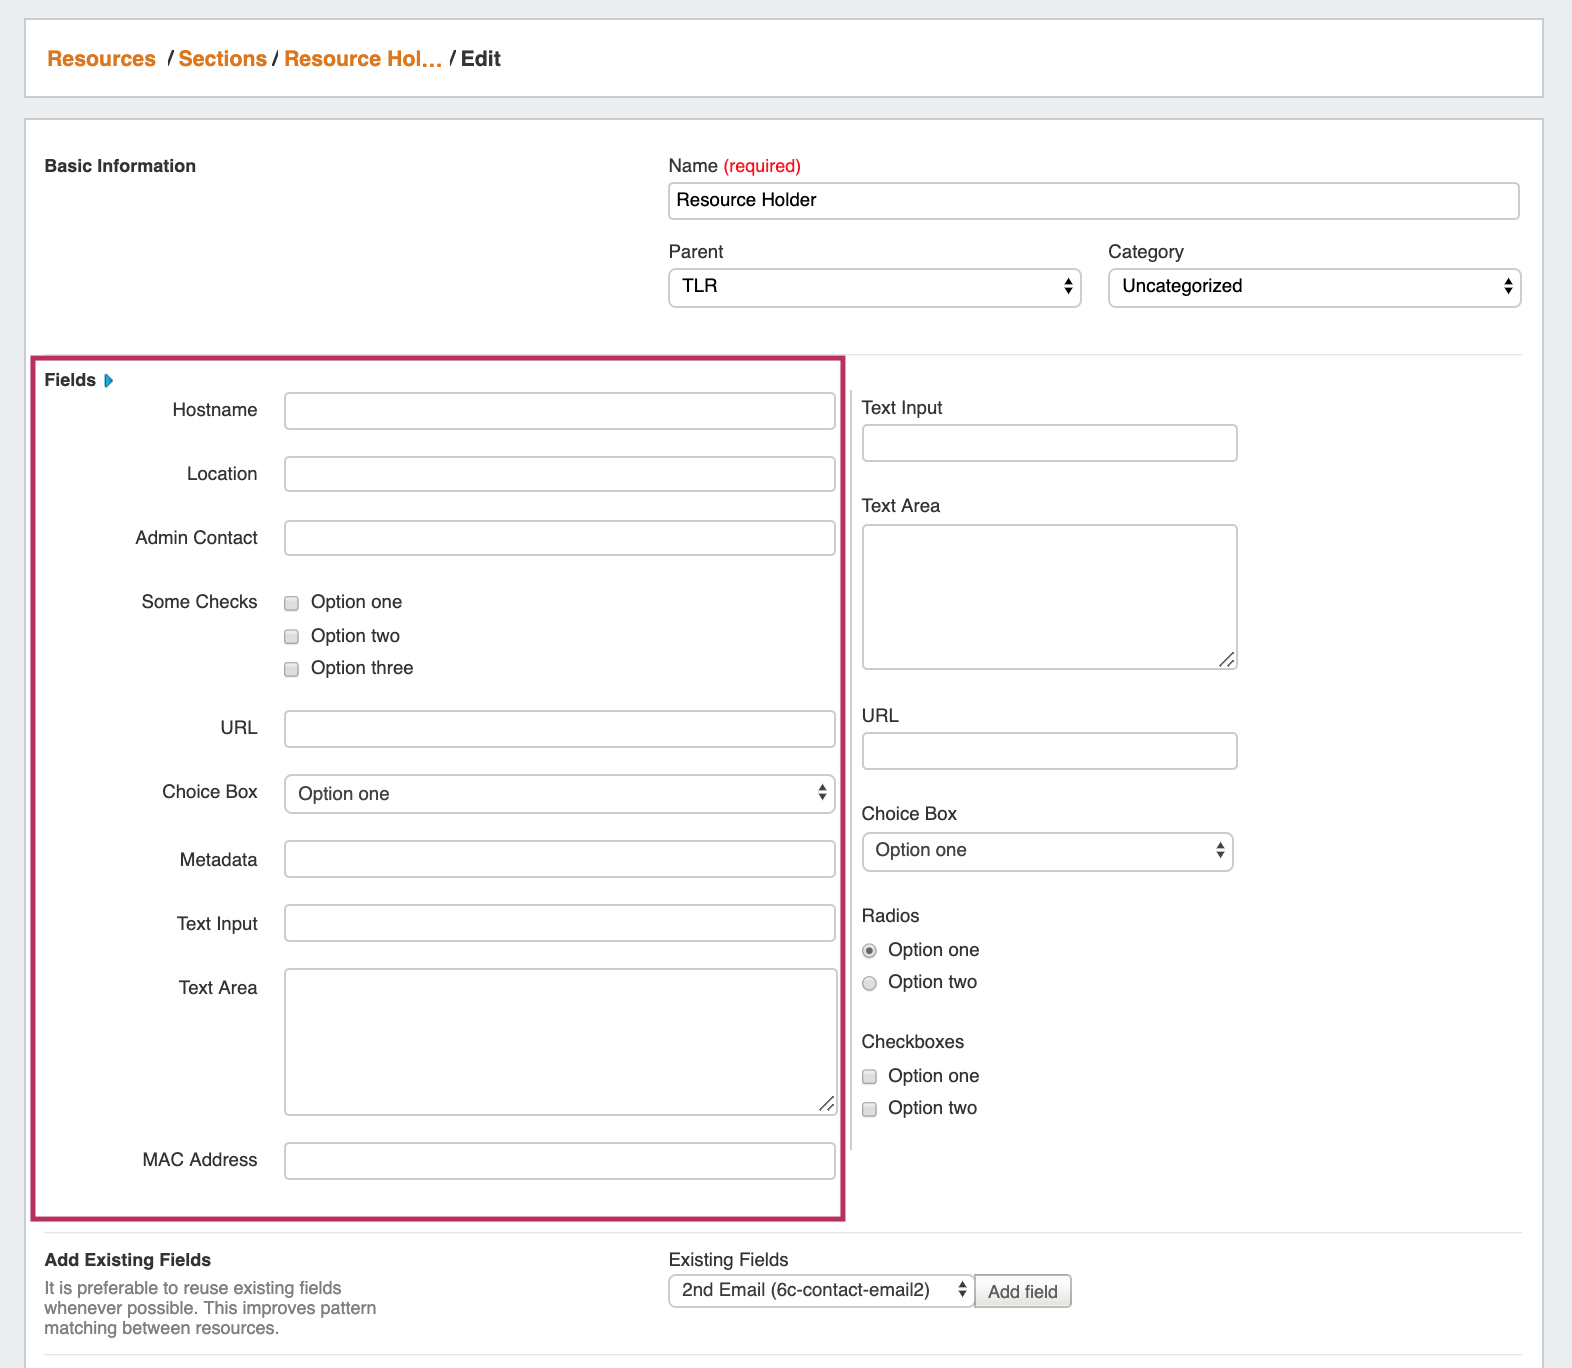
Fields must be enabled and added to the Resource's Section before they can be used in the Field Gadget.
Fields enabled in a Section (pictured below) will be available to add to the Field Gadget for any Resource of that Section.
| Expand | ||
|---|---|---|
| ||
 |
Working with the Field Gadget
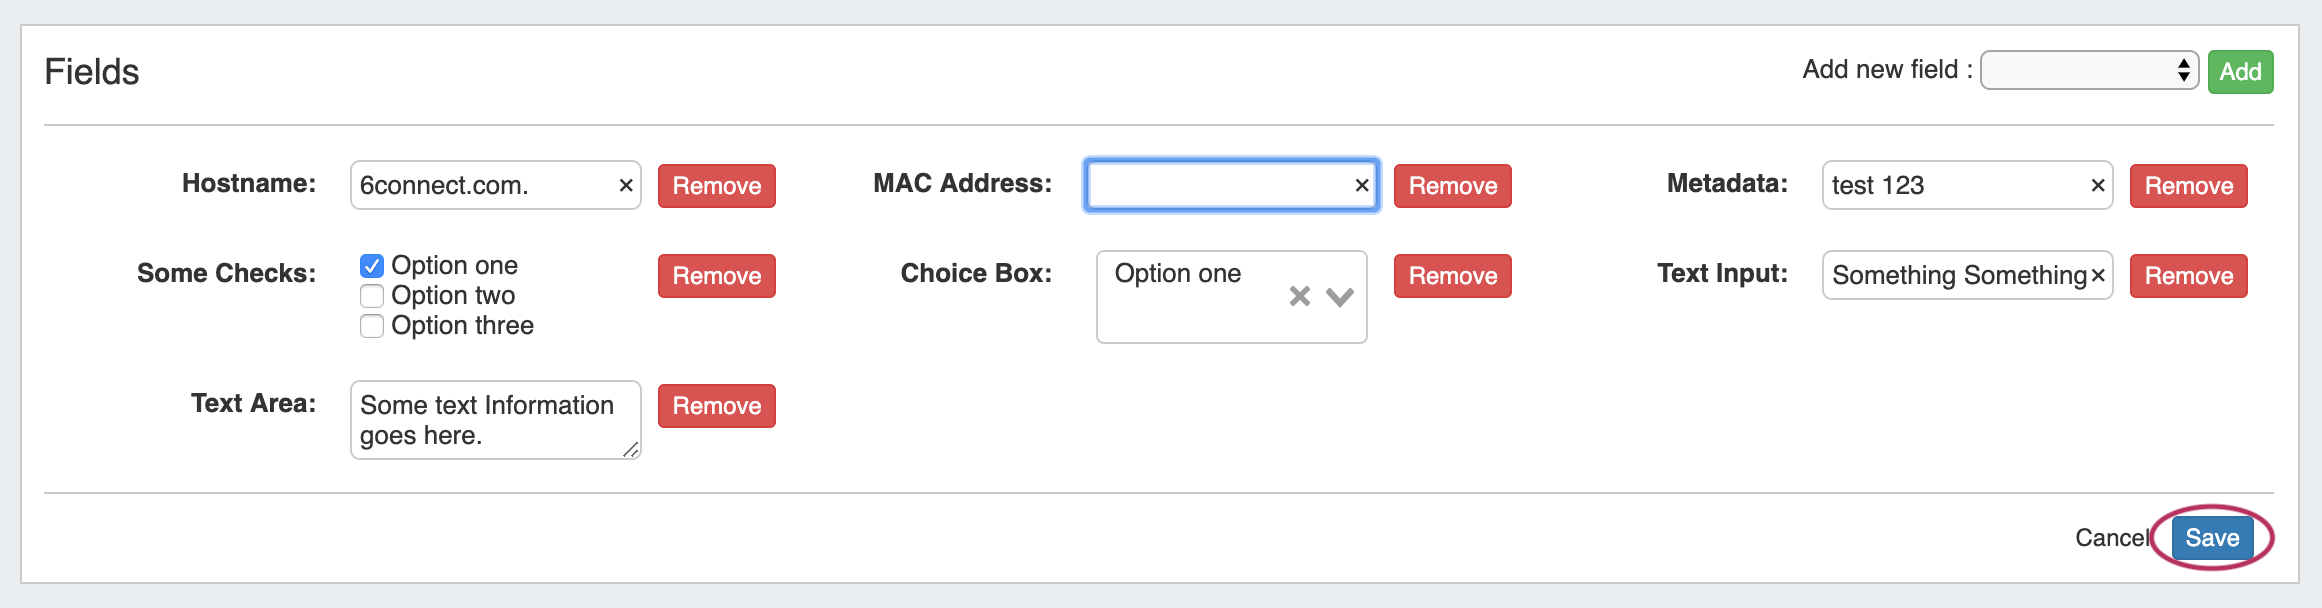
Once fields have been enabled for a Section, they will be available to select in the "Add New Field" dropdown.
To Add fields, click the "Edit" Button at the bottom right corner of the Field Gadget.
Then, next to "Add New Field:", select one of the available fields from the dropdown, and click "Add".

Once added, the field will be available to edit or remove. Edit field value(s) as desired, then click "Save".
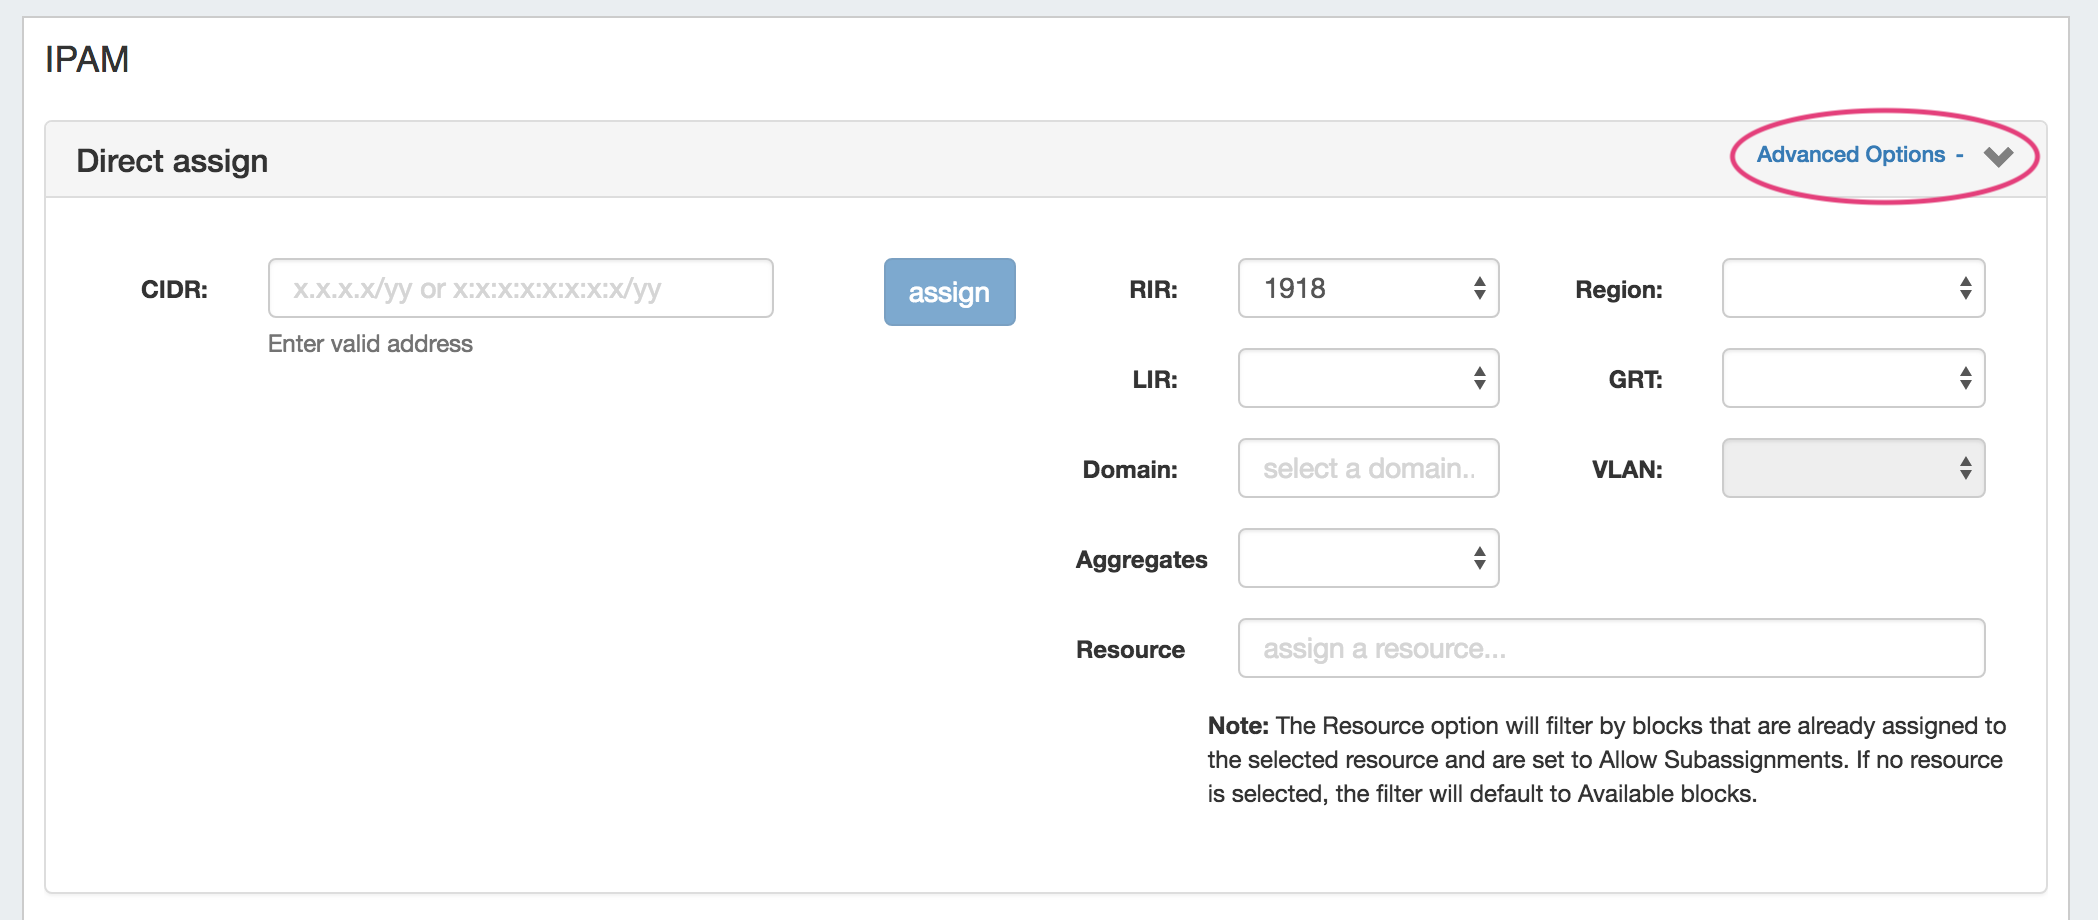
IPAM (Legacy)
| Info |
|---|
The IPAM Gadget has functionally been replaced by the IPAMv2 Gadget in version 7.0.0. Although the original IPAM Gadget is still able to be used by existing customers, we recommend switching to the IPAMv2 Gadget for improved speed, filters, and UI customization options. |
...
| Expand | ||
|---|---|---|
| ||
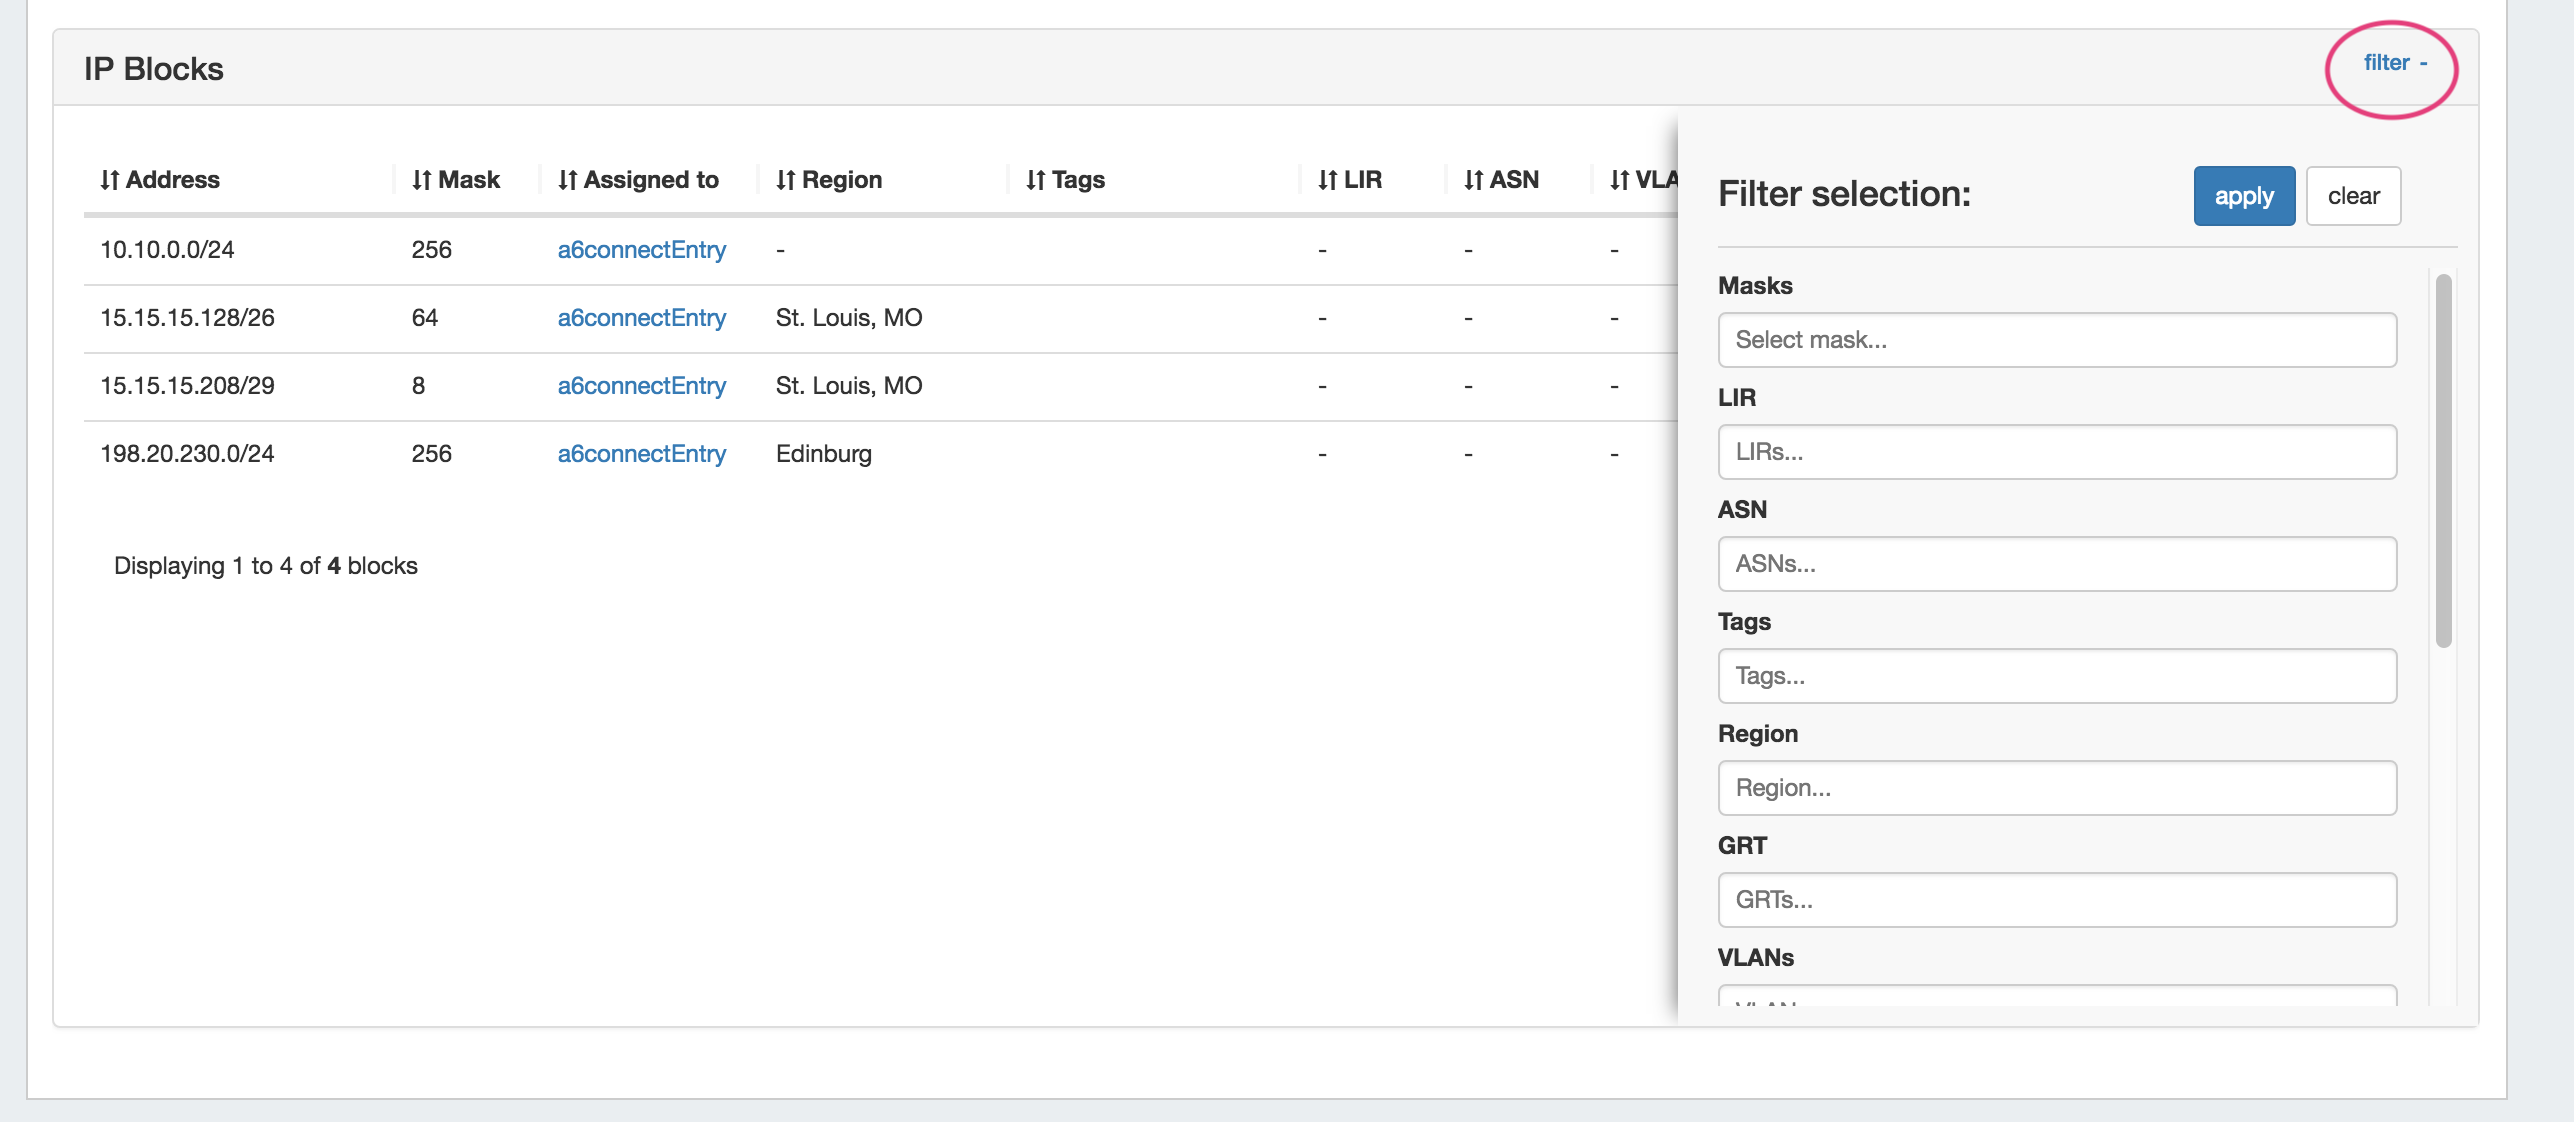
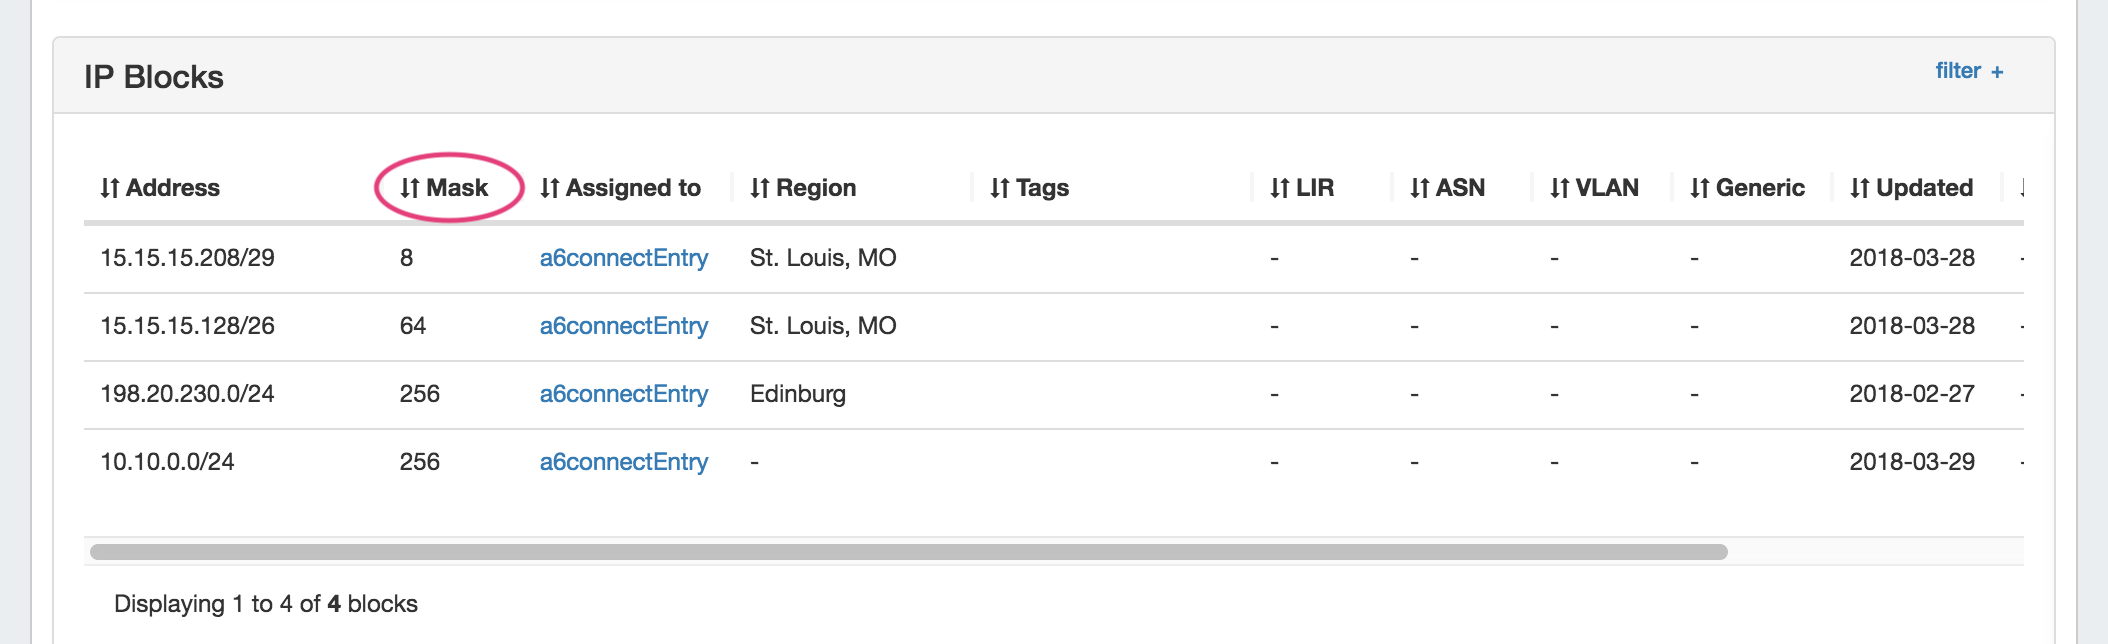
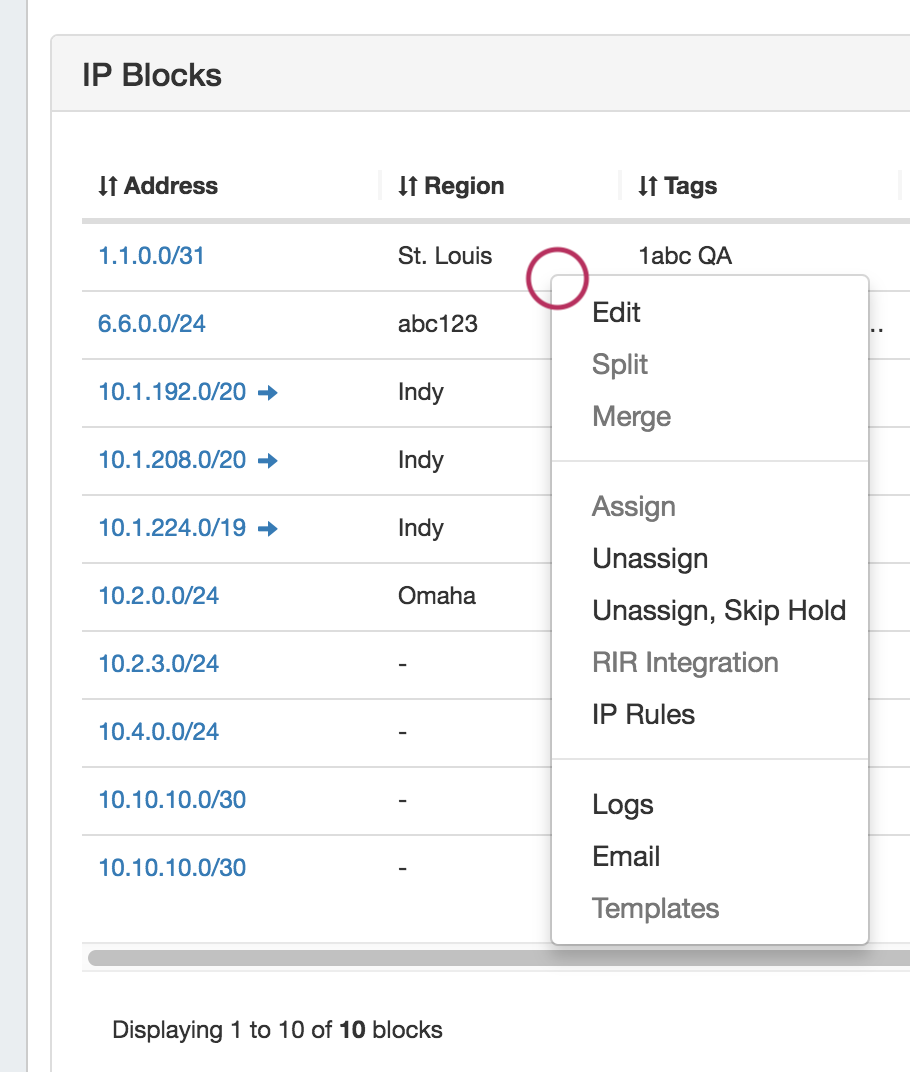
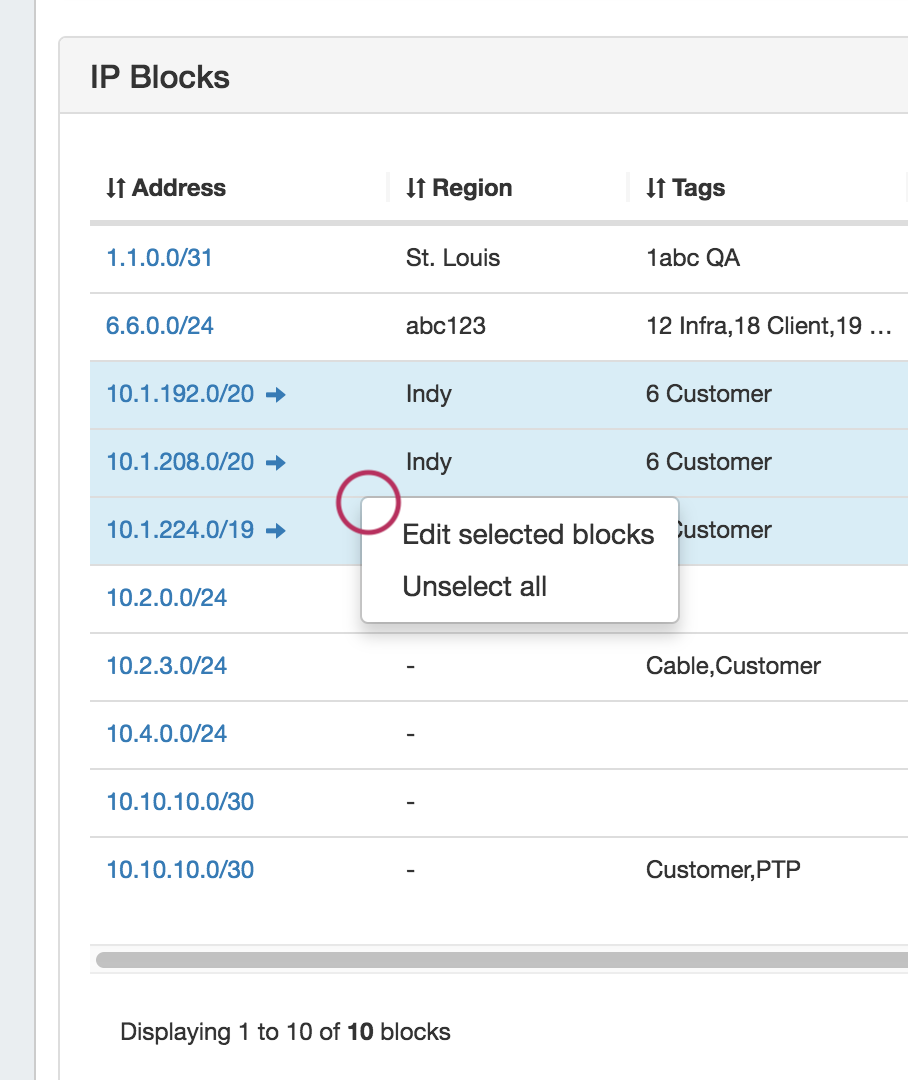
Using this gadget, you can:
For more information on assigning and managing blocks, see Working with IP Blocks - Assigning IP Space. |

...
| Expand | ||
|---|---|---|
| ||
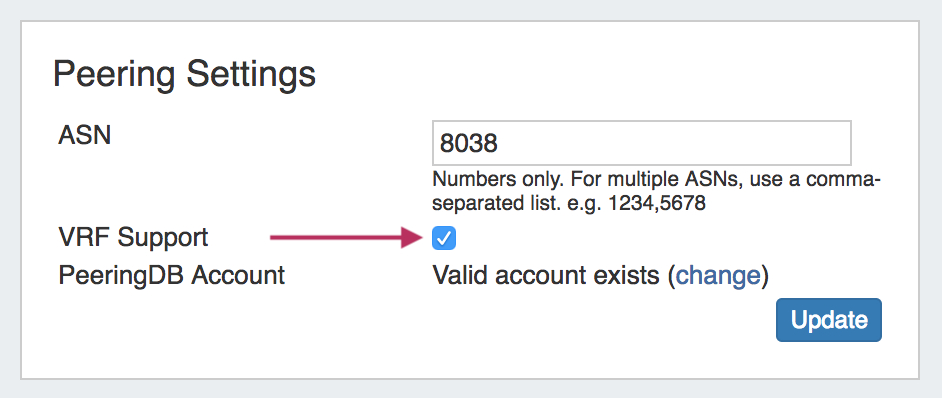
Enabling "VRF Support" in the Admin home page under "Peering Settings" will automatically add the VRF gadget to the router Section.
The VRF gadget will then be accessible in a router's Resource Entry page. To add a VRF, type the VRF name and ASN, then hit "Add VRF". 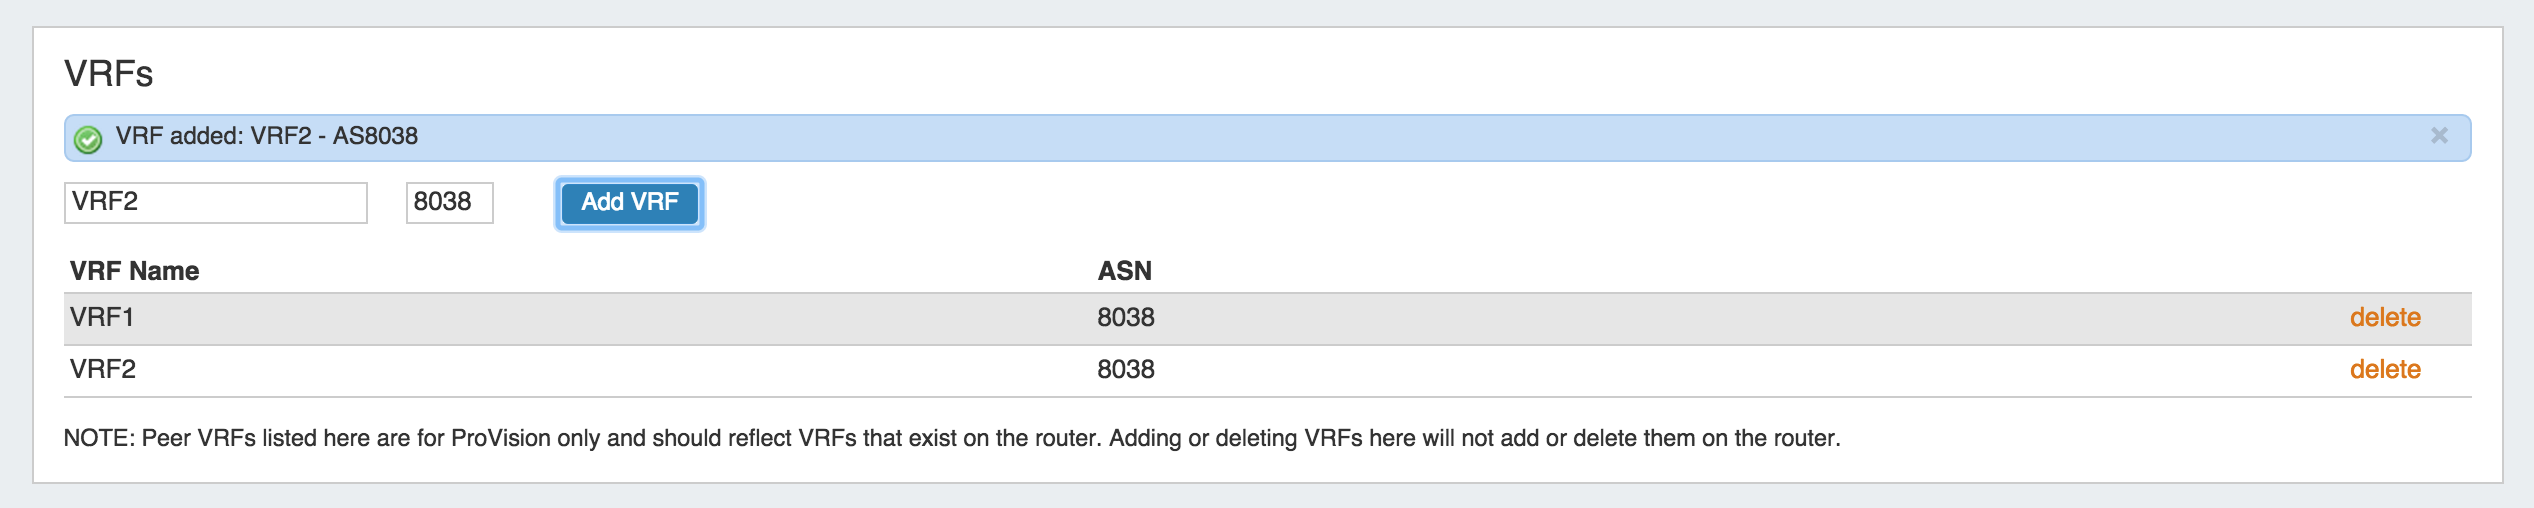 To delete a VRF, click on "delete" next to the VRF entry in the gadget. Once VRFs are set up for a router, the source ASNs for the associated VRFs will appear in the Source ASN dropdown when adding or editing a session for that router from the Peering tab.
|
...
| Warning |
|---|
User created gadgets are not supported at this time and the specification below could change without notice. If you want to make your own gadget, please get in touch so we can help you |
...
| Children Display |
|---|
Additional Information
Continue on to the following pages for additional information on Working with Resources in Provision:
...