...
| Table of Contents |
|---|
Monitoring Settings
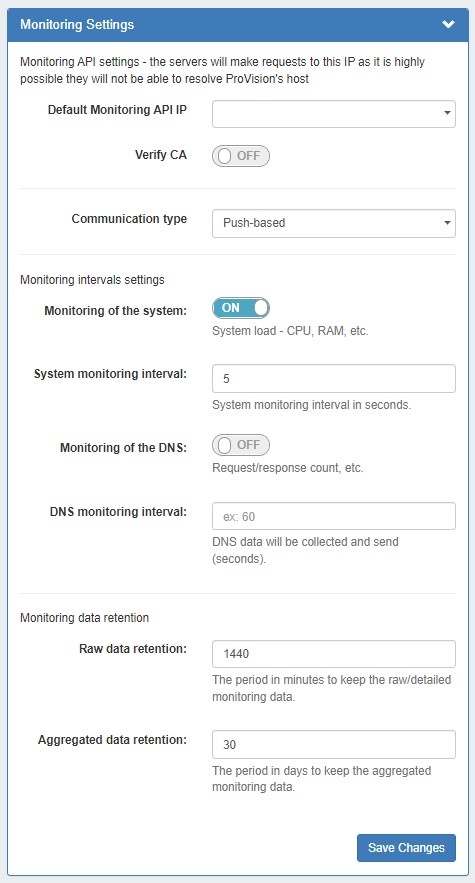
Under Monitoring Settings, select the "Default Monitoring API IP", and enter any additional setting options as follows:
- Default Monitoring API IP: The default IP to be used for API calls (heartbeat, activation, etc.) for managed server monitoring and to send API requests, as multiple IPs may be available depending on the Provision set up.
- Note: The Default Monitoring API IP can be set to a default value in this area, but it may also be set individually per managed server as an override.
- Verify CA: Toggle to "on" if you wish to enable the CA check.
- Communication type: Push (when the server pushes data to ProVision) and pull (when ProVision connects to the server and pulls the data). Push is preferred, but Pull-based may be desirable in cases where a firewall would not allow inbound connections to ProVision.
- Monitoring of the system: Toggle to "on" to enable monitoring of system statistics.
- System monitoring interval: How often (in seconds) the system will be checked. The smaller the interval, the more data there will be to store.
- Monitoring of the DNS: Toggle to "on" to enable gathering statistics from the DNS server.
- DNS monitoring interval: How often (in seconds) the DNS server will be monitored. Data will be aggregated for the set period of time and the aggregated results will be sent.
- Raw data retention: The number of minutes to retain raw data. By default, this is set to 1440 minutes (1 day). Raw data requires sizable storage needs.
- Aggregated data retention: The number of days to retain aggregated data.
Managed Backup Settings
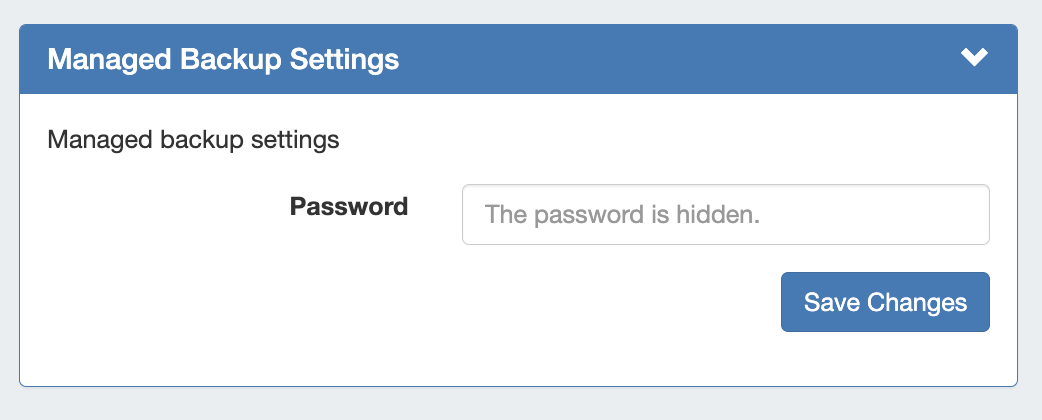
- Password: The Password is used to encrypt backups. If in use, enter the password for Managed Backup Servers
...
- , then click "save changes"
...
...
- . Users will need this password in case of backup restore.
Update Settings
Enter Update settings to use for Managed Servers, starting with API timeout (in milliseconds) and Update Mode.
| Note |
|---|
| For assistance obtaining repository tokens, please contact support@6connect.com. |
Fill in the remaining update settings as applicable to the selected update mode:
- Internet Docker Update (Recommended) - This uses a Docker update directly from our docker registry. Internet connection is required for the managed server in order this mode to work.
- When this is chosen, fields to enter tokens for the DNS / DHCP repository will displayed
Note - .
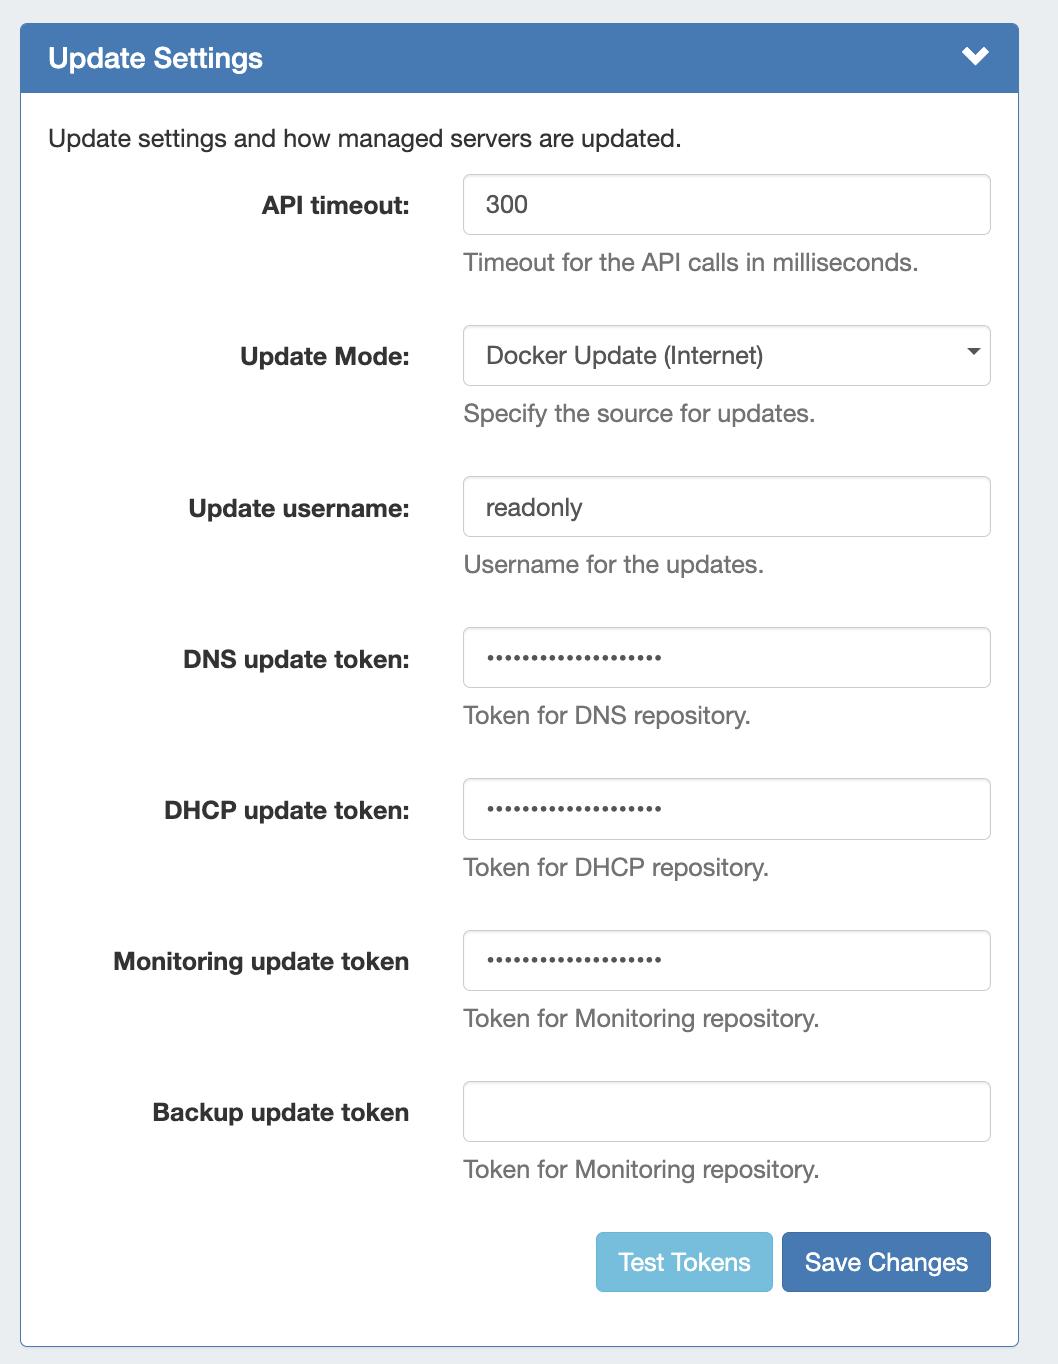
Expand title Update Settings - Docker Update (Internet)... Update Settings - Docker Update Mode (Internet)
API timeout: Timeout for API calls in milliseconds.
Update Mode: Enter the source for updates, depending on internet accessibility. Two options are available:
- Image Download (Local) - This option is to update from ProVision, locally. No internet connection is required from the managed server, but an image file must be manually downloaded from a separate secure site and then uploaded into ProVision.
Note If "Image Download (Local)" is selected, you must download the image file from a secure
ProVision site to then upload for this setting. Please contact support@6connect.com for credentials to access the image download area.
- Internet Docker Update - This uses a Docker update directly from our docker registry. Internet connection is required for the managed server in order this mode to work. When this is chosen fields for tokens for our gitlab/registry appear to be filled in:
- Update username: Enter the username for updates.
- DNS update token: Enter the token for the DNS repository.
- DHCP update token: Enter the token for the DHCP repository.
- Monitoring update token: Enter the token for the Monitoring repository.
- Backup update token: Enter the token for the Backup Monitoring repository.
- Test Tokens: Click to test the applied tokens for DNS, DHCP
- Internet Docker Update - This uses a Docker update directly from our docker registry. Internet connection is required for the managed server in order this mode to work. When this is chosen fields for tokens for our gitlab/registry appear to be filled in:
Note - , and Monitor.
- ProVision Image Download - If Update Mode is set to "Image Download (Local)", then no internet connection is required from the managed server, but an image file must be manually downloaded from a separate secure site to then upload into ProVision.
Expand title Update Settings - Image Download (Local)... Update Settings - Image Download (Local)
If Update Mode is set to "Image Download (Local)", the following settings will display to enter:
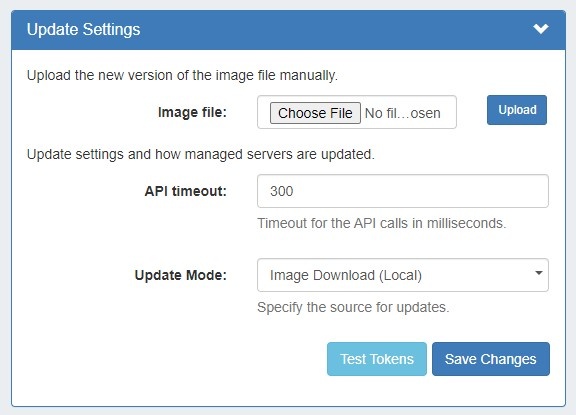
Image file: Attach the Image file for upload to ProVision.
Note If "Image Download (Local)" is selected, you must download the image file from a secure
ProVision site to then upload for this setting. Please contact support@6connect.com for credentials to access the image download area.
API timeout: Timeout for API calls in milliseconds.
Update Mode: Enter the source for updates - Image Download (Local), or opt to change to Docker Update (Requires Internet).
Images history: Available only after saving changes. Once a history is available, it will display at the top of the module.
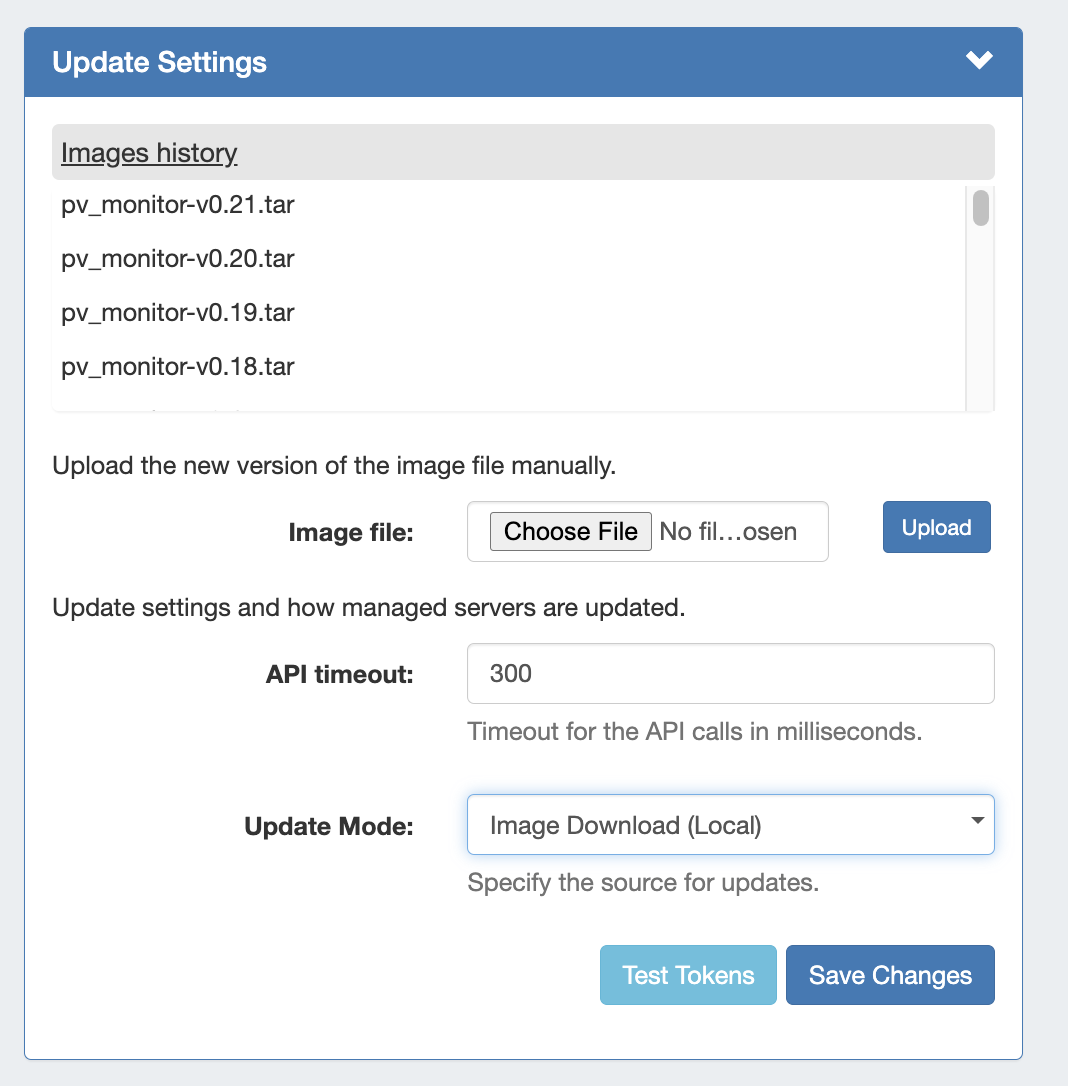
Test Tokens: Click to test the applied tokens for DNS, DHCP, and Monitor.
Monitoring Services
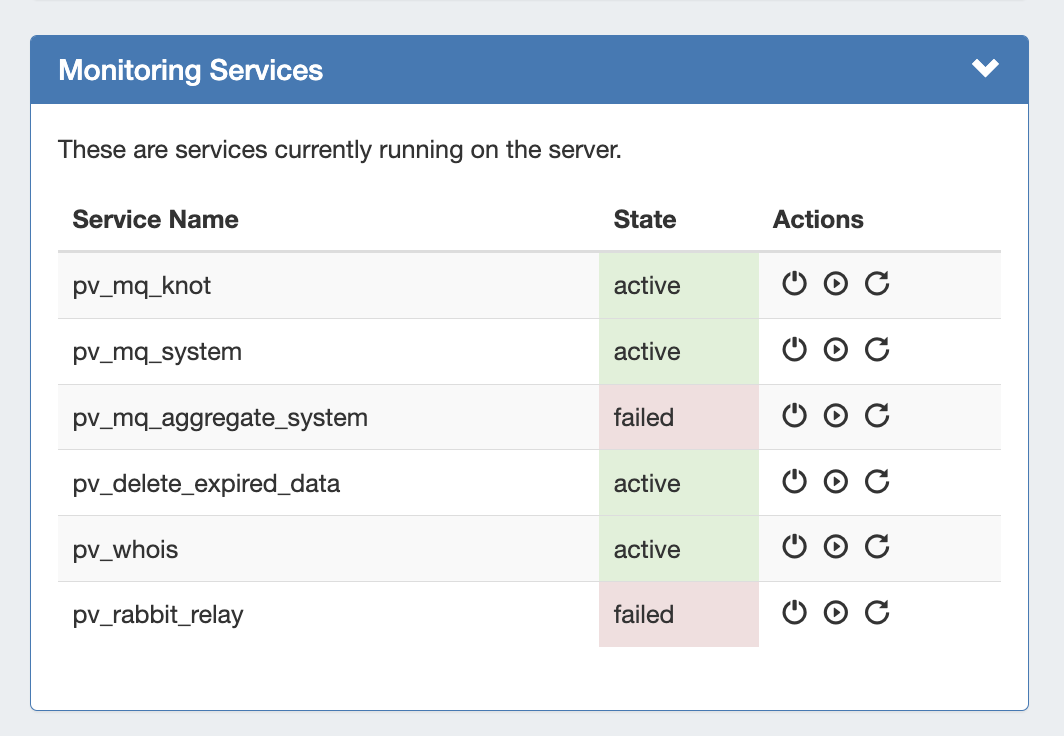
The Monitoring Services module shows the OS services running on Provision's server and their activity state. Available actions are: Stop, Start, and Restart Service.
Services are:
- pv_heartbeat: sends simple stats from a managed server to ProVision, runs on the managed server
- pv_mq_knot: processes KNOT DNS data from RabbitMQ, runs on ProVision's server
- pv_mq_system: processes system data from RabbitMQ, runs on ProVision's server
- pv_mq_aggregate_system: aggregates system data , runs on ProVision's server
- pv_delete_expired_data: deletes data according to the retention settings, runs on ProVision's server
- pv_whois: runs on ProVision's server
- pv_rabbit_relay: services used in "Pull" setups (see below), runs on ProVision's server
...
| Code Block |
|---|
/usr/bin/sh /path_to_provision/tools/install_rabbitmq_{OS}.sh |
See below for installation scripts for Ubuntu and CentOS installations:
| Expand | |||||||||
|---|---|---|---|---|---|---|---|---|---|
| |||||||||
Ubuntu RabbitMQ installation script:
|
| Expand | ||||||||||
|---|---|---|---|---|---|---|---|---|---|---|
| ||||||||||
CentOS RabbitMQ installation script:
This script is taken from Installing on Debian and Ubuntu — RabbitMQ and may need an update in future. |
2) You may verify Verify the installation is working by opening opening http://your.host:15672
3) Once confirmed working, go to ProVision Admin Settings → Managed Server Settings. Then, enter the RabbitMQ IP, port, username, and password into the RabbitMQ Settings section.
4) When done, click "Save Changes".
...
For additional information on working with Managed Servers, see Managed Servers.