Working with DNS Records

DNS Records may be managed either from the View Zone View page (for the records under their the respective zone) or globally through the DNS Records sub-tab.
| Table of Contents | ||
|---|---|---|
|
Working with Records - DNS Records List
The DNS Records List provides a global list records for expedited searching, filtering, adding, and editing of DNS Records.
From the DNS Tab, click on the "DNS Records" sub-tab button, or select it from the DNS dropdown menu.
All DNS records available in ProVision displays in a single Record List, along with Host, Type, Value, and Last Queried information.
Records may be sorted ascending/descending by "Record Host" name, or by "Last Queried", by clicking on the column header name / sort arrows.
Filter Records
Search for specific records by filtering by Host, Type, Comment, Value, Last Query, Last Modified, Record TTL, Status, or IP Range.
After entering your filter criteria, click "Filter".
Record Actions
For each record, you may:
- Click the "Check" button to run an DNS Monitor error check on the record
- Review or change record permissions by clicking "Perms" (Admin only)
- Delete the record by clicking "Delete"
- Review or Edit record details by double-clicking on the row for the desired record.
- Review record revision dates or enter your desired edit, then click "Save changes" to complete.
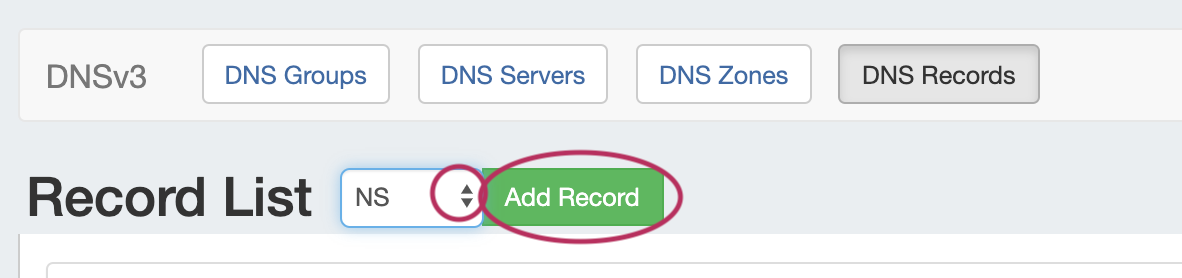
Add a New Record
At the top of the DNS Records page, select the desired record type, then click "Add Record".
Available Record Types for the Record List include the following:
- A
- A6
- AAAA
- CNAME
- CAA
- DNAME
- DNSKEY
- DS
- MX
- NAPTR
- NS
- PTR
- RP
- SRV
- TLSA
- SPF
- HINFO
- LOC
- TXT
- URI
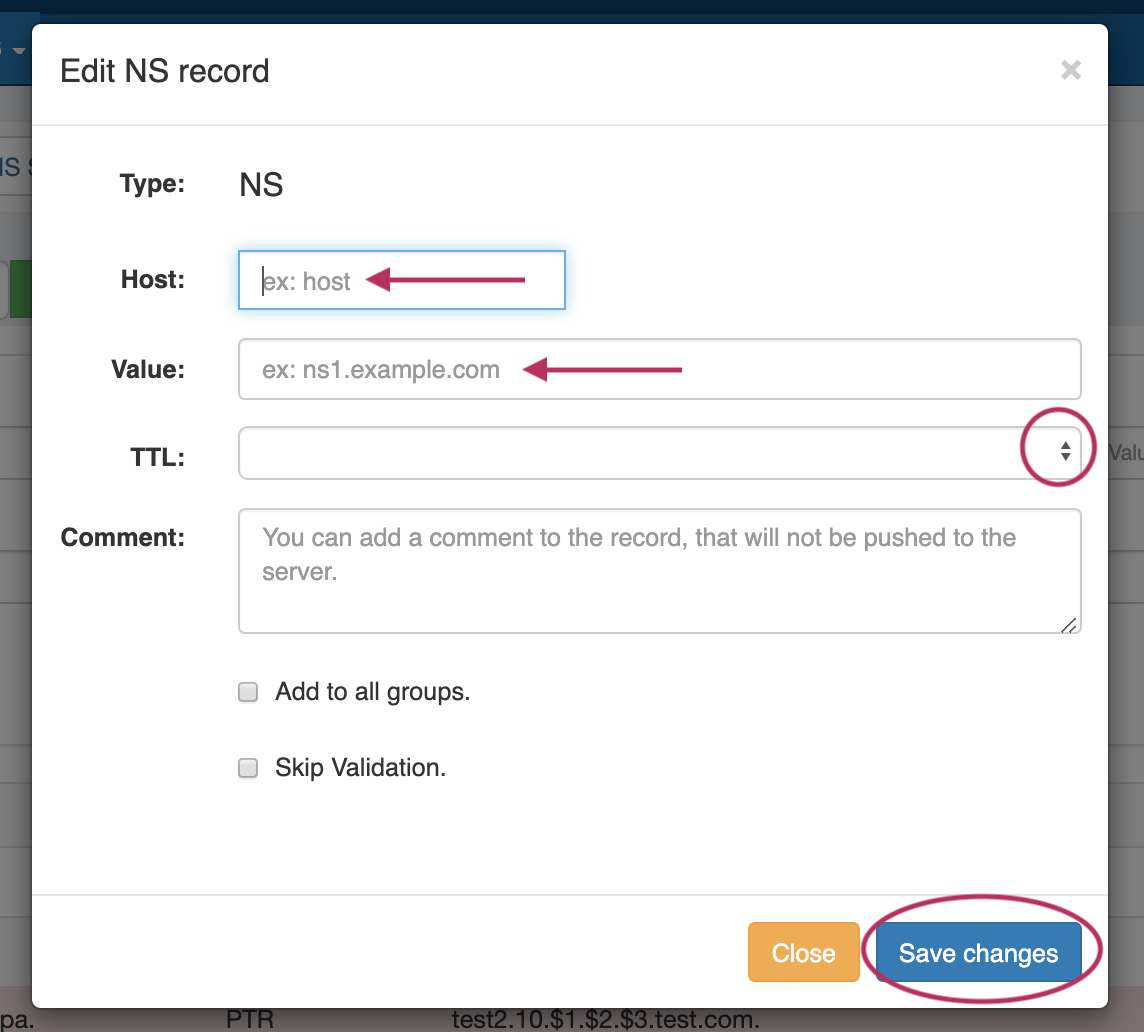
Enter the record information for the record type. When done, click "Save Changes".
Working with Zone Records - View Zone
...
Page
...
Record Types
The Zone View page supports 20 record types, as well as the ability to add a custom/arbitrary record type manually.
Available record types include the following:
...
- A
- A6
- AAAA
- CNAME
- CAA
- DNAME
- DNSKEY
- DS
- HINFO
- LOC
- MX
- NAPTR
- NS
- PTR
- RP
- SPF
- SRV
- TLSA
- TXT
- URI
- Other
...
| title | OTHER Record Types |
|---|
When working with DNS Zones and Records, additional record types may be manually added by selecting "Other" when adding a new record.
S64 DNS users can use record type "Other" to add "SYNTH" or "TYPE65464" type records similar to the format below:
...
However, arbitrary / other record types are unable to be validated, so use with care!
Add Zone Records
From the View Zone View page, under DNS Records, look for the line "Add a new ___ Record".
Select the desired record type from the dropdown list, then click "Add".

Fill in the information for the new record, selecting options for adding to groups or skipping validation.
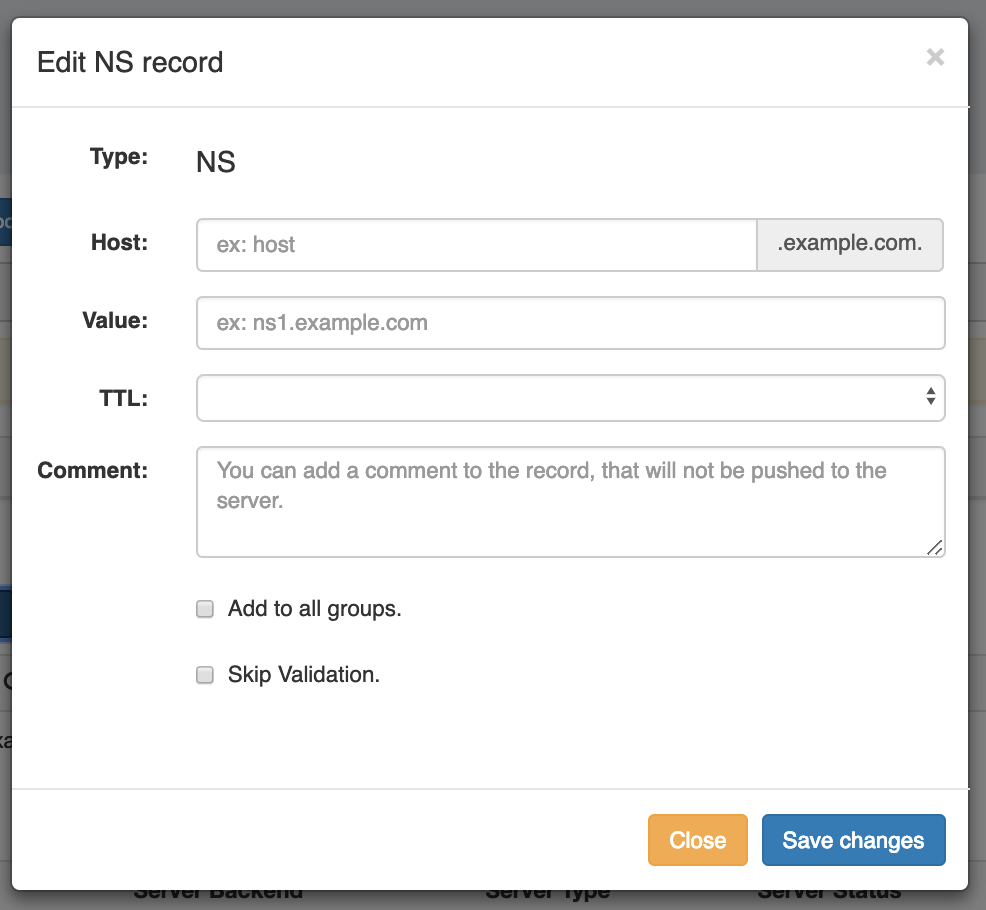
When done, click "Save Changes".
...
...
When working with records (like TXT), there is no need to add quotes around the record value - ProVision will automatically add double quotes for the TXT records on Zone Push, and will also automatically use quotes to split TXT values larger than 255 characters.
...
Edit
...
Examples:
...
| title | Click here to view examples... |
|---|
In the Edit Record screen, there is no need to add quotes to the record value, as seen below:
However, if an internal quote exists that you wish to retain, escape it by using a backslash ( \ ) before the quote(s):
When done editing the record, click "Save changes".
Repeating this to create four TXT record examples, we end up with the following for test1 through test4:
These four records become the following in the zone file once pushed (note the automatic addition of quotes around the values, and the escaped quotes in test3 and test 4):
test1.acctest.com. 3600 IN TXT "qweqwe"
test2.acctest.com. 3600 IN TXT "qweqwe qweqwe"
test3.acctest.com. 3600 IN TXT "\"qweqw qwewq\""
test4.acctest.com. 3600 IN TXT "asdsa \" wqeqwe"
If you have additional questions on handling of quote characters in zone records, please contact support.
...
Zone Records
...
Select the desired record type from the dropdown list, then click "Add".
Enter the Host value for the record.
For the Record Value, enter the IP Address, using brackets for the last octet to denote the range of IPs.
Example:
Host: h69-131-159-$1.qncyfi
Value: 69.131.159.{240-255}
and this is expanded to:
When you are done, click "Save Changes" to complete the edit.
Autogenerate Reverse Zone Records
...
Example IPv6 :
...
Autogeneration of Reverse Zone Records is also performed when generating a reverse zone from the IPAM Gadget:
Autogenerate Reverse Zone
Autogenerate a reverse zone from an IP Block by clicking on the CIDR link in the block list.
The reverse zone will be created for the block, and the Zone View page will load, displaying further information and autogenerated records.
Import Zone Records
To import a zone file to populate record data in ProVision, go to the Zone View page for the zone. The zone must already exist in ProVision, although it may be empty
| Info | ||
|---|---|---|
| ||
You may wish to enable "Save Import File" in Admin Settings → DNS Settings prior to importing zone files, so that the file is available for later download. See Working with DNS Zones - Common Tasks or Import DNS Zones. |
Click "Import Zone" on the Zone View page.
A Zone Import dialog box will open. Next to Zone File:, click "Choose File" and select your .zone file to import. Then, select an import policy to follow.
When done, Click "Import Zone".
Edit Zone Records
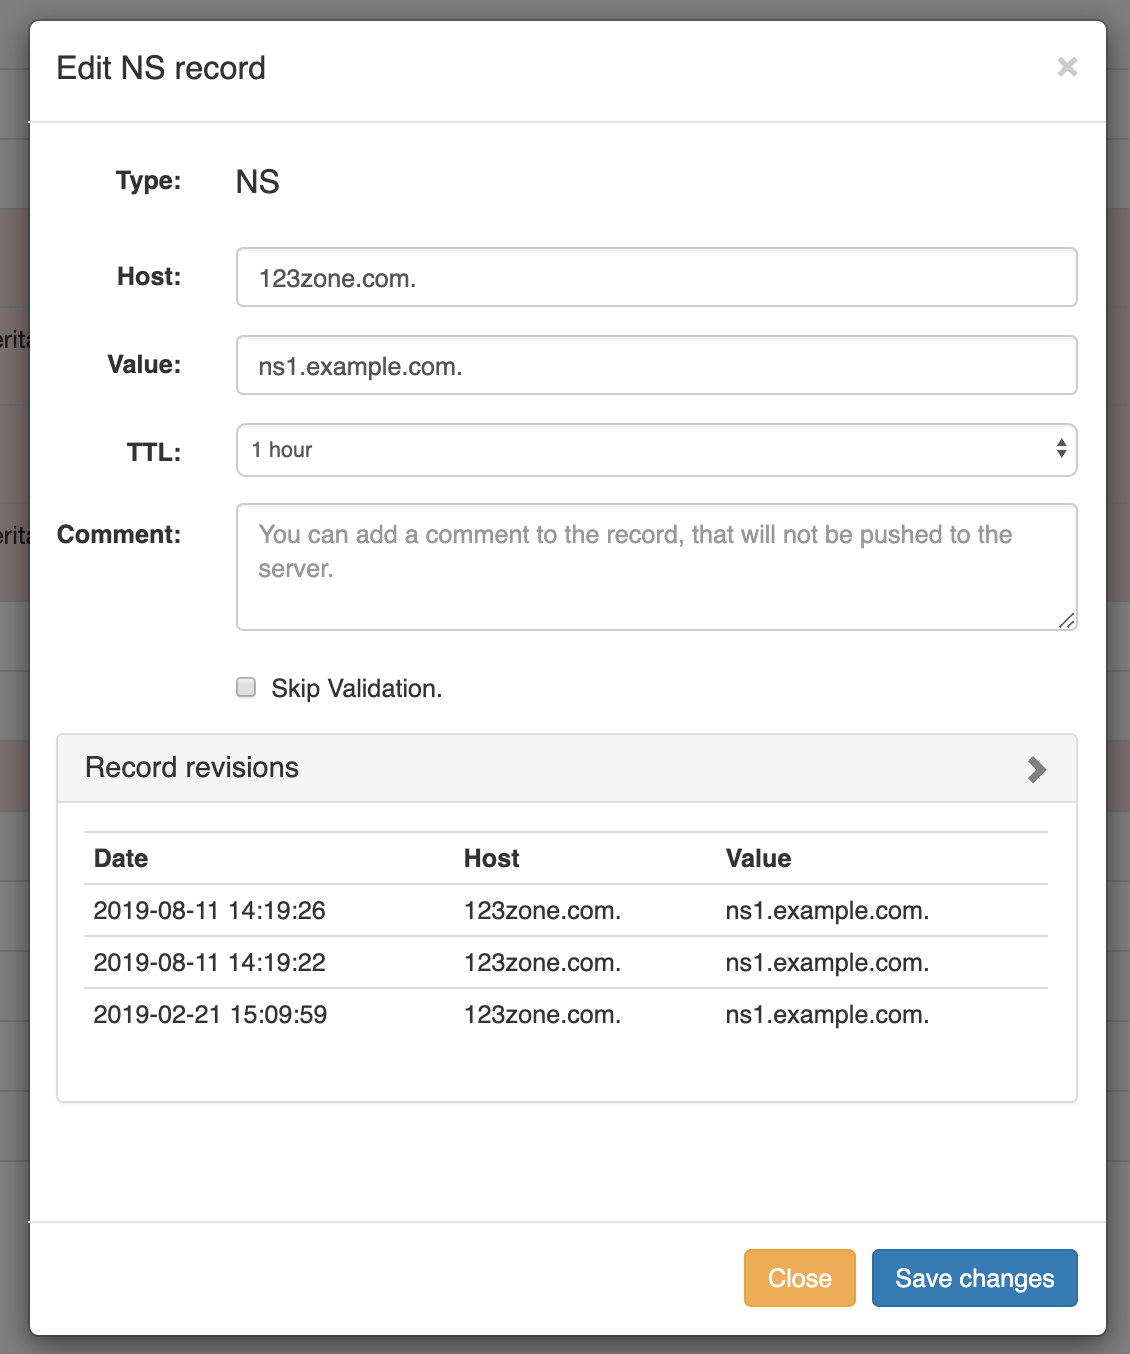
To edit an existing zone record, click on the record line in the DNS Records list.
The Edit Record dialog will open, allowing you to fill in record details.
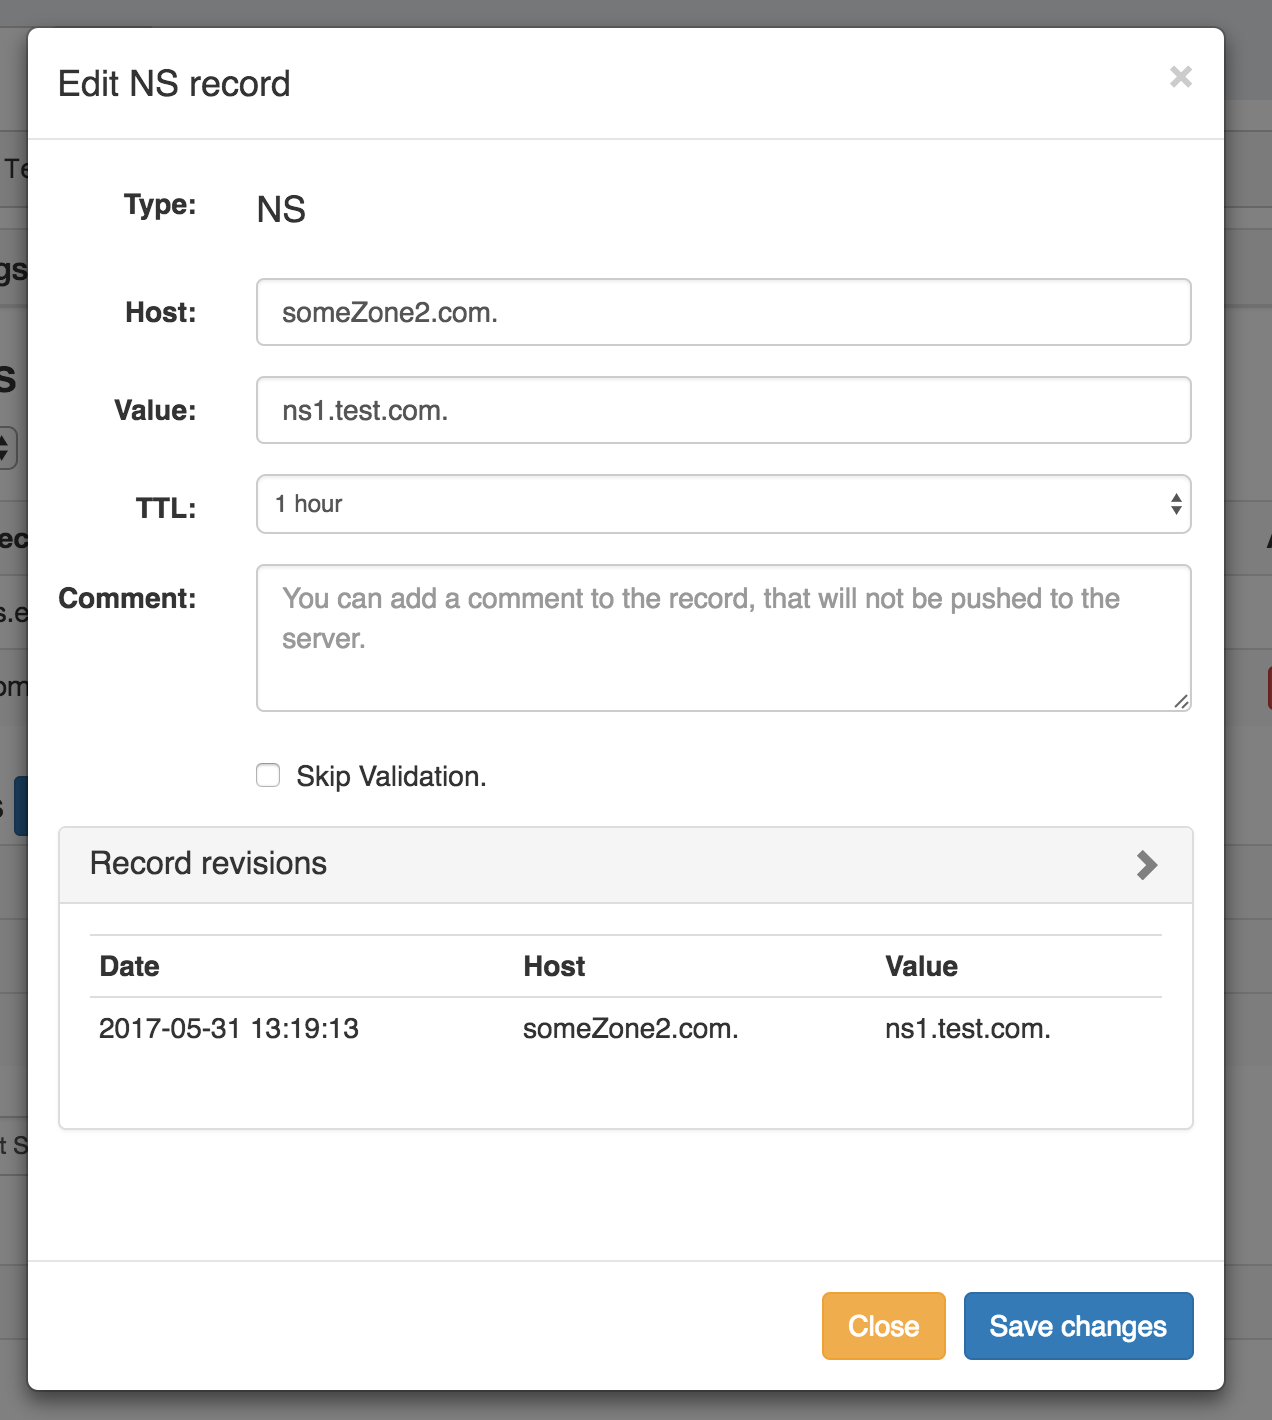
Fill in the Host, Value, TTL, and comment if desired.
...
Delete a zone record by clicking the "Delete" button under "Actions" for the desired record entry.

Check a Record
Check a record for errors by clicking the "Check" button under "Actions" for the desired record entry.

A dialog box will appear, with details on any errors.
...
Under the "Attached Servers" section of the View Zone View page, next to "Attach Server:", select the desired server to attach and choose the server type (Default, Master, Slave), then click the "Attach" button.

To detach a server from a zone, look for the server under the "Attached Servers" list, then click "Detach" under actions for that server.
...
If a zone has had changes successfully pushed, a "Zone Backups" section appears near the bottom of the page, showing the date and time of the backup.

To view details, or restore the zone to the previous version, click on the row of the desired date/time backup, and the "Zone Restore" module will open.
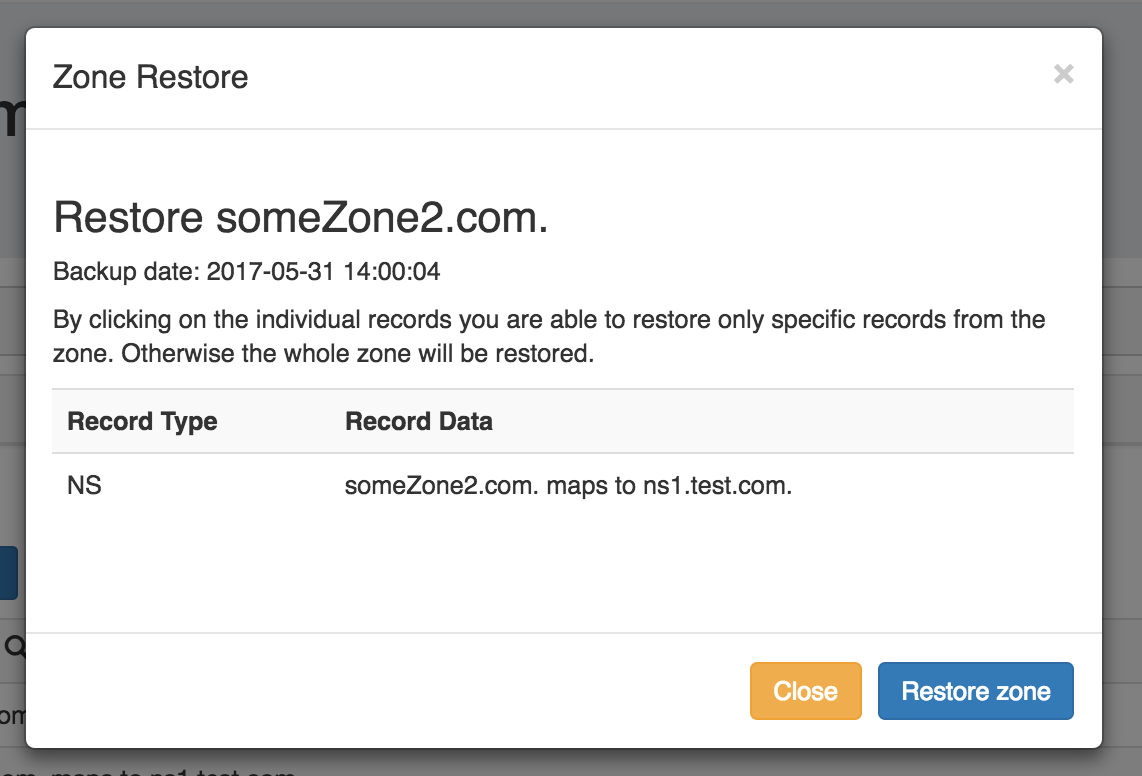
From here, you may restore individual records by clicking on them, or restore the entire zone by clicking the "Restore Zone" button.
To exit without saving, click the "Close" button.
Working with Records - DNS Records sub-tab
The DNS Records sub-tab provides a global list records for expedited searching, filtering, adding, and editing of DNS Records.
From the DNS Tab, click on the "DNS Records" sub-tab button, or select it from the DNS dropdown menu.
All DNS records available in ProVision displays in a single Record List, along with Host, Type, Value, and Last Queried information.

Filter Records
Search for specific records by filtering by Host, Type, Comment, Value, Last Query, Last Modified, Record TTL, or Status.
After entering your filter criteria, click "Filter".

Work with Records
For each record, you may:
- Click the "Check" button to run an DNS Monitor error check on the record
- Review or change record permissions by clicking "Perms" (Admin only)
- Delete the record by clicking "Delete"
- Review or Edit record details by double-clicking on the row for the desired record.
- Review record revision dates or enter your desired edit, then click "Save changes" to complete.
Add a New Record
Next to "Record List", select the desired record type, then click "Add Record".
Enter the record information for the record type. When done, click "Save Changes".
Additional Information
...