...
| Expand | ||
|---|---|---|
| ||
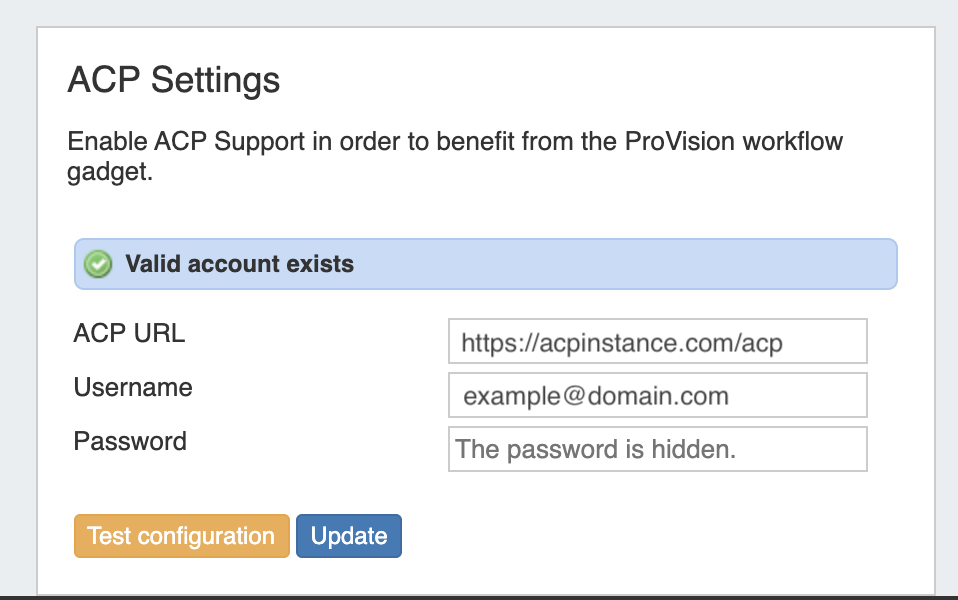
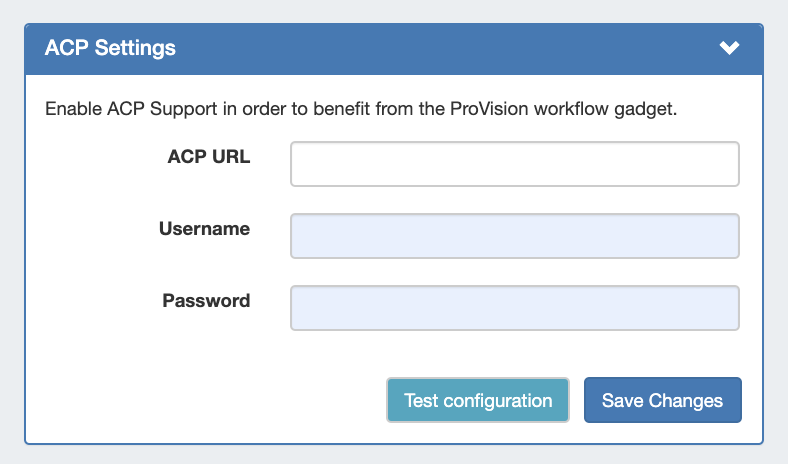
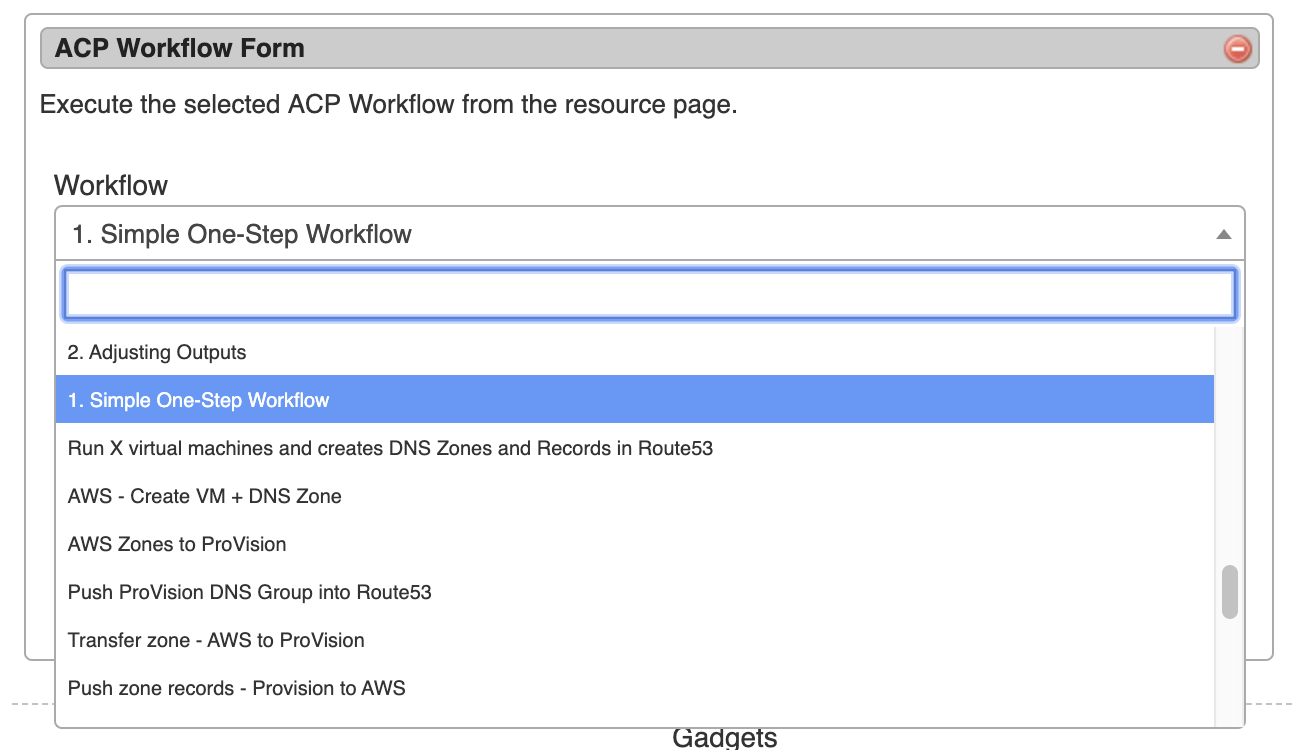
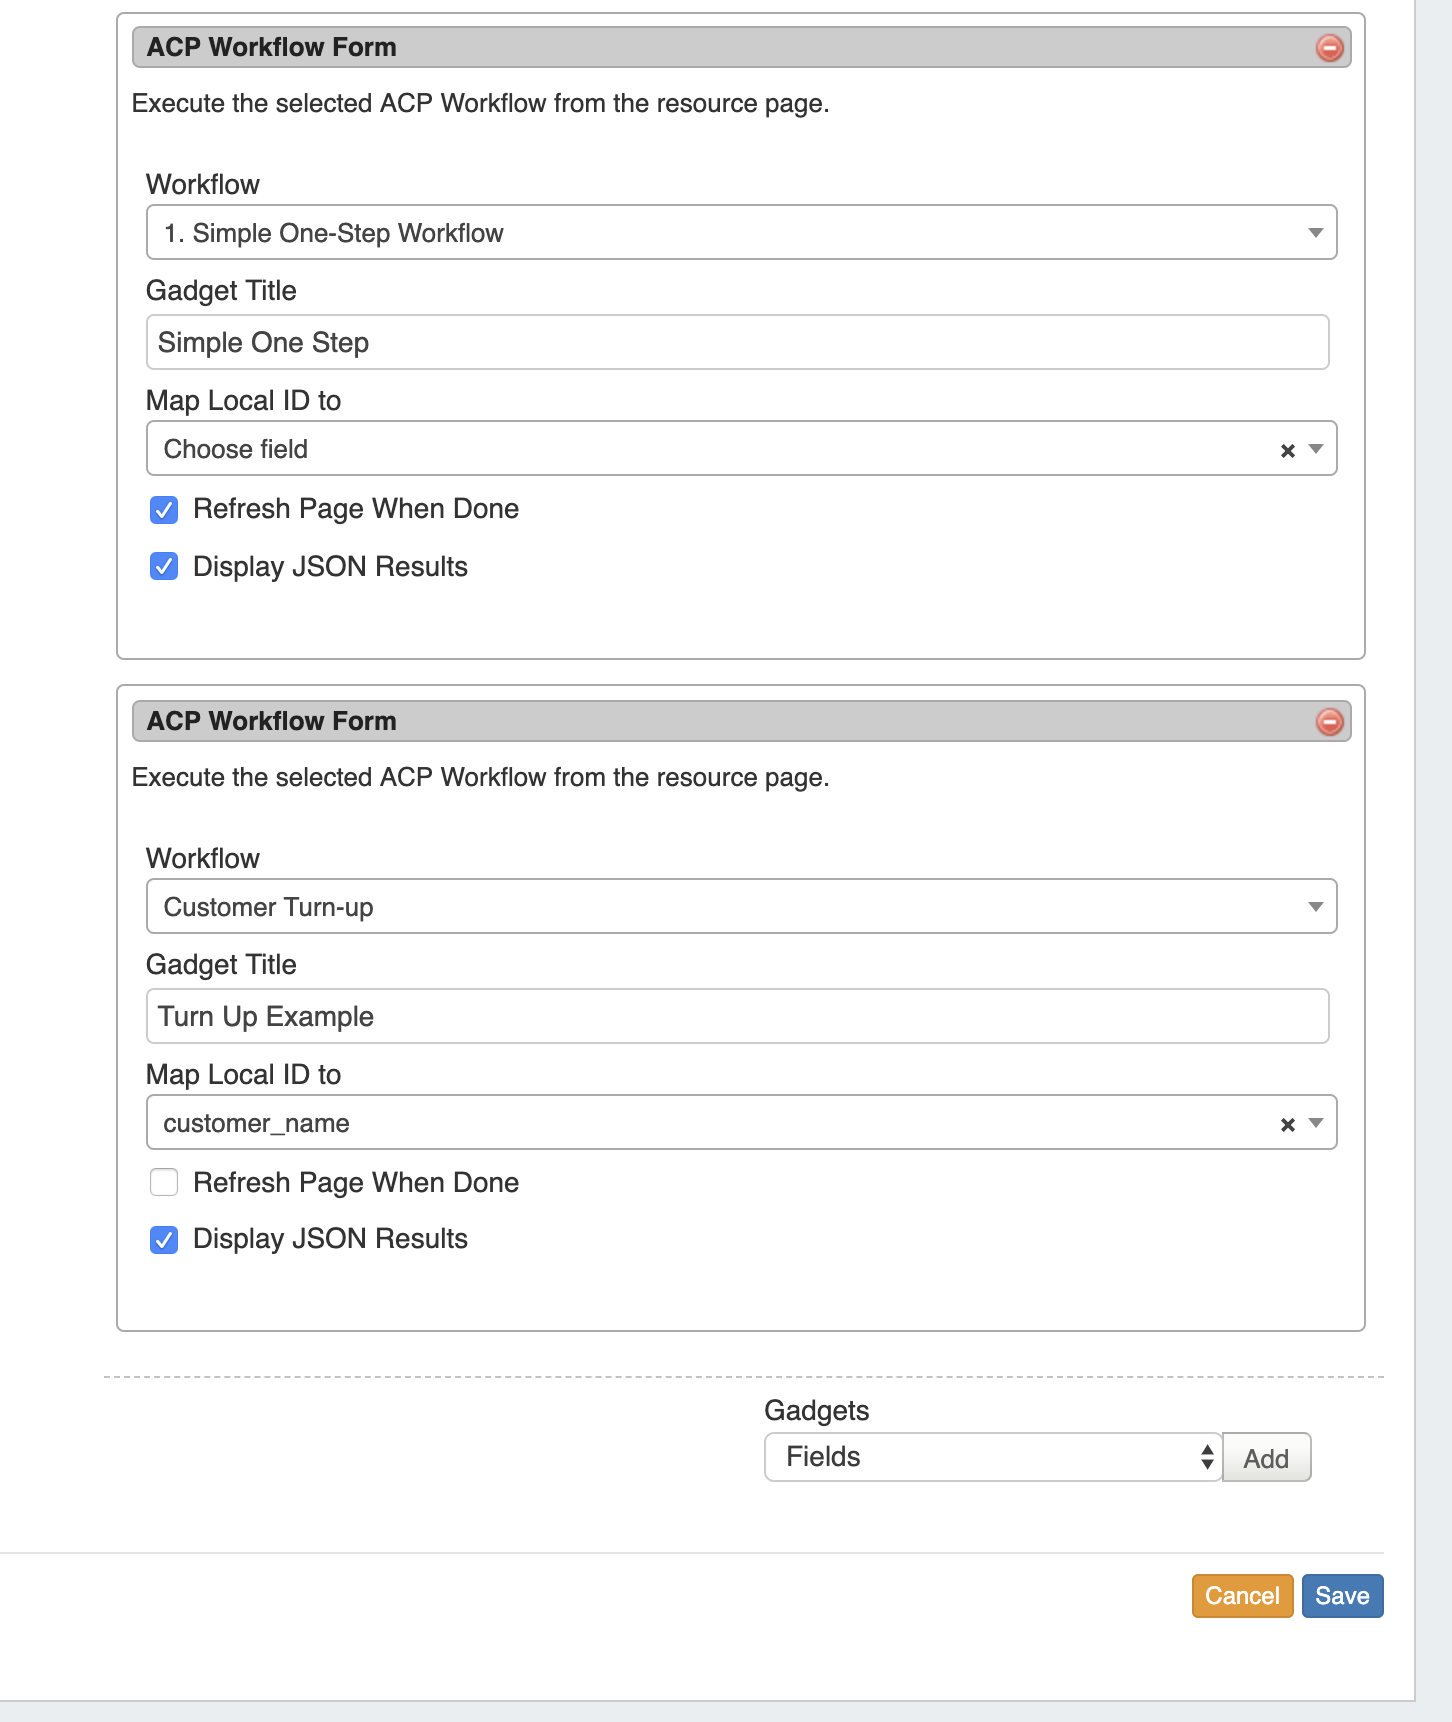
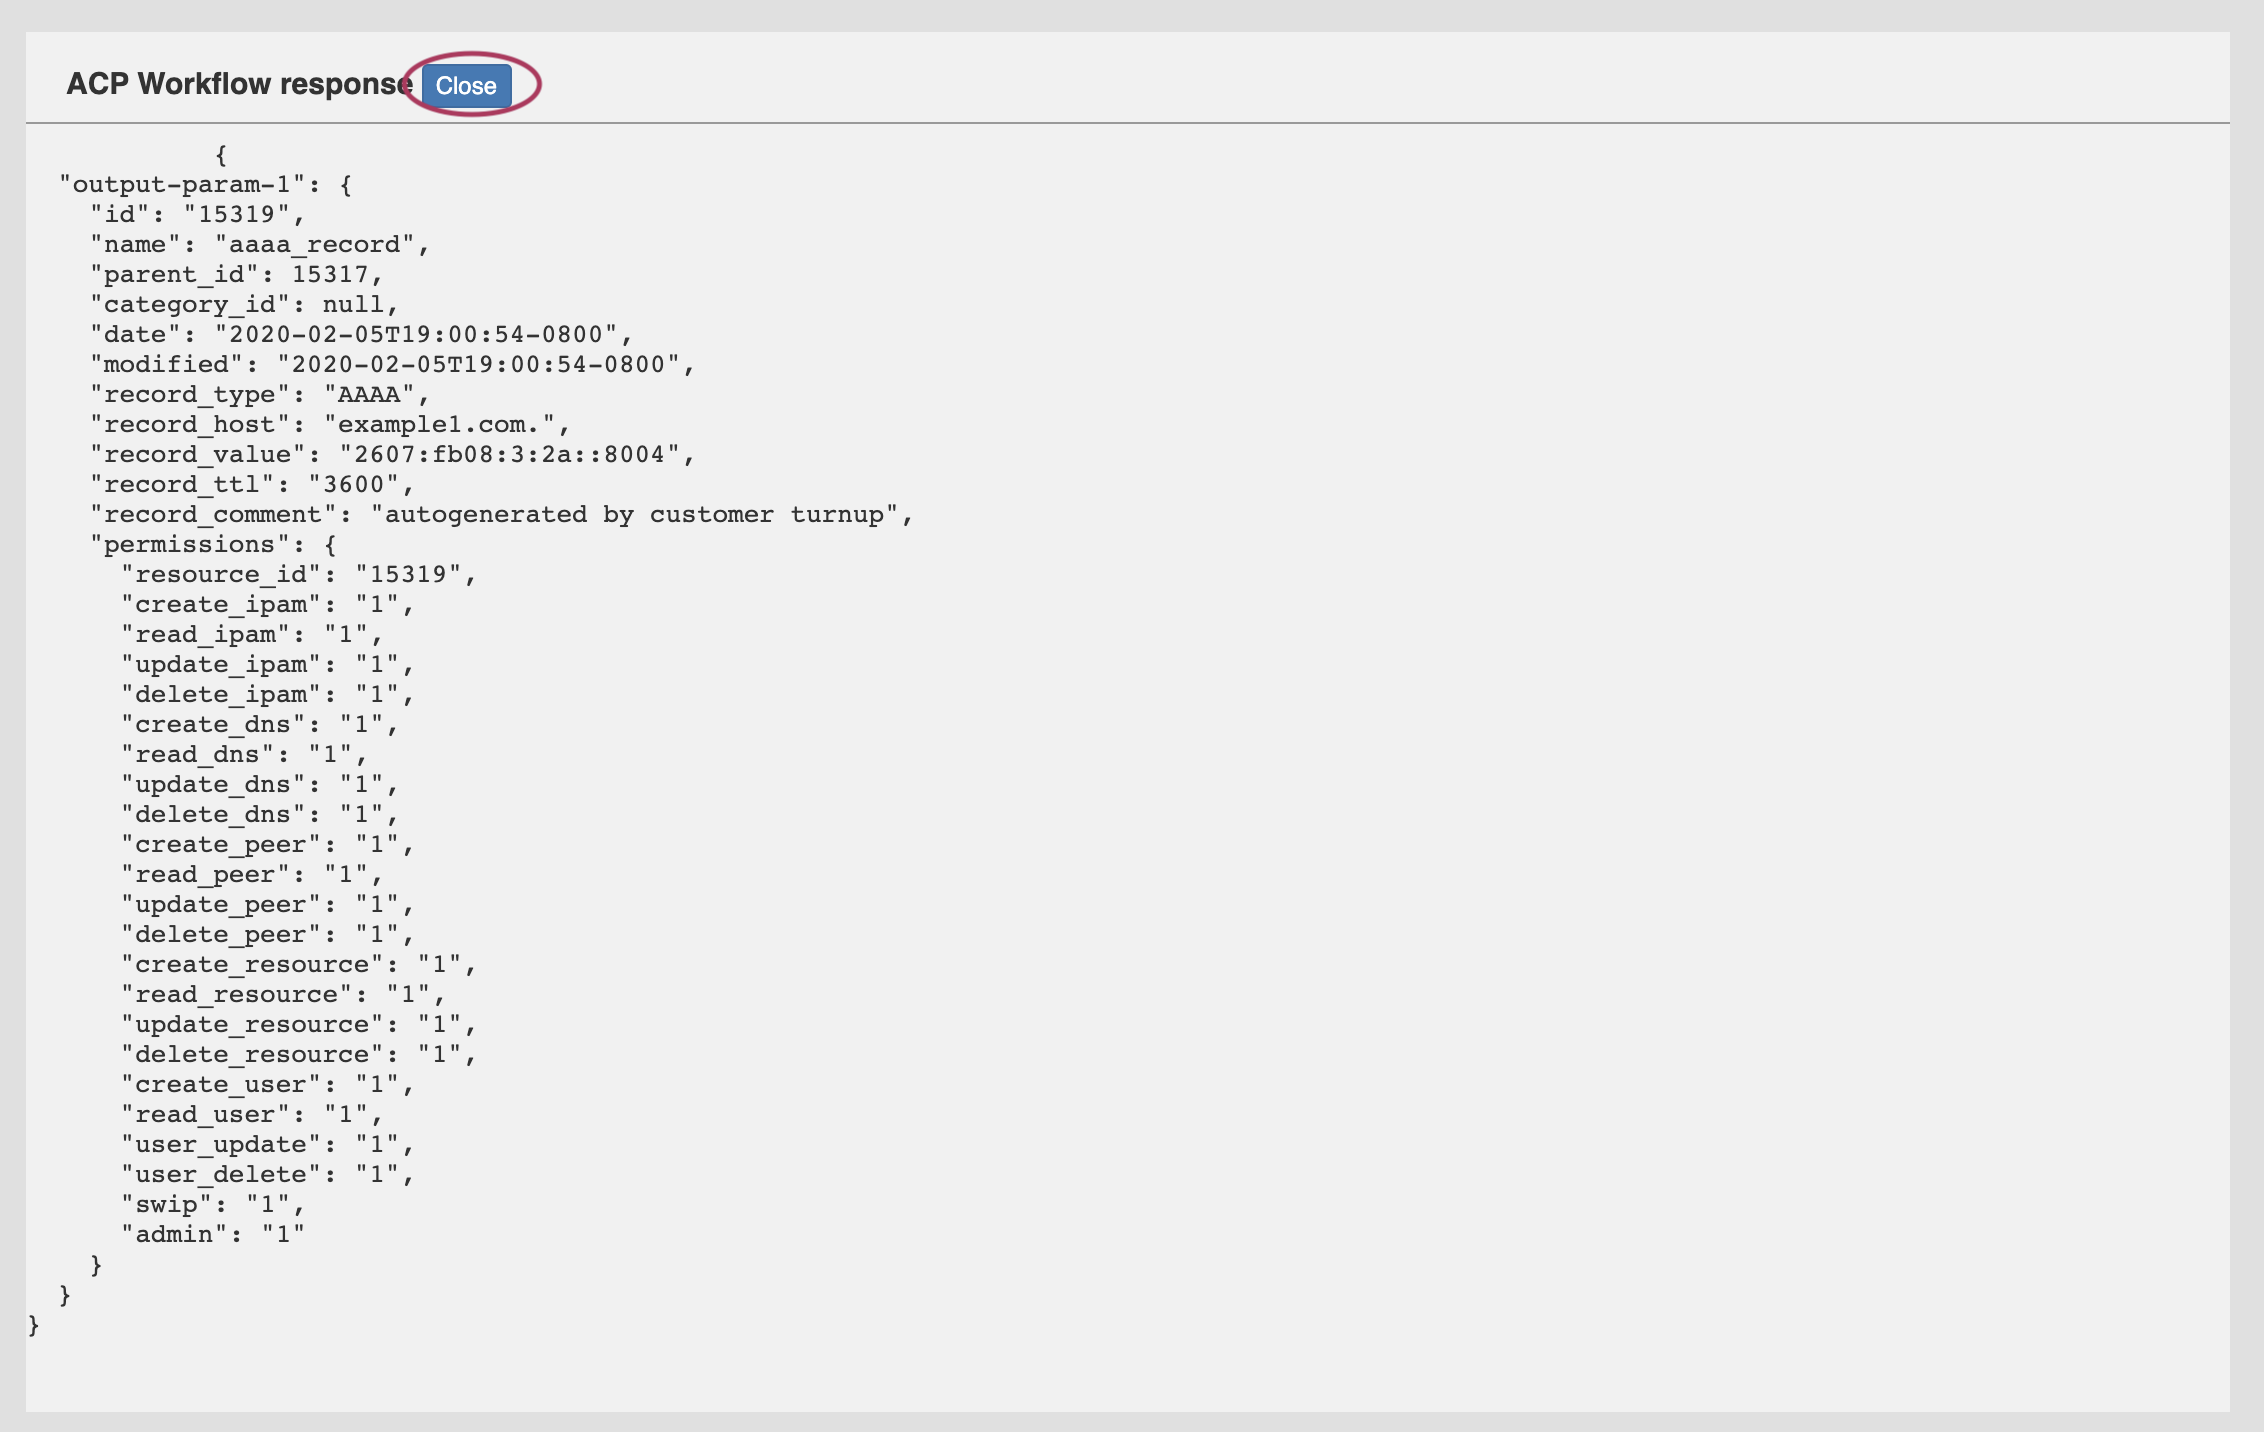
Setting up ACP Access in ProVision Before using the ACP Workflow Gadget, you must set the ACP URL and user credentials in Admin → Admin Preferences. Enter the ACP URL for a licensed ACP instance, then provide the ACP Username and Password for the user that should be used to execute Workflows. To verify the account, click "Test Configuration" - you will be notified whether the account is valid. When done, click "Update". After setup, the ACP Workflows Gadget will load with the available Workflows from your ACP instance, and can be configured to select which Workflow and inputs you wish to use. Configuring the ACP Workflow Form The ACP Workflow form is access from the Edit Section page, under "Manage Gadgets". Once ACP settings have been added to Admin Preferences, the "ACP Workflow Form" Gadget can be added to a Section, and Workflows from the associated ACP instance will be available to select. containing fields to select the desired Workflow to Run, Title, and map input options. Select a Workflow, then edit the title to display on the gadget and map input options. Input options will vary according to the selected Workflow. You may also choose to refresh the page once the workflow execution is complete, and/or show JSON results. Multiple Forms may be added to a Section, in order to run additional Workflows or option settings. When complete, click "Save". Working with the ACP Workflow Form Once enabled, the Gadget will show on the resource page for any resource of the section type. Input the field data necessary for the Workflow - here, it's adding a hostname - then click "Execute Workflow" to process the chain of workflow calls. If "Display JSON Results" has been enabled, a display modal will appear showing the JSON response of the executed workflow. When done reviewing the response, click "Close". If the page has not refreshed, you will see a message informing you whether the Workflow has successfully executed. In this example, a "Customer Turn-Up" Workflow was selected (created in ProVision's ACP product) that performed six functions with one button click. The successful "Execute" for "Customer Turn-Up" created a new customer resource entry, assigned IPv4 and IPv6 blocks to them, created a DNS zone for the hostname, and lastly created 'A' and 'AAAA' records for the zone. |
...
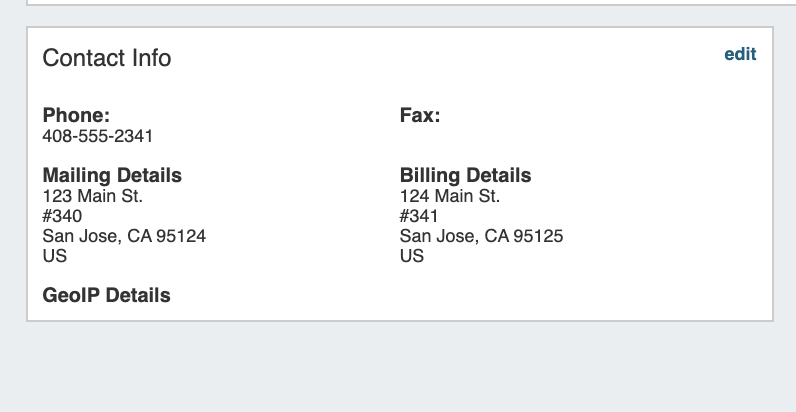
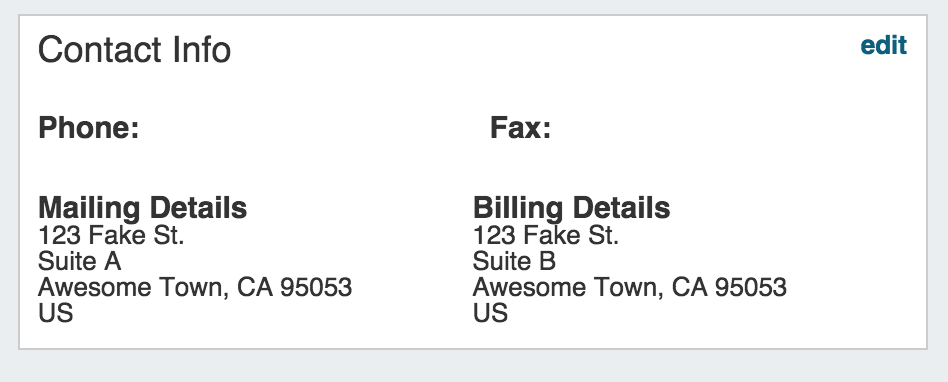
This Gadget is used on the Resource Holder Section type. In the Contact Info Gadget, you can track information such as mailing / billing addresses, phone number, and fax number for that Resource. . You may also add a separate GEO IP address, if desired.
Contacts
The Contacts Gadget may be used on any Section type to assign a contact (from the Contact Manager) to a Resource.
To assign a contact, search for and select the desired contact in the search box, then click "Assign". The Contact will show in the list below.
| Expand | |||||
|---|---|---|---|---|---|
| |||||
Contacts Action Menu: The Action Menu (wrench icon) in the contacts gadget has three options: Set Role: Opens a dialog box to select a role to assign to the contact, add a new role, or delete an existing role. Unassign: Unassigns the contact from the resource View: Redirects to the contact's detail page in the Contact Manager Refer to the Contact Manager page in the documentation for more detail on working with the Contacts gadget and the Contact Manager.
|
...
