...
Configuring DNSSEC
| Table of Contents |
|---|
DRAFT - working on this and will be adding some images/visuals...
...
| title | Enabling DNSSEC for a zone via ProVision GUI |
|---|
Enable DNSSEC for a Server (ProVision GUI)
DNSSEC may be enabled on a per-server basis in the ProVision DNS Server Settings.
Navigate to the DNS Tab, and select the DNS Servers section.
Find the desired server in the DNS Server List, and then click on the server name to open the settings for that server.

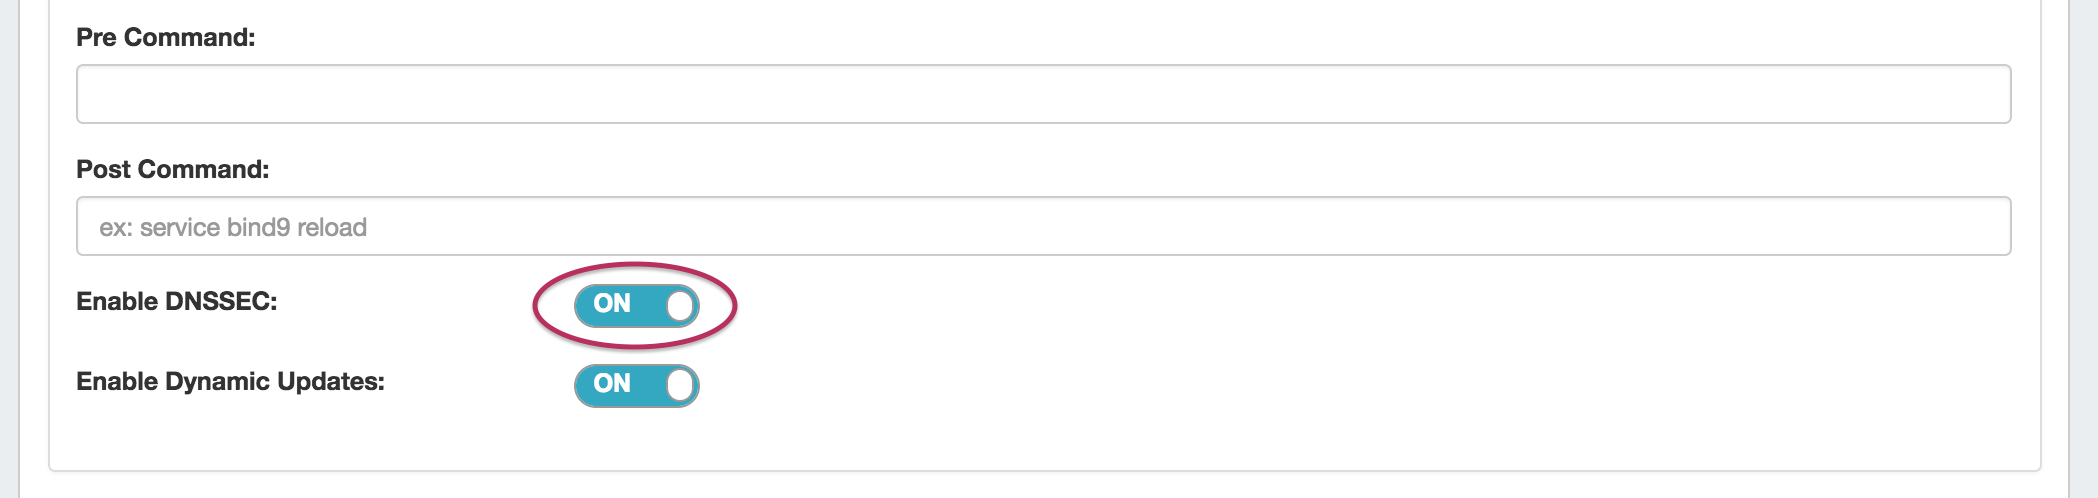
In the server settings page, scroll to the bottom of the second section, containing server-specfic settings.
Near the bottom of the section is a toggle to "Enable DNSSEC" for the server; click the toggle to the "ON" position.
Enable DNSSEC for a Zone (ProVision GUI)
DNSSEC may be enabled on a per-zone basis in the ProVision Zone Advanced Settings.
Before you enable DNSSEC for a zone, make sure that do the following:
...
- Make sure DNSSEC is enabled on the DNS server(s) you will be pushing zones to (see
...
- "Enable DNSSEC for a Server", above)
...
- run configTest.php
...
- to make sure that your directories/permissions are correct
- Set external server for Authenticated Data verification
...
- Create/Edit a zone
...
- - see Working with DNS Zones - Common Tasks for additional information.
- Ensure that the zone is associated with
...
- a DNS server(s)
...
Enabling DNSSEC (for a single zone)
Navigate to the DNS Tab, and select the DNS Groups section.
Find the desired Group and Zone in the Groups List, and then click on the zone name to open the details for that zone.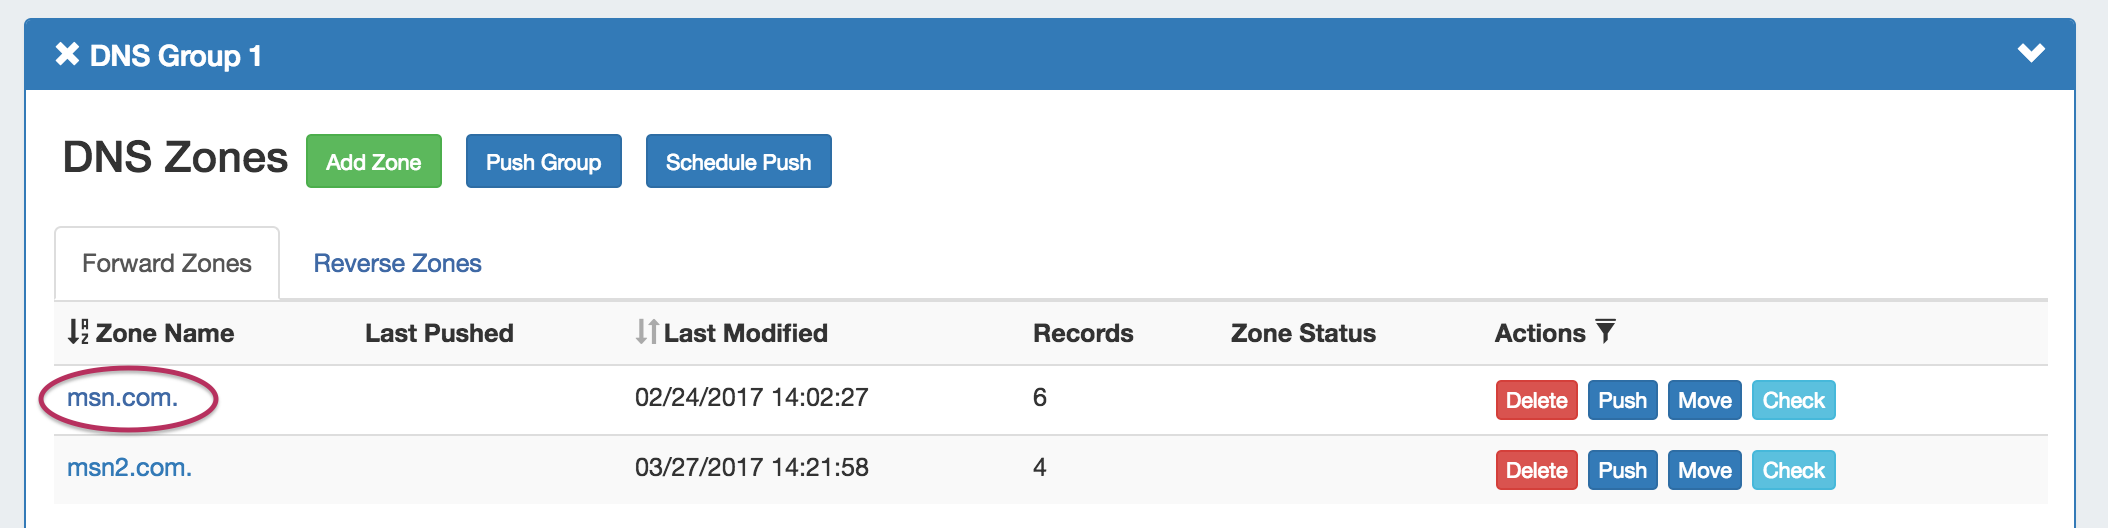
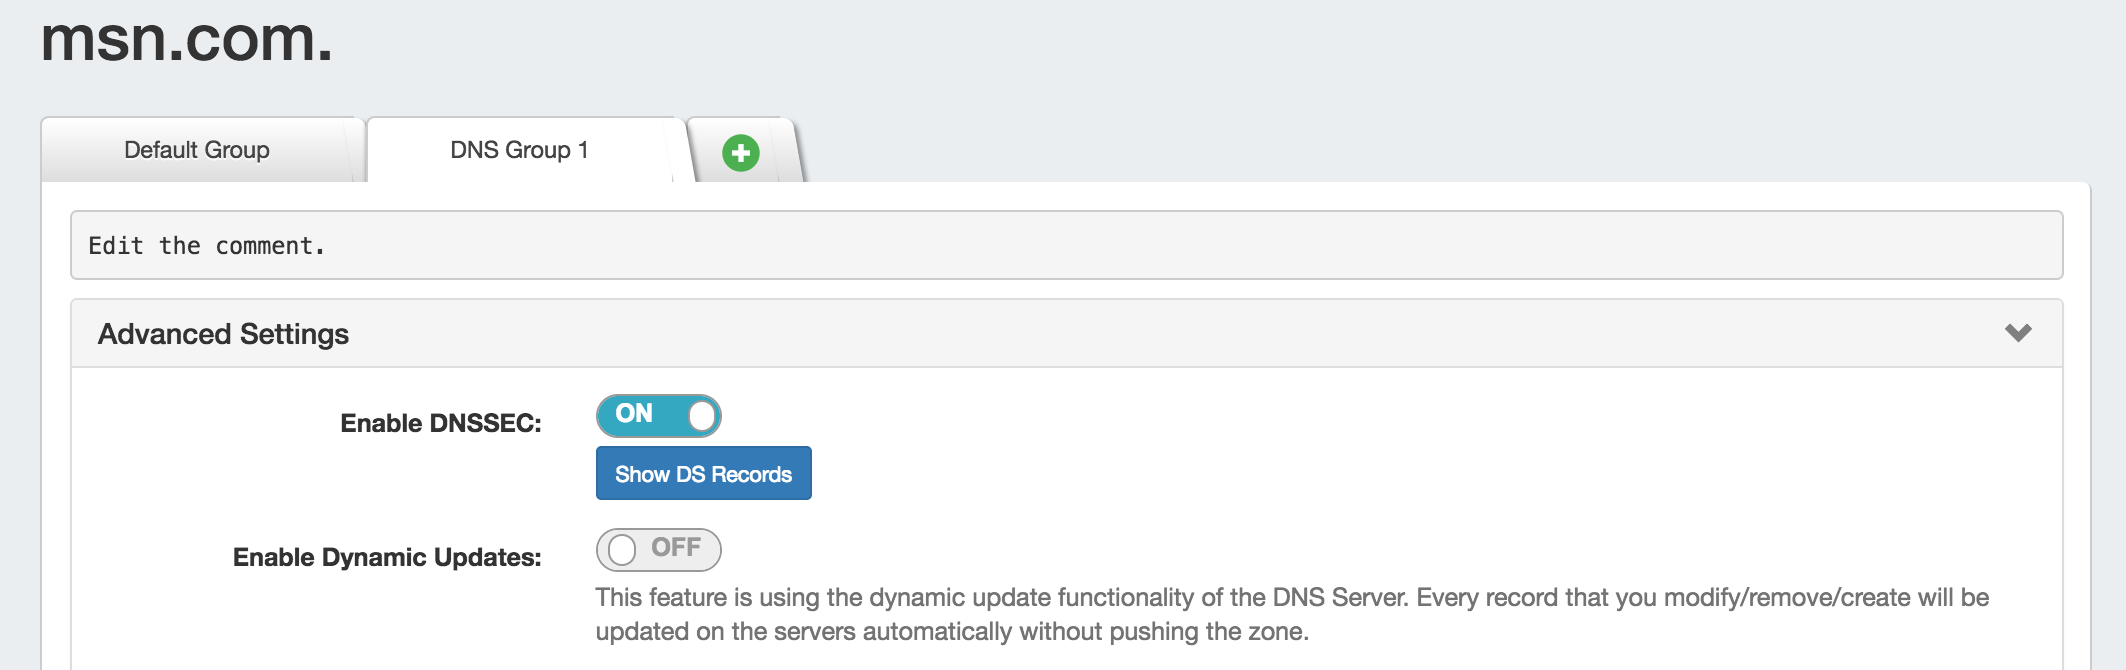
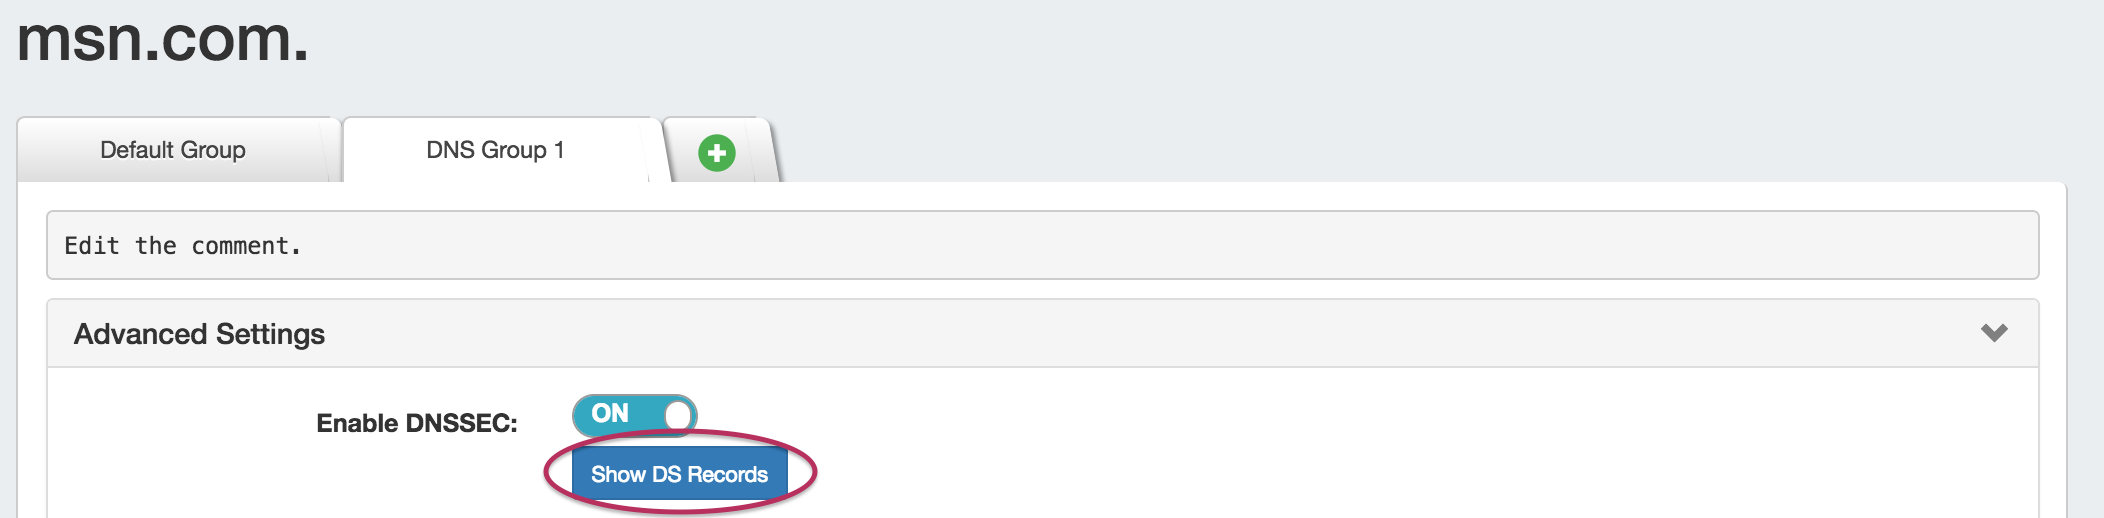
The view zone details page will open. Expand the zone details section "Advanced Settings" by clicking on the expansion arrow.

At the top of the "Advanced Settings" section will be a toggle to "Enable DNSSEC". Click the toggle to enable to the ON position.

Once enabled, the toggle will show as "ON", and a "Show DS Records" button will appear. At this point, no records exists, so clicking "Show DS Records" will result in a message telling you so.
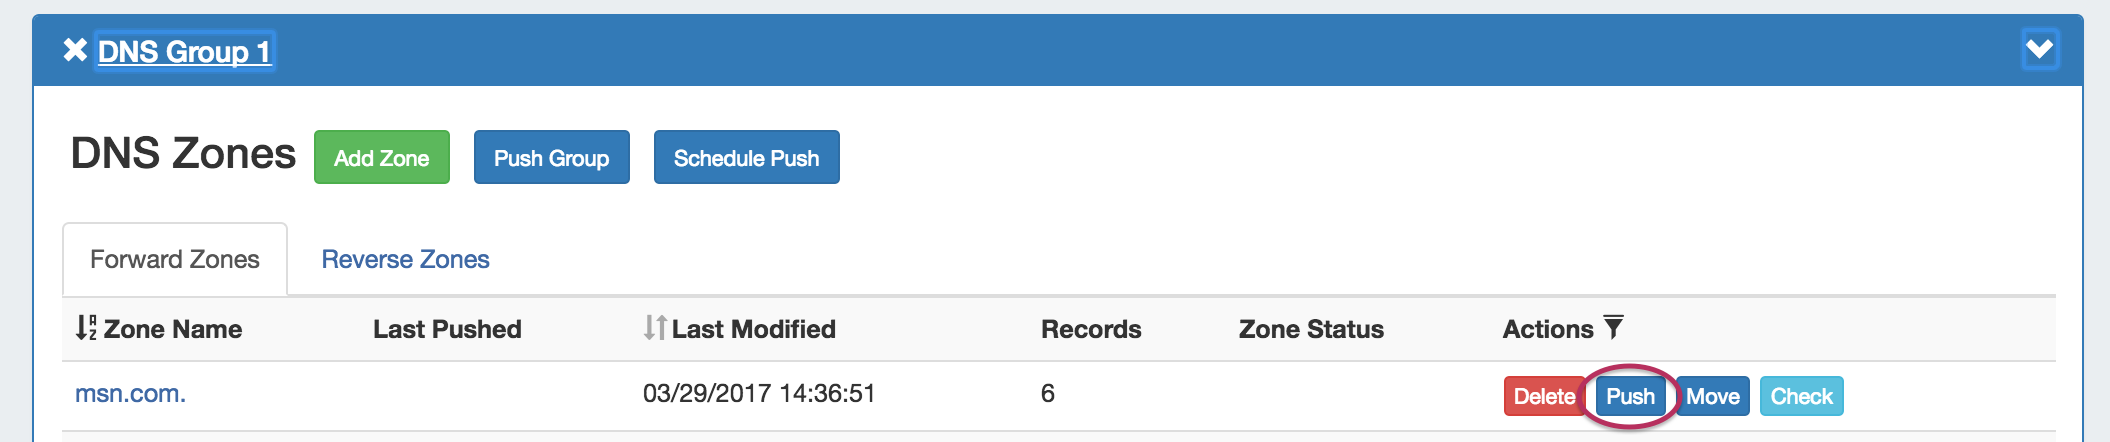
In order for DS Records to be created, the zone must be successfully pushed. Push the zone, Group, or Server containing the zone successfully and DS records will be created (see Working with DNS Zones - Common Tasks and Working with DNS Groups for details on how to schedule and push zones).
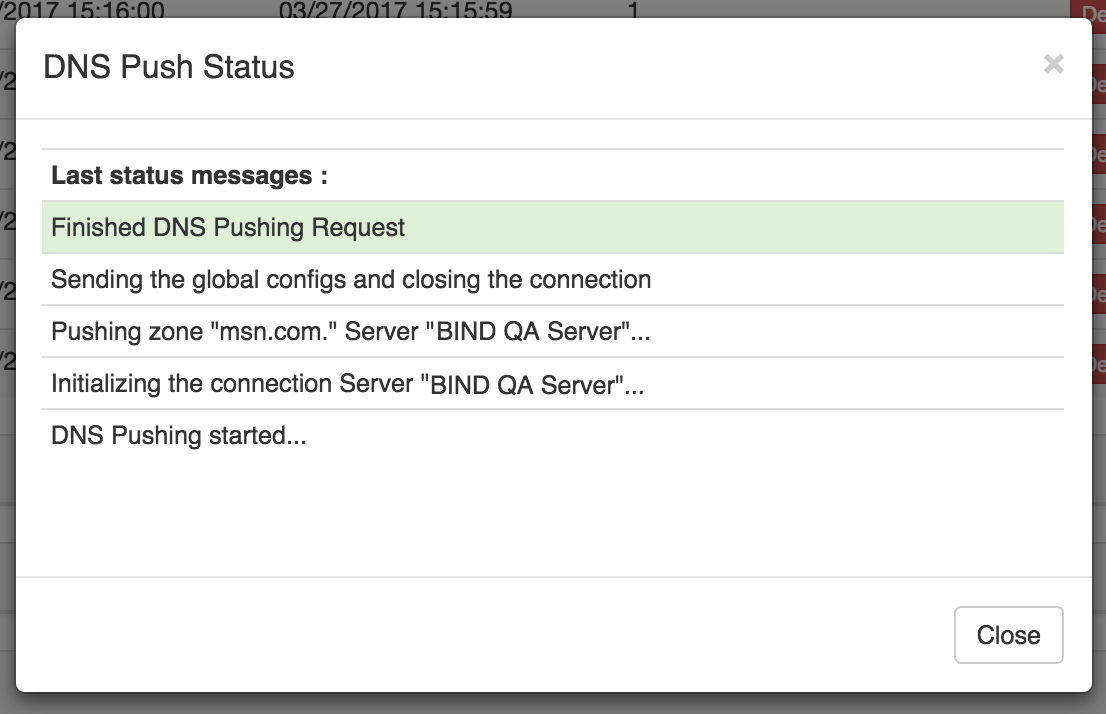
To quickly push just a single zone, go back to the DNS Groups section, and click on the "Push" button for the zone.
If successfully pushed, a green "Finished DNS Pushing Request" message will appear.
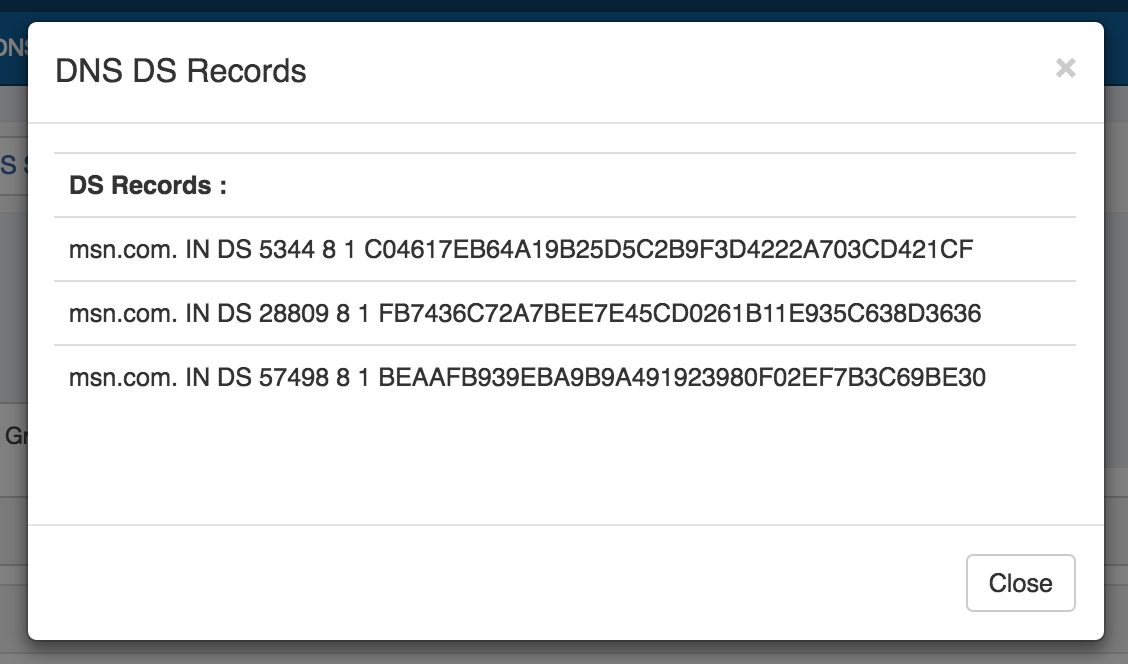
At this point, you will now have DS records available in the view zone details - Advanced Settings section. Open Advanced Settings for the zone and click on the "Show DS Records" button.
The DS records will be shown in a pop-up. Note these values for Registrar confirmation.
Update Registrar and Confirm
Once DS records have been created in ProVision, you will need to update and confirm the Zone Registrar:
...
- Upload these values to your Zone Registrar
...
- , obtained from the "Show DS Records" button
- DS Record #, Key Tag, Algorithm, Digest Type, Digest
- Confirm values are saved at the Zone Registrar
...
- Means that DNSSEC has been enabled for the zone
...
...
For BIND server(s)
To enable DNSSEC on BIND9 you need to modify named.conf.options with following parameters in the options { } section:
...
Please note that you will need to restart the BIND service after these changes.
For DynECT
Coming soon
For Secure64 and PowerDNS
...