...
| HTML |
|---|
<div id="google_translate_element"></div>
<script type="text/javascript">
function googleTranslateElementInit() {
  new google.translate.TranslateElement({pageLanguage: 'en'}, 'google_translate_element');
}
</script>
<script type="text/javascript" src="//translate.google.com/translate_a/element.js?cb=googleTranslateElementInit"></script> |
Overview
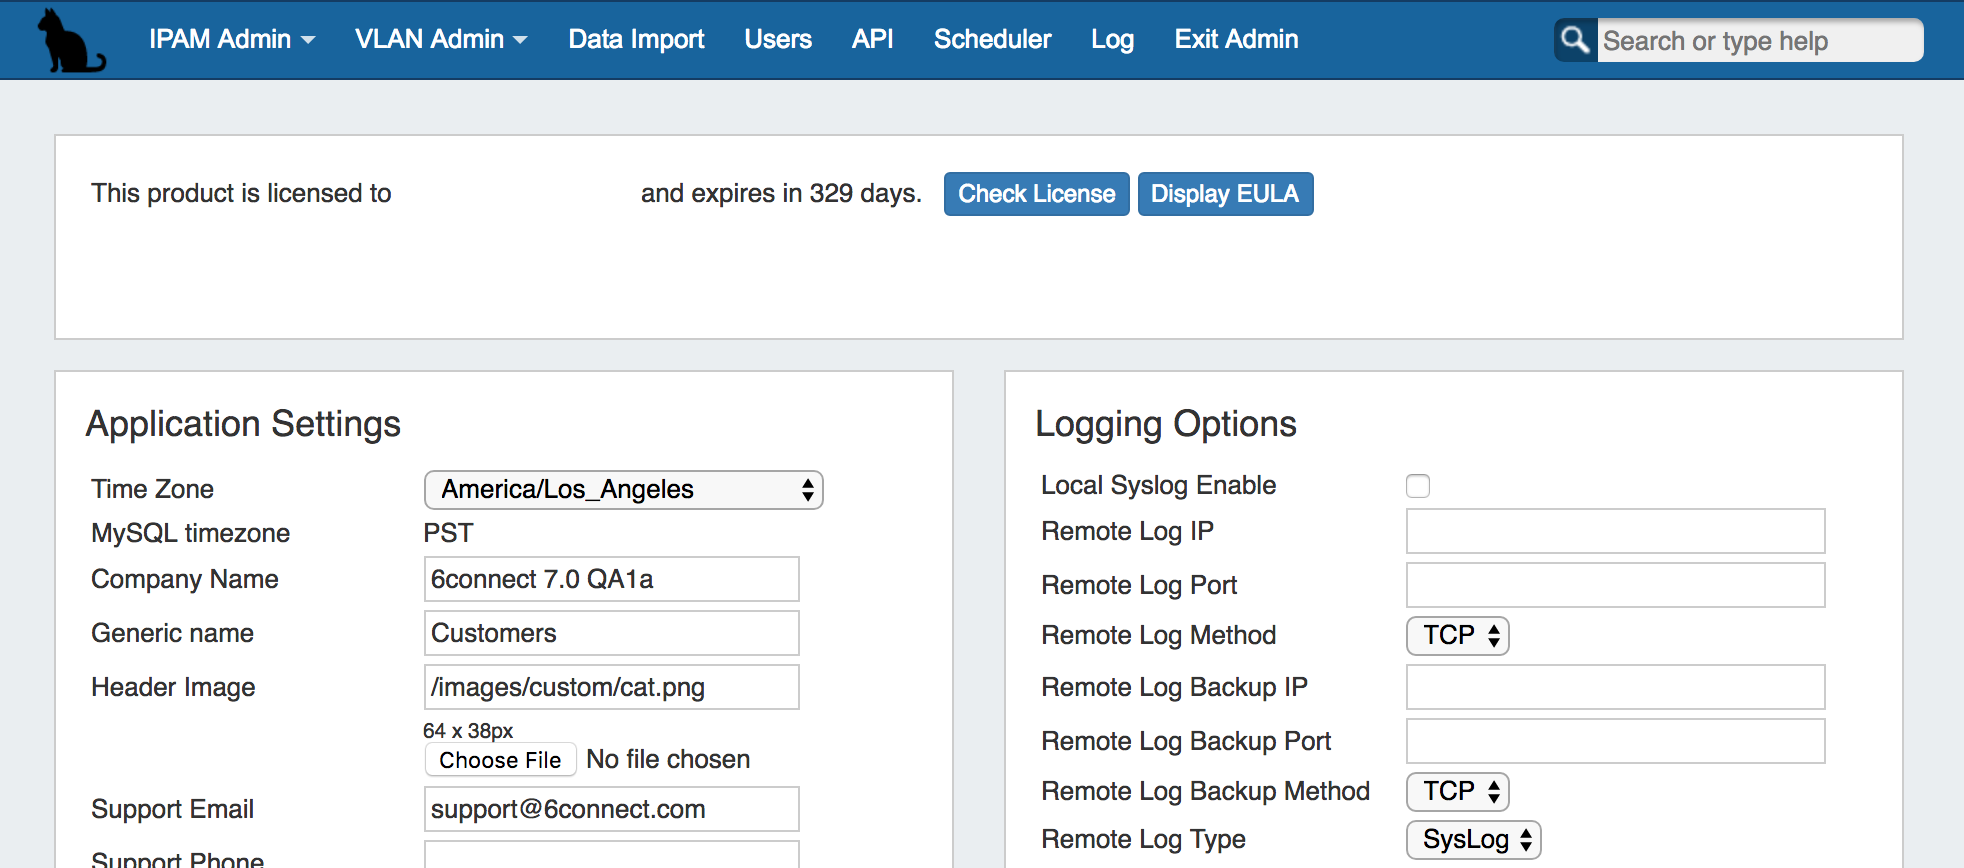
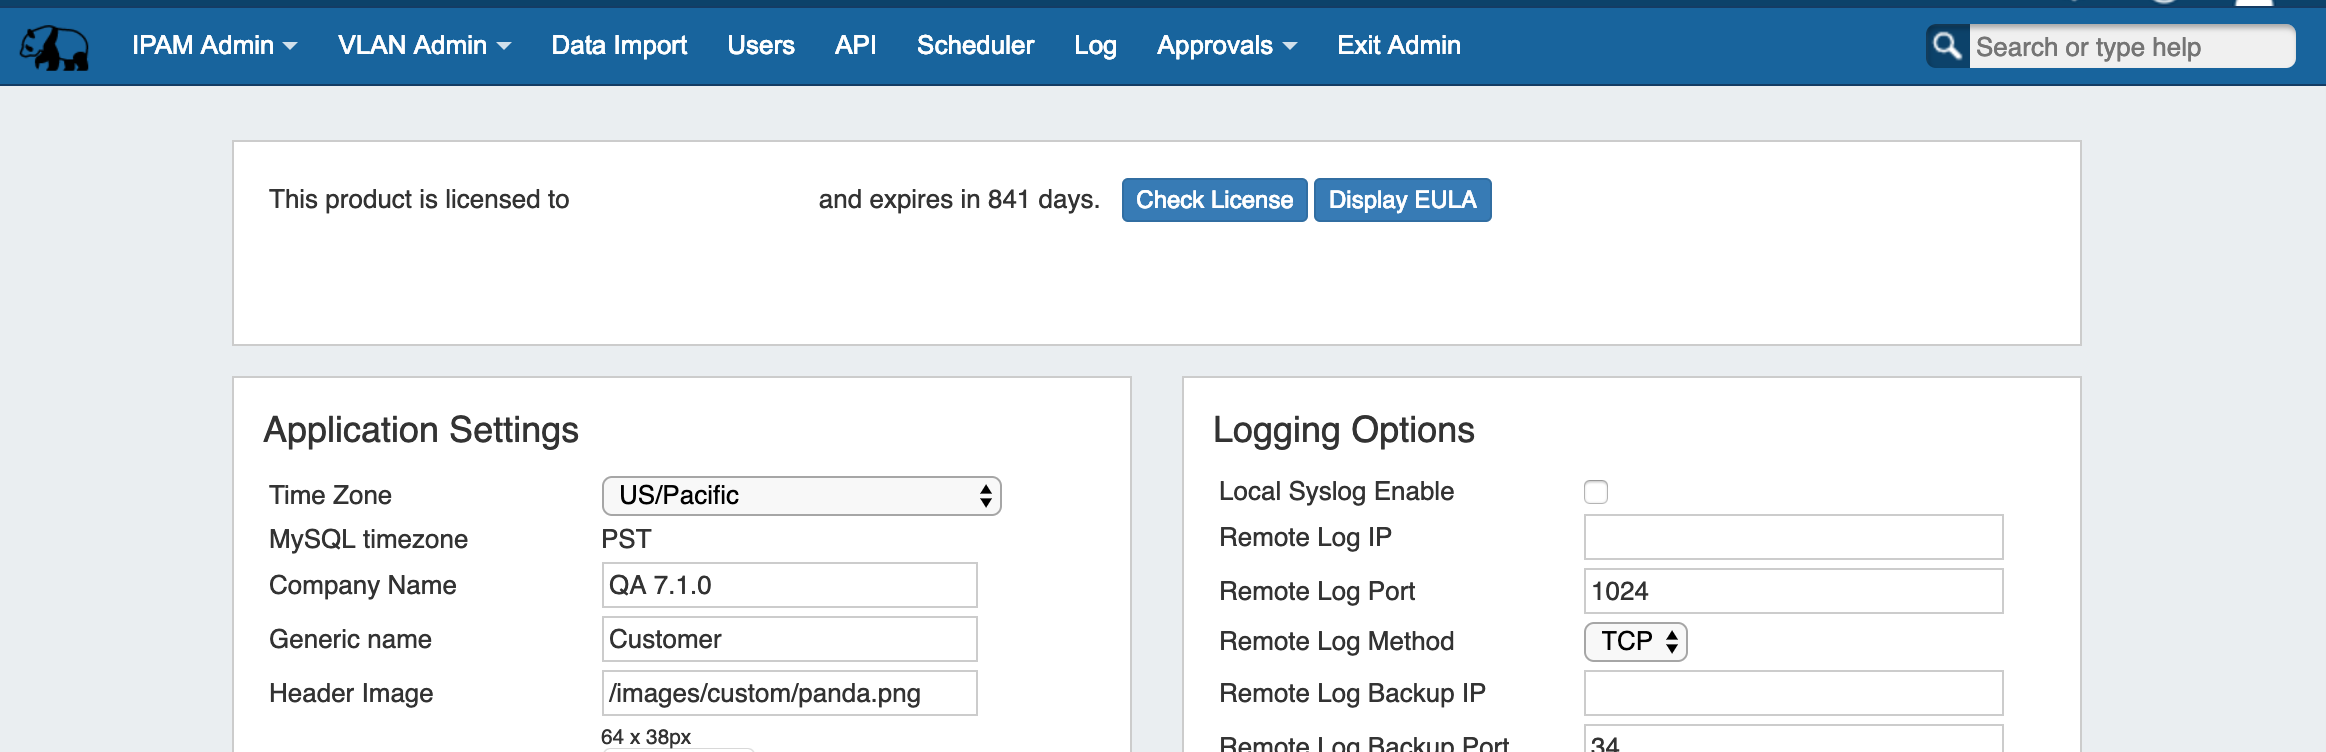
The Admin Preferences page is the home page of the Admin section of ProVision where general platform preferences may be set.
...
Application Settings is where you provide company specific info that appears in the header and Dashboard.

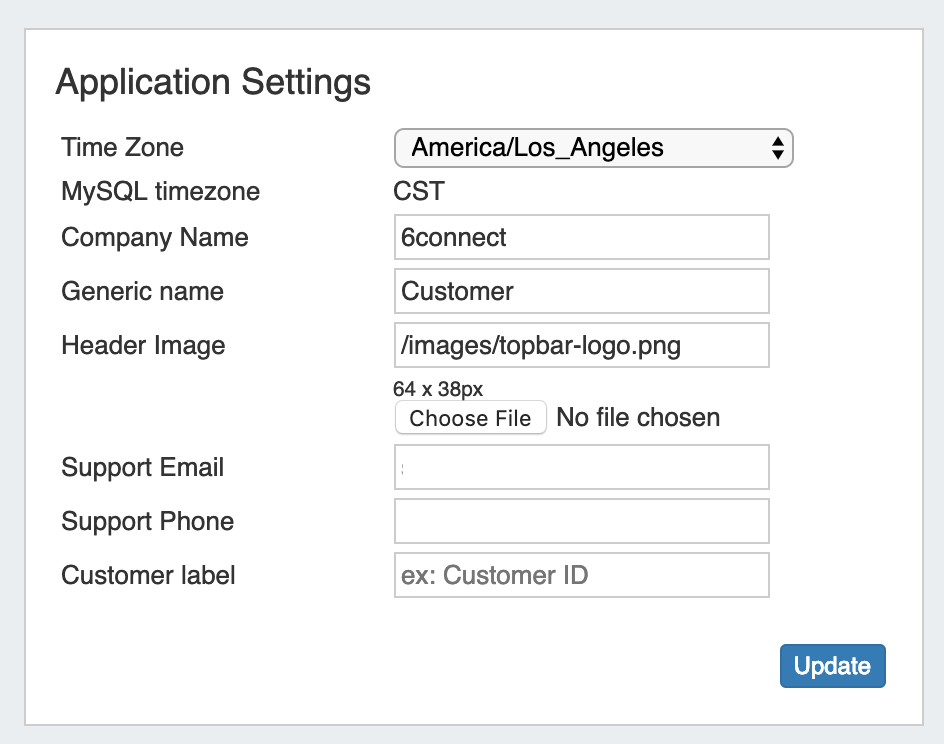
Time Zone: Supported Time zones are listed here: {EXT} http://www.php.net/manual/en/timezones.php. Default value is ('America/Los_Angeles') and can be modified at any time via the drop down menu
...
Support Phone: Support phone number that displays on the Dashboard
Customer Label: The display name for the customizable label field available when creating or editing a resource.
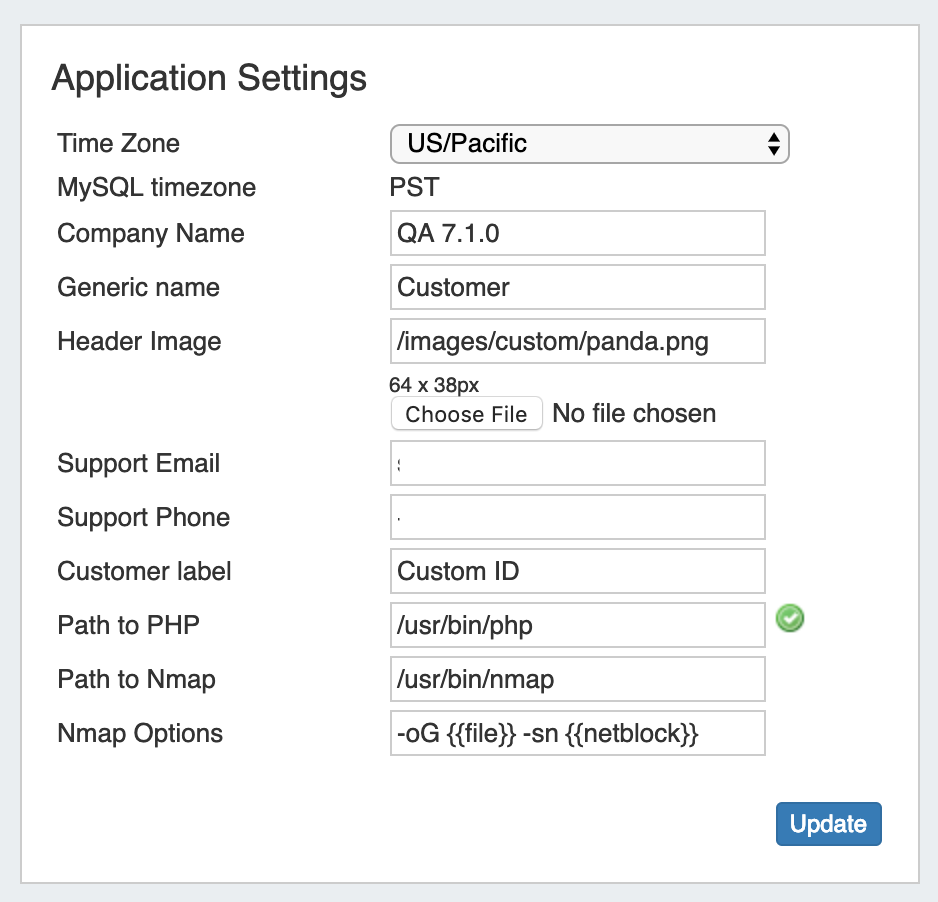
Application Settings - Local Installation
...
| Expand | ||
|---|---|---|
| ||
Path to PHP (Local Installation): The directory path to php location Path to Nmap (Local Installation): The directory path to nmap location Nmap Options (Local Installation): The directory path to nmap location |

DNS Settings
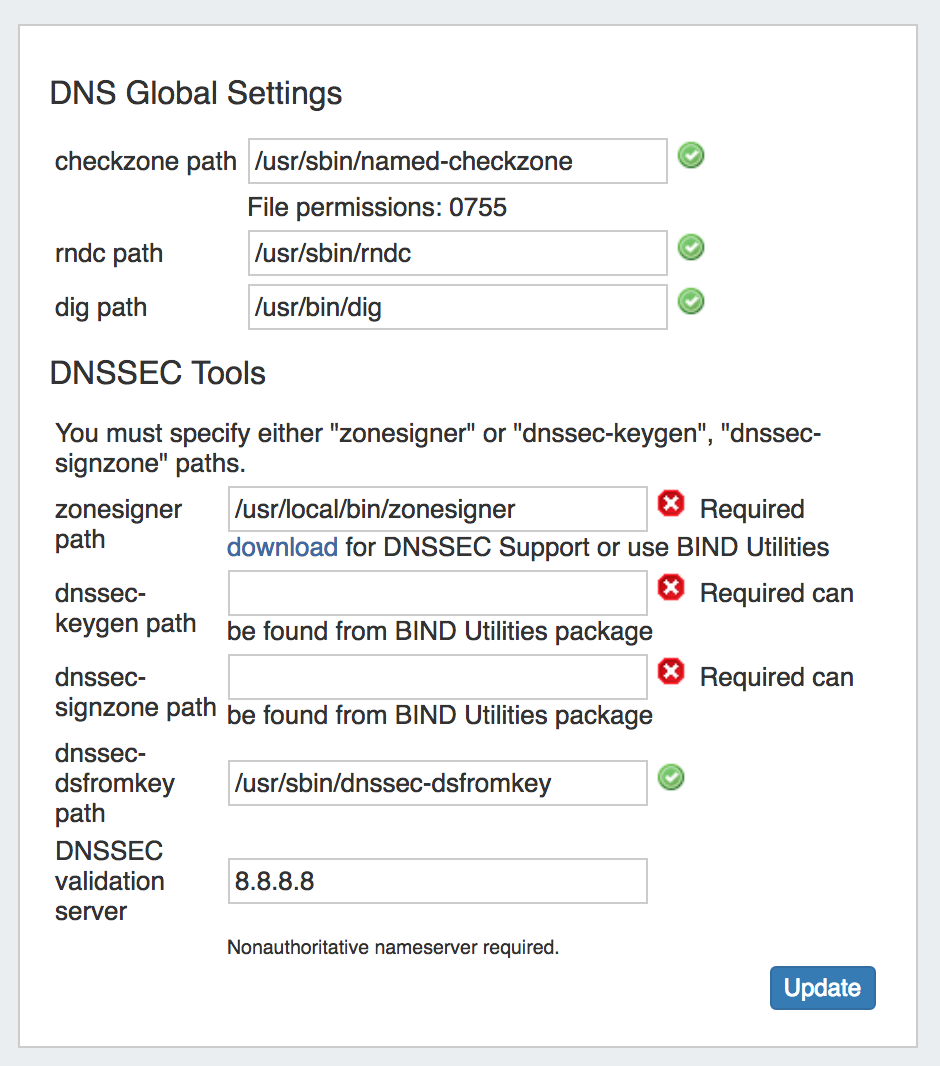
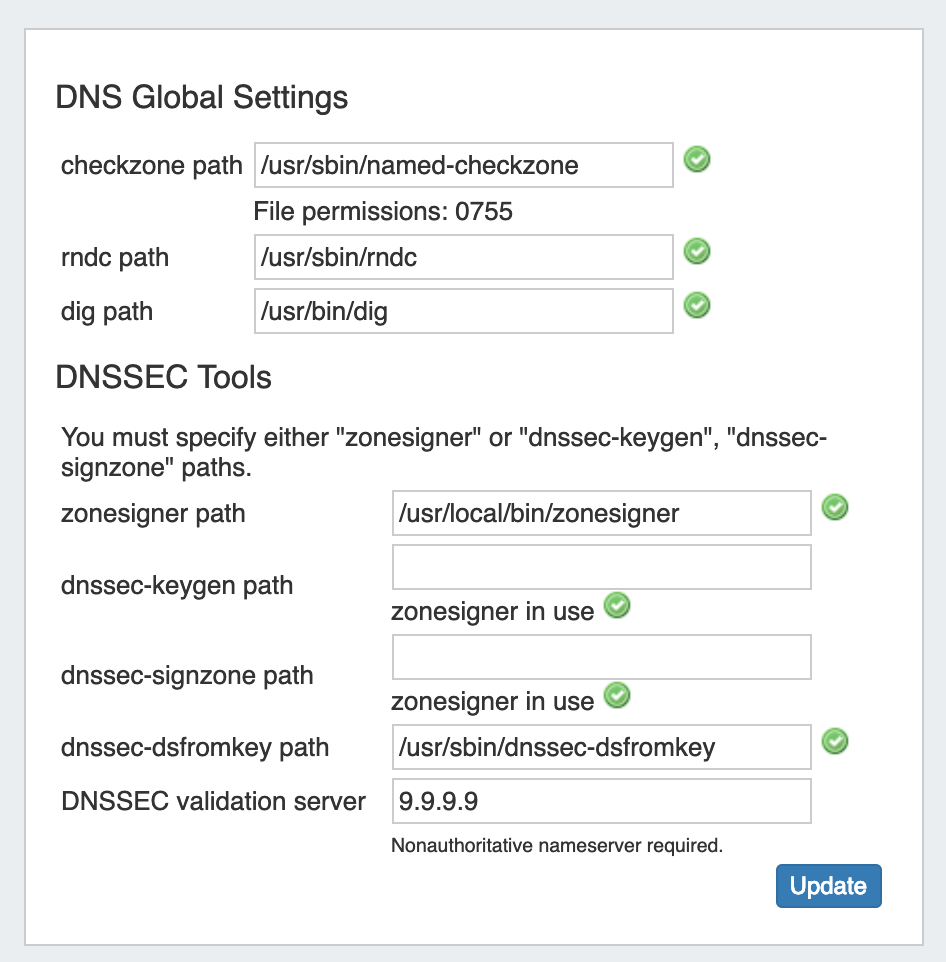
DNS Global Settings
...
Enter a valid PeeringDB account Username and Password. When done, click the "Test" button to verify the account, and save.
Backup Settings

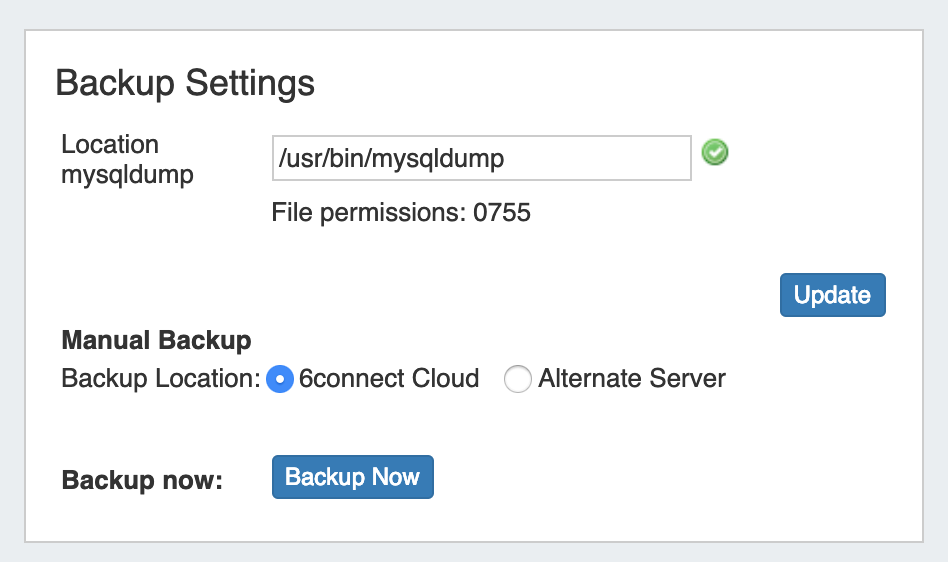
For cloud users, regular backups can be set up through the Scheduler. However, prior to imports or other large changes, you may wish to manually perform a backup.
...
Select "6connect Cloud" as your backup location, then click on the "Backup Now" button. You will see a success message below the button if successful.


Manual Backup - Alternate Server:
...
| Warning |
|---|
Before selecting Alternate Server Backup: 1) Ensure that the Server Resource exists in ProVision for the backup (Section = "Server"). If needed, create a new entry for the server. 2) Check that the following fields are added to the Server Section:
See Customizing Sections and Customizing Fields for information on adding fields to sections. Hostname, Username, Password, and Network Port will all be contained under the "Existing Fields" selector when adding fields to the Section. 3) On the Backup Server's Entry page, verify that the server fields are filled in and correct for the ProVision server entry:
If needed, click "Edit" and add or update the information. See Working with Entries for additional information. |

...
| Expand | ||
|---|---|---|
| ||
Location of mysqldump (Local Installation): This is the location of the mysqldump directory. |

Logging Options

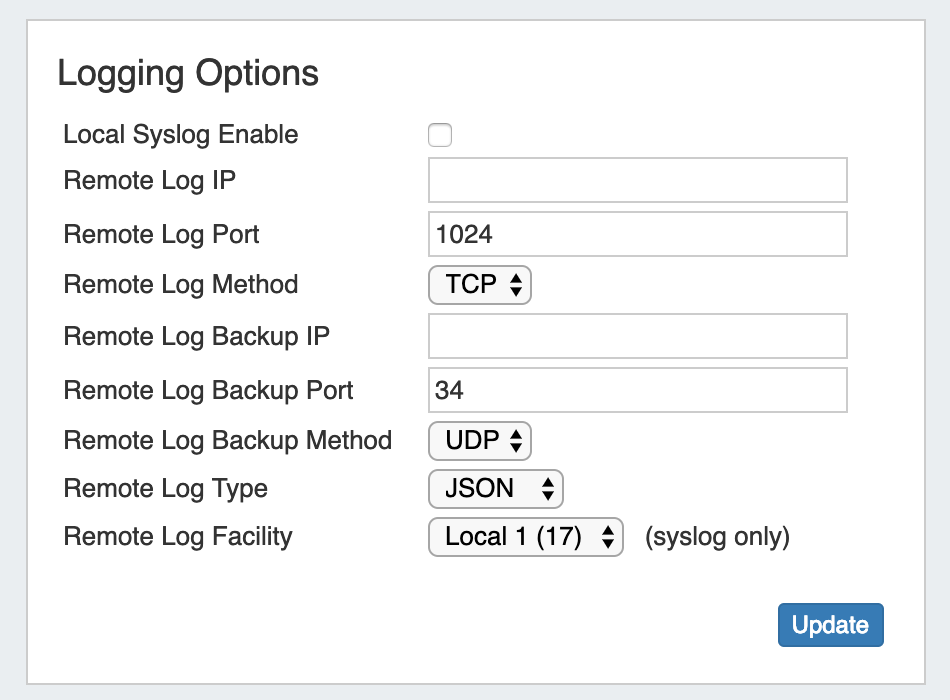
Remote Log IP: Target IP address that we will send log information to
...
Remote Log Facility: Select the Facility - applies to syslog only
Authentication Options
In this area, you may set the max session idle time, as well as setup additional authentication options.
Four authentication types are available for ProVision: Radius, LDAP, SAML, and DUO Mobile.
Session Time
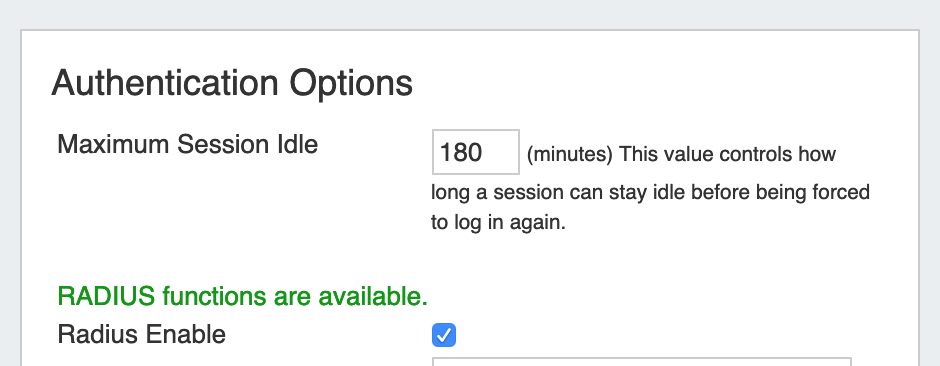

Maximum Session Idle: This setting (minutes) controls how long a session can stay idle before being forced to log in again.
RADIUS authentication options (local install only)

Note: For implementation details, go here.
...
Radius Key: Set to the shared key of your radius server
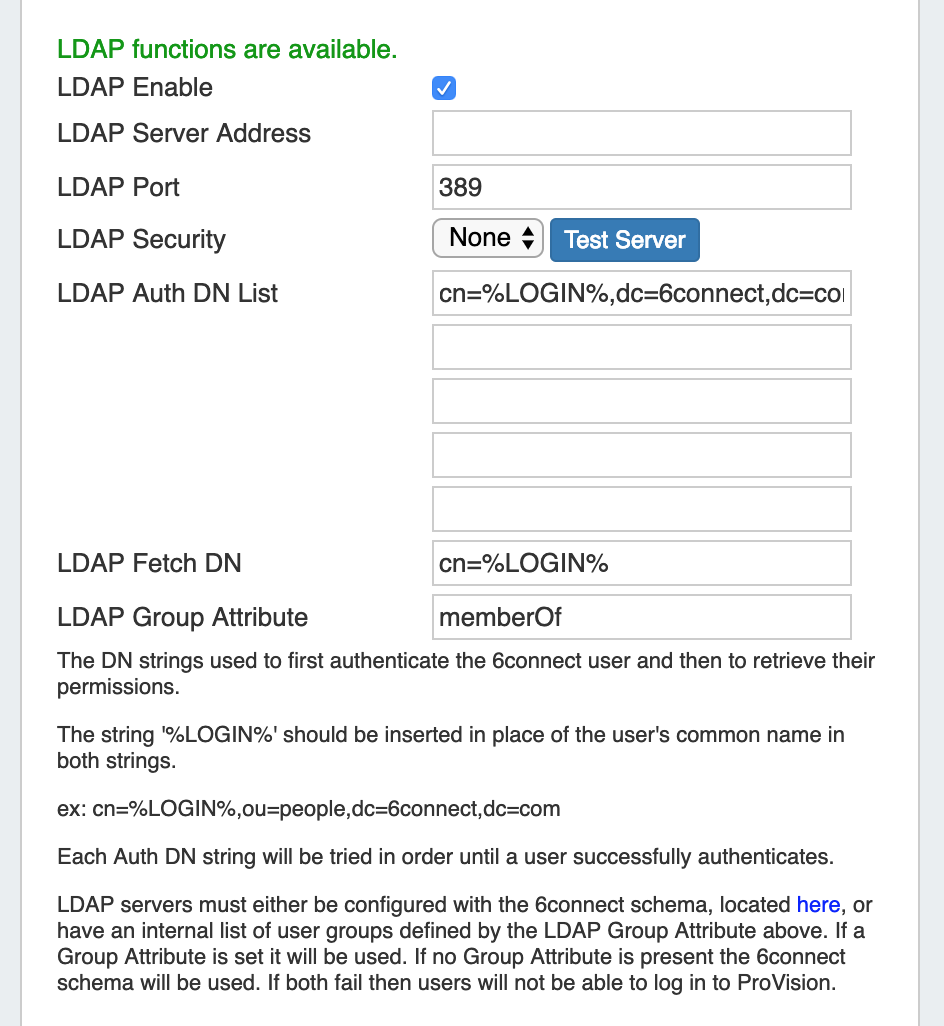
LDAP authentication
Note: For implementation details, go here.
...
LDAP Security: Select the security method of your LDAP server - SSL, TLS or None
Test Server: Click to test the connection to the LDAP server.

LDAP Auth DN/Fetch DN: These strings are used to first authentication the 6connect user and then to retrieve their permissions. The string '%LOGIN%' should be inserted in place of the user's common name both strings. (ex: cn=%LOGIN%,ou=people,dc=6connect,dc=com)
...
Mapping Permissions to 6connect schema: To integrate 6connect permissions with your existing directory structure then you will need the 6connect schema. It should snap in with any existing LDAP structure and allow you to assign 6connect permissions to your existing users. You can download a copy of the schema from this section.
SAML authentication
SAML is a Single Sign On (SSO) authentication method that uses an external identity provider to authenticate a user at their first login, saving a token to the user's browser that is then used for subsequent logins, so that the user does not need to re-submit credentials.
SAML Setup
Before configuring SAML in ProVision, you must have an account set up with an Identity Provider (IdP) and ProVision users / groups set up in the IdP.
| Expand | ||
|---|---|---|
| ||
Set up the IdP To use SAML authentication, you will need SAML set up for your instance with an Identity Provider (IdP), such as Microsoft ADFS, OneLogin, Elastic SSO, or others. You can view a list of available SAML IdPs at Wikipedia's SAML based products page. Users and Permissions: User credentials will need to be created and associated with ProVision permission group names via the IdP. All user creation, management and permissions handling occurs via the IdP, externally from ProVision. Configure SAML in ProVision ProVision setup for SAML is located in Admin →Admin Settings → Authentication Options.
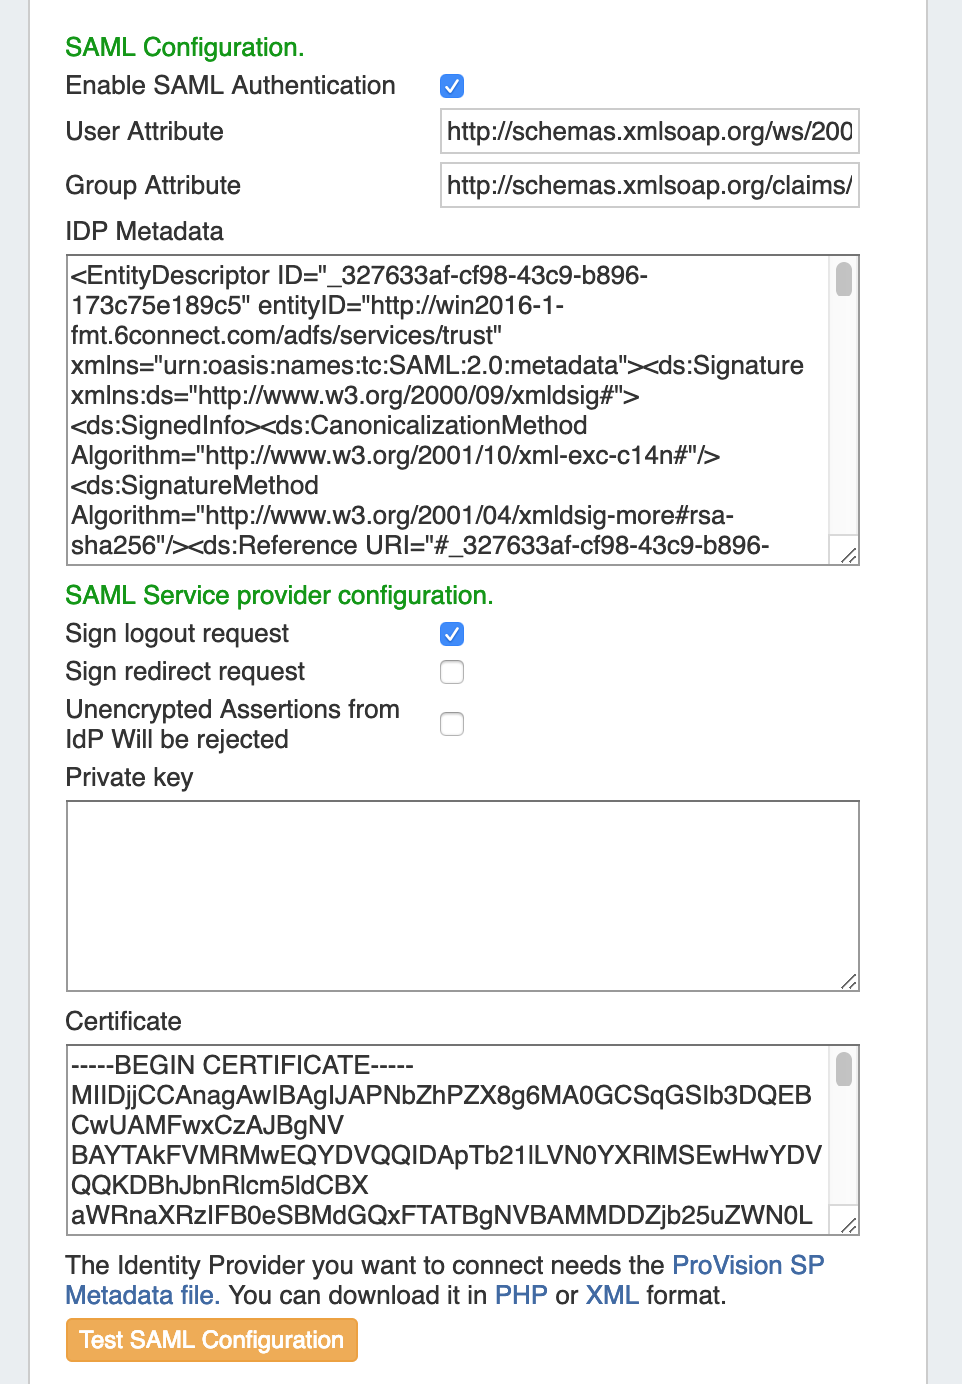
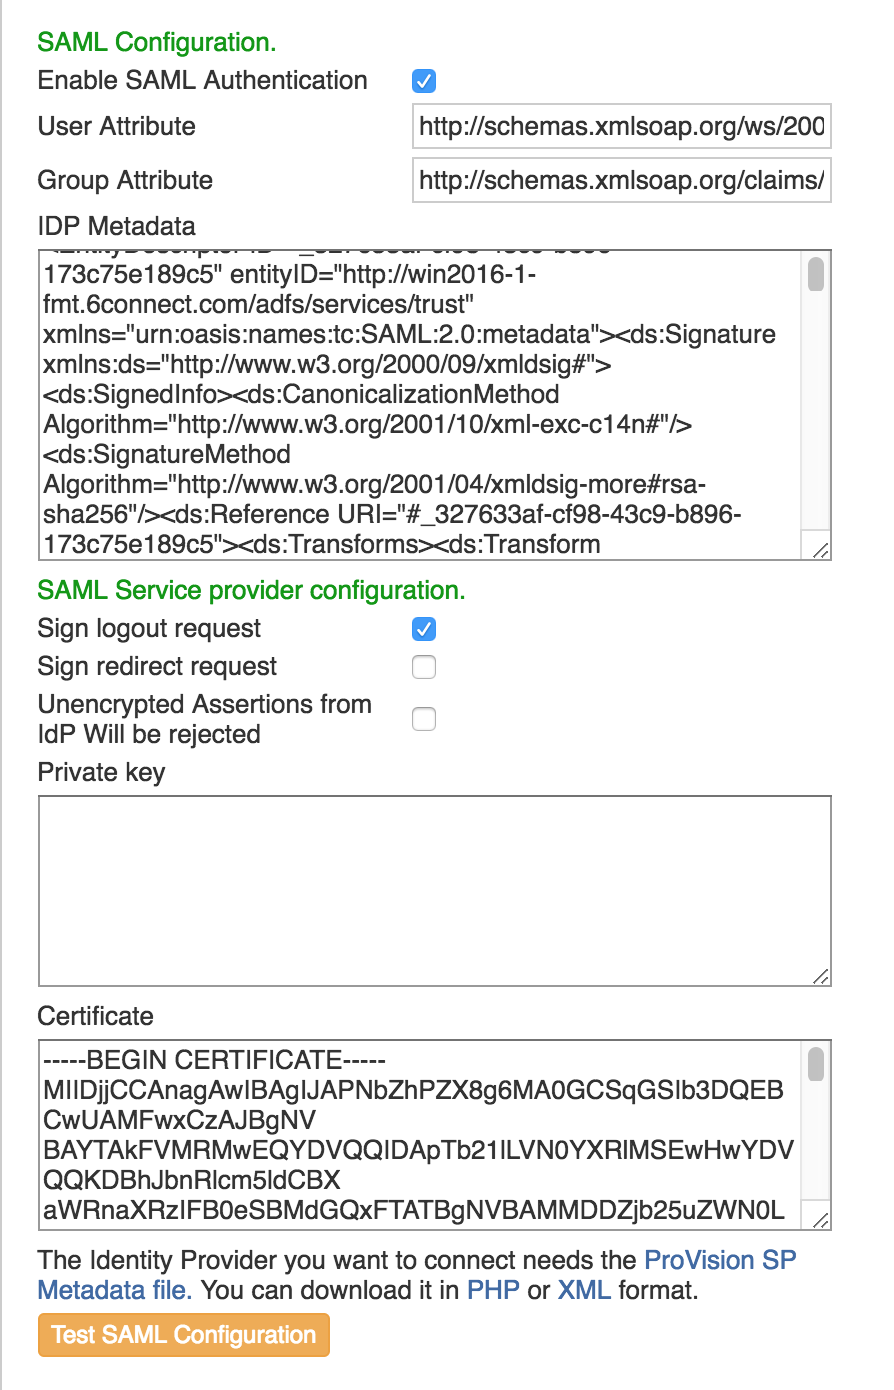
Under SAML Configuration: Enable SAML authentication by clicking the checkbox next to "Enable". The following fields are required and will need to be obtained from the IdP:
Under SAML Service Provider Configuration:
Links are provided below the configuration settings for the ProVision SP Metadata file in php and xml format, which will be needed to provide to the IdP. You can test the configuration by clicking the "Test SAML Configuration" button, a new page will open giving health check information for your provided attributes. |
SAML Login
Once the correct configuration has been established and users set up for SAML in the IdP, users will be able to use SAML logins.
| Expand | ||
|---|---|---|
| ||
Initial Login: The initial login process occurs for the first time a user logs in, and anytime afterwards if the browser token is not present (e.g., cookies are cleared from the browser, the browser closed, or a new browser is used). From the ProVision login page, select SAML from the authentication options dropdown - you do not need to enter Username or Password.
You will be redirected to the IdP site as set up in the Admin Configuration - here, we are using Microsoft ADFS (Active Directory Federation Services). Log into the IdP site using your SAML credentials, and click "Sign In".
If the sign in is successful, you will be logged into the ProVision home page. Subsequent Logins: After the initial login via the IdP (as long as the auth token is present) users will be able to login to ProVision simply by selecting the "SAML" options from the ProVision login page without entering credentials.
The auth token may be destroyed or not available if browser cookies have been cleared, a different browser used, or the browser fully closed, depending on security settings. In these cases, the user will need to sign in again via the IdP. |


DUO Mobile
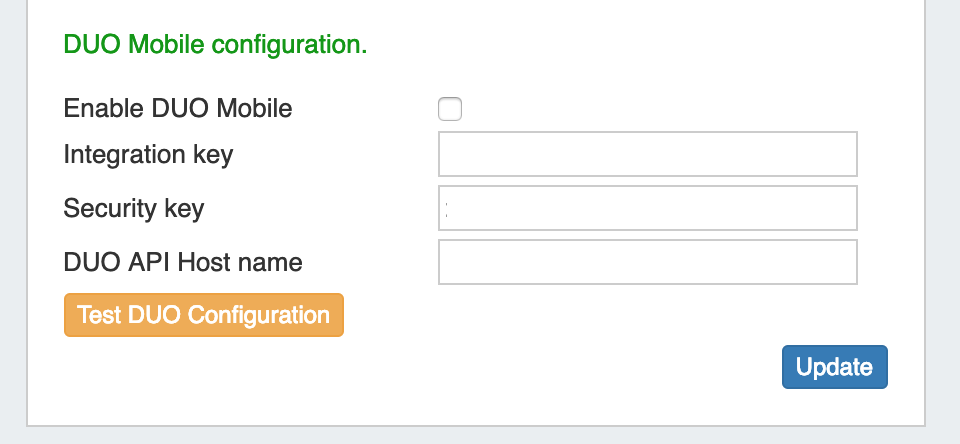
To use DUO Authentication, an account must first be set up with DUO.
Once an account is set up, obtain the Integration Key, Security Key, and DUO API Host name.
Enter those items into Admin→ Authentication Options → DUO Mobile Configuration, and click "Update" to save your changes.
You may also test the current configuration by clicking "Test DUO Configuration".
Remote Authentication Tester
...