...
ProVision's DNSv3 combines server management, group organization, and zone management under the DNS tab.
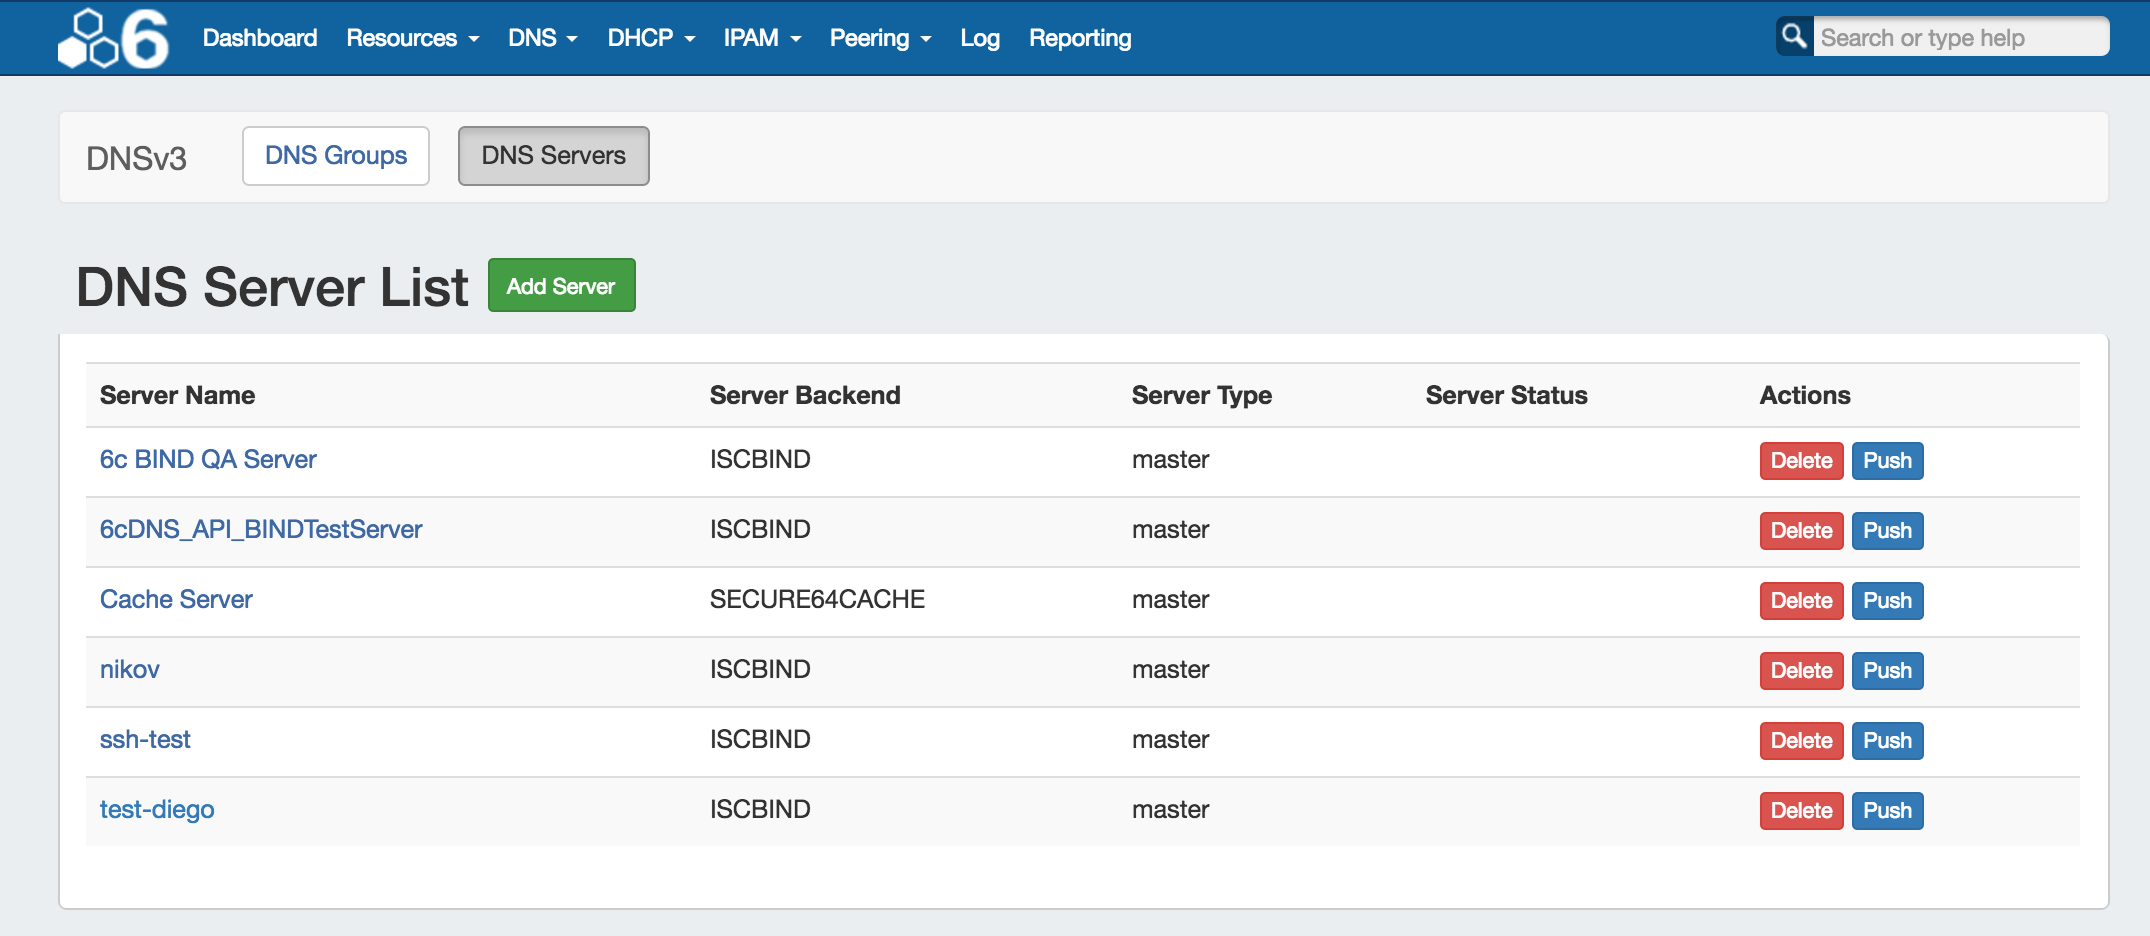
The DNS Servers tab is only accessible to Admin users, and contains functions for adding, updating, and managing DNS servers as well as scheduling server tasks.
...
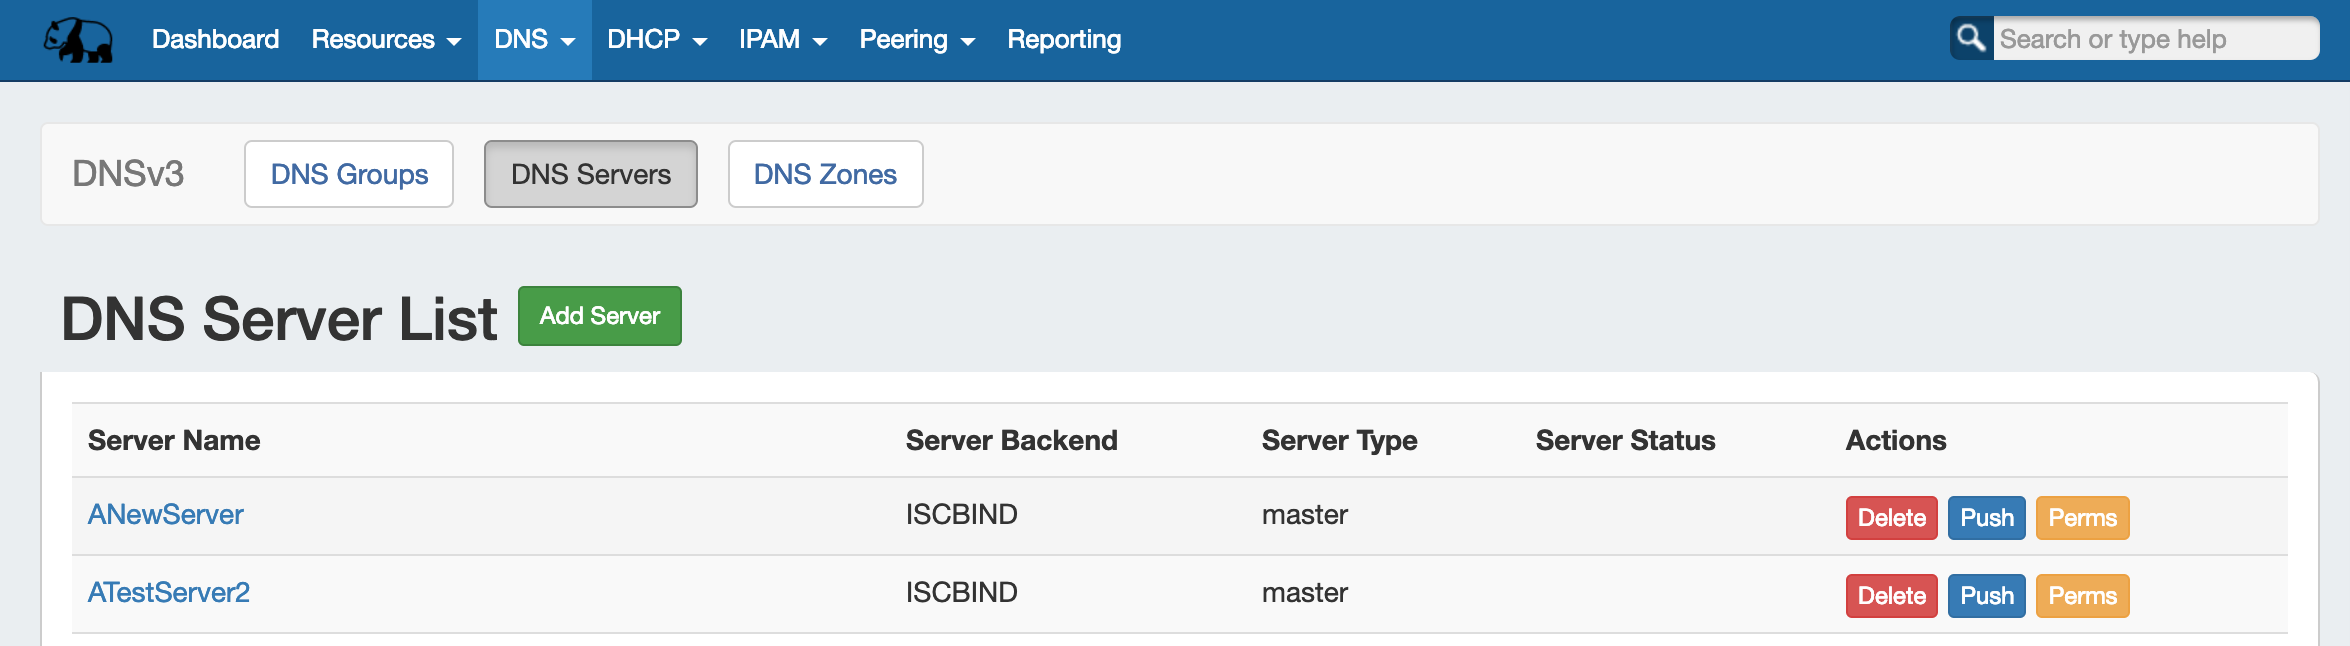
DNS Server List Interface

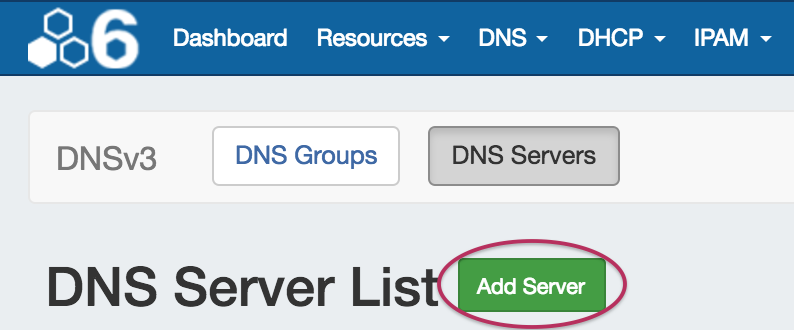
1) Add Server Button: Opens a dialog for creating a DNS server.
...
7) Actions: The actions that may be performed on each server:
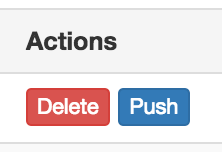
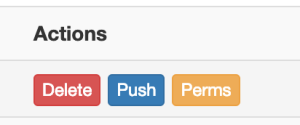
8) Delete: Deletes the server from ProVision.
9 Push9) Push: Pushes all zones associated with the selected server.
10) Perms: Opens a shortcut to edit permissions for the selected server.
Working with DNS Servers
Add a Server
To create a new server, start from the DNS Tab, select the DNS Servers sub menu. Then, click the "Add Server" button next to "DNS Server List".

This will open the "Server Settings" page.
...
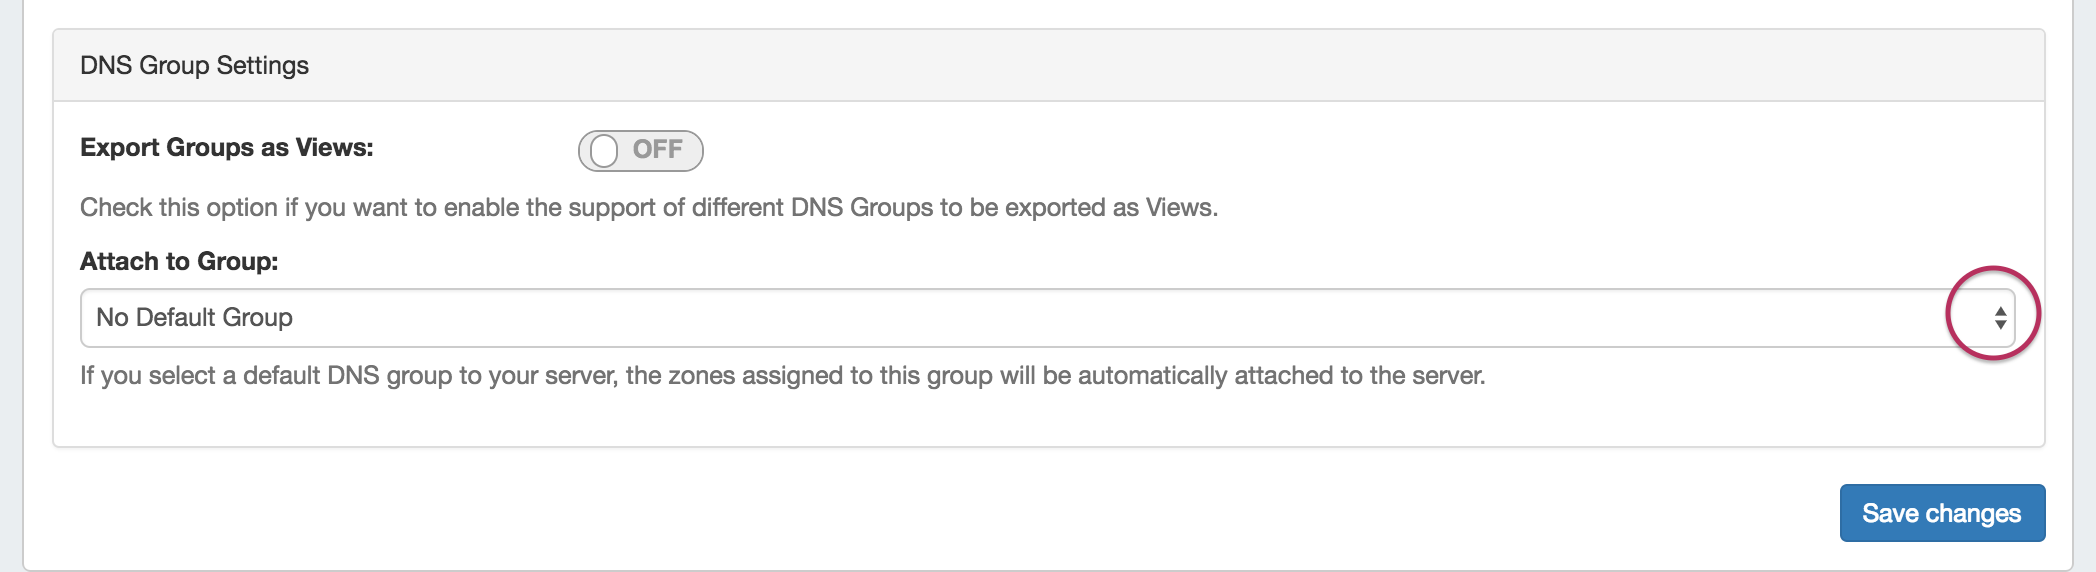
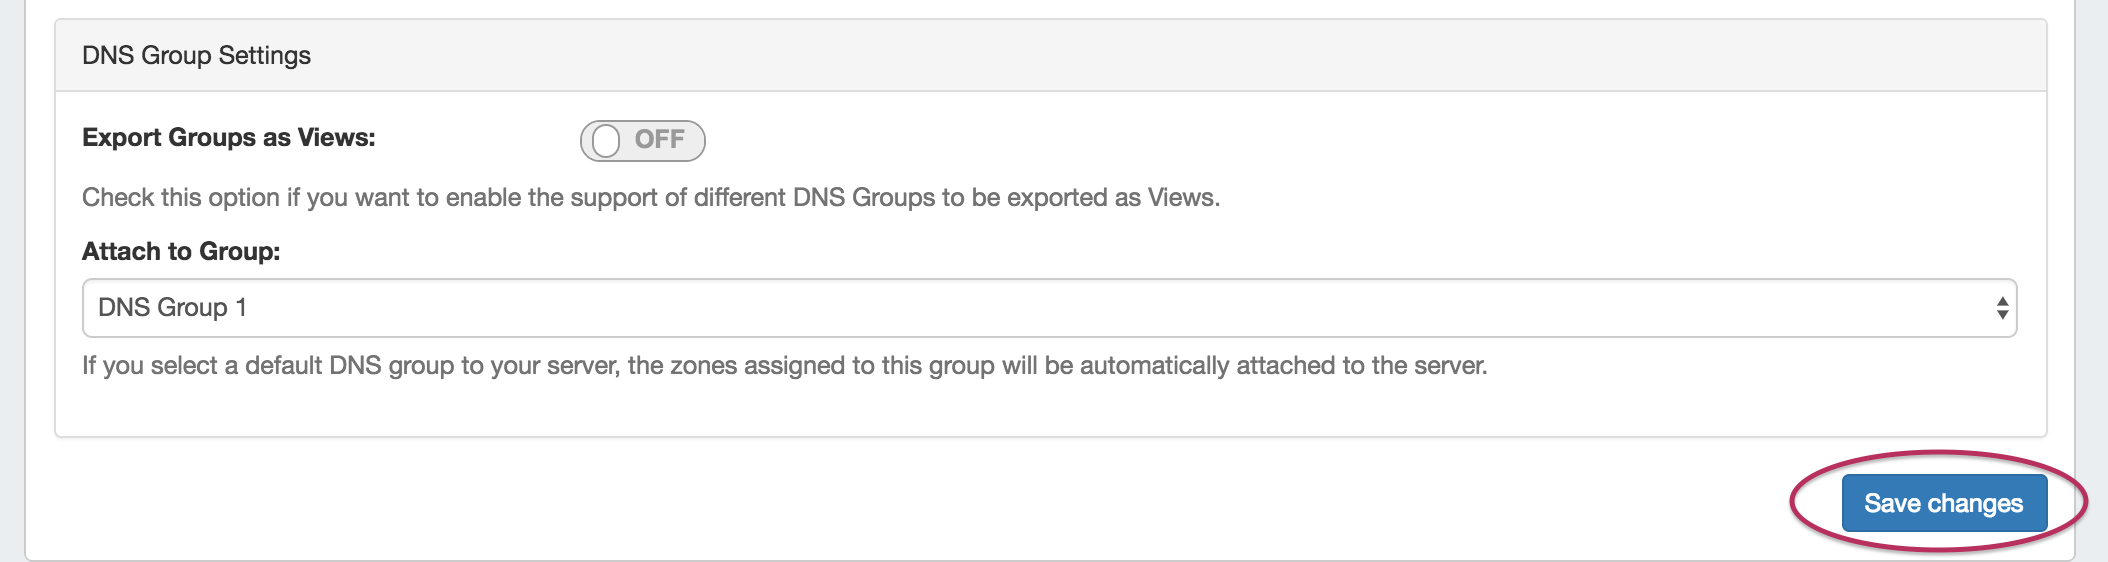
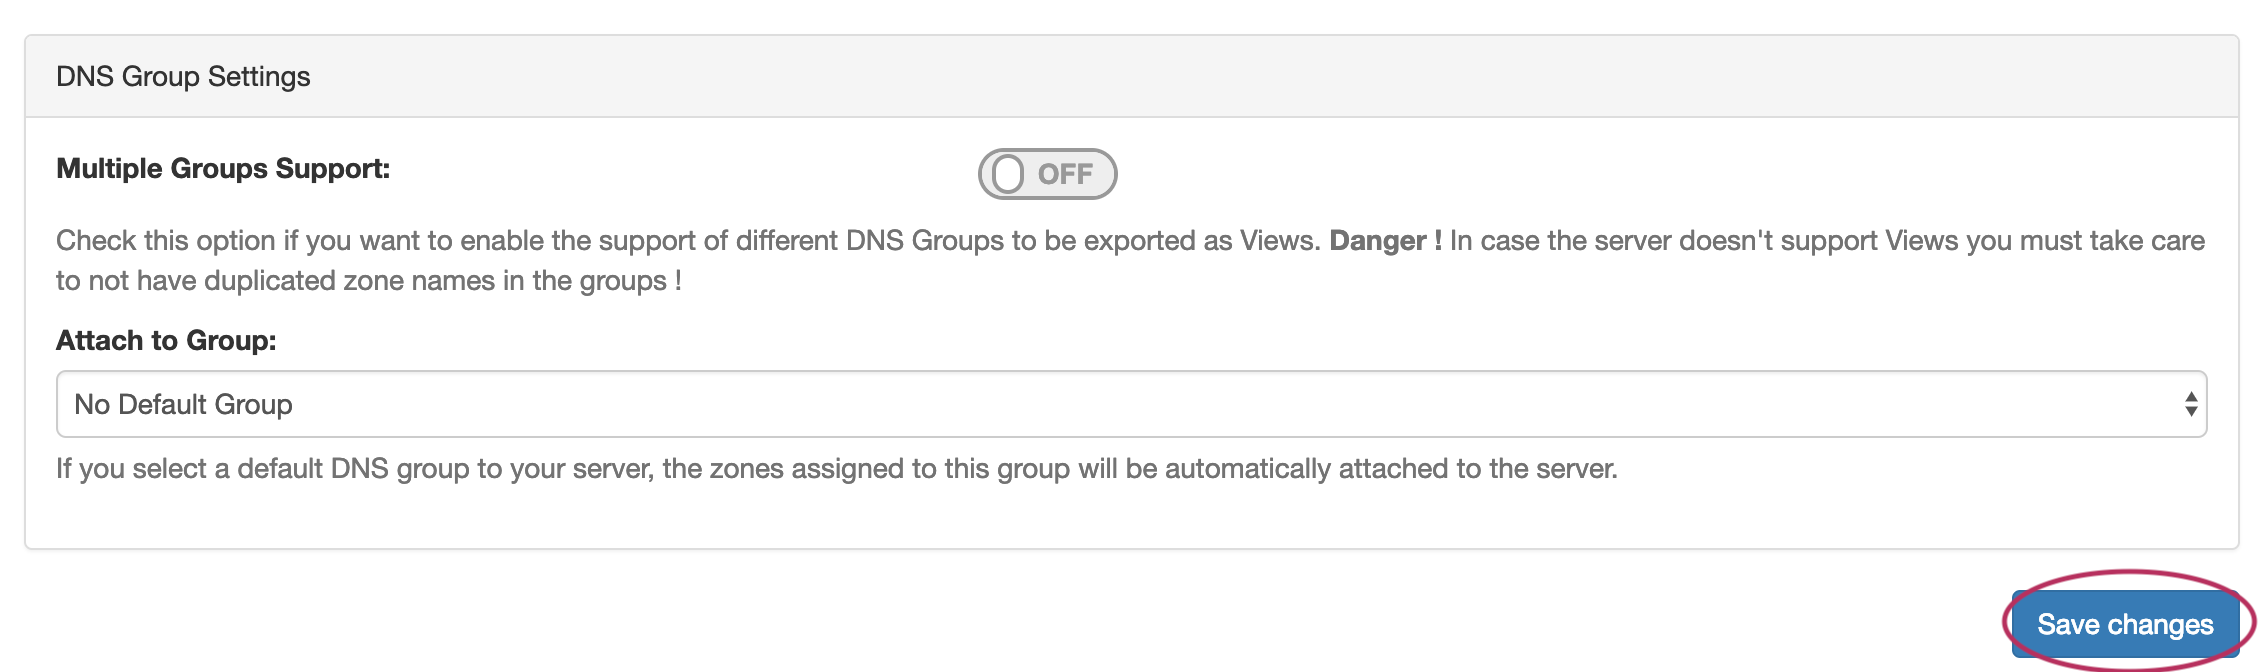
In the last section, select whether to enable support Multiple Groups Support for exporting DNS Groups as Views View (click to toggle ON / OFF), and select a default Group, if desired, to be associated with the server. Zones assigned to the selected Group will automatically be attached to the server.

4) Save Changes
Save your changes when done! Just click the "Save Changes" button at the bottom right of the page.
The new server will now be added to the DNS Servers list. These settings may be changed at any time by selecting the server from the server list and editing the information.
...
Edit an existing server by clicking once on the server name in the DNS Servers list.


The "Server Settings" page will open.
...
Manually pushing all zones on a server may be done directly from the DNS Server list. Under the "Actions" section of the Server List, click the "Push" button for the desired server.


Pushing may also be done while in the Server Settings page. While in the Server Settings page, click the "Push Zones" button at the top right of the page.
...
Delete a server by clicking the "Delete" button under the "Actions" section of the Server List for the desired server.

