...
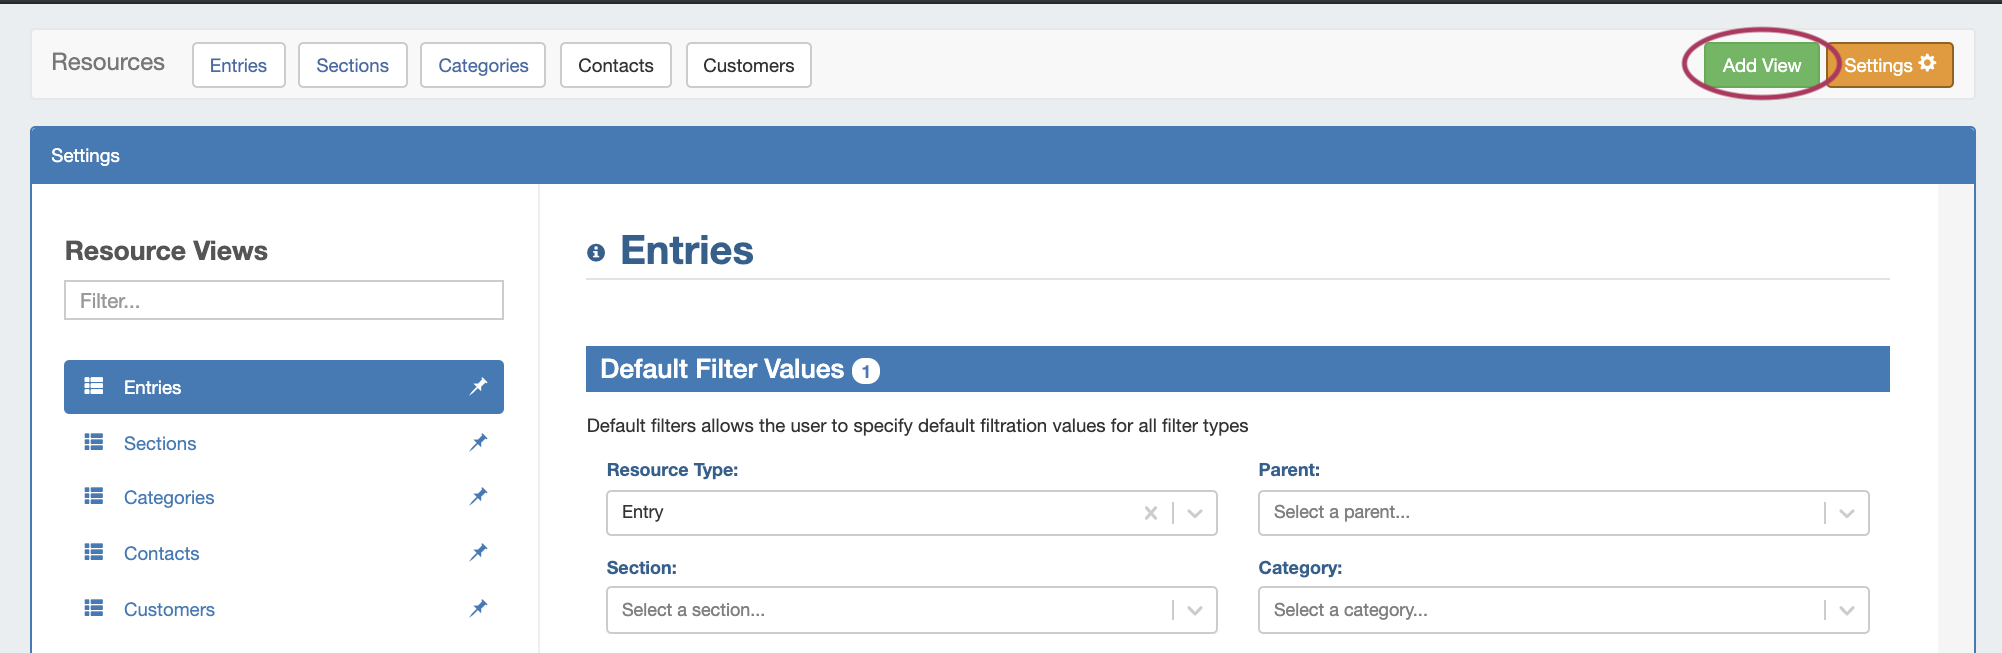
To add a new Resource View to the list, click "Add View" at the right side of the header bar.
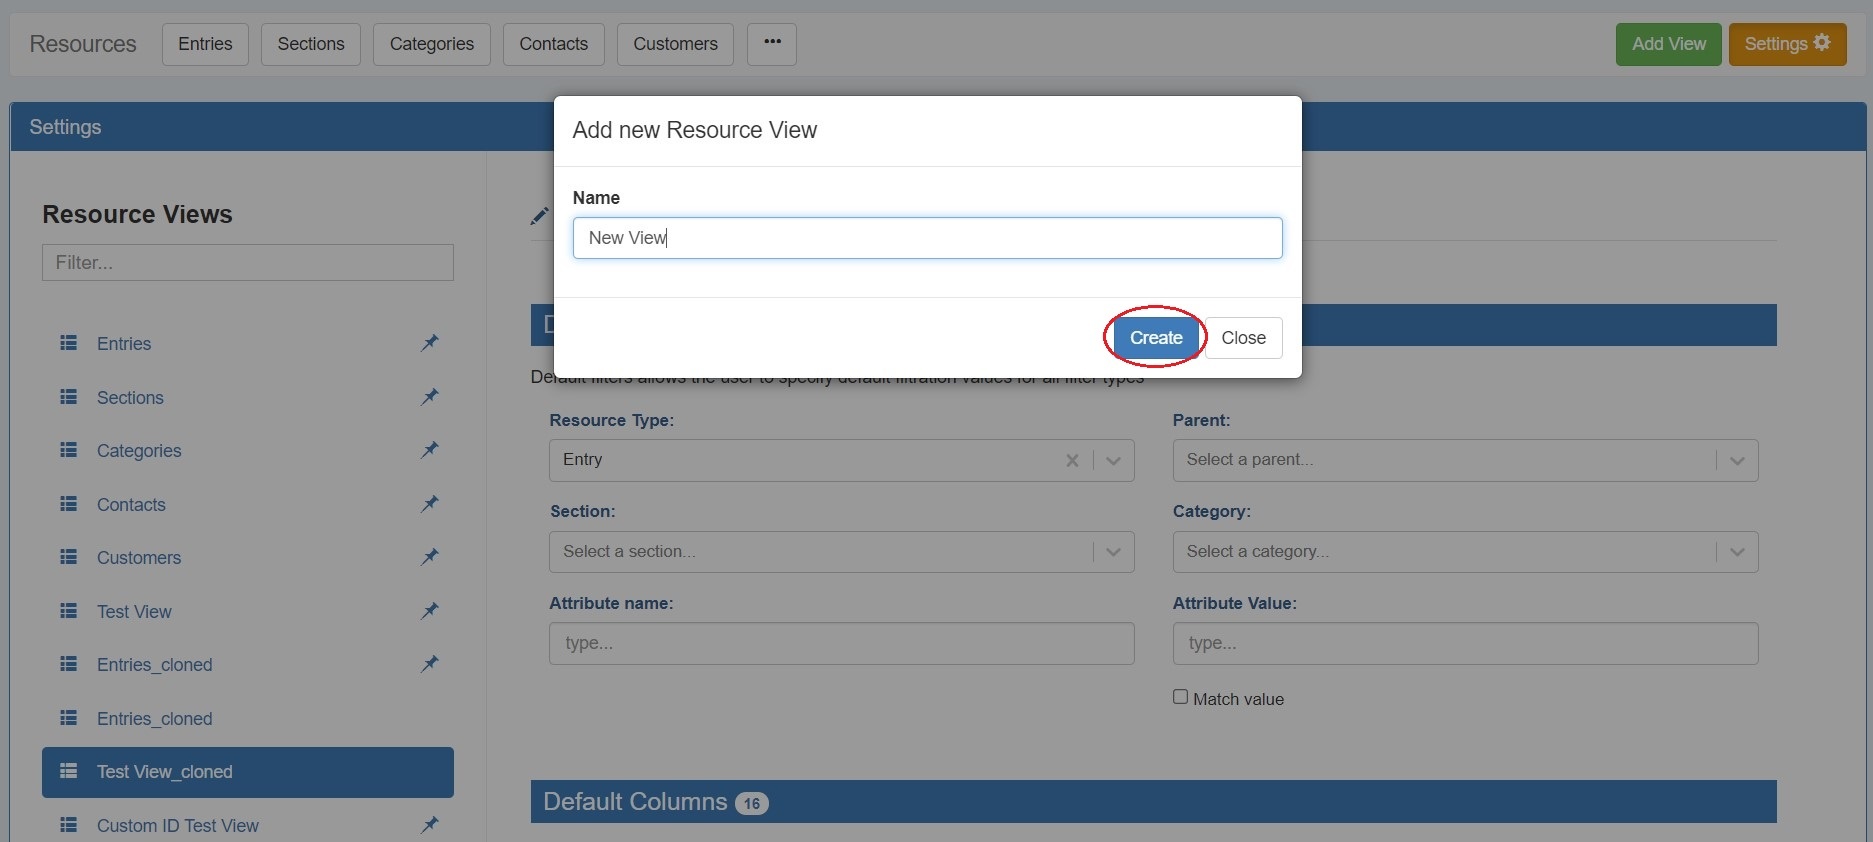
A new "untitled" Create a new view by specifying a name. Then hit the "Create" button. The new view will be added to the view list, with no default filters applied and standard default columns enabled.
Click on the "untitled" new view in the list to select it. To rename the view, click the view name above "Default Filter Values" and type the new name.
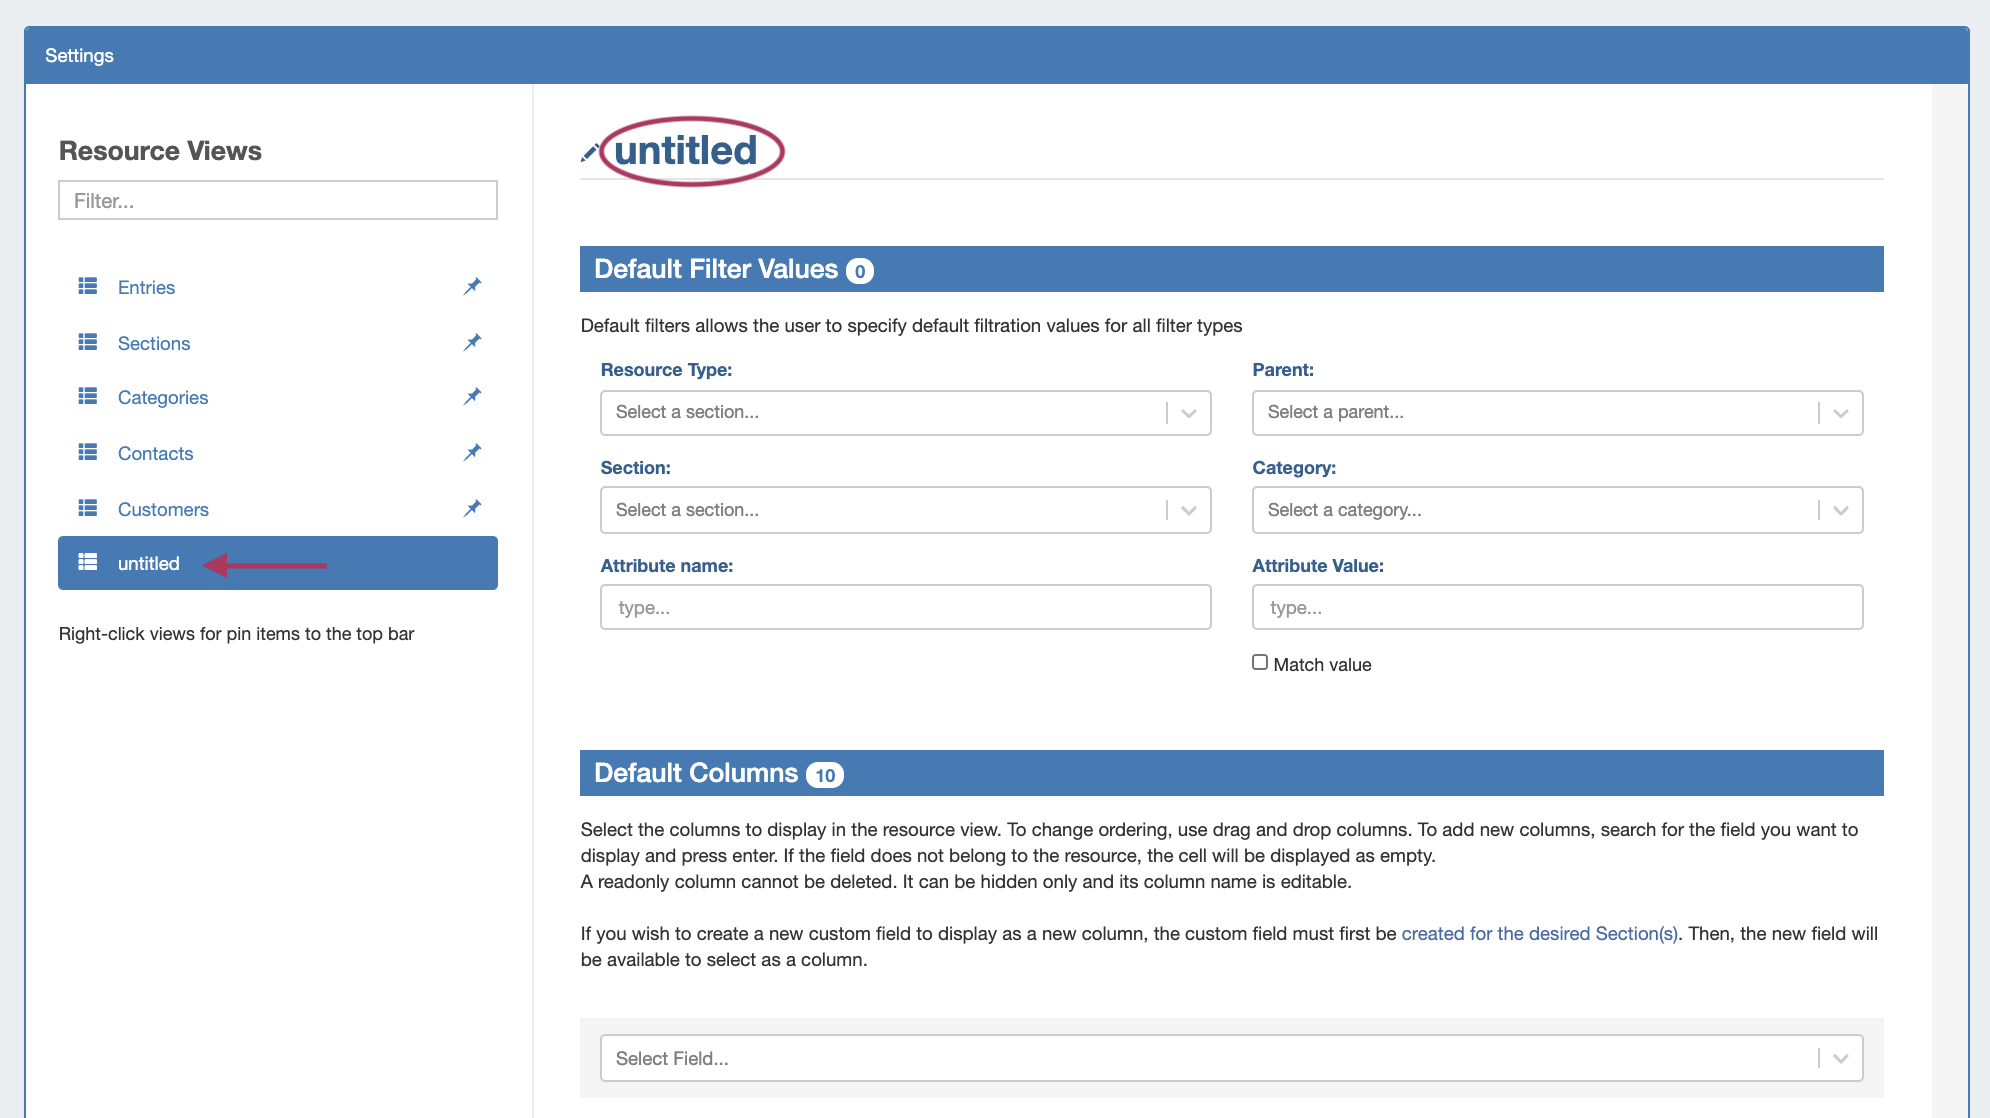
From here , you may either save the view and exit out, or continue on to you can apply specific filters to the view, display field attributes as columns, and adjust column order visibility.
...
| Info | ||
|---|---|---|
| ||
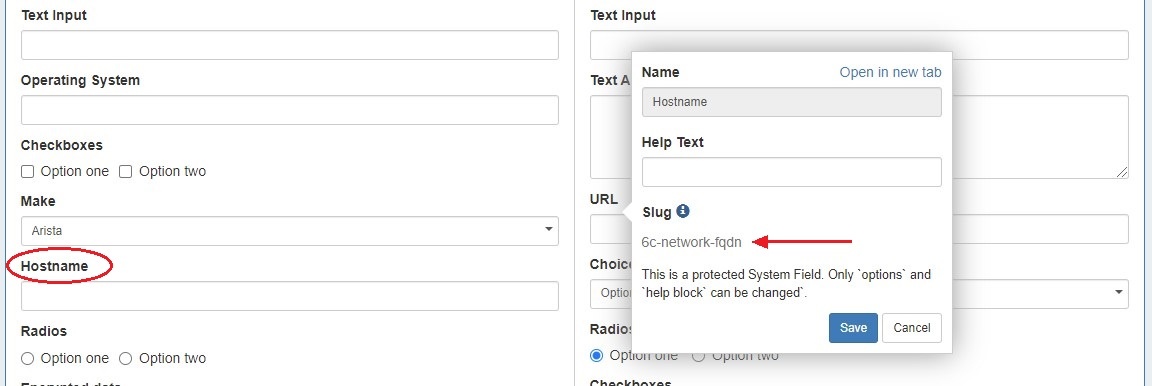
Note: The attribute name is the system slug designation for the attribute, not the display name shown in column headers or field labels. Slugs are unique ids entirely in lower-case lettering, and use dashes or underscores instead of spaces. To find the attribute slug, go to the Edit Section page, and look for either of the following areas for the desired field: 1) Click on the field name label (here: "Hostname") for a field that has already been added to the section, to open the field details information box:
The field attribute slug will be listed under "Slug" - here, the slug for "Hostname" would be "6c-network-fqdn" 2) If the field has not yet been added to the section, you may view the field name with field slug after it, in parentheses, in the "Add Existing Fields" selection box:
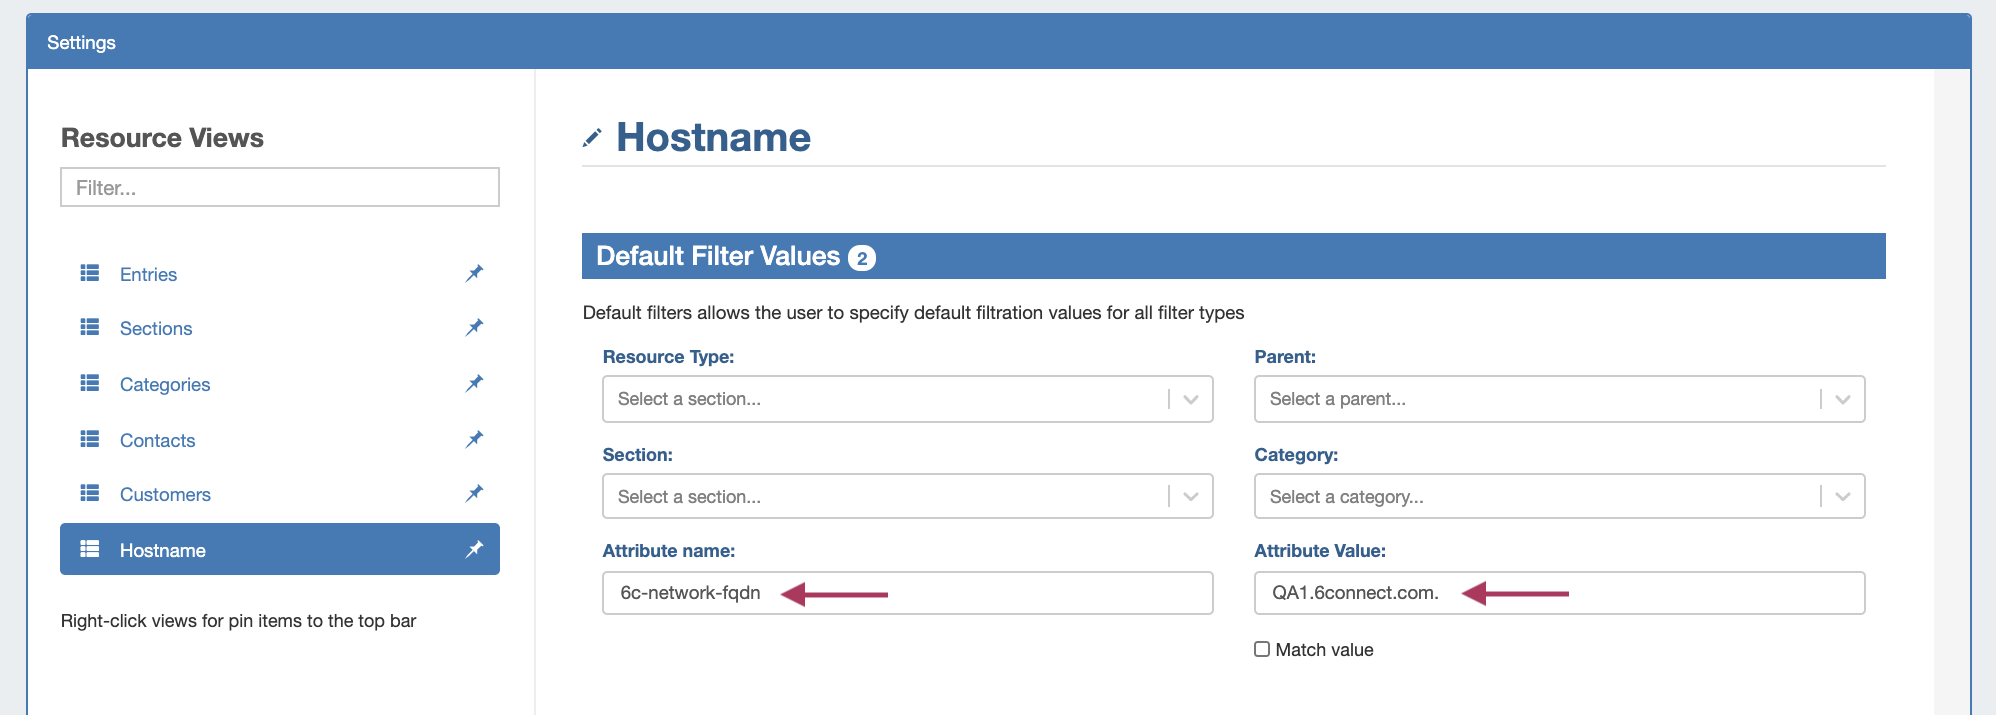
Here, the slug displayed for "2nd Email" is "6c-contact-email2". Once the attribute name and value has been entered as filter conditions, it should look like this:
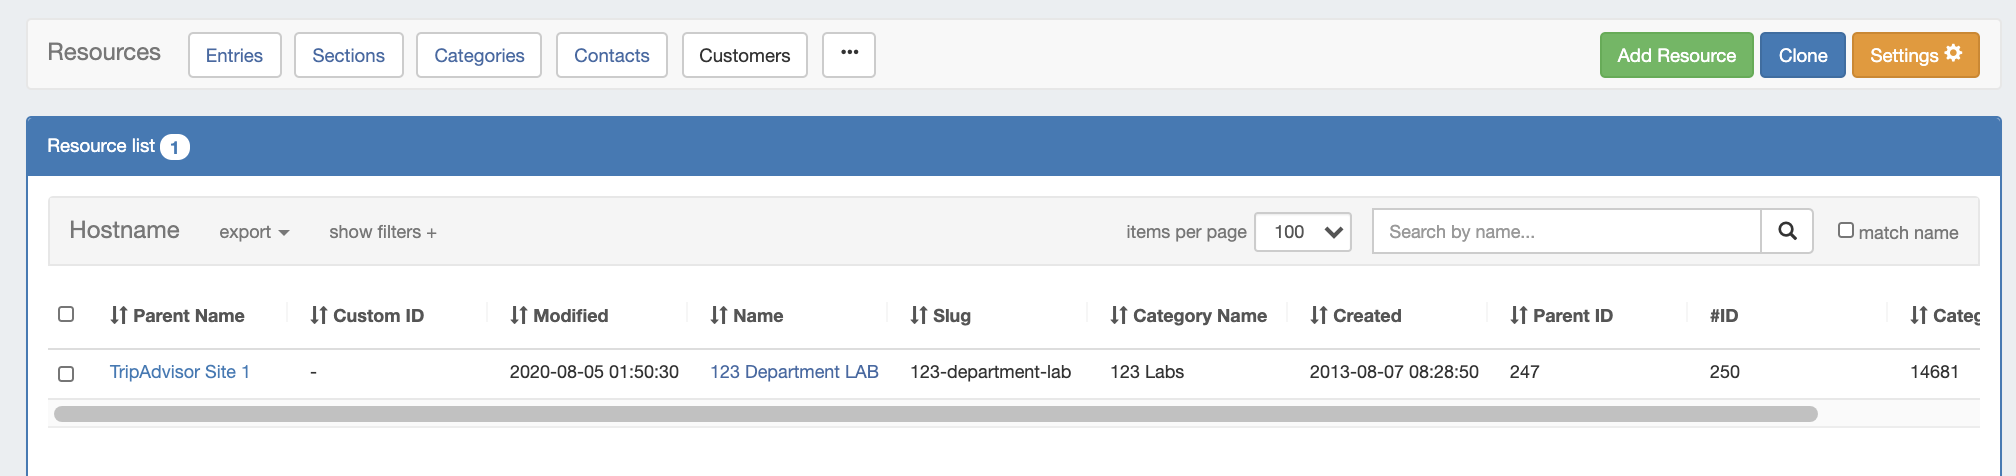
The resulting view list will then display only the resources with "QA1.6connect.com." entered for the Hostname (6c-network-fqdn) field:
|


...
When done, click "Save Changes".
Additional Information
See the following pages for additional information on working with Resources in Provision:
| Children Display | ||
|---|---|---|
|