| HTML |
|---|
<div id="google_translate_element"></div>
<script type="text/javascript">
function googleTranslateElementInit() {
  new google.translate.TranslateElement({pageLanguage: 'en'}, 'google_translate_element');
}
</script>
<script type="text/javascript" src="//translate.google.com/translate_a/element.js?cb=googleTranslateElementInit"></script> |
Peering Gadgets
The following Gadgets are available to support Peering v2.
Table of Contents maxLevel 3
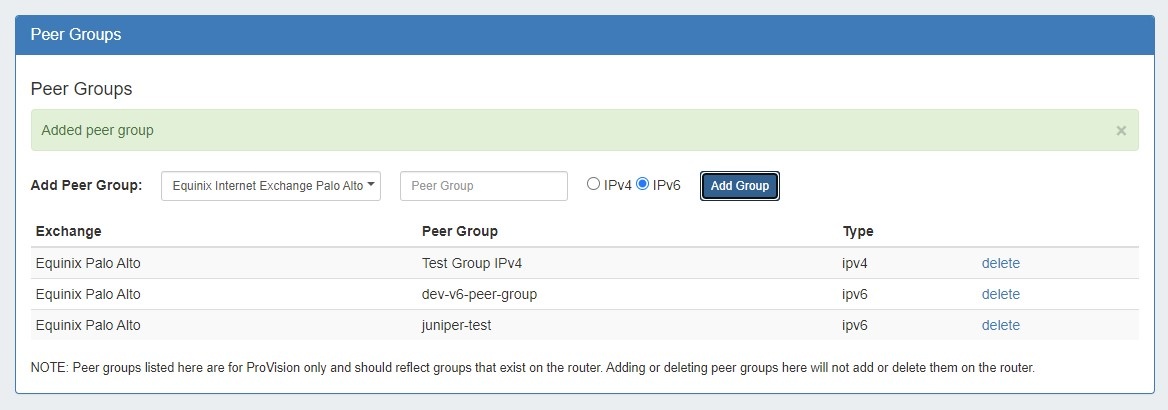
Peer Groups
The Peer Group Gadget allows you to add peer groups for IPv4 and IPv6 for a selected exchange from a router's Resource Entry page.
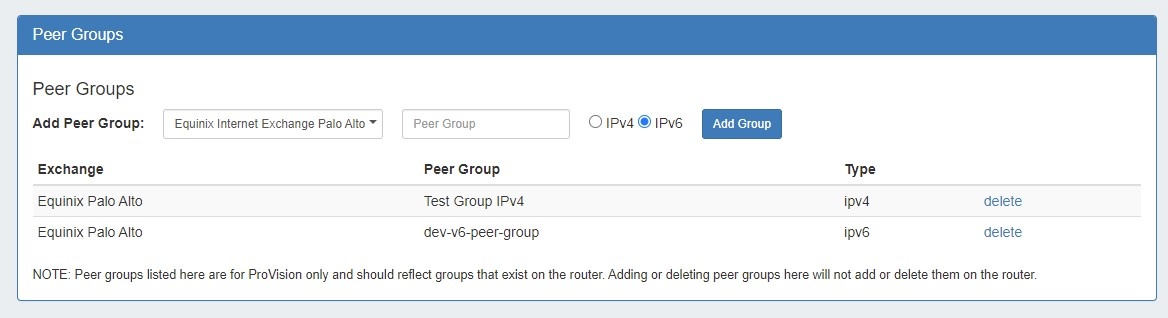
To do this, simply select the exchange, type in a Peer Group name in the text box, select IPv4 or IPv6, the click "Add Group".
Peer Groups added from this gadget will be then be available to select in the "Add Session" dialog box in the Peering tab.
| Note | ||
|---|---|---|
| ||
Peer groups listed in the Gadget are for ProVision only and should reflect groups that exist on the router. Adding or deleting peer groups from the Gadget will not add or delete them on the router. |
For additional information on Peering, see Peering.
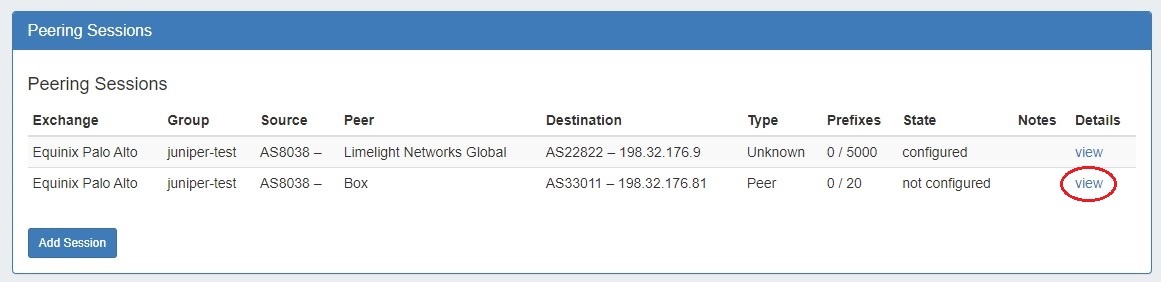
Peering Sessions
This Gadget is used on the Router Section type. From here, new sessions may be added by clicking on the "Add Session" button, then entering session information into the "Create New Session" page.
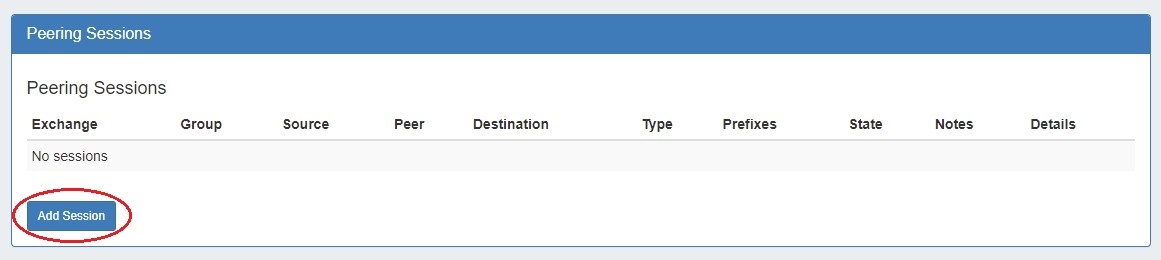
Existing sessions may be managed by clicking on the "View" link for the session, bringing up the Peering v2 session details page.
For additional information on Peering, see Peering.
Peering VRFs
The Peering VRF Gadget allows you to add VRFs from a router's Resource Entry page.
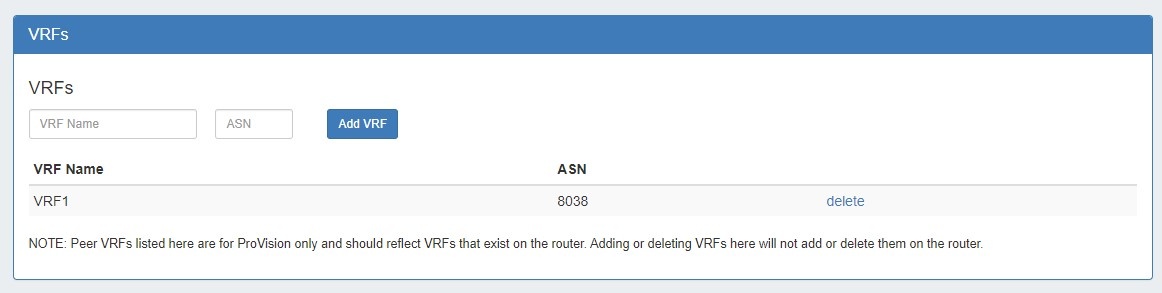
Working with the Peering VRFs Gadget
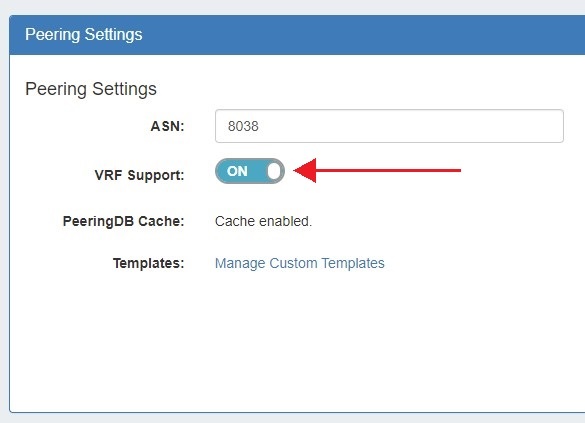
Enabling "VRF Support" in the Admin home page under "Peering Settings" will automatically add the VRF gadget to the router Section.
The VRF gadget will then be accessible in a router's Resource Entry page.
To add a VRF, type the VRF name and ASN, then hit "Add VRF".
To delete a VRF, click on "delete" next to the VRF entry in the gadget.
Once VRFs are set up for a router, the source ASNs for the associated VRFs will appear in the Source ASN dropdown when adding or editing a session for that router from the Peering tab.
| Note |
|---|
| Peering VRF currently only supports Cisco routers. |