...
The previous section, Customizing the Dashboard, gave a high level overview of the dashboard types, how to create new personal dashboards, edit the dashboard layout, and remove personal dashboards. This section will give an overview of how to work with individual Widgetswidgets, and options available in each Widget widget type.
Before you begin working with individual Widgetswidgets, make sure that you have reviewed the information contained in in Customizing the Dashboard and are familiar with the tasks outlined there.
...
Then, click on the name of the Widget widget you want to appear on your page. It will automatically be added into the leftmost column of your page.
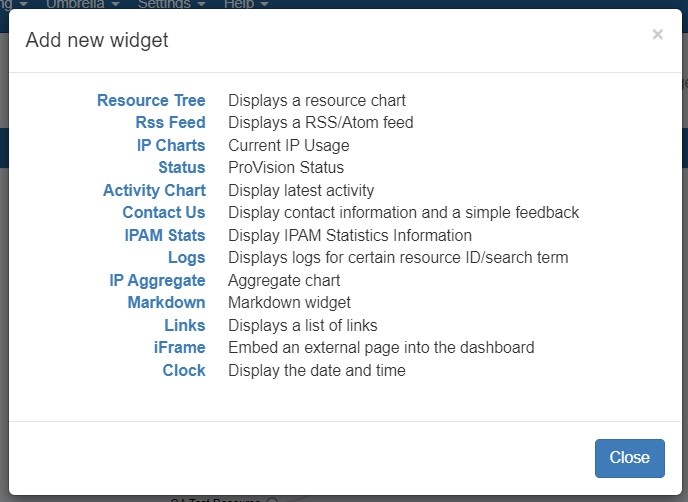
Some Widgets widgets may only have one instance per dashboard, whereas other Widgets widgets may be able to have multiple instances per dashboard. The Add New Widget dialog will only show you the widgets you have available to add.
For detailed information on each individual Widgetwidget, view the Available Dashboard Widgets section on this page.
Move a Widget:
Individual Widgets widgets may be moved around the page by clicking and dragging on the "Move" icon on the right side of the Widget widget header.
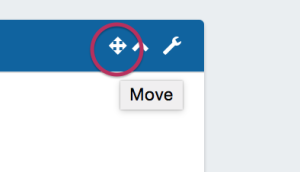
While mousing over the move icon (when the cursor changes to a hand icon) click and hold your left mouse button, then drag the widget up or down to the desired location.
To move the Widget widget to another column, drag the widget sideways to the column, then up to briefly hover over a Widget widget already in the desired column (this "selects" the column for the Widgetwidget). Then, drop the Widget widget in the desired location in that column.
...
Widgets can temporarily be viewed at a larger size by hitting the "Maximize" icon on the Widget widget header. This will "pop out" the widget information to a larger page size for easier viewing.
...
To open the edit menu for a widget, click on the Action Menu (wrench icon) on the right side of the Widget widget header. A drop down menu will appear with some of the following options:
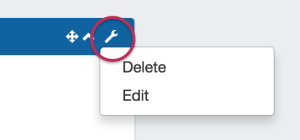
Edit: Opens Opens an edit widget pop up, where widget-specific options may be changed. Options may include changing the title, links, applicable resources, and so forth depending on the particular Widgetwidget.
Resize: For Widgets For widgets able to be resized vertically, brings up a draggable black bar at the bottom of the widget. Drag the bar up or down to the desired widget height, then select the Action Menu again and click on "Save Resize" to save and complete the size edit.
Save Resize: Available Available only after the "Resize" action has been used. After resizing a Widgetwidget, selecting the selecting the Action Menu again and clicking on "Save Resize" will save the Widget widget size.
Delete: Deletes the widget.
...
Additional Information
For details on available Widgets widgets and working with a specific Widgetwidget, see the next section:
...