...
Contacts
View the Contacts list List by clicking "Contacts" from the Resource Tab, or from the Resource tab Tab dropdown menu, under "Contacts". The Contacts list List displays existing contacts and provides options to import new contacts into ProVision. You can create new contacts manually, or import contacts from RIR. Contacts may then be assigned to ProVision resources through the Contacts Gadget.
...
To view the contact details, click on the contact's name in the Resource Contact List. You will be taken to the contact details page.
A Local local contact created in ProVision will have modules shown for Address, Email/Phone, and Comments, as well as a list of any resources that contact is assigned to via the Contacts gadgetGadget.
You may edit or delete a Local contact by clicking the "Edit" button at the bottom of the page.
...
You can manually create a new contact in ProVision by clicking on "Add Contact" from the Contacts List View.
...
| Info | ||
|---|---|---|
| ||
The parent field relates the contact to a resource's permissions structure, only allowing users with permissions for that resource to view and assign the affiliated contact(s). To allow the contact to be viewed globally in ProVision, check the "Global Contact" box above the Parent Field. |
...
If the search is successful, the found contact information will display at the bottom of the screen. If this is the information you wish to add into ProVision, click the "Yes" button on the right hand side of the page under "Would you like to add this RIPE contact to 6connect?". Otherwise, you may hit "No" to decline adding, or cancel and return to the index.
...
Then, from the Resource Tab → Contacts listList, click the "Import from LDAP" button at the top of the list.
...
You may also access LDAP Import from the contacts gadgetContacts Gadget, if preferred.
Once imported, the LDAP contact will be available to add to the Contacts Gadget and will show in the Users List.
...
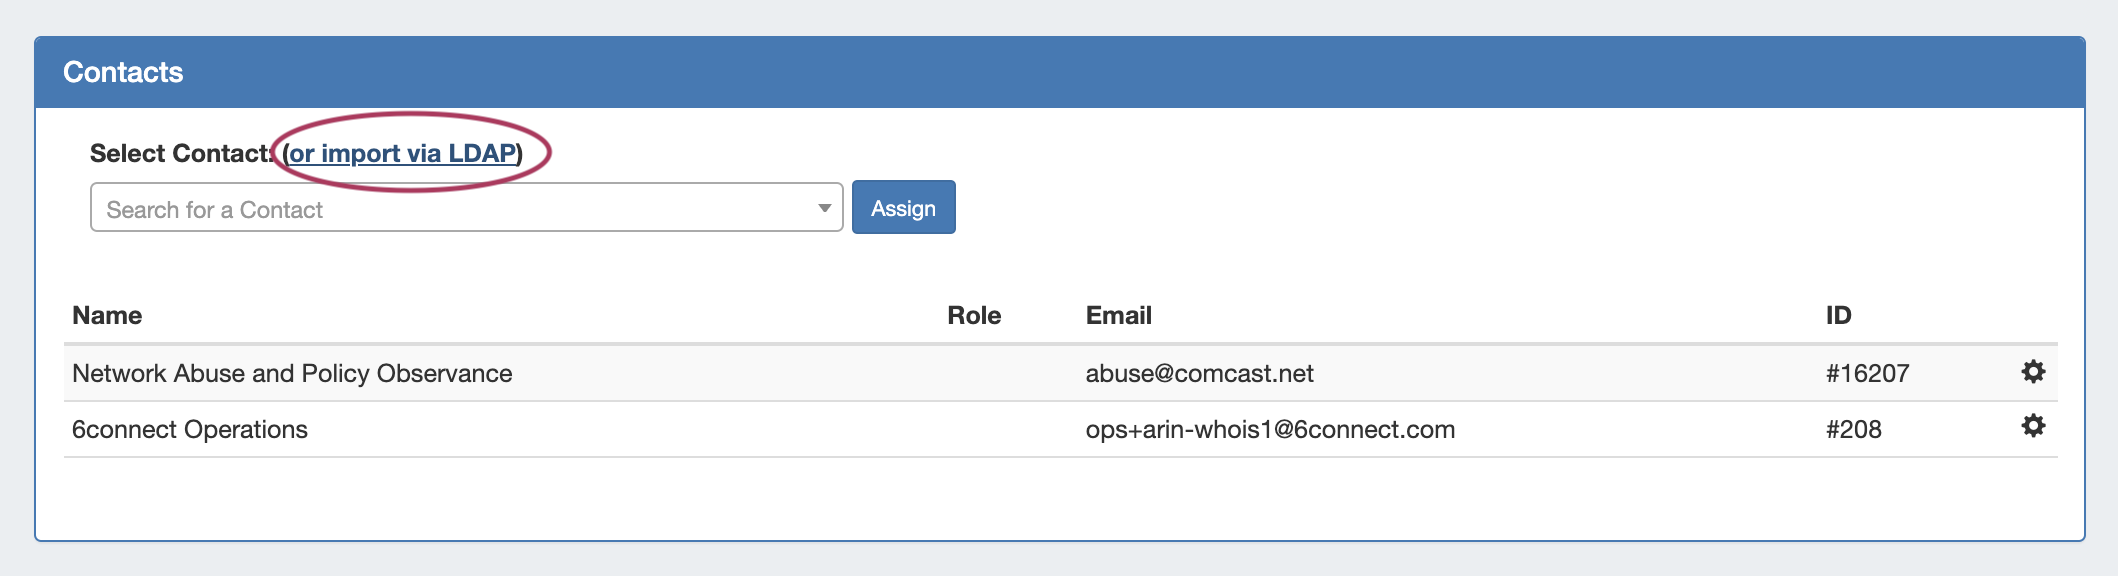
Contacts may be assigned to a resource through the Contacts gadgetGadget. To add a gadget to a Resource's Entry page, see Customizing Sections and Gadgets.
Once the Contacts gadget Gadget has been added to the desired Sectionsection, go to the Resource Entry resource entry page for the Resource resource you wish to assign the contact to, and navigate to the Contacts gadgetGadget.
Assign the Contact
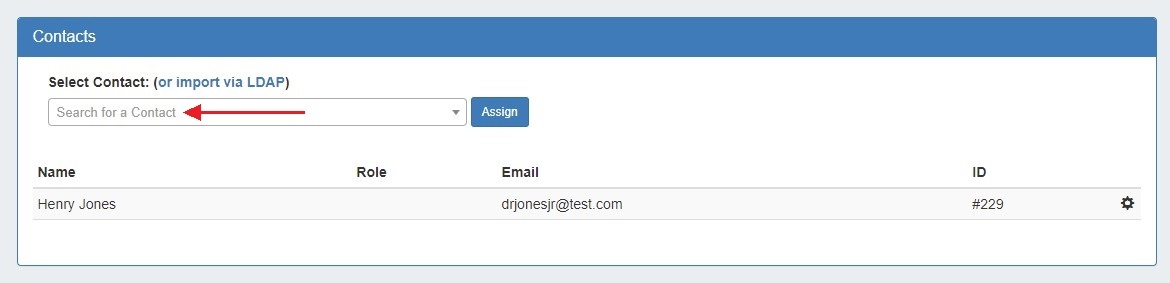
In the Contacts Gadget, search for a contact by typing the first few letters of the contact name in the search box, then click on the desired contact.
Then hit "Assign".
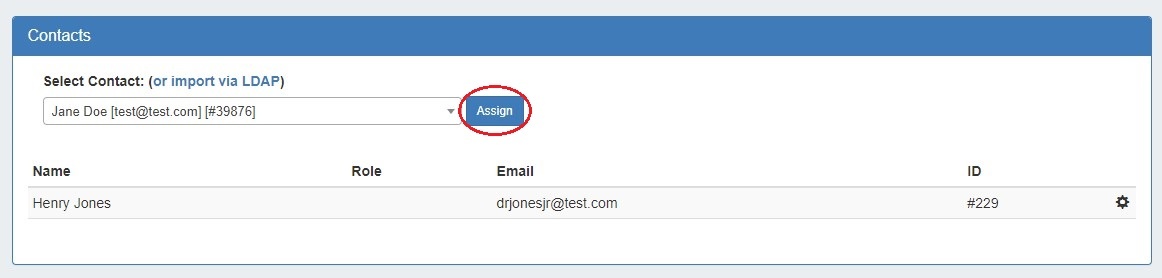
The Contact contact will show in the list below.
...
Under the "Select Role" section, choose the desired Role role from the dropdown list, and click the "Set Role" button.
...
Under the "Delete Role" section, choose the desired Role role from the dropdown list, and click the "Delete" button.
...
To unassign a contact from a resource, in the Contacts gadget Gadget click the Action Menu, then select "Unassign".
...