...
| Expand | ||||||||||
|---|---|---|---|---|---|---|---|---|---|---|
Access menu.json by navigating to the assets directory:
You may open the menu customization file, "menu.json" in vi, or another text editor:
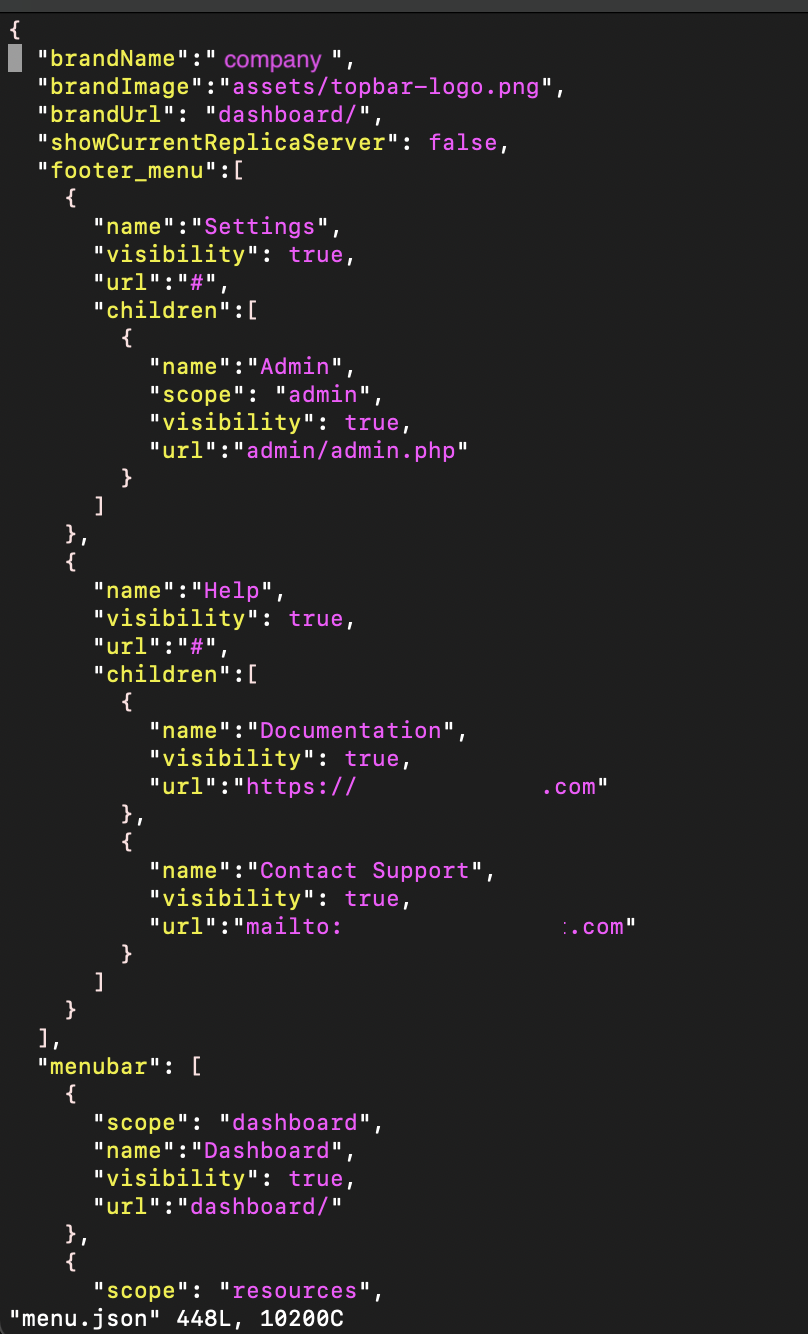
When you view menu.json, tabs and their drop down sub-menu options are visible in a hierarchy organized by menu type. The top level of menu.json contains instance-wide settings for:
Below the instance wide settings are three top-level menu groupings, each containing their relevant tabs, subtabs, and menu settings.
In order, the three top menu groups are:
The second level of the hierarchy contains each navigation tab under that group, showing properties for name, visibility, url, and tab children. The third level, under "children" for a tab, lists the drop-down menu options available for the tab. Each child menu option has the same available properties, and can likewise be edited. |


...
| Expand | ||||||||||
|---|---|---|---|---|---|---|---|---|---|---|
Step 1: Save your desired logo into ProVisionUsing the Command Line Interface (CLI), save the desired logo image file (here, "panda.png") to your instance's "assets" directory, located at: "/var/www/html/[instance name]/assets"
Step 2: Open the Menu Customization FileOpen the menu customization file, "menu.json" in vi, or another text editor: Note: Depending on available user permissions "sudo" may or may not be required.
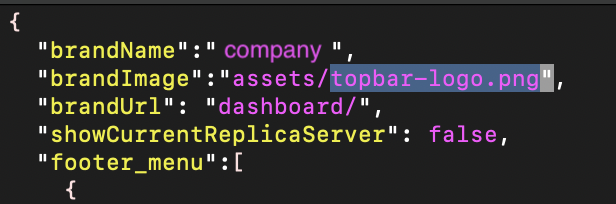
Step 3: Change the brandImage / brandName ReferenceAt the top of the file, look for the "brandImage" attribute. By default, it should read "assets/topbar-logo.png".
Edit the menu customization file to change the "brandImage" property to the new image name, here "assets/panda.png". If needed, you may also update the "brandName" property to reflect your company or brand to match the new logo.
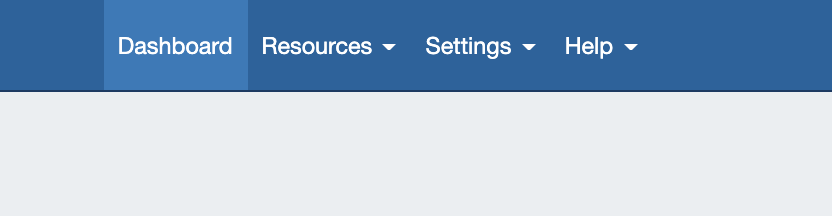
Save/write your changes to the file and exit. Step 4: View the New LogoClear your browser cached image files, and log into ProVision. The new logo image should be visible on the left side of the navigation menu.
|


...
| Expand | ||||||||||
|---|---|---|---|---|---|---|---|---|---|---|
Step 1: Open the Menu Customization FileUsing the Command Line Interface (CLI), navigate to your instance's "assets" directory, located at: "/var/www/html/[instance name]/assets"
Open the menu customization file, "menu.json" in vi, or another text editor: Note: Depending on available user permissions "sudo" may or may not be required.
Step 2: Find the Tab in menu.jsonWhen you view menu.json, tabs and their drop down sub-menu options are visible in a hierarchy organized by menu type. The top level of menu.json contains instance-wide settings for brandName (displayed company name), brandImage (logo), brandUrl (default page), and "showCurrentReplicaServer" (displays a small banner with the hostname of the server to which ProVision is currently connected).
In order, the three top menu levels are:
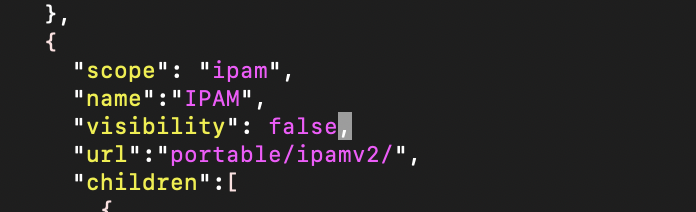
Under each menu grouping, on the second level of the hierarchy, is each main menu tab. Each tab has properties for name, visibility, url, and tab children. The third level, under "children" for a tab, lists the drop-down menu options available for the tab. Each child menu option has the same available properties, and can likewise be edited. Since we are wanting to hide the "IPAM" tab in the standard area of ProVision, we need to scroll down to the "menubar" navigation grouping, and then find the second level tab with name "IPAM". Step 3: Change the Tab VisibilityOnce you find the desired tab to hide, enter edit mode, then change the "visibility" property from "true" to "false" (do not include the quotes, and be sure to retain the trailing comma).
Save/write your changes to the file and exit. Step 4: View the Updated NavigationClear your browser cached image files, and log into ProVision. The updated navigation should be apparent, in this case with "DNS", "DHCP", "IPAM", "Peering", and "Reporting" tabs no longer visible.
|
Theme Customization
...