...
Prior to importing your data, there is a key step of Data Normalization to ensure that information is accurate. If you need assistance with parsing your data prior to importing, 6connect can help with our Data Analyst service. Email , just email us at support@6connect.com for more information.
You can also use off the shelf tools like Microsoft Excel, MySQL, or Google Refine if you intend to take on the task of data cleanup in house.
Common normalization steps required for ProVision imports include:
- Remove any empty rows in the data range
- Remove any empty columns in the data range
- Remove stray data from inside and outside the data range, such as:
- notes, comments, and placeholder text as field values, when not set as their own data column
- nested secondary information located in additional rows under a primary record
- Ensure proper data formatting
- Check for data formatting errors - a common issue is leading zeros being dropped from a ZIP field when a file is opened. Re-specify format as needed.
- Ensure each field has consistent formatting for values
Ensure unique values for primary identifiers, such as Resource Name and ID Fields
Note title Data Encoding Format To ensure correct importing of any special characters, make sure to use UTF-8 encoding for your CSV file!
...
You can download data import templates from the Dashboard Tab or Data Import Tab. We recommend that you open the CSV import templates and get familiar with the data fields that you can import into the platform.
- For Company information you can import relevant data including mailing/billing address information as well as ARIN specific SWIP fields, and specific DNS servers.
- For Contact information you can import contact records assigned to a given Company company. We support typical fields for this data including Namename, multiple email fields, phone numbers as well as Timezone timezone and Role role (Roles roles can be customized from the IPAM Admin Tabtab).
- For IP Block information you can import the following fields:
...
Step 3: Import your Data
Get to the Data Import Tab from the Admin button to to import your data. For larger data import runs, feel free to contact 6connect support at any time for assistance at support@6connect.com.
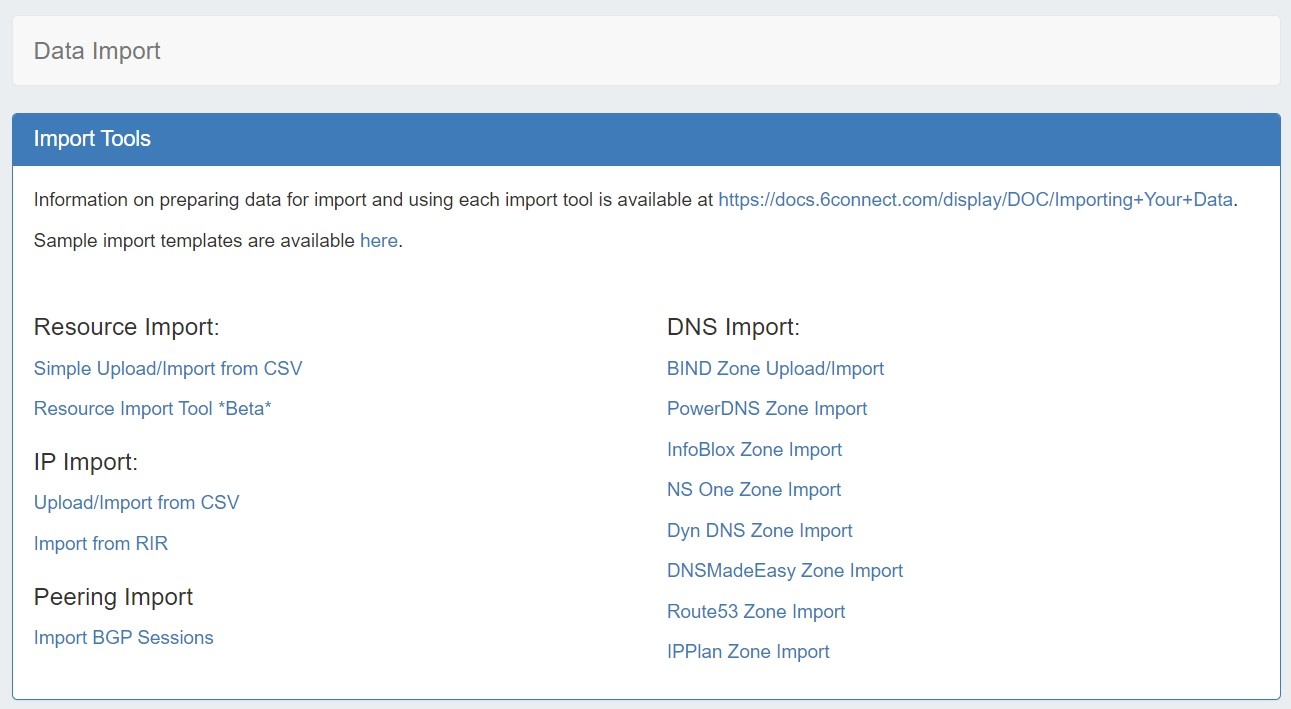
Data Import Overview: Which Import Tool Should I Use?
...
Simple Upload / Import from CSV: Use this tool if you have a simple .csv file of customer / contact information, such as Namename, Addressaddress, Billing Addressbilling address, Phone phone numbers, POC, etc. See See Resource Import from CSV for more details.
...
| Expand |
|---|
For Resource Import from .csv, the following fields are REQUIRED:
All other fields are optional. |
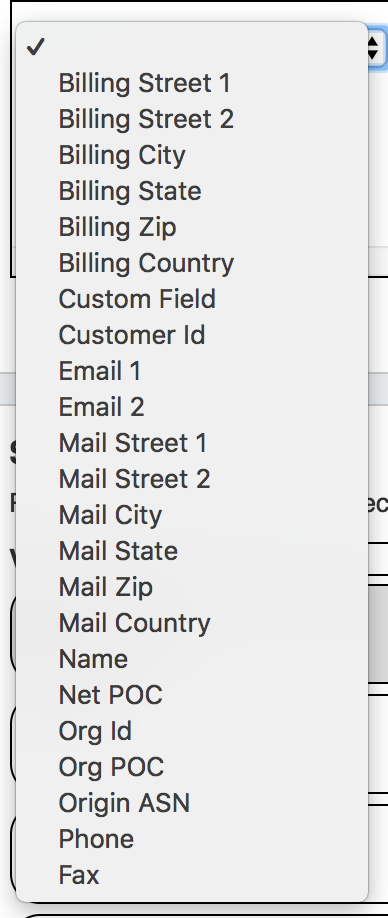
Resource Import Tool: The The Resource Import tool is designed for importing .csv files for any Resource resource type (company, physical devices, contacts, customers, etc), and allows for customized headers through integrating ProVision's Section customizable sections and fields. It also allows for data editing within the tool. Use the Resource Import Tool if you have resource data that does not fit under the Simple Upload / Import from CSV field options, and can equate that data to an existing or newly created Section.
...
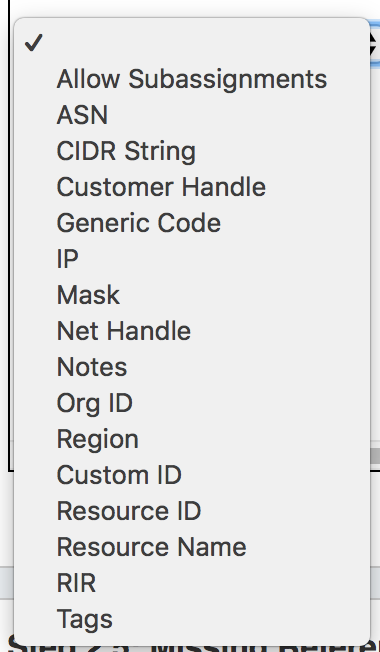
Upload / Import from CSV: Use this tool if you have a .csv file of IP block information, such as CIDR, Maskmask, ASN, RIR, etc.
This tool supports the following fields:
| Expand |
|---|
For IP Import from .csv, the following fields are REQUIRED:
All other fields are optional. |
...
The following DNS Import options are available from the Data Import tab:
BIND Zone Upload / Import: Imports DNS zones using the named.conf configuration file tied to the zones you are uploading, a .zip or .tar file of the zones themselves, and an optional .csv file mapping zones to customers and DNS Servers. This is the simplest and most commonly used import method. Refer to Import DNS Zones for more information.
...
IPPlan Zone Import: Imports DNS zones using IPPlan MySQL database options. It is advised to create a DNS Group prior to the import with default parameters and NS records to be inherited by the imported records.
Additional DNS import options may be available on a per-zone or per-server level, accessed from the DNS Tab:
DNS Zone Import: This tool is available on a zone's "View Zone" page, and allows the user to import additional zone/record information into an existing ProVision zone by uploading a zone file (.zone).
...
Import template sample files are available for selected ProVision import tools. A link is provided for a download page, both here and on the Data Import Tab.
These may be viewed as an example of .csv setup for their respective importers, or used for tutorials.
...
All Import Samples - Links to the CSV import templates page of the documentation, showing all available import template .csv files.
IP Import Sample File - Download the IPthe IP-import-sample_v1.csv filecsv file from the import templates page linked above, used in the IP Import: Upload / Import from CSV Tool.
Customer Sample Import - Download the the customer-import-sample.csv filecsv file from the import templates page linked above, used in the Resource Import: Simple Upload / Import from CSV Tool.
...