...
Manual Backup: Alternate Server saves allows you to save a a backup msql dump to a Server Resource already set up in ProVision.
This Resource needs to have the following information provided in the server section fields in order to establish a connection: Port, Hostname, Username, and Password.
| Warning |
|---|
Before selecting Alternate Server Backup: 1) Ensure that the Server Resource exists in ProVision for the backup (Section = "Server"). If needed, create a new entry for the server. 2) Check that the following fields are added to the Server Section:
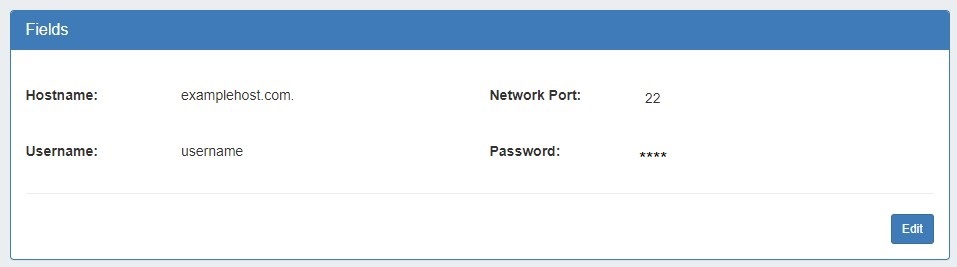
See Customizing Sections and Customizing Fields for information on adding fields to sections. Hostname, Username, Password, and Network Port will all be contained under the "Existing Fields" selector when adding fields to the Section. 3) On the Backup Server's Entry page, verify that the server fields are filled in and correct for the ProVision server entry:
If needed, click "Edit" and add or update the information. See Working with Entries for additional information. |
Once a Backup server has been set up in ProVision, it will be available to select under Backup Settings: Alternate Server.
Select "Alternate Server" as your backup location, then select the desired ProVision server Resource. After selecting your server, click on the "Backup Now" Button.
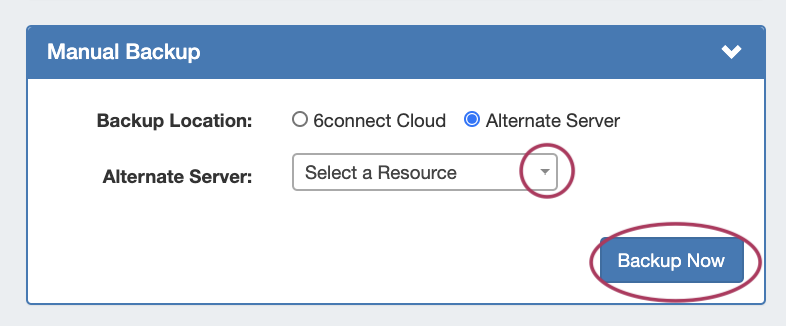
If successful, a mysql dump file will be sent to the selected server and a "Success!" message will appear.
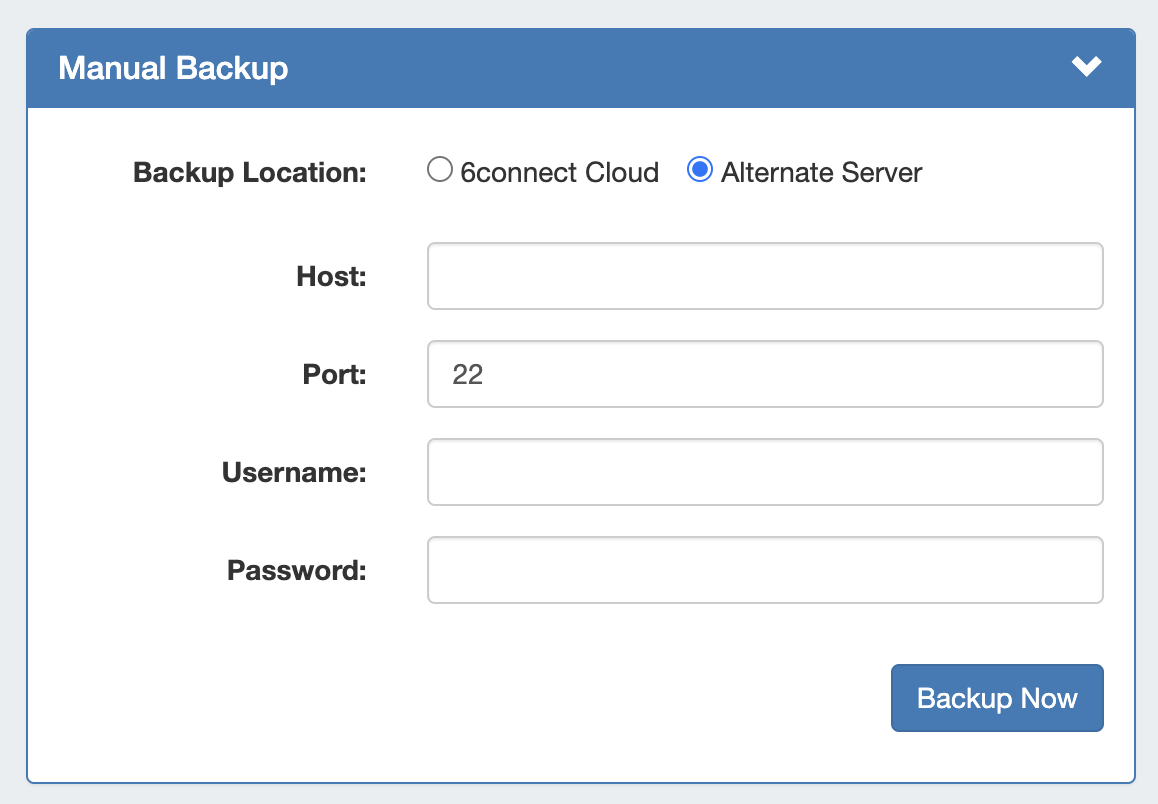
server outside of ProVision.
Select "Alternate Server", and then enter the following server information: Port, Hostname, Username, and Password.
Once complete, click "Backup Now" to connect to the server and send the backup file.
 Once the connection is confirmed successful, Backups to alternate servers may be scheduled on a recurring basis through the Scheduler, or continued to be performed manually under Backup Settings.
Backup Settings - Local Installation
...
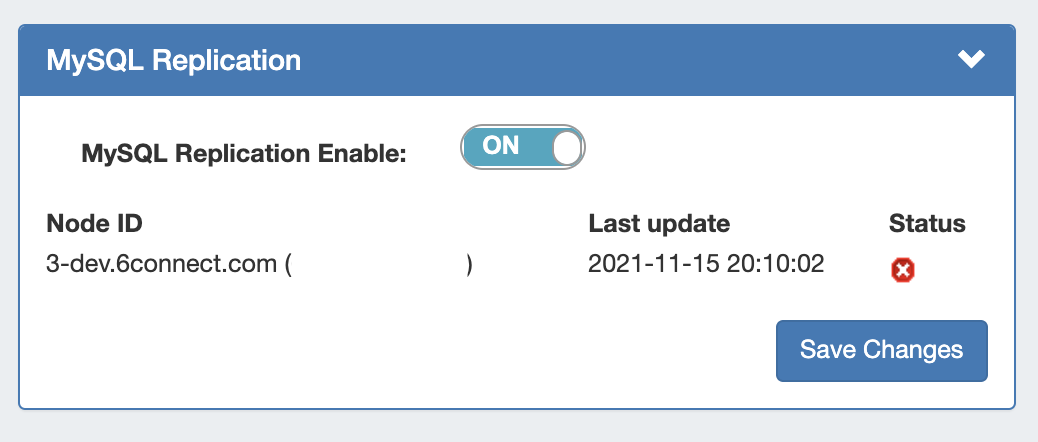
MySQL Replication Monitor displays the enabled/disabled status of replication, and periodically checks the replication state and displays the result in Admin Settings.
To enable / disable MySQL Replication, turn the toggle to the ON/OFF position, respectively. Click "Save Changes" when done.
Note: The Once saved, the associated "MySQL Replication Monitor" Scheduler task must be created is automatically created to gather data for the desired interval in order for the monitor to execute. See Scheduler Tab updates, below, or the the Scheduler for details on setting up tasks.
To deactivate the MySQL Replication Monitor, turn the toggle to the "Off" position, and click save changes. The associated scheduler task will be automatically deleted.