...
| HTML |
|---|
<div id="google_translate_element"></div>
<script type="text/javascript">
function googleTranslateElementInit() {
  new google.translate.TranslateElement({pageLanguage: 'en'}, 'google_translate_element');
}
</script>
<script type="text/javascript" src="//translate.google.com/translate_a/element.js?cb=googleTranslateElementInit"></script> |
Working with DNS Zones
This page details some common DNS tasks performed from the DNS tab.
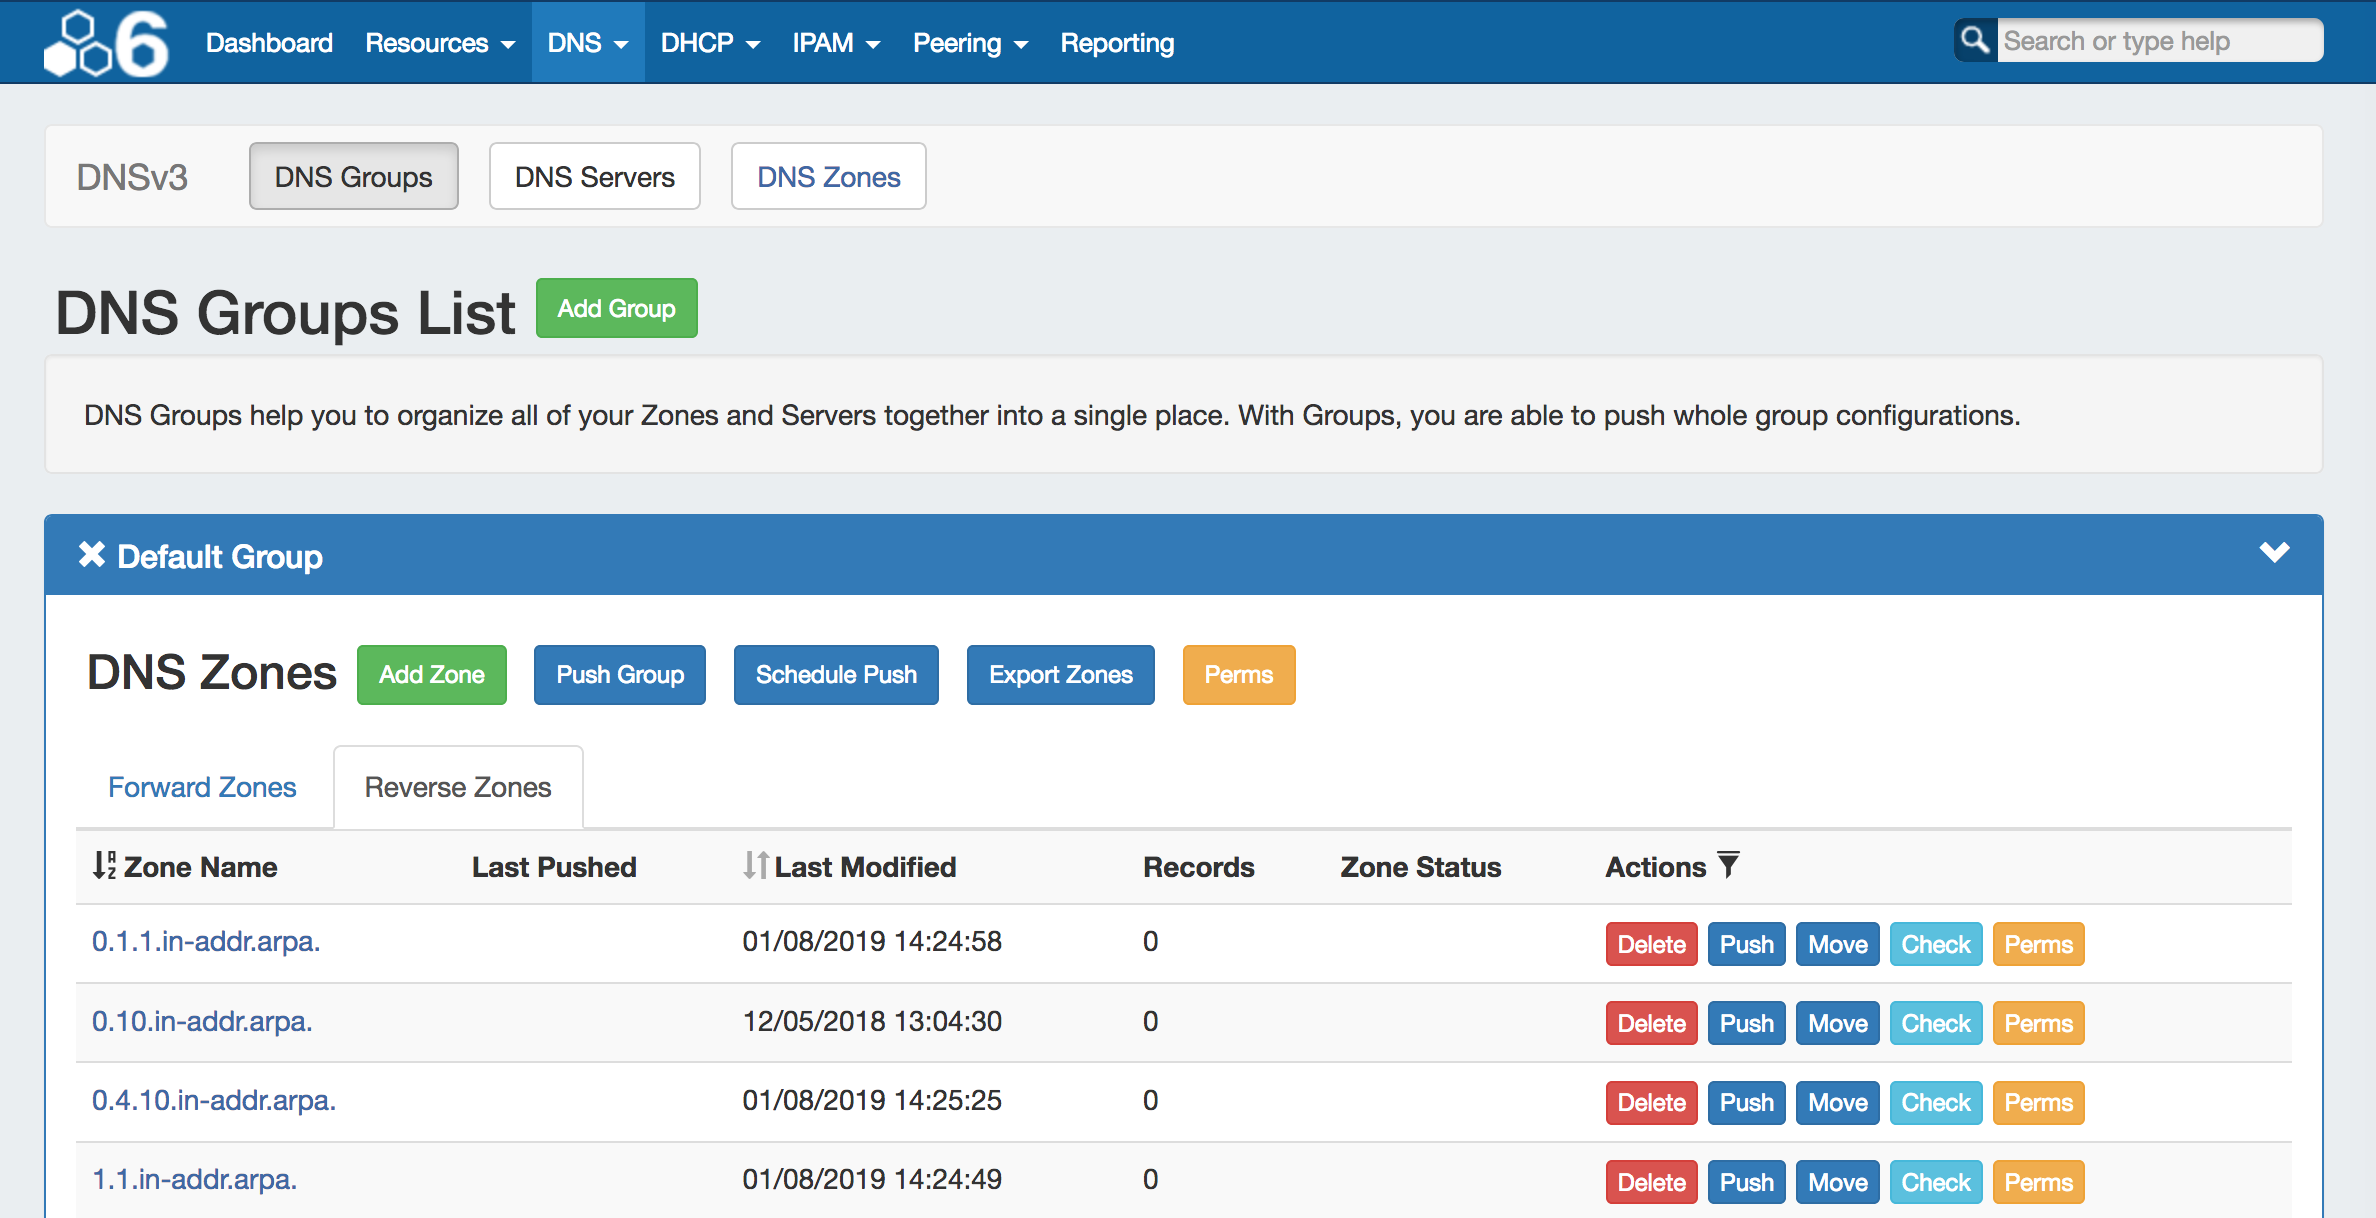
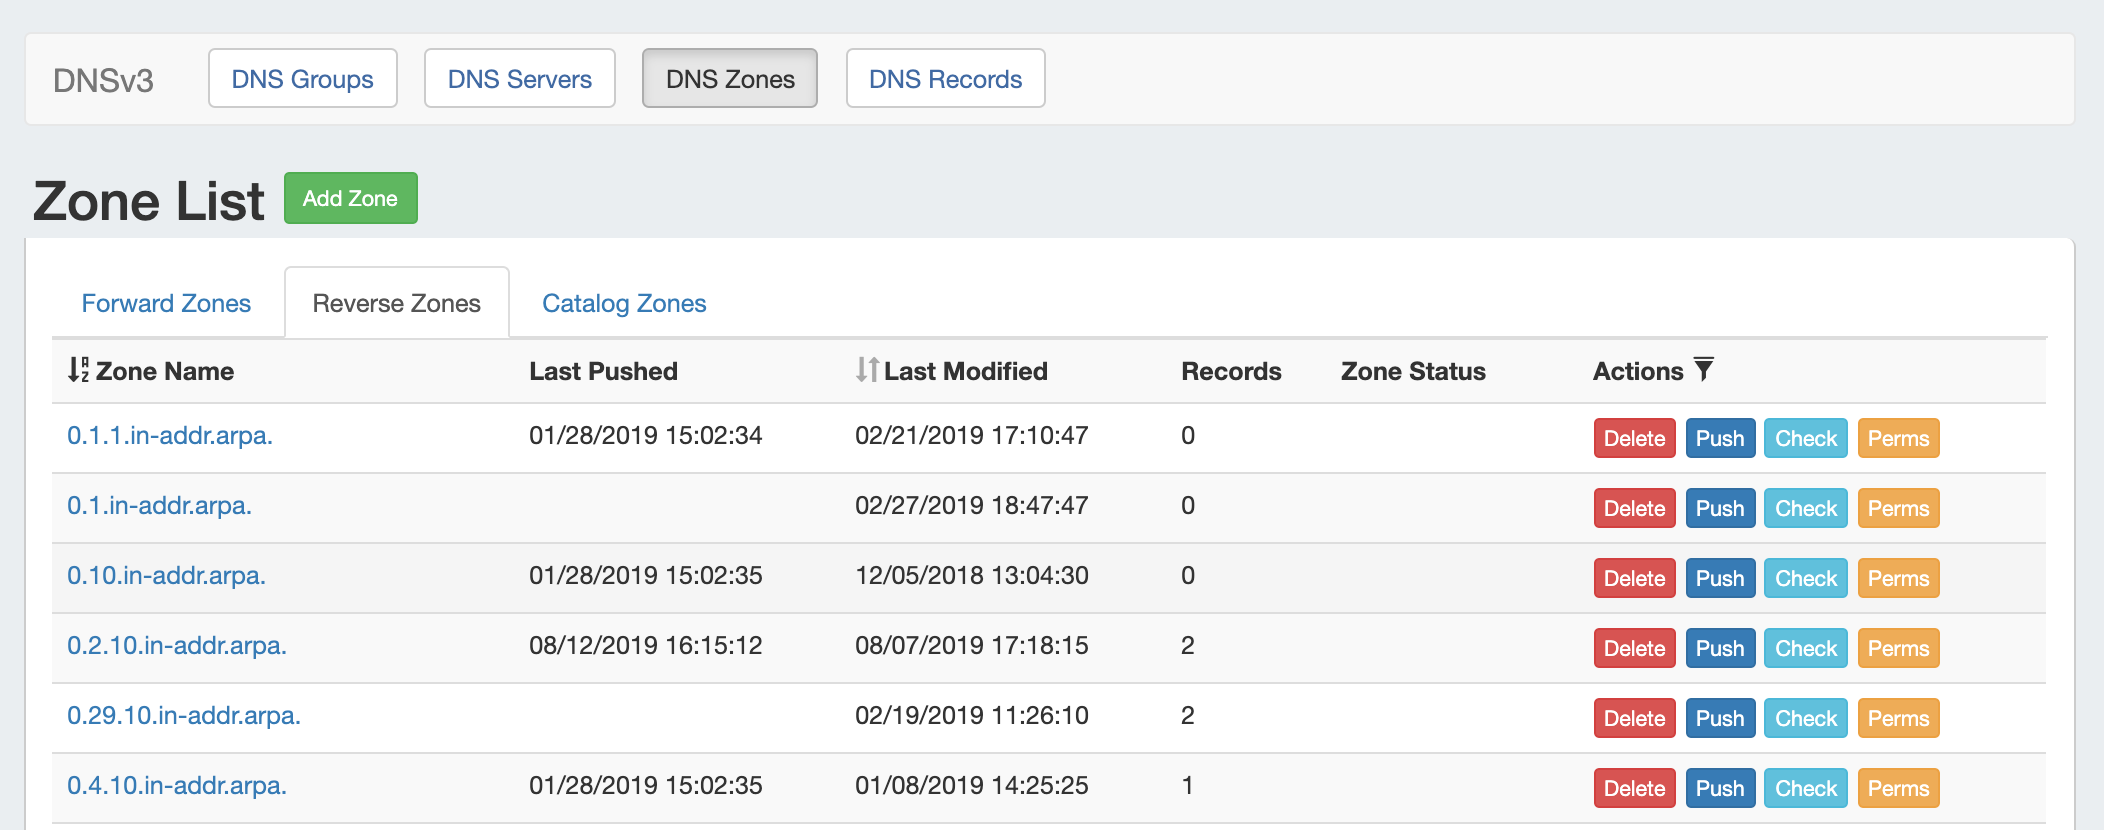
DNS Zones are accessed under the DNS tab, DNS Groups or DNS Zones sub-tabs. Separate zone lists exist under each DNS Group.
DNS Records are accessed from either the View Zone page (for records under that zone), or globally under the DNS Records sub-tab. For Details on working with records in either area, see Working with DNS Records
For a more general overview of each of those sub-tabsDNS Groups and Editing Zones, see Working with DNS Groups and Editing DNS Zones. This page focuses on specific DNS zone tasks.
...
Here, comments may be added, records added or updated, servers attached to the zone, advanced settings edited, backups restored or the zone pushed / exported. For a general interface overview of the View Zone page, see Editing DNS Zones.
For detailed information on working with DNS Records from the View Zone page Record List or the DNS Records sub-tab, see Working with DNS Records.
Add a comment
To add a comment to a zone, click anywhere inside the comment area and begin typing. The comment will be saved when an area outside of the comment box is clicked, deselecting the comment area.
...
Edit fields as needed, and click "Save" when done.
Add Zone Records
From the View Zone page, under DNS Records, look for the line "Add a new ___ Record".
Select the desired record type from the dropdown list, then click "Add".
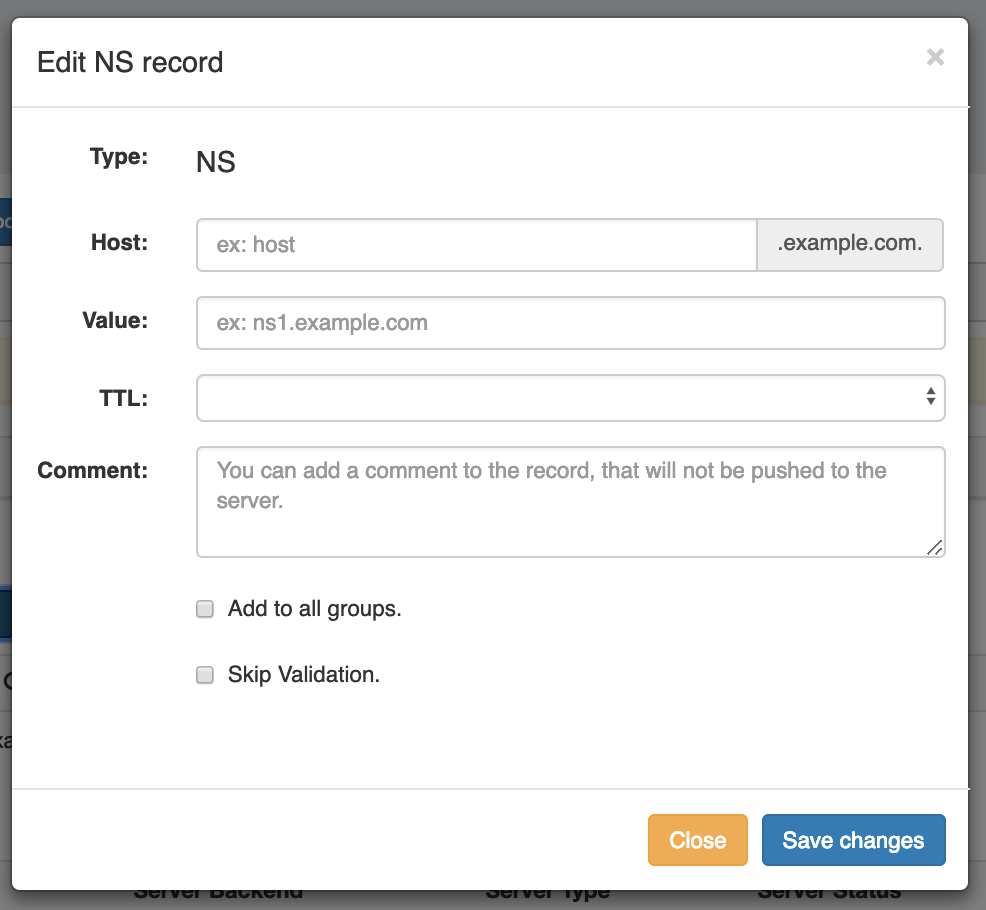
Fill in the information for the new record, selecting options for adding to groups or skipping validation.
When done, click "Save Changes".
Edit Zone Records
To edit an existing zone record, click on the record line in the DNS Records list.
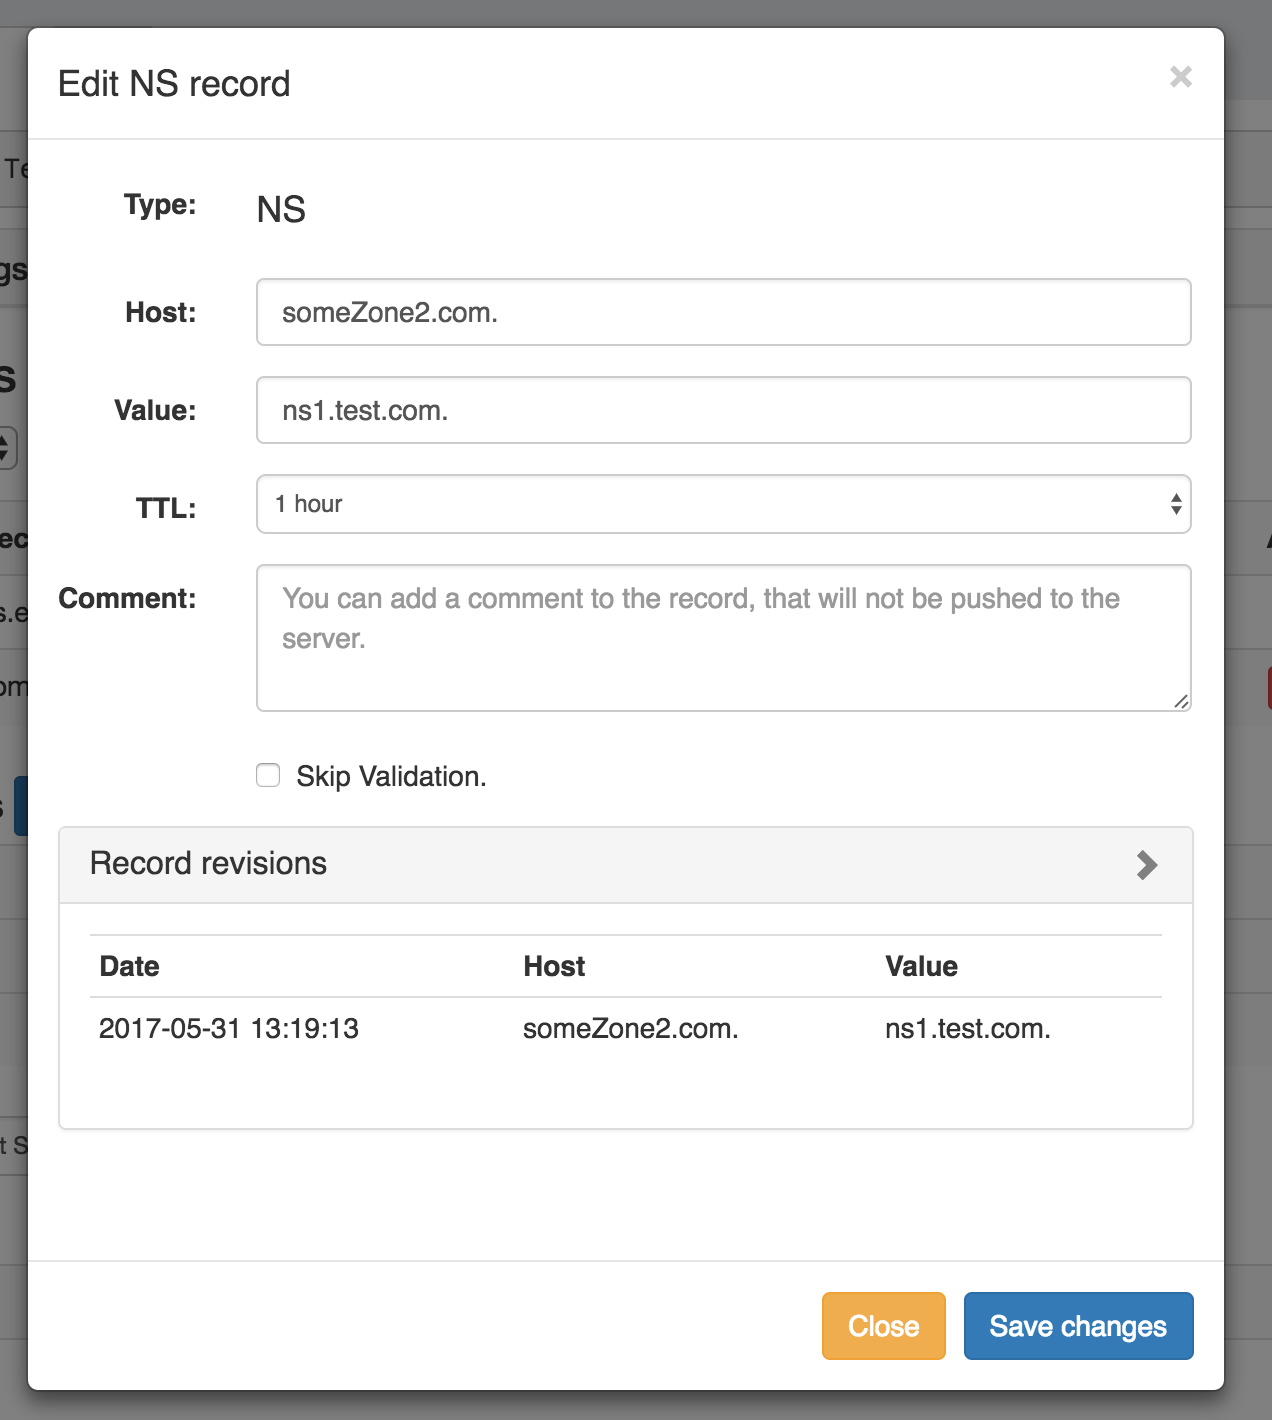
The Edit Record dialog will open, allowing you to fill in record details.
Fill in the Host, Value, TTL, and comment if desired.
An option exists to "Skip Validation" - check to select if you wish to bypass validation for the record.
If previous versions of the record exist, the revision log will be visible under "Record revisions".
When edits or reviewing is complete, click "Save changes", or "Close" to exit without saving.
Delete Zone Records
Delete a zone record by clicking the "Delete" button under "Actions" for the desired record entry.
Check a Record
Check a record for errors by clicking the "Check" button under "Actions" for the desired record entry.
A dialog box will appear, with details on any errors.
You may clear the error if desired, recheck, or close the box.
Attach / Detach Servers to a Zone
Under the "Attached Servers" section of the View Zone page, next to "Attach Server:", select the desired server to attach and choose the server type (Default, Master, Slave), then click the "Attach" button.
To detach a server from a zone, look for the server under the "Attached Servers" list, then click "Detach" under actions for that server.
Restore a Zone / Record from Backup
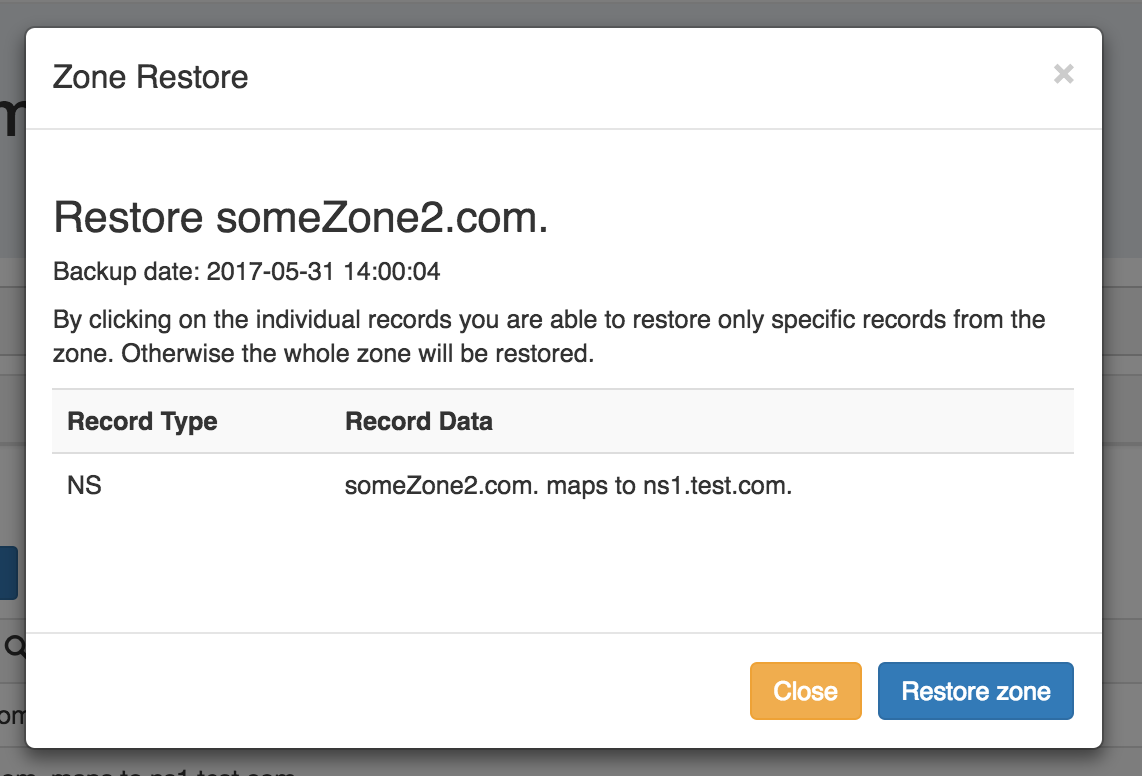
If a zone has had changes sucessfully pushed, a "Zone Backups" section appears near the bottom of the page, showing the date and time of the backup.
To view details, or restore the zone to the previous version, click on the row of the desired date/time backup, and the "Zone Restore" module will open.
From here, you may restore individual records by clicking on them, or restore the entire zone by clicking the "Restore Zone" button.
To exit without saving, click the "Close" button.
Move Zones to a Different Group
...
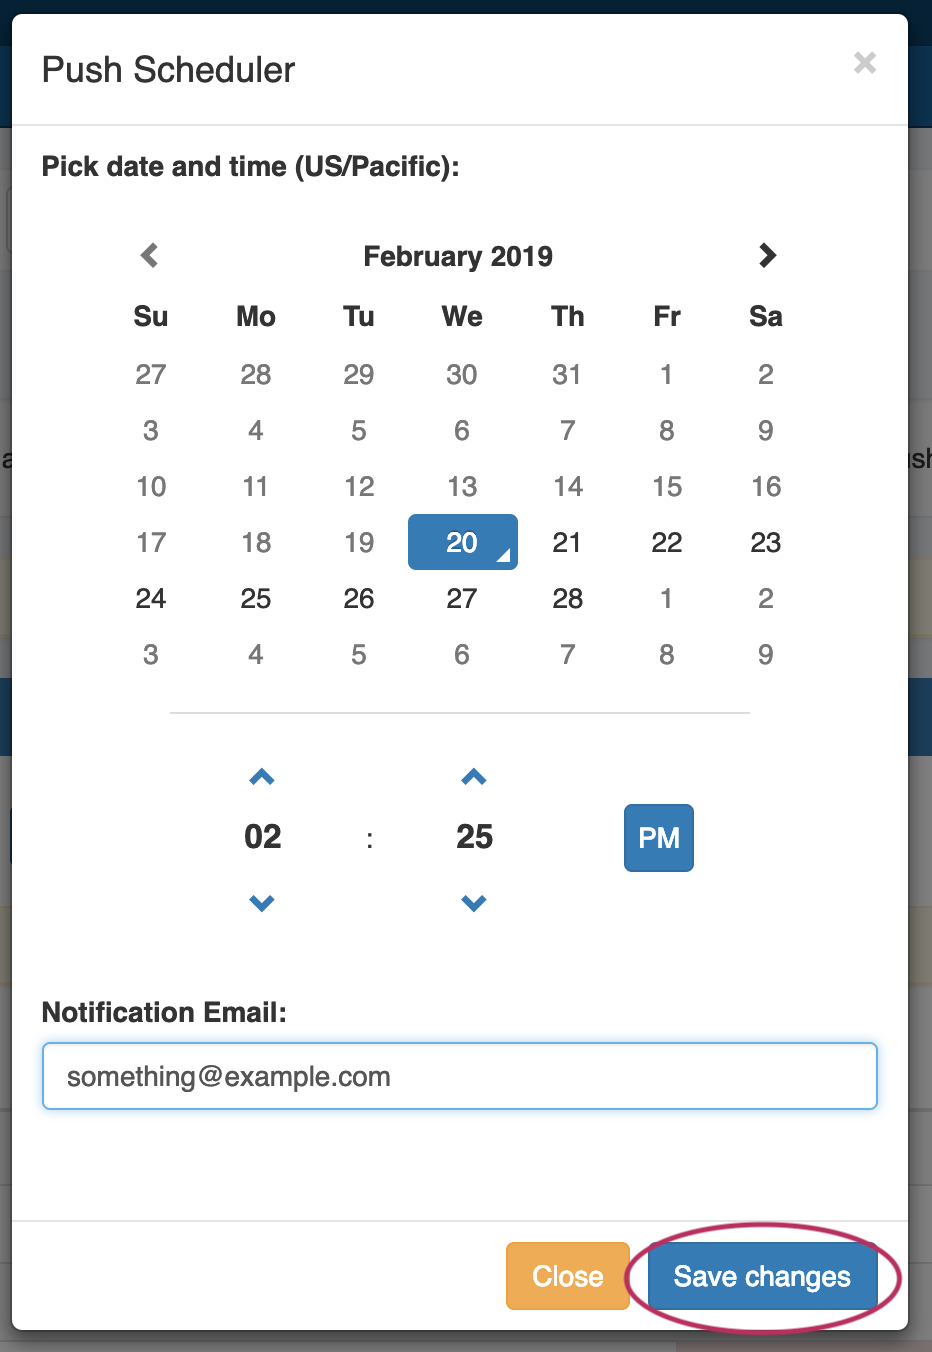
Click "Schedule Push" for the zone, then select a date, time (12 hour, with AM / PM toggle), add a notification email address, and click "Save changes".
The Scheduled task will be shown in both the Zone View page (under "Scheduled Tasks") and the Admin Scheduler task list.
...
- DNS Tab
- Working with DNS Groups
- Working with DNS Records
- Editing DNS Zones (The View Zone Page)
- DNS Administration
- Import DNS Zones
- Approvals
...
