...
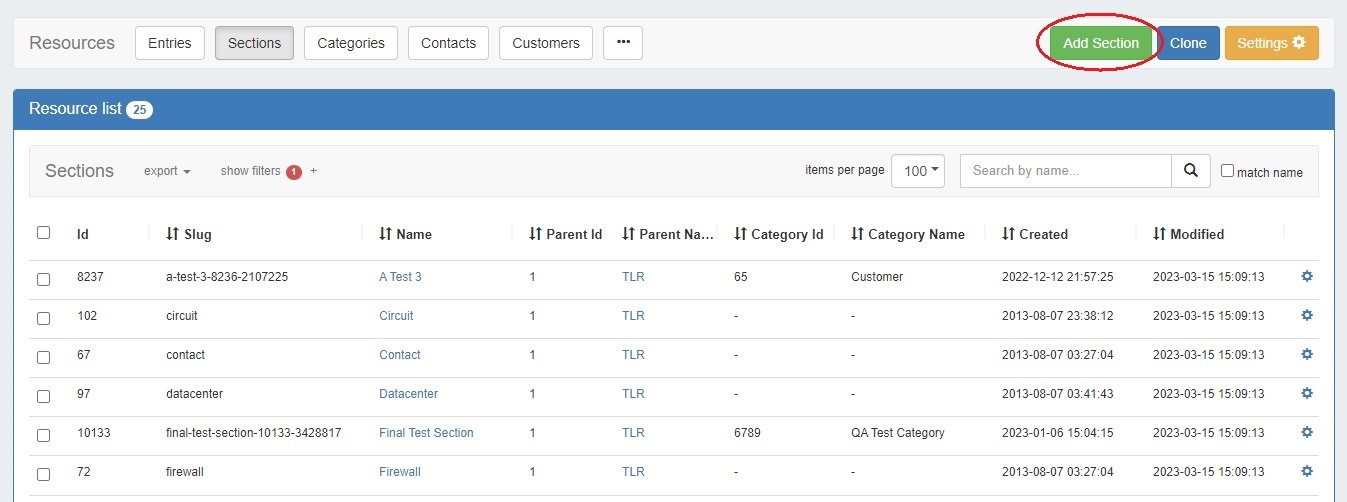
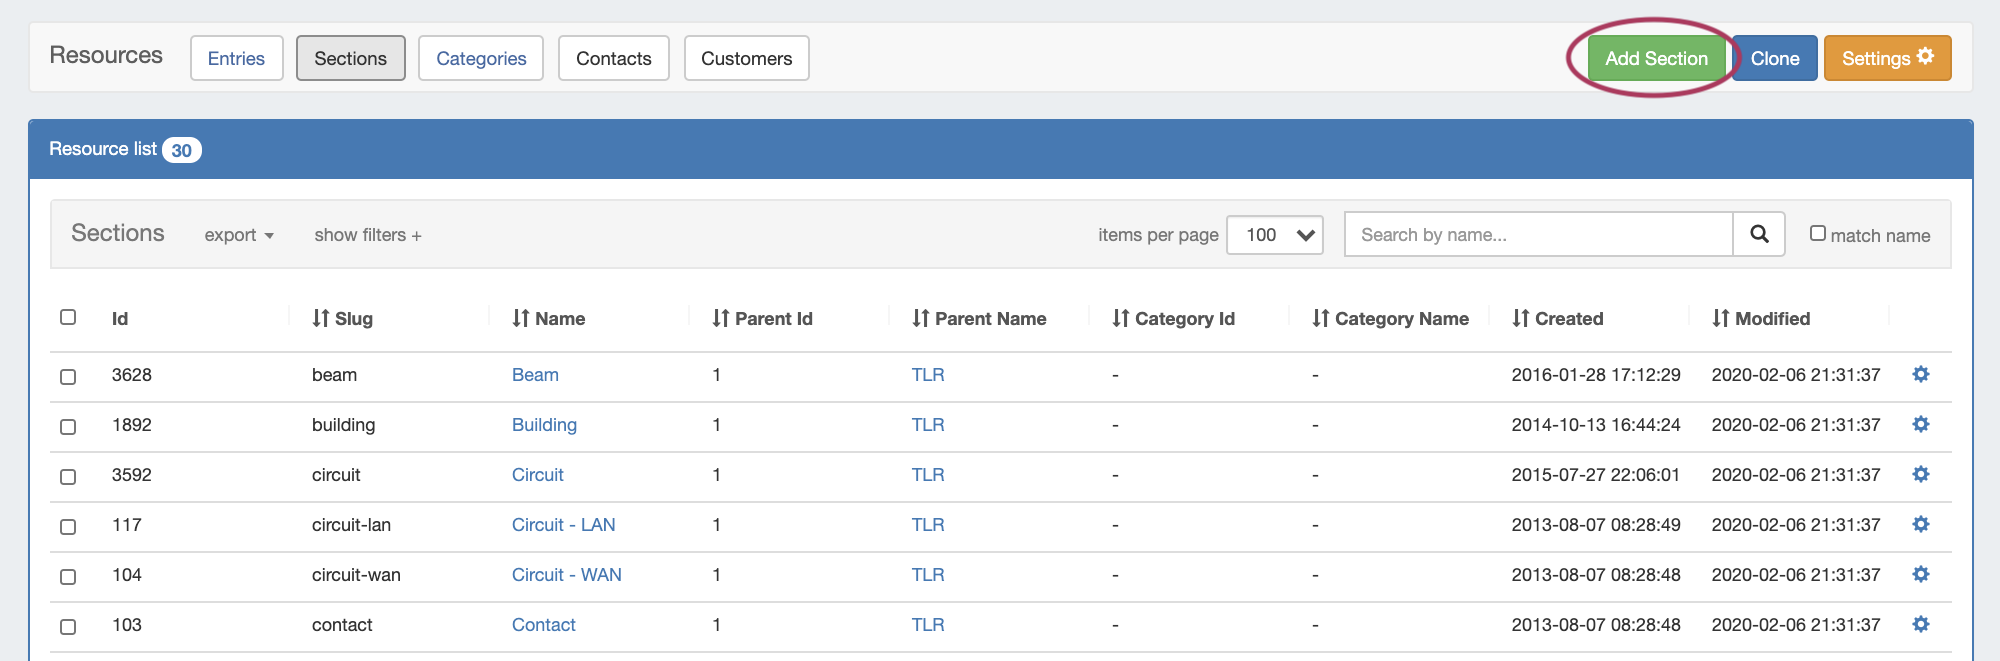
Click "Add Section" from the Sections view button under the ResourcesTab
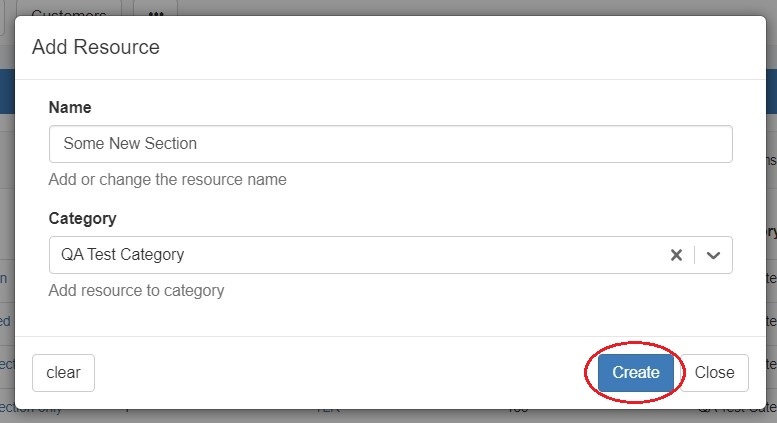
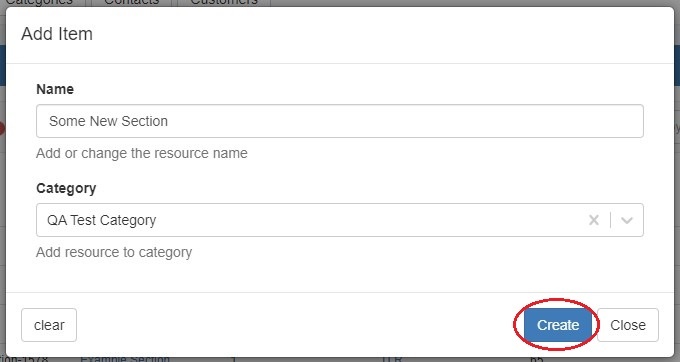
Create a new section by specifying a name and category. Then hit the "Create" button.
Edit a Section
...
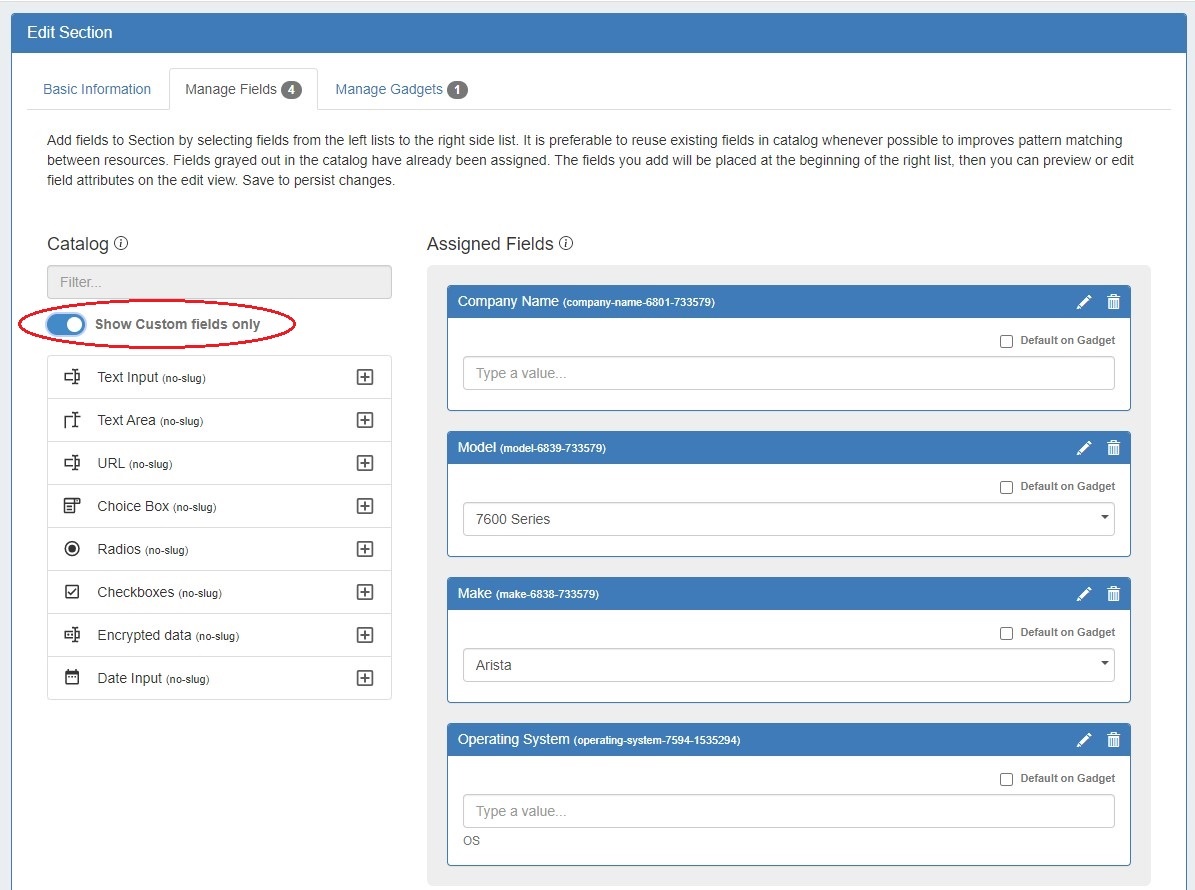
To view only unedited custom fields, enable the toggle below the searchbox. These are fields that do not technically exist yet. Once a blank field is added to a section and customized further (by editing the Field data), it will then have a slug and be added to the Field Catalog for reuse on other sections.

Once you have added the desired fields to a section, click "Save" at bottom right.

Edit Field Data
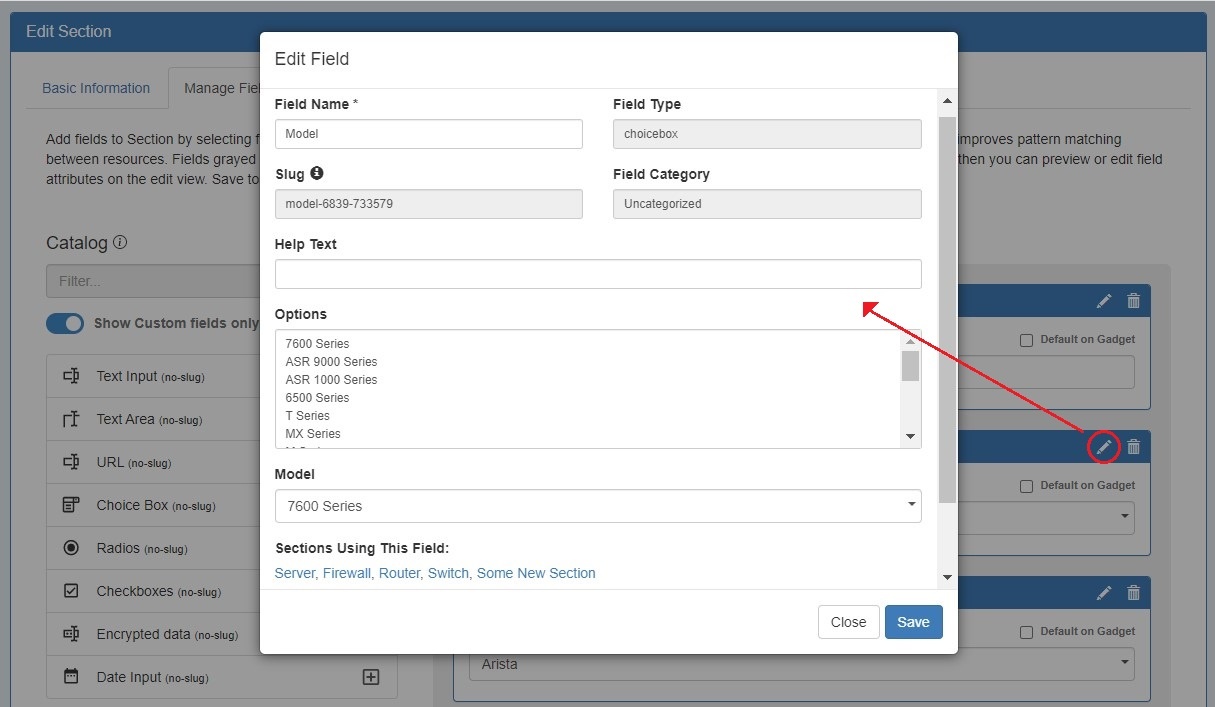
Once fields are added to a section, they may be renamed and have other attributes updated by clicking on the edit icon.
Any fields enabled here will be available to add to the field gadget, if desired.
Add a Dependent Field
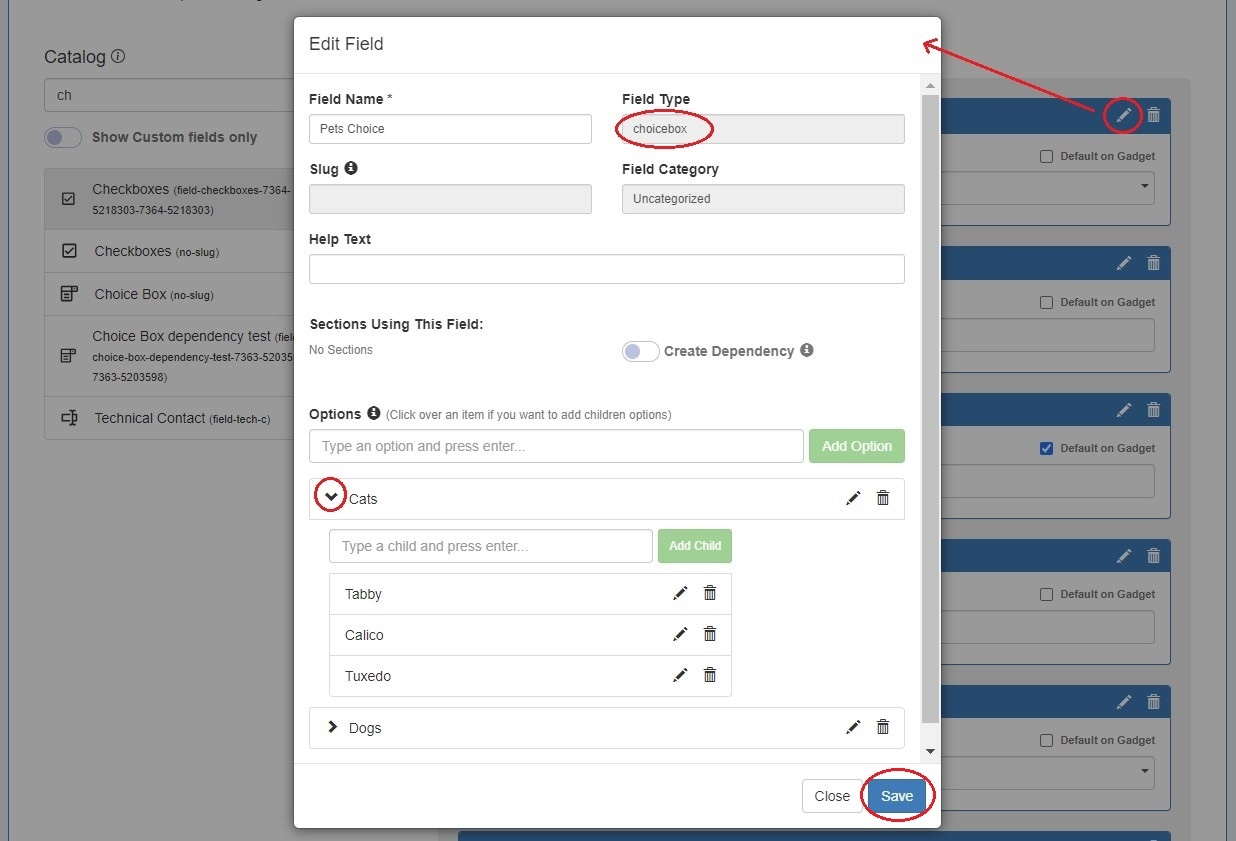
Dependent fields improve data accuracy by limiting the information able to be entered in a field dependent on the information entered in another (i.e. make/model). Dependencies may only be added to choicebox type fields.
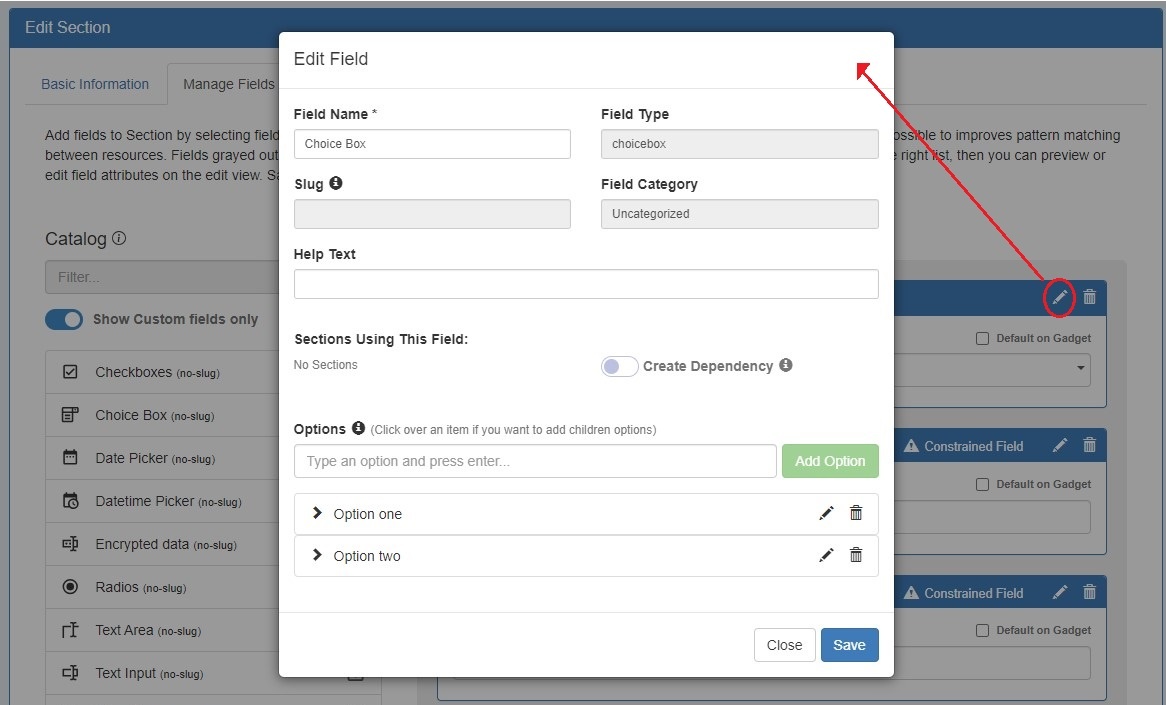
To add a dependent field, you must first set up the field on which it will be dependent. Add a choicebox field from the catalog and open edit. Add options, then add children to the options. Click save. If adding a new custom field, you will need to save from the main "Manage Fields" tab as well.
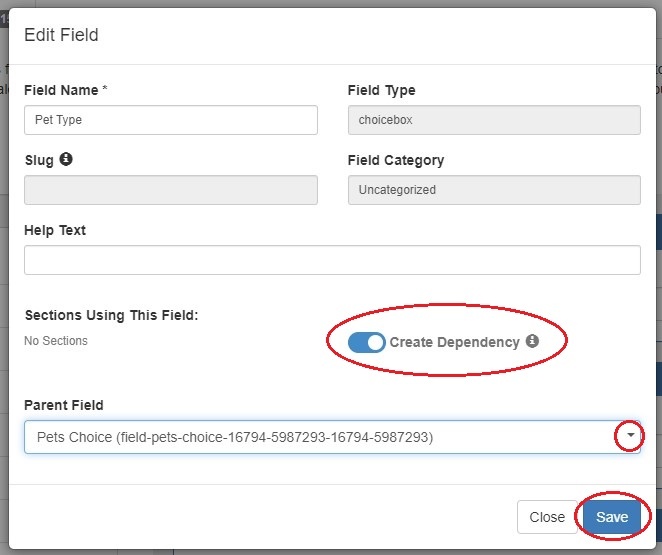
To add the dependent field, add another choicebox field. Open edit and enable the "Create Dependency" selector. Choose a Parent Field from the dropdown and click save. Remember to click save again before exiting the tab.
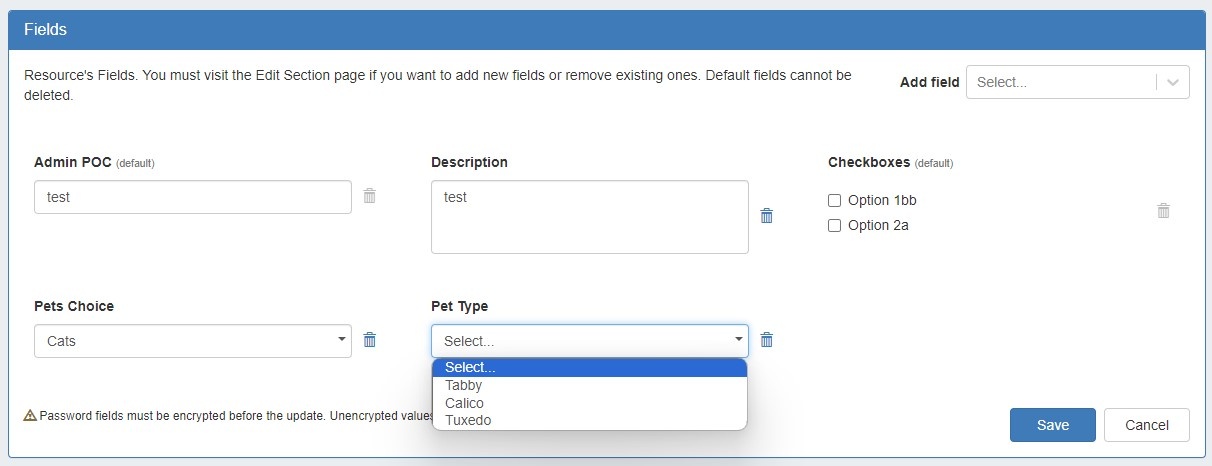
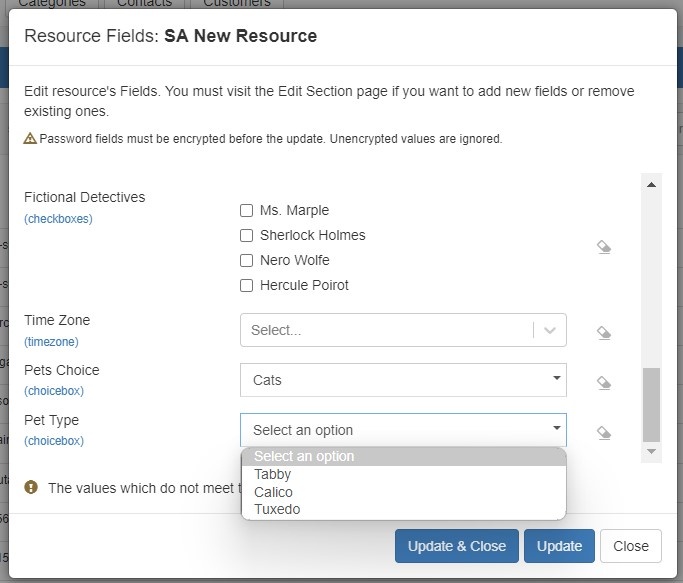
Once the fields are added to the section, they are available in the Fields Gadget and Edit Fields modal.
Designate Default Fields
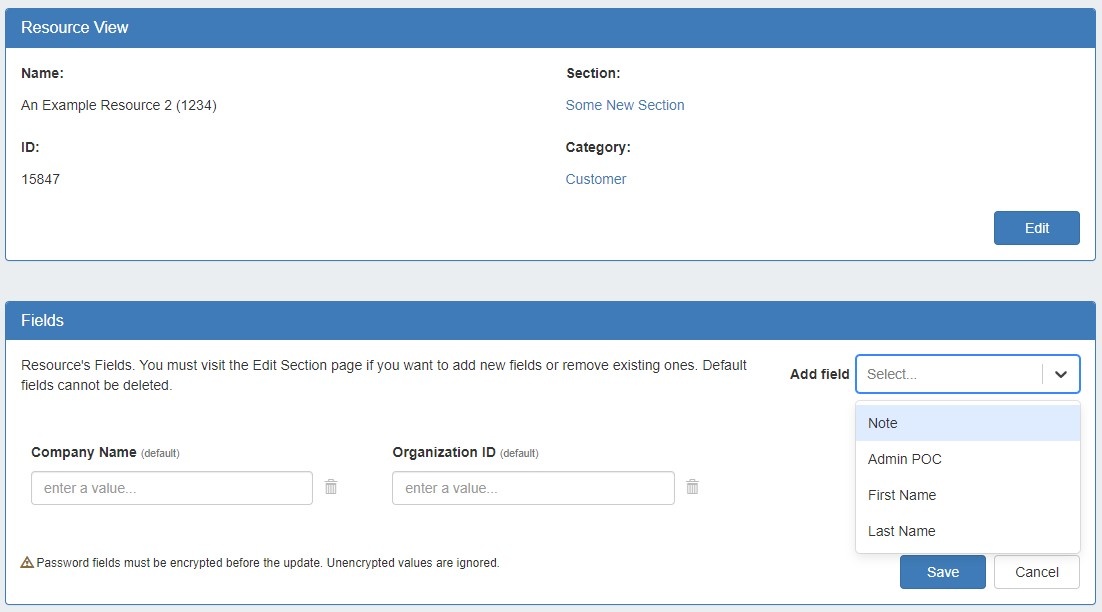
Users can designate fields be auto-added to the Field Gadget for all resources assigned to a section by selecting the checkbox "Default on Gadget".
...
Default fields cannot be removed from the Field Gadget. Non-default fields will be available to add to the gadget on a per resource basis via the dropdown. See Working with the Field Gadget for more information.

Apply a Constraint to a Field
The Constraints system allows Admin users to configure custom field validation and limitations into Resource fields. Many constraint types are available to create in the Admin section. For more details on creating constraints see the Constraints section in the Admin Guide.
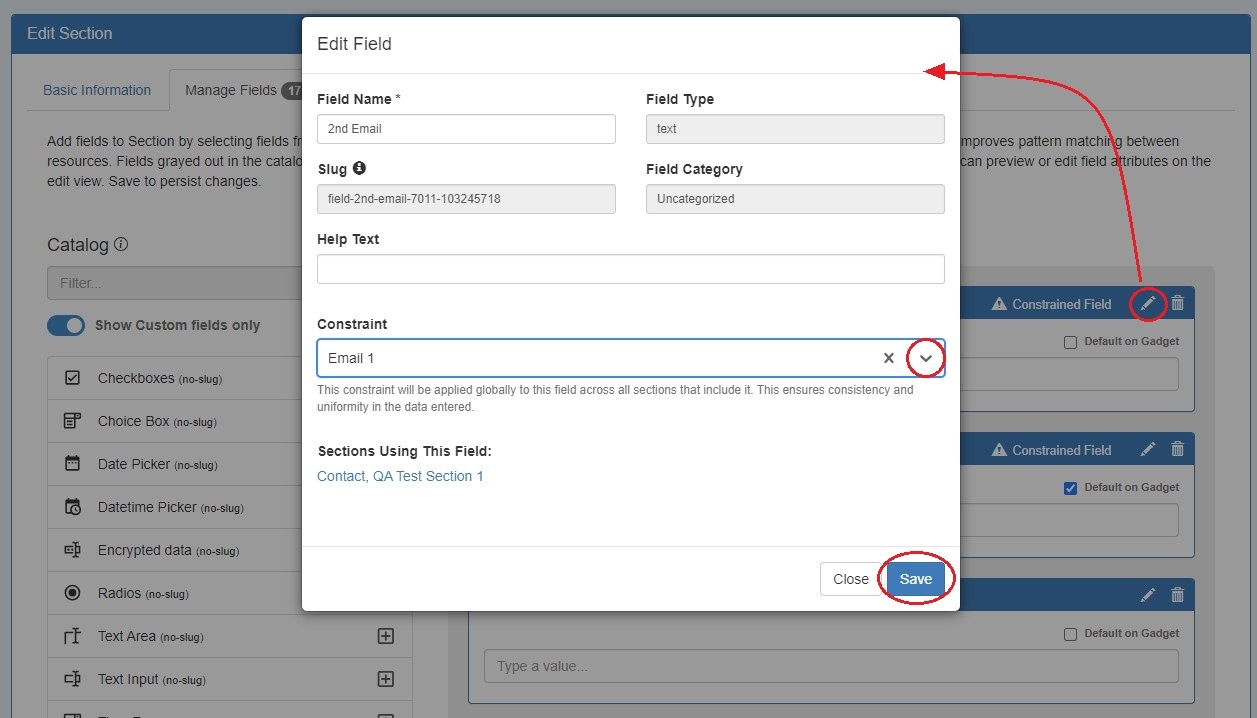
To apply a constraint to a field, open the edit modal for an assigned field. Select a constraint from the dropdown and click "Save".
| Note |
|---|
Applying a constraint to a field affects all sections to which a field is assigned. In the above example, adding a constraint to a field in QA Test Section 1 will also apply the constraint to the field in the Contact Section. You can see which sections are using the field displayed in the Edit Field modal. |
Once a constraint is applied to a field, it will be visible to the user.
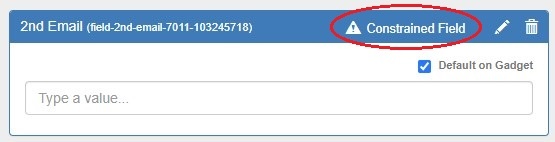
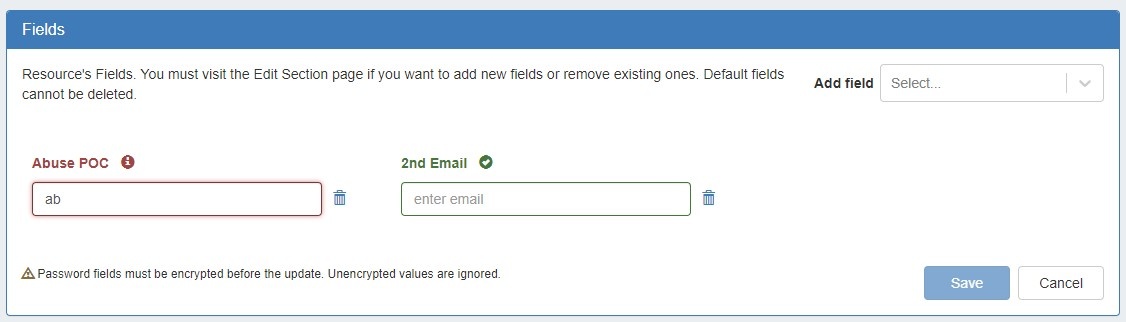
A constrained field is available to edit from the Resource List Edit Fields modal and the Resource's Fields Gadget.
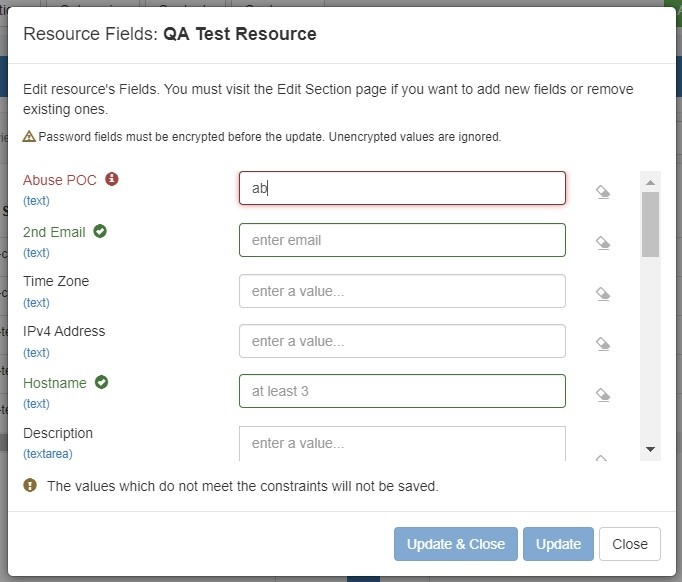
When a field is viewed that has a constraint applied, a "check" icon will display next to the field name. In this example, a Length Min constraint has been applied to the field "Abuse POC", so if we enter less than three characters into that field, we should get an error and see a visual indicator that the input does not meet the constraint settings.
Remember to Once you have added the desired fields to a section, click "Save" at bottom right after you make any changes.
Add Gadgets to a Section
...
Continue on to the following pages for additional information on Working with Resources in Provision: