| HTML |
|---|
<div id="google_translate_element"></div>
<script type="text/javascript">
function googleTranslateElementInit() {
  new google.translate.TranslateElement({pageLanguage: 'en'}, 'google_translate_element');
}
</script>
<script type="text/javascript" src="//translate.google.com/translate_a/element.js?cb=googleTranslateElementInit"></script> |
Dashboard Widgets
The previous section, Customizing the Dashboard, gave a high level overview of the dashboard types, how to create new personal dashboards, edit the dashboard layout, and remove personal dashboards. This section will give an overview of how to work with individual Widgetswidgets, and options available in each Widget widget type.
Before you begin working with individual Widgetswidgets, make sure that you have reviewed the information contained in in Customizing the Dashboard and are familiar with the tasks outlined there.
...
To add a widget to personalize your dashboard, click on the "Add Widget" button at the top of the page.


Then, click on the name of the Widget widget you want to appear on your page. It will automatically be added into the leftmost column of your page.
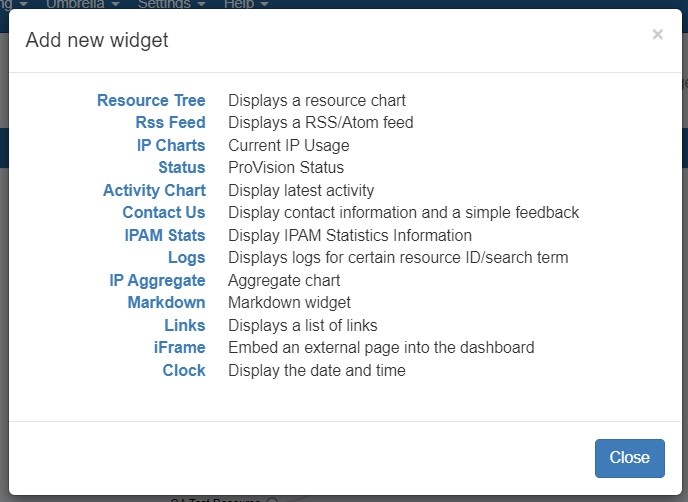
Some Widgets widgets may only have one instance per dashboard, whereas other Widgets widgets may be able to have multiple instances per dashboard. The Add New Widget dialog will only show you the widgets you have available to add.
For detailed information on each individual Widgetwidget, view the .Working with Dashboard Widgets v7.0.0#Available Widgets section on this page Available Dashboard Widgets.
Move a Widget:
Individual Widgets widgets may be moved around the page by clicking and dragging on the "Move" icon on the right side of the Widget widget header.
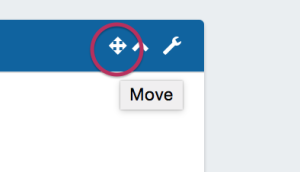
While mousing over the move icon (when the cursor changes to a hand icon) click and hold your left mouse button, then drag the widget up or down to the desired location.
To move the Widget widget to another column, drag the widget sideways to the column, then up to briefly hover over a Widget widget already in the desired column (this "selects" the column for the Widgetwidget). Then, drop the Widget widget in the desired location in that column.
...
Widgets can temporarily be viewed at a larger size by hitting the "Maximize" icon on the Widget widget header. This will "pop out" the widget information to a larger page size for easier viewing.
...
To open the edit menu for a widget, click on the Action Menu (wrench icon) on the right side of the Widget widget header. A drop down menu will appear with some of the following options:
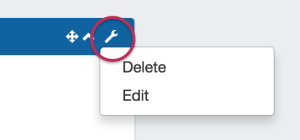
Edit: Opens Opens an edit widget pop up, where widget-specific options may be changed. Options may include changing the title, links, applicable resources, and so forth depending on the particular Widgetwidget.
Resize: For Widgets For widgets able to be resized vertically, brings up a draggable black bar at the bottom of the widget. Drag the bar up or down to the desired widget height, then select the Action Menu again and click on "Save Resize" to save and complete the size edit.
Save Resize: Available Available only after the "Resize" action has been used. After resizing a Widgetwidget, selecting the selecting the Action Menu again and clicking on "Save Resize" will save the Widget widget size.
Delete: Deletes the widget.
...
Available Widgets
Activity Chart (Admin only)

Illustrates activity level for API, IPAM, DNS, Peering, and Resource areas of ProVision. The Activity Chart is only visible to Admin users. Only one Activity Chart Widget may exist on a dashboard.
Activity Chart Actions:
Radio Buttons: Select the desired ProVision activity area to view by clicking on the radio buttons (API, IPAM, DNS, Peering, or Resources).
Chart: While hovering over the chart, you can:
Use the Scroll Wheel to zoom in or out of the date/time detail level
Double click to zoom into the next date/time detail level
Click & Drag left or right to move to an earlier or later date/time at the current zoom level
Single Click on a bubble will show the activity detail, and resource / IP block links if applicable.
Activity Chart Edit Options:

Title: Edits the title of the Widget shown on the header.
Resource Tree
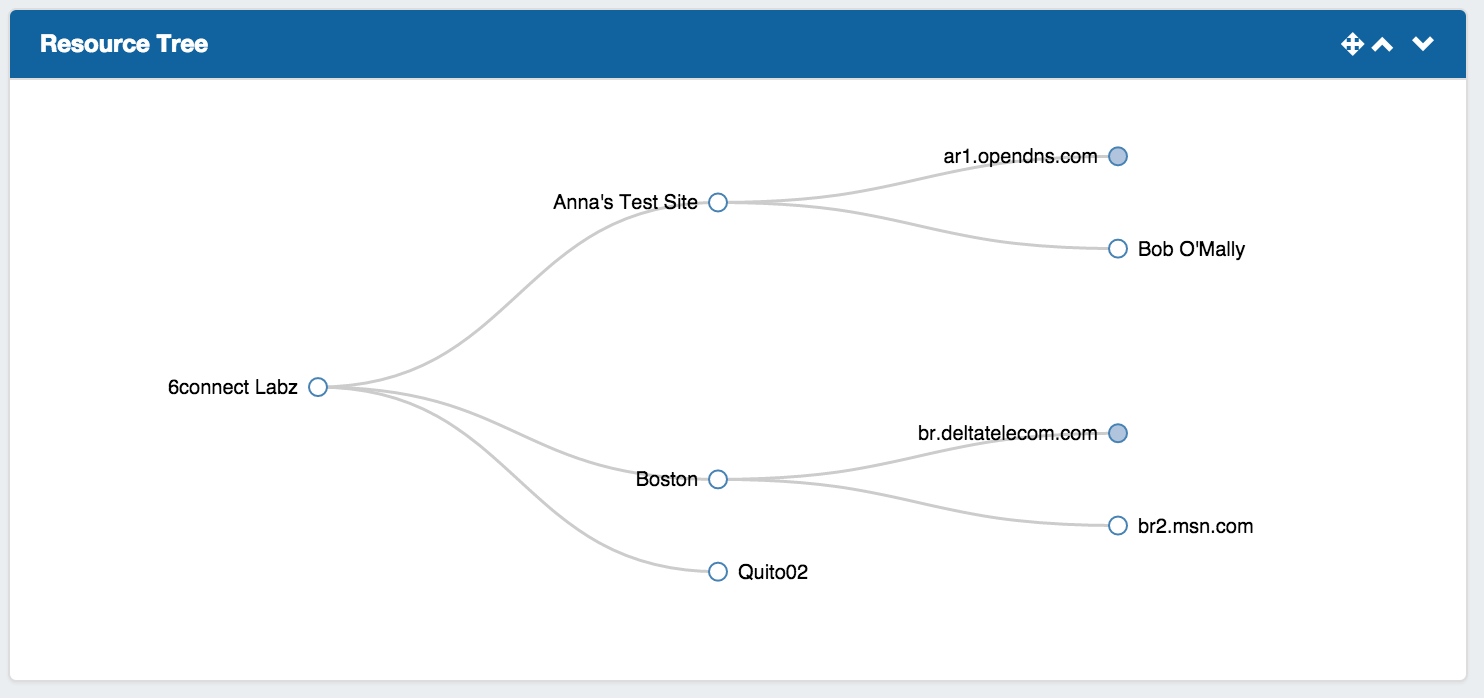
Interactive graphical display of the resource structure for a parent resource.
Resource Tree Actions:
Users may:
Click & Drag to move the chart within the Widget,
Use the Scroll Wheel to zoom in or out
Click on Filled dots to expand the tree to show the children of that resource.
Double click on a resource in the tree to give you the option to navigate to the resource's entry page.
Resource Tree Edit Options:

Title: Edits the title of the Widget shown on the header.
Orientation: Select "Horizontal" to view the tree in horizontal form, with the top level resource on the leftmost side of the widget, and children expanding to the right. "Vertical" will show the tree with the top level parent at the top of the widget, with children expanding downward.
Resource: A text search box to select the resource that will be the top level resource for the tree.
When done editing, hit "Apply" to save your changes, or "Cancel" to exit without saving.
IP Charts

Illustrates the percentage of assigned, unassigned, allocated, and holding tank hosts for 1918 / IPv4 / IPv6 space out of the total available hosts in ProVision viewable by the user.
Hovering over a particular status will display detailed data in the center of the chart for that status type.
IP Charts Edit Options:
Title: Edits the title of the Widget shown on the header.
RSS Feed

Shows the most recent five entries of a selected RSS Feed. Feed links open in a new window when clicked.
RSS Feed Edit Options:

Title: Edits the title of the Widget shown on the header.
Feed URL: Edits the URL of the RSS Feed to show.
Status
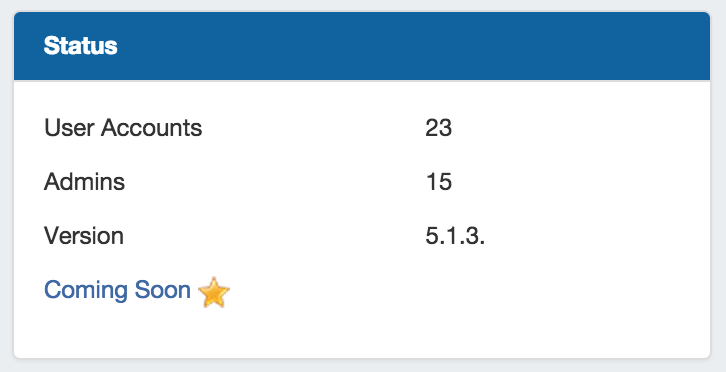
Shows 6connect ProVision status information, including number of user accounts (admin only), number of admin accounts (admin only), current version number, and a link to the "Coming Soon" section of the ProVision documentation.
Status Edit Options:
Title: Edits the title of the Widget shown on the header.
Clock
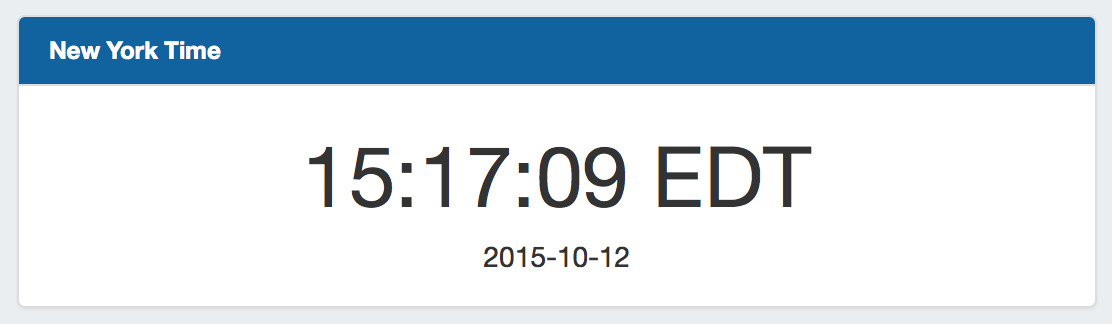
Shows the current time for the selected time zone.
Clock Edit Options:

Title: Edits the title of the Widget shown on the header.
Time Pattern: Sets the desired format for the current time. Example: "HH:mm:ss z" shows hours, then minutes, then seconds, then time zone.
Date Pattern: Sets the desired format for the current date. Example: "YYYY-MM-DD" shows 4 digit year, then month, then day.
Time Zone: The desired time zone to show the current time for.
...
| title | Click here for detail on date / time patterns... |
|---|
...
| title | Time / Date Patterns |
|---|
For applicable time / date patterns, see http://momentjs.com/docs/#/displaying/format/
Some common date patterns might be:
| Display | Pattern |
|---|---|
| Wednesday, October 10th, 2015 | dddd, MMMM Do, YYYY |
| 10/21/2015 | l |
| October 21, 2015 | MMMM DD, YYYY |
| 10-21-15 | MM-DD-YY |
| 2015-10-21 | YYYY-MM-DD |
Some common time patterns might be:
Additional Information
For details on available widgets and working with a specific widget, see the next section:
| Display | Pattern |
|---|---|
| 15:36:14 EDT | HH:mm:ss z |
| 3:36:12 PM EDT | h:mm:ss A z |
| 03:36:12 pm EDT | hh:mm:ss a z |
| 15:36 -04:00 | HH:mm Z |
Contact Us

Provides support email, phone, and feedback form information. Only one Contact Us Widget may exist on a dashboard.
Contact Us Edit Options:

Title: Edits the title of the Widget shown on the header.
Feedback Email: Sets the desired email address for the feedback form.
| Info |
|---|
| Note: Support phone number and email address are set from the ProVision Admin settings. |
Markdown

The Markdown Widget is a blank slate where users may add links, text, or other content through use of the Markdown language. Multiple Markdown Widgets may exist on a dashboard.
| Info |
|---|
| If you are unfamiliar with Markdown, check out Markdown Basics |
Markdown Edit Options:

Title: Edits the title of the Widget shown on the header.
Markdown Content: Area to enter the markdown content.
Links

Provides a list of website links. Multiple Links Widgets may exist on a dashboard.
Link Edit Options:

Title: Edits the title of the Widget shown on the header.
Links: Enter the desired link text, then the URL of the website to link. Click "Add" to add a new link, or "Remove" to remove an individual link. Hit "Apply" to save your changes.
iFrame

Set a https URL to be viewed in an iFrame. Useful to view stats or commonly referenced websites.
iFrame Edit Options:

Title: Edits the title of the Widget shown on the header.
URL: Sets the desired https address of the website to display in the frame
Advanced:
Sandboxing: Allow Scripts: Check to allow scripts.
| Info |
|---|
Not all webpages allow themselves to be embedded into iframes. If the target server has set X-Frame-Options or CSP directives to prevent embedding, the widget will appear blank. |
...