| HTML |
|---|
<div id="google_translate_element"></div>
<script type="text/javascript">
function googleTranslateElementInit() {
  new google.translate.TranslateElement({pageLanguage: 'en'}, 'google_translate_element');
}
</script>
<script type="text/javascript" src="//translate.google.com/translate_a/element.js?cb=googleTranslateElementInit"></script> |
Dashboard Customization
The Dashboard is your first stop when logging into 6connect Provision, giving you a quick graphical status overview as well as convenient links for reference and support. The Dashboard is comprised of modular "Widgets" that show different types of information. These widgets may be added, moved, edited, and customized to create personalized Dashboards.
...
The Default Dashboard will be the primary dashboard that appears when clicking on the Dashboard Tab.
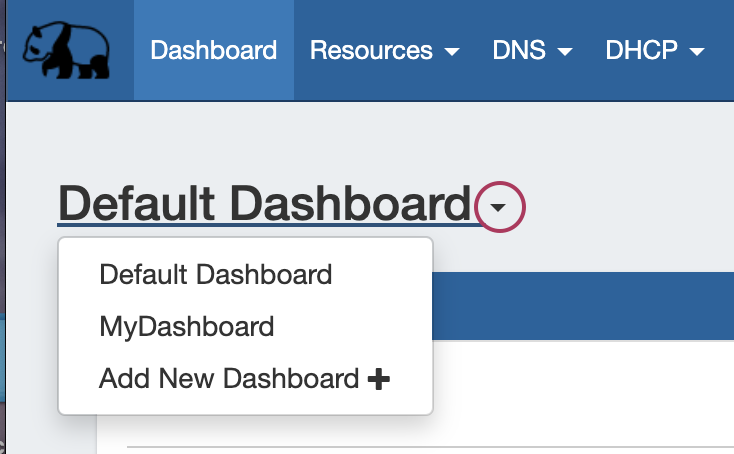
To view another, already created dashboard, click on the dashboard name at the top left of the dashboard page. This will open the list of existing dashboards.
From there, click on the name of the dashboard you wish to view.

Adding a Dashboard
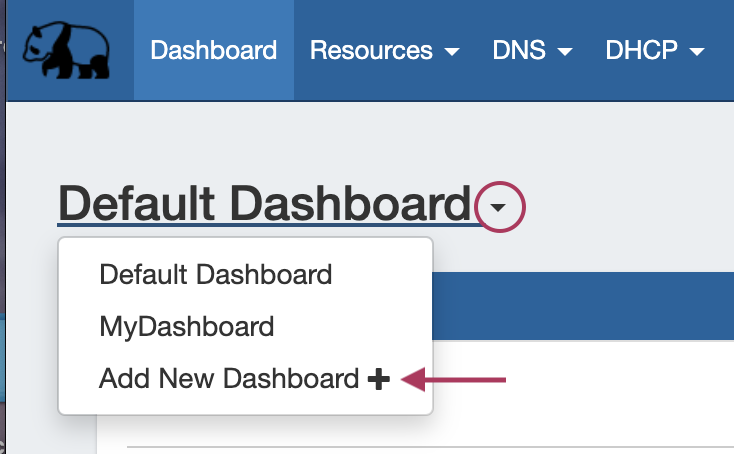
To add a new personal dashboard, click on the dashboard name at the top left of the dashboard page. This will open the list of existing dashboards.
Click on "Add New Dashboard"
Fill out the desired dashboard name, and choose whether the dashboard will be empty or cloned from the default dashboard. Selecting "Empty" will provide a (mostly) blank canvas for selecting and placing widgets from scratch; selecting "Clone" will duplicate the current state of the Default Dashboard, which the user can then edit as desired.
...
Next Step: Widgets
Continue on to Working to Working with Dashboard Widgets for information on each widget, as well as how to add, move, update, and delete individual widgets.
...