...
When complete, be sure to click on the "Save Changes" button to save your changes.
Add / Edit Regions
| Note | ||
|---|---|---|
| ||
Due to changes in Google's licensing and Geocoding API, the previous geolocation method used in ProVision is no longer supported. IPAM Regions now requires a Google Geocode API Key in order for IPAM Maps to properly determine a Region's location. 6connect is exploring adding additional map integration options for ProVision. Any customers who require an alternative geocode option supported apart from Google Geocode API key, please contact us at feedback@6connect.com. |
If enabled, Regions can function as a way to further define your If enabled, Regions can function as a way to further define your network segments (regional tie-downs, etc.). This gives you flexibility for allocations and assignments beyond simply using Tags. Regions are used by the IPAM Gadget, the IPAM Manage UI, and IPAM Map View.
Access IPAM regions from IPAM Admin → Edit IPAM Regions.
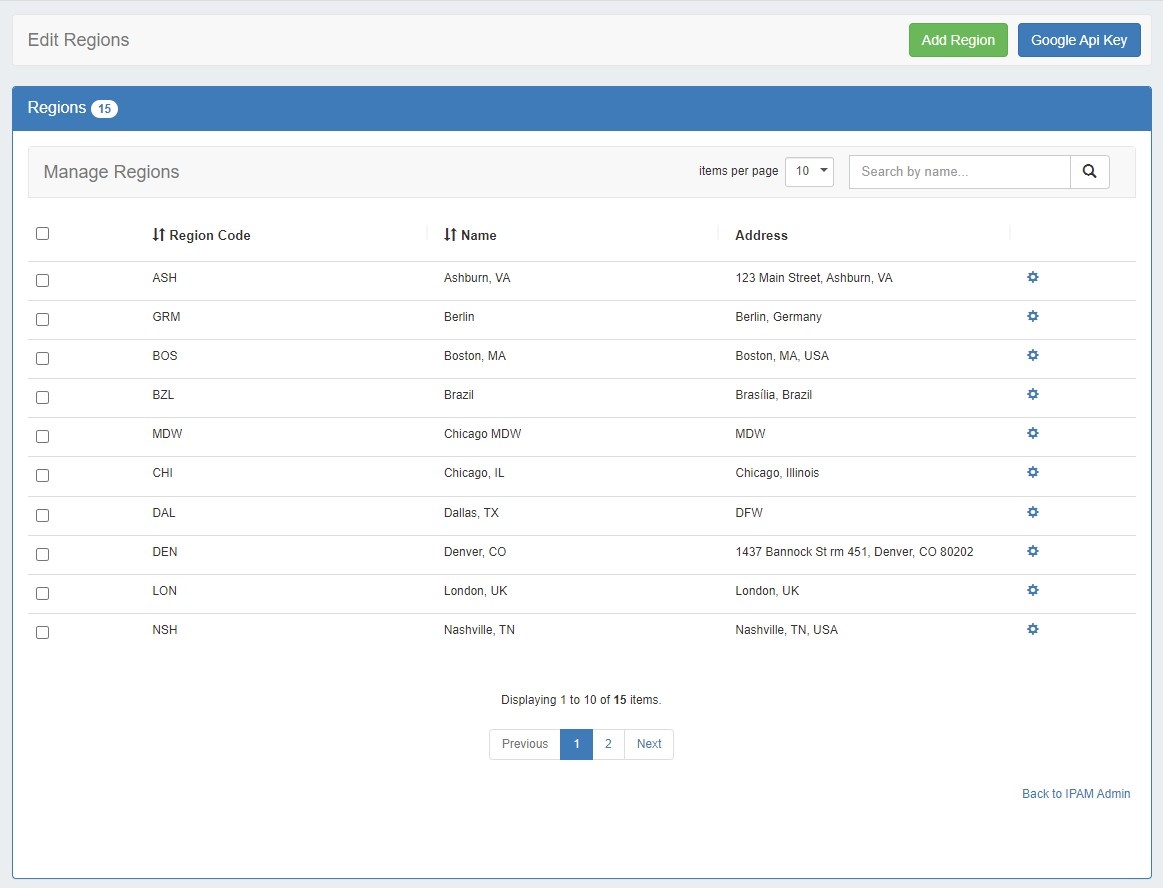
The Regions display includes fields for Region Code, Name, and Address.
- 'Region Code' is the shorthand name that will show in the IPAM Gadget and IPAM Manage screens.
- 'Name' is the long form name value that will be written to the database, used for API calls, and is also used for some filter selectors.
- The 'Address' field is used by IPAM map view (via Google Geocode API) to geolocate aggregates with that assigned region. Address may be in the form of a City / State / Country, a full street address, a company name, or other search term that Google the Geocode API can return a location for. The more accurate your address information, the more accurate map view will be with your aggregate locations. To use regions, you will need to apply a Google Geocode API Key. An "address" value that appears invalid will display a yellow warning symbol.
Applying a
...
Geocoding API Key:
| Expand | ||
|---|---|---|
| ||
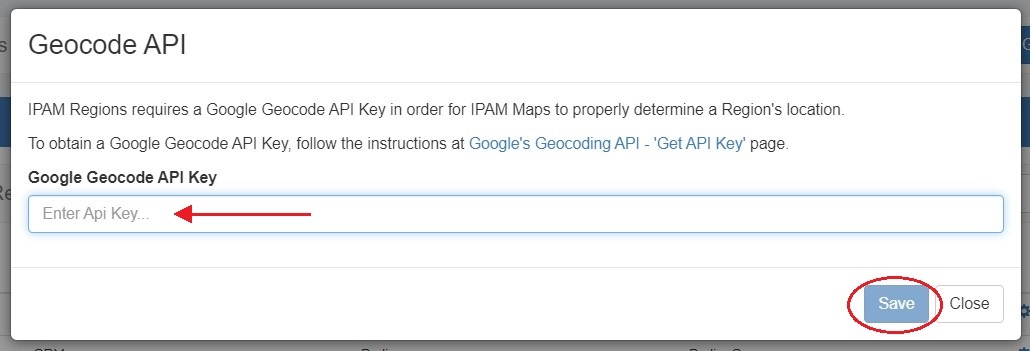
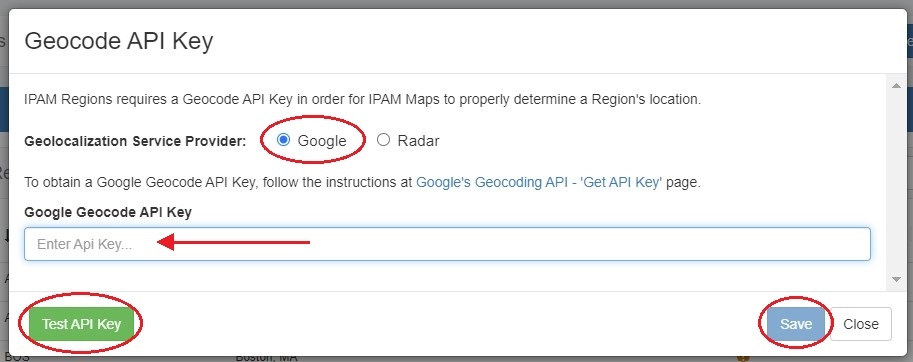
Step 1: Obtain a Google Geocoding API Key To get a Google Geocoding API Key, follow the instructions listed here: How to get a Google Geocoding API Key Note: In order to obtain a Google Geocoding API Key, a company must have a subscription enabled to Google Cloud Platform Console. Step 2: Assign the API Key to IPAM Regions Once assigned a Google Geocoding API Key, from the Edit Regions page, click "Google Geocode API Key". Then select the Google radio button, paste the API key into the Geocode API dialog, and click "Save" .
|
Managing Regions
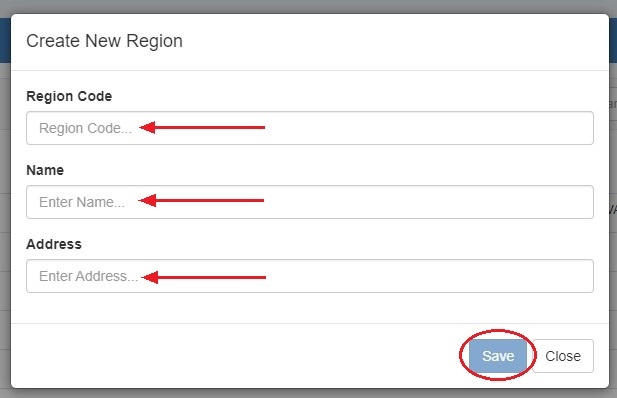
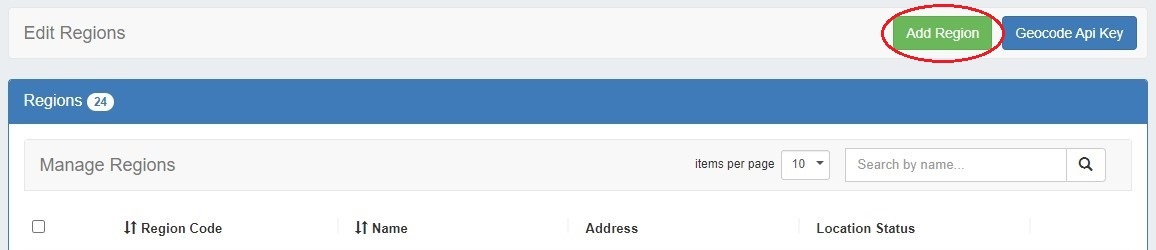
To add a new Region item, click the "Add Region" button at the top of the screen.
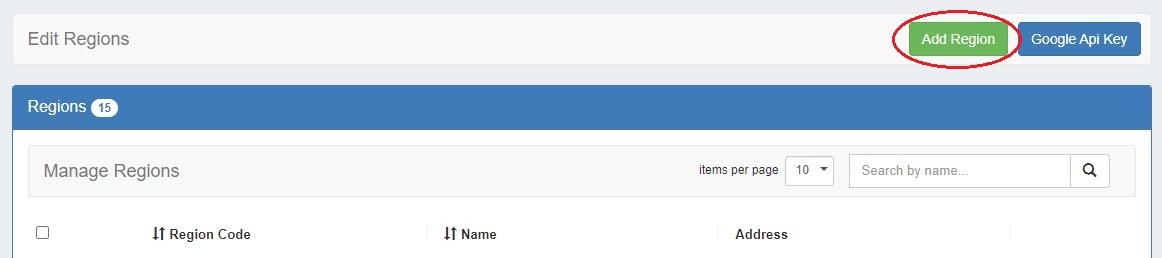
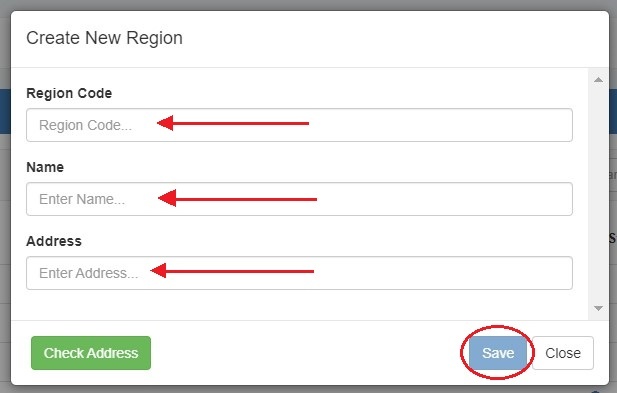
In the form that appears, type in a new Region Code, Name, and Address into the empty fields and click "Save".
The new Region will be added to the Region list.
To sort the regions list, click on a column header to sort by Region Code or Name.
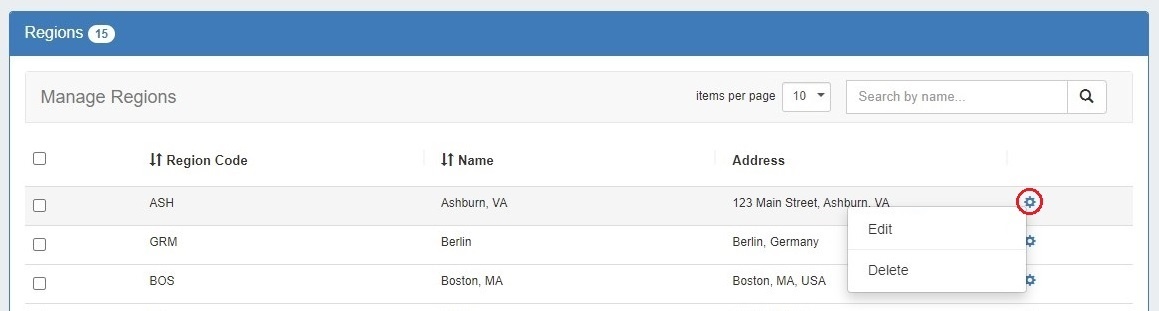
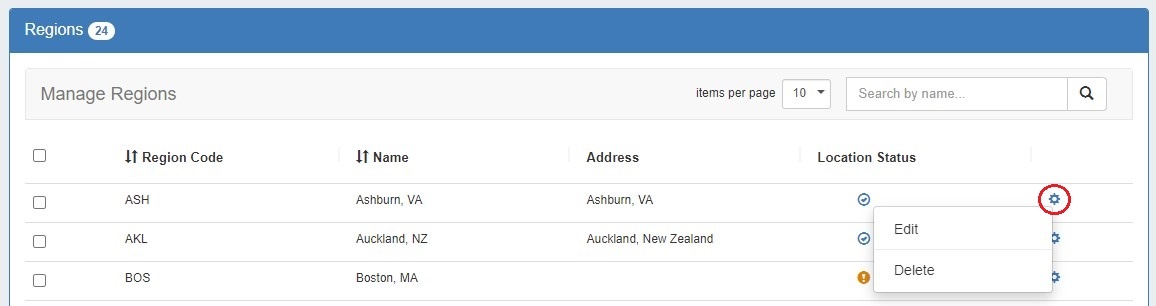
To edit a region, right click on the row and select "Edit" from the Action Menu. This will bring up the edit modal. Input your desired changes, then click "Save".
To delete a single region, select "Delete" from the the Action Menu (gear icon).
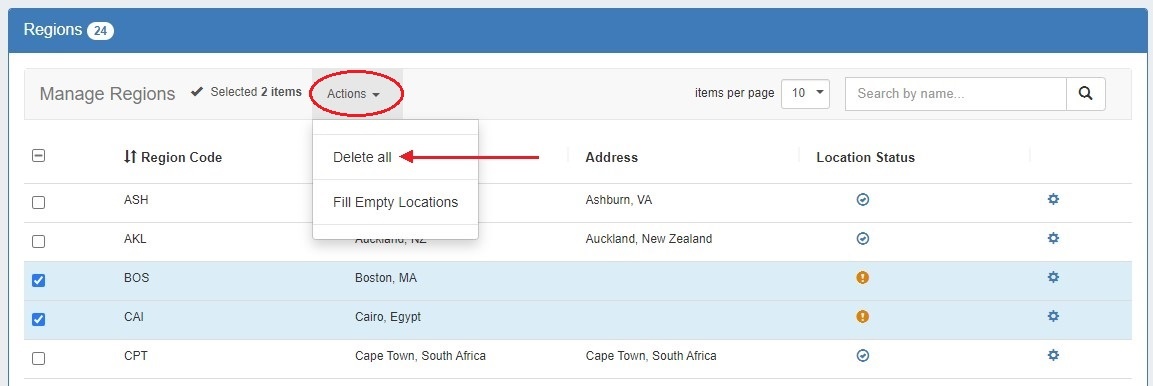
To delete multiple regions, select the regions to delete by clicking the checkboxes at left. Then, click on the "Actions"menu at the top of the list and select "Delete All".
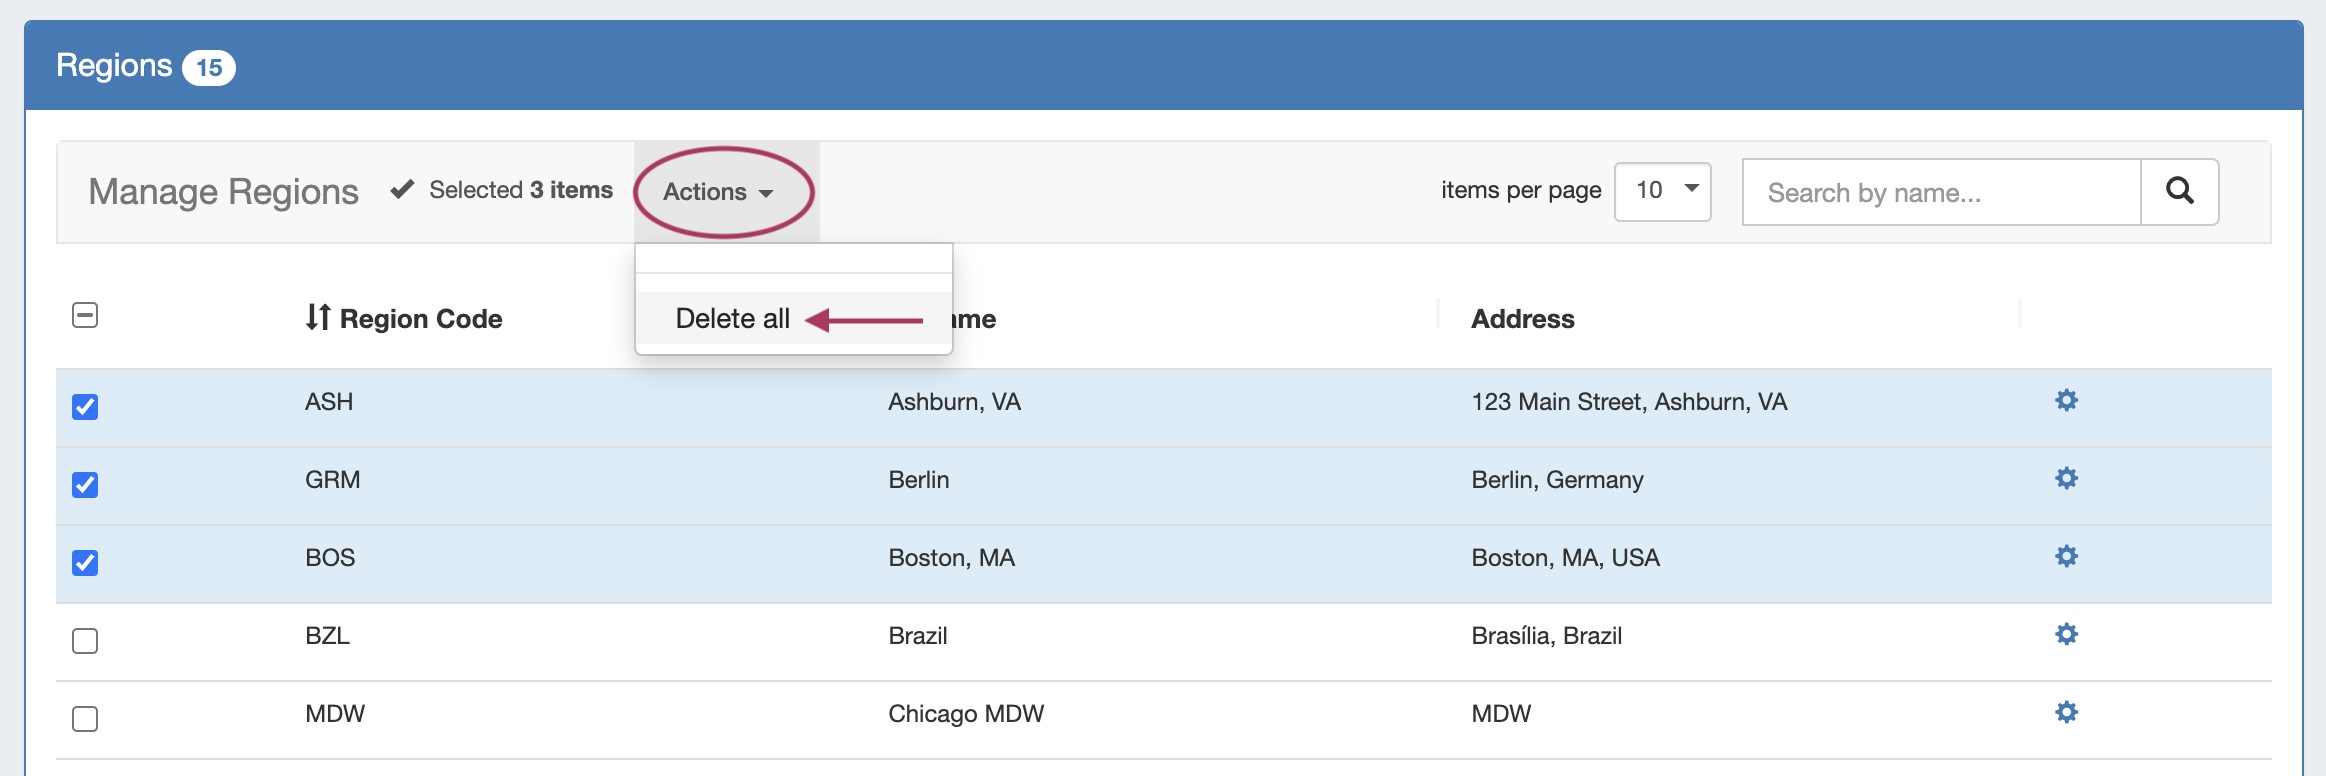
You may also right click on the selected items to open a context menu to either "Unselected all" or "Delete all".
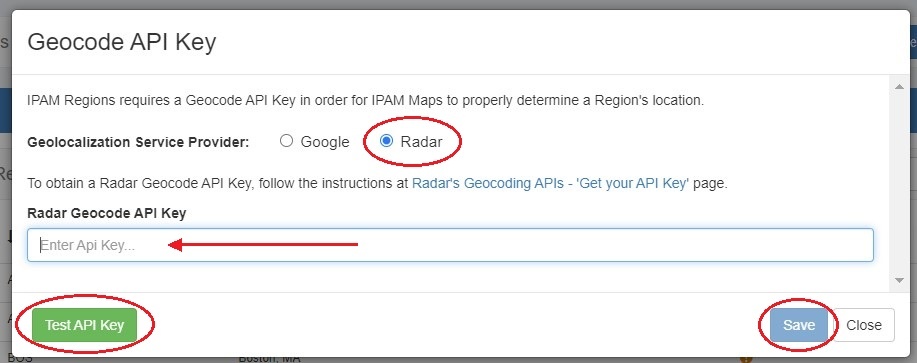
You can test the API Key by clicking the Test button at lower left.
|
| Expand | ||
|---|---|---|
| ||
Step 1: Obtain a Radar Geocoding API Key To get a Radar Geocoding API Key, follow the instructions listed here: How to get a Radar Geocoding API Key Step 2: Assign the API Key to IPAM Regions Once assigned a Radar Geocoding API Key, from the Edit Regions page, click "Geocode API Key". Then select the Radar radio button, paste the API key into the Geocode API dialog, and click "Save". You can test the API Key by clicking the Test button at lower left.
|
Managing Regions
To add a new Region item, click the "Add Region" button at the top of the screen.
In the form that appears, type in a new Region Code, Name, and Address into the empty fields and click "Save".
The new Region will be added to the Region list.
To sort the regions list, click on a column header to sort by Region Code or Name.
To edit a region, right click on the row and select "Edit" from the Action Menu. This will bring up the edit modal. Input your desired changes, then click "Save".
To delete a single region, select "Delete" from the the Action Menu (gear icon).
To delete multiple regions, select the regions to delete by clicking the checkboxes at left. Then, click on the "Actions" menu at the top of the list and select "Delete All".
You may also right click on the selected items to open a context menu to either "Unselected all" or "Delete all".

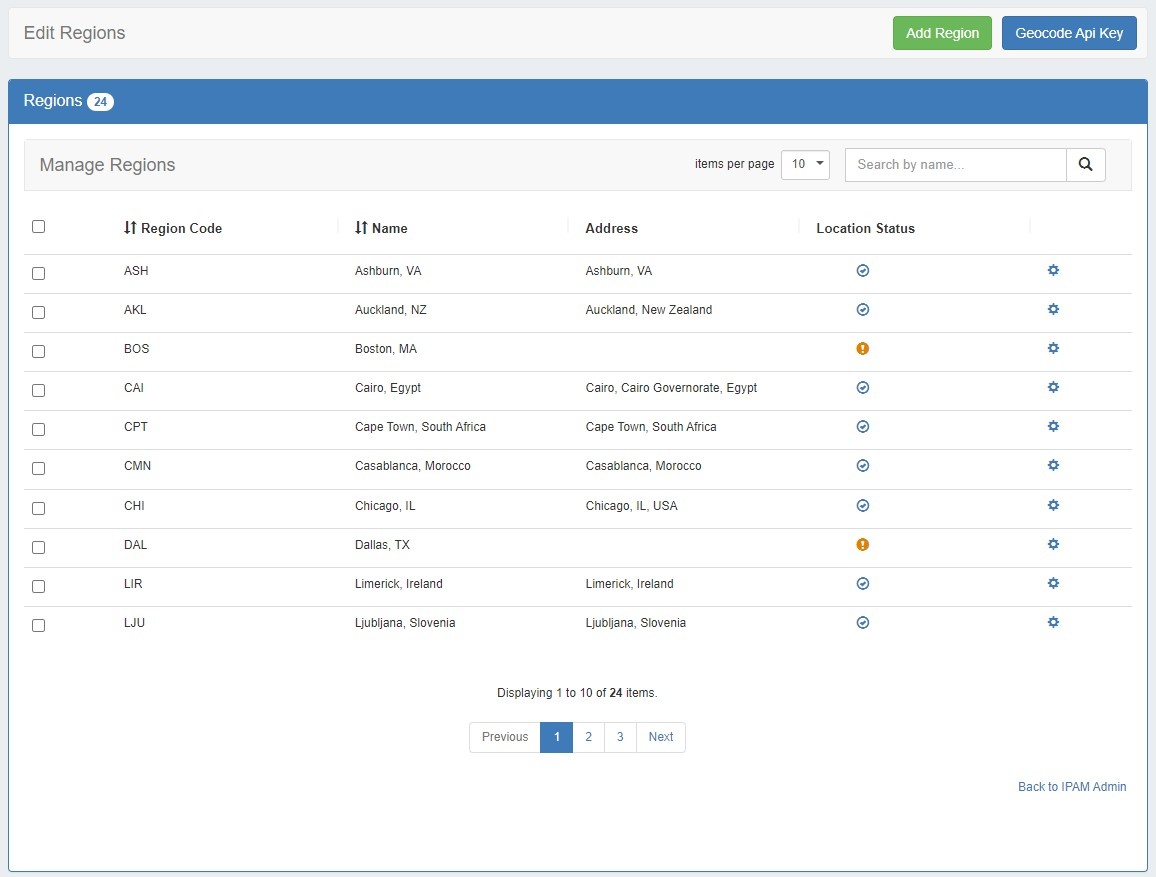
Valid / Invalid Regions
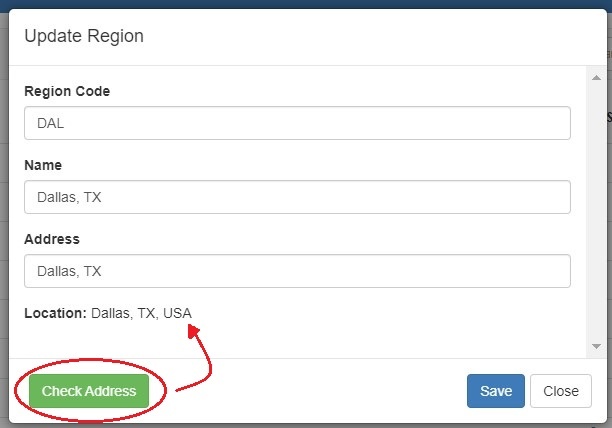
Valid addresses will show a check mark in the "Location Status" field, invalid/empty addresses (unable to be mapped) will show a yellow exclamation point. When adding or editing a region, click the "Check Address" button at the lower left of the modal to check the validity of an address.
Fill Empty Region Locations
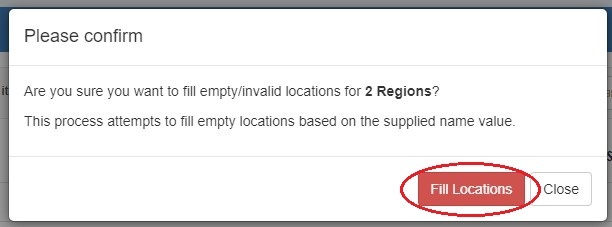
To quickly fill empty addresses for multiple regions, select "Fill Empty Locations" from the "Actions" menu at the top of the Regions list. This will fill the addresses based on their supplied "Name" value.
![]()
Region Resource Generation
Optionally, users may generate a resource entry for a region, in order to associate items such as contacts, notes, linked resources, or fields with that region.
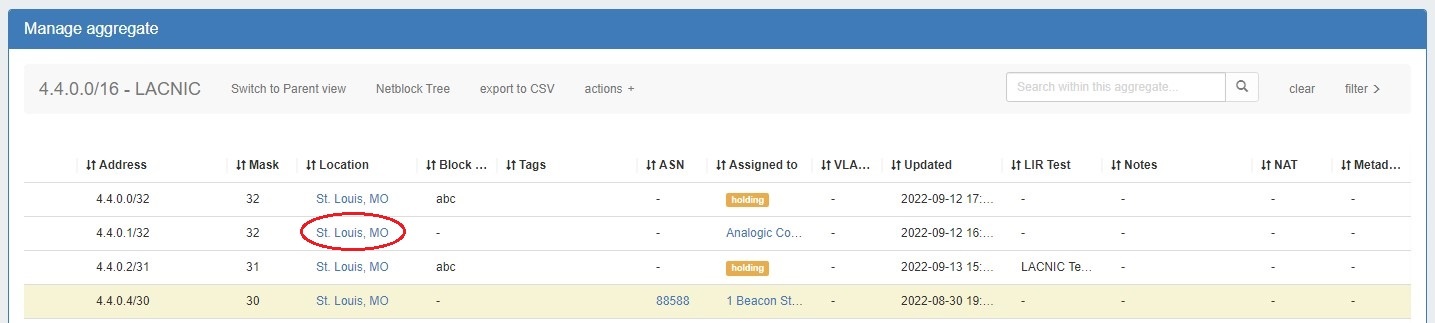
Clicking on a region link from IPAM Manage will automatically generate a resource entry for that region, under the "SystemRegion" section.
The (non-editable) SystemRegion section includes the following Gadgets: Resource View, IPAMv2, Contacts, Resource Linkage, Notes, Document Storage, and Fields.
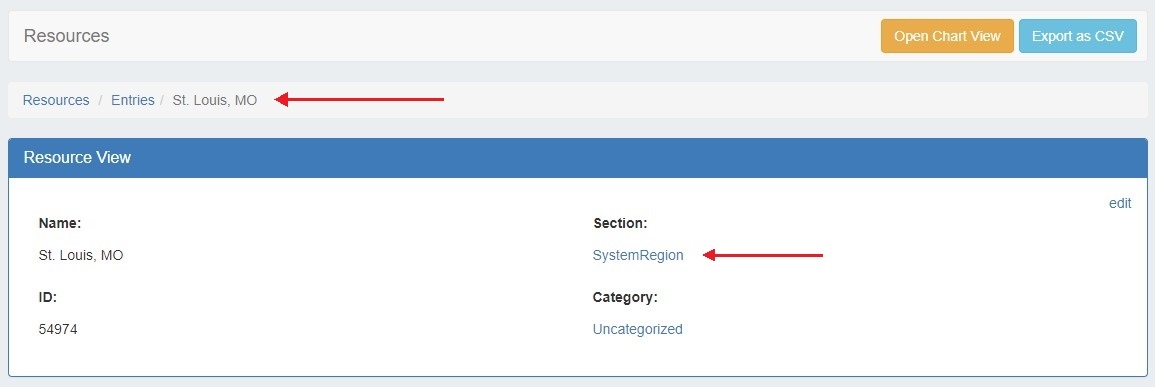
Users may then use those Gadgets on the region resource to associate contacts, notes, custom fields, or other information to that region.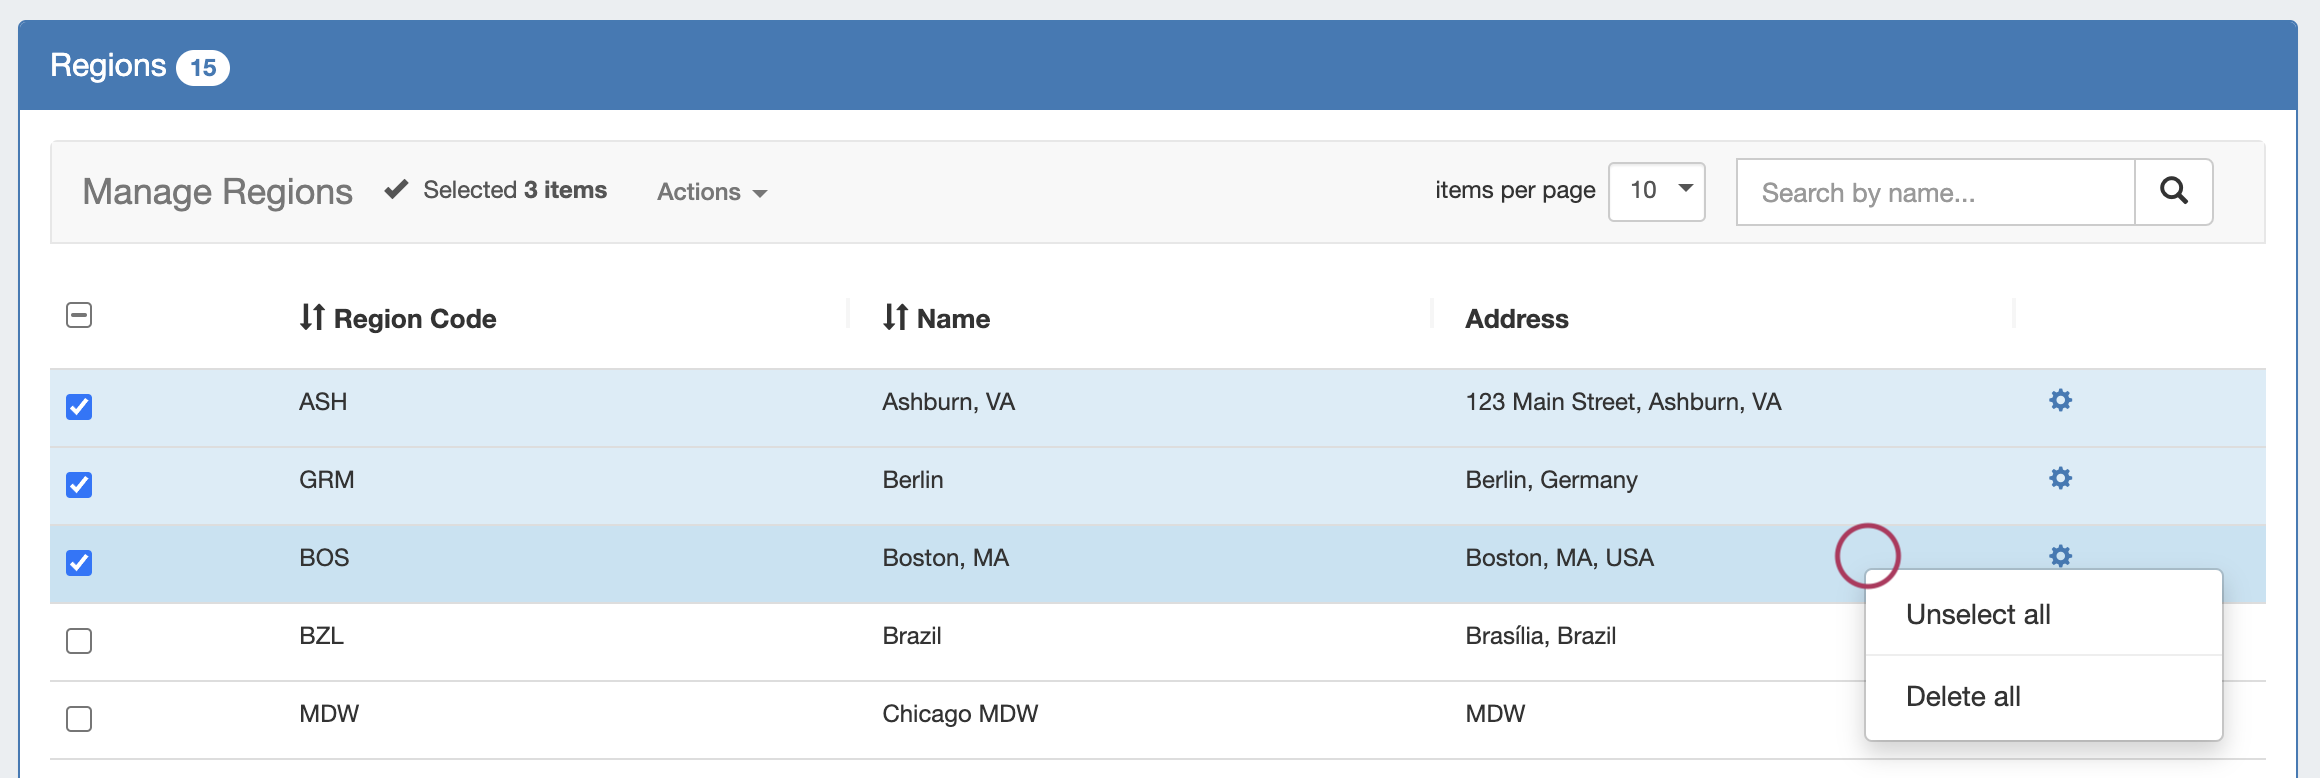
Add / Edit IPv4 / IPv6 Subnet Dropdowns
...