...
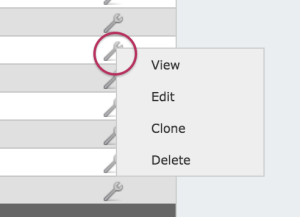
Delete: Deletes the resource, if appropriate permissions exist.
Create an Entry
The Resource Entry Page (View Resource)
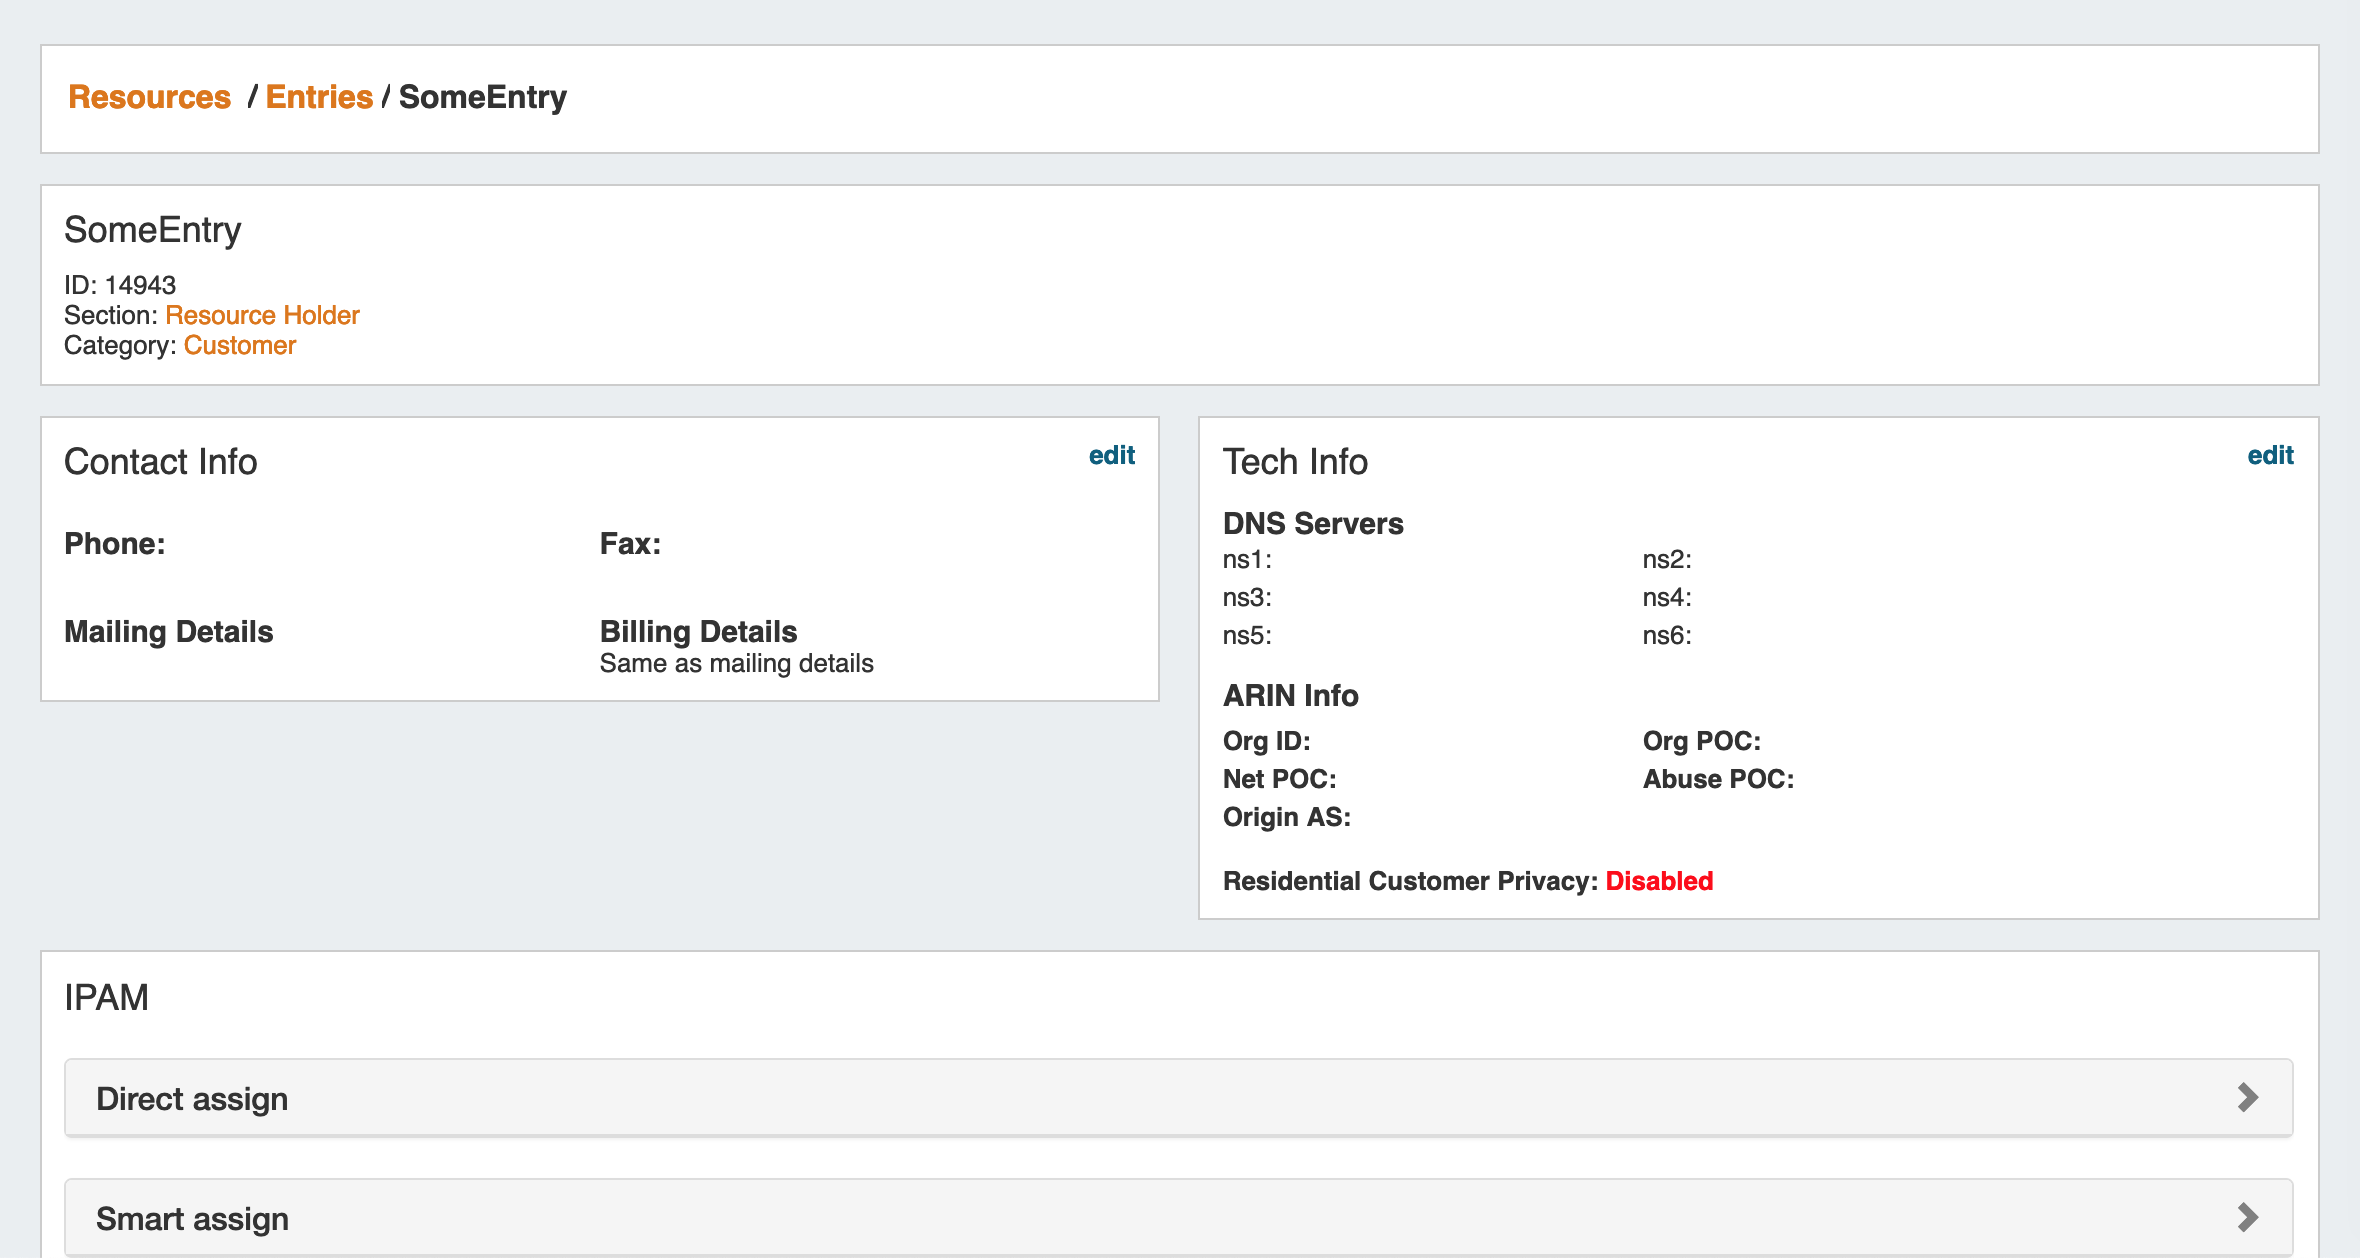
The Resource Entry Page displays details for an existing Resource and any associated Gadgets. Here, users may edit the Resource's fields, clone the resource, add child resources, and perform Gadget-level actions such as assigning and managing IPAM Blocks, Contacts, generate DNS Zones, and manage Peering Sessions.
Open the page by clicking on a Resource name from the Resource List, or select "View" from the Action Menu for the resource in the Entry List.
The Resource Entry page displays basic details about the Resource, including name, id, section, and category.
Additional information and actions are available to perform for the Resource, depending on which Gadgets are enabled for the associated Section:
| Info | ||
|---|---|---|
| ||
A few things to keep in mind on Gadgets:
|
Currently Available Gadgets:
- ACP ("Workflows") Gadget: Connector to ProVision's API Composer Platform. Executes selected ACP Workflows.
- Contact Info: Displays phone, address, and billing details for the Resource.
- Contacts: Assigns Contacts to the Resource from the Contact Manager.
- DHCP Server Management (Legacy): Manage a DHCP Server details and pools.
- DHCP Customer Configuration (Specialized): Assign and Configure DHCP Pools from APNIC Blocks.
- DNS: Lists DNS Zones associated with the Resource and links to the zone's DNSv3 page.
- DNS Autogenerator: Autogenerates DNS forward and reverse zones for the resource, based on assigned IP Blocks.
- Document Storage: Load, View, and Download assorted image or text documents.
- IPAM (Legacy): Manage IP Blocks.
- IPAMv2: Manage IP Blocks - supports additional functionality over the old IPAM Gadget.
- Notes: Type and view short text notes.
- Peer Groups: View and assign Router Peer Groups.
- Peering Sessions: View and manage peering sessions.
- Peering VRFs: Manage Peering VRFs.
- Resource Linkage Gadget: Create a reciprocal link to another resource.
- Resource Linkage - Linked IPs Gadget: View the IPs assigned to Linked Resources.
- Resource View: Displays the basic Resource entry information - name, section, etc.
- Reverse API Console: Display custom reverse API content.
- Tech Info: Display NS and Technical RIR info.
From here, you can work with your selected Gadgets, performing tasks such as assigning DNS zones, IP Blocks, assign Contacts, and more.
See the Gadgets Page for detail on working with individual Gadgets.
Create an Entry
1) To create a new Entry, click on the "Add Entry" button from the Resource Tab / Entry List Page.
...
This will take you to the Add Entry page.
2) Fill in the Name of your new Resource Entry, select a Section (the chosen Section determines what gadgets will show on your new resource's Entry page), the Parent Resource, Category, and enter a Custom ID number if desired.
When complete, click the "Create" button. If you wish to exit without saving your changes, click "Cancel".
...
Once the Entry is created, the Resource Entry page appears loads for that Resource, with the gadgets applicable to the selected displaying whatever gadgets are enabled for the associated Section.
From here, you can work with your selected Gadgets, performing tasks such as assigning DNS zones, IP Blocks, assign Contacts, and more.
See the Gadgets Page for detail on working with individual Gadgets.
...


