| HTML |
|---|
<div id="google_translate_element"></div>
<script type="text/javascript">
function googleTranslateElementInit() {
  new google.translate.TranslateElement({pageLanguage: 'en'}, 'google_translate_element');
}
</script>
<script type="text/javascript" src="//translate.google.com/translate_a/element.js?cb=googleTranslateElementInit"></script> |
Configuring Route53 Support
| Table of Contents |
|---|
Getting Started
To use the Route53 connector, you must have Route53/AWS account set up and be able to provide the API Key, API Secret, and API Region provided to your Route53 account. For information on setting up a Route53 account, learning resources, or FAQ, see https://aws.amazon.com/route53/ .
To add a new DNS Server in ProVision, you must be logged in as an Admin-level user.
Adding a Route53 Server to ProVision
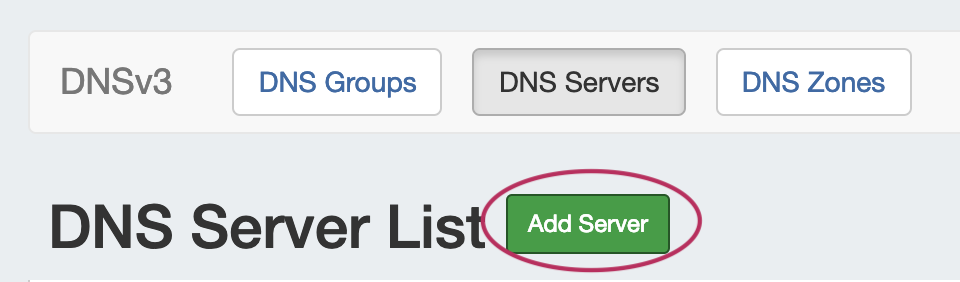
To create a new server, start from the DNS Tab, select the DNS Servers sub menu. Then, click the "Add Server" button next to "DNS Server List".
This will open the "Server Settings" page.
Server Settings
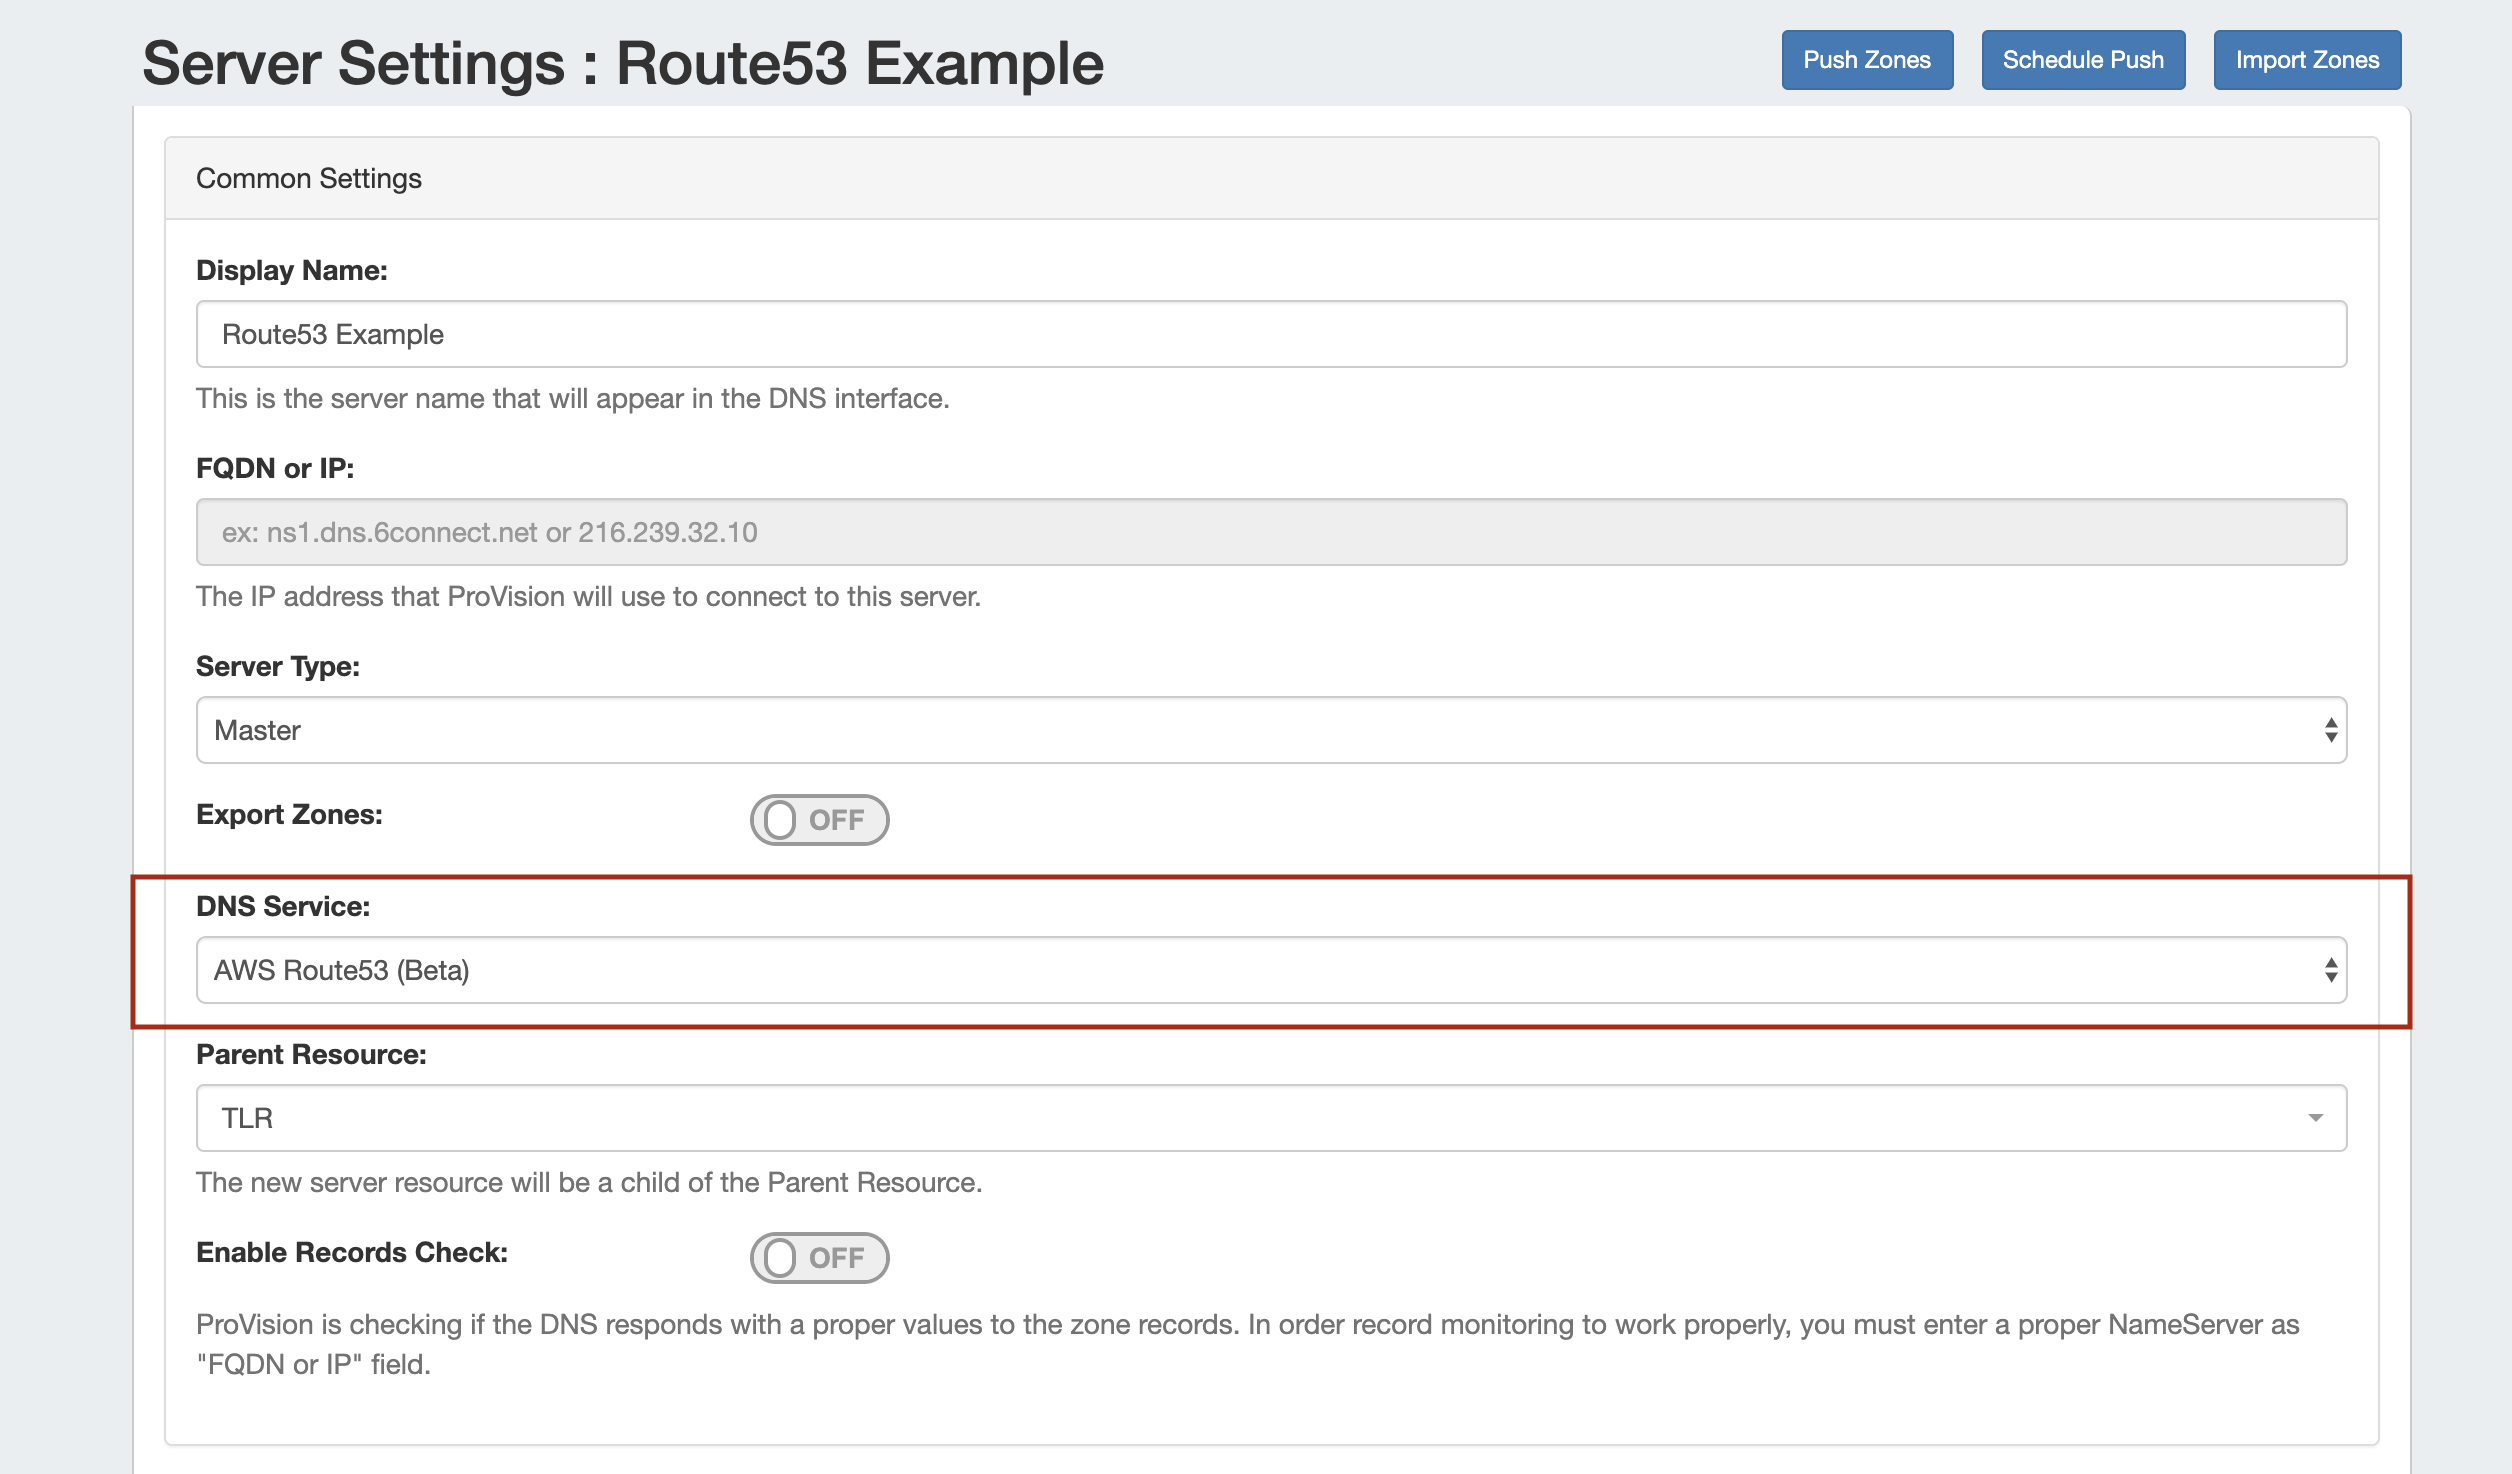
1) Set Server Common Settings
In the "Common Settings" section of Server Settings, enter a Display Name for the new Route53 server, skip FQDN / IP , and select Server Type.
Under "DNS Service", select the "AWS Route53 (Beta) connector. The FQDN field will automatically be disabled, and AWS/Route53 specific settings will be enabled in the next section.
If desired, adjust the other available settings in this section, then scroll down.
2) Set Route53 Server Specific Settings
The next section is entering server service-type specific settings. The options visible in this section will depend on the "DNS Service" type chosen under "Common Settings".
Under the section for AWS Route53 (Beta) Settings, enter the API Key, API Secret, and API region provided to you for the AWS/Route53 account. 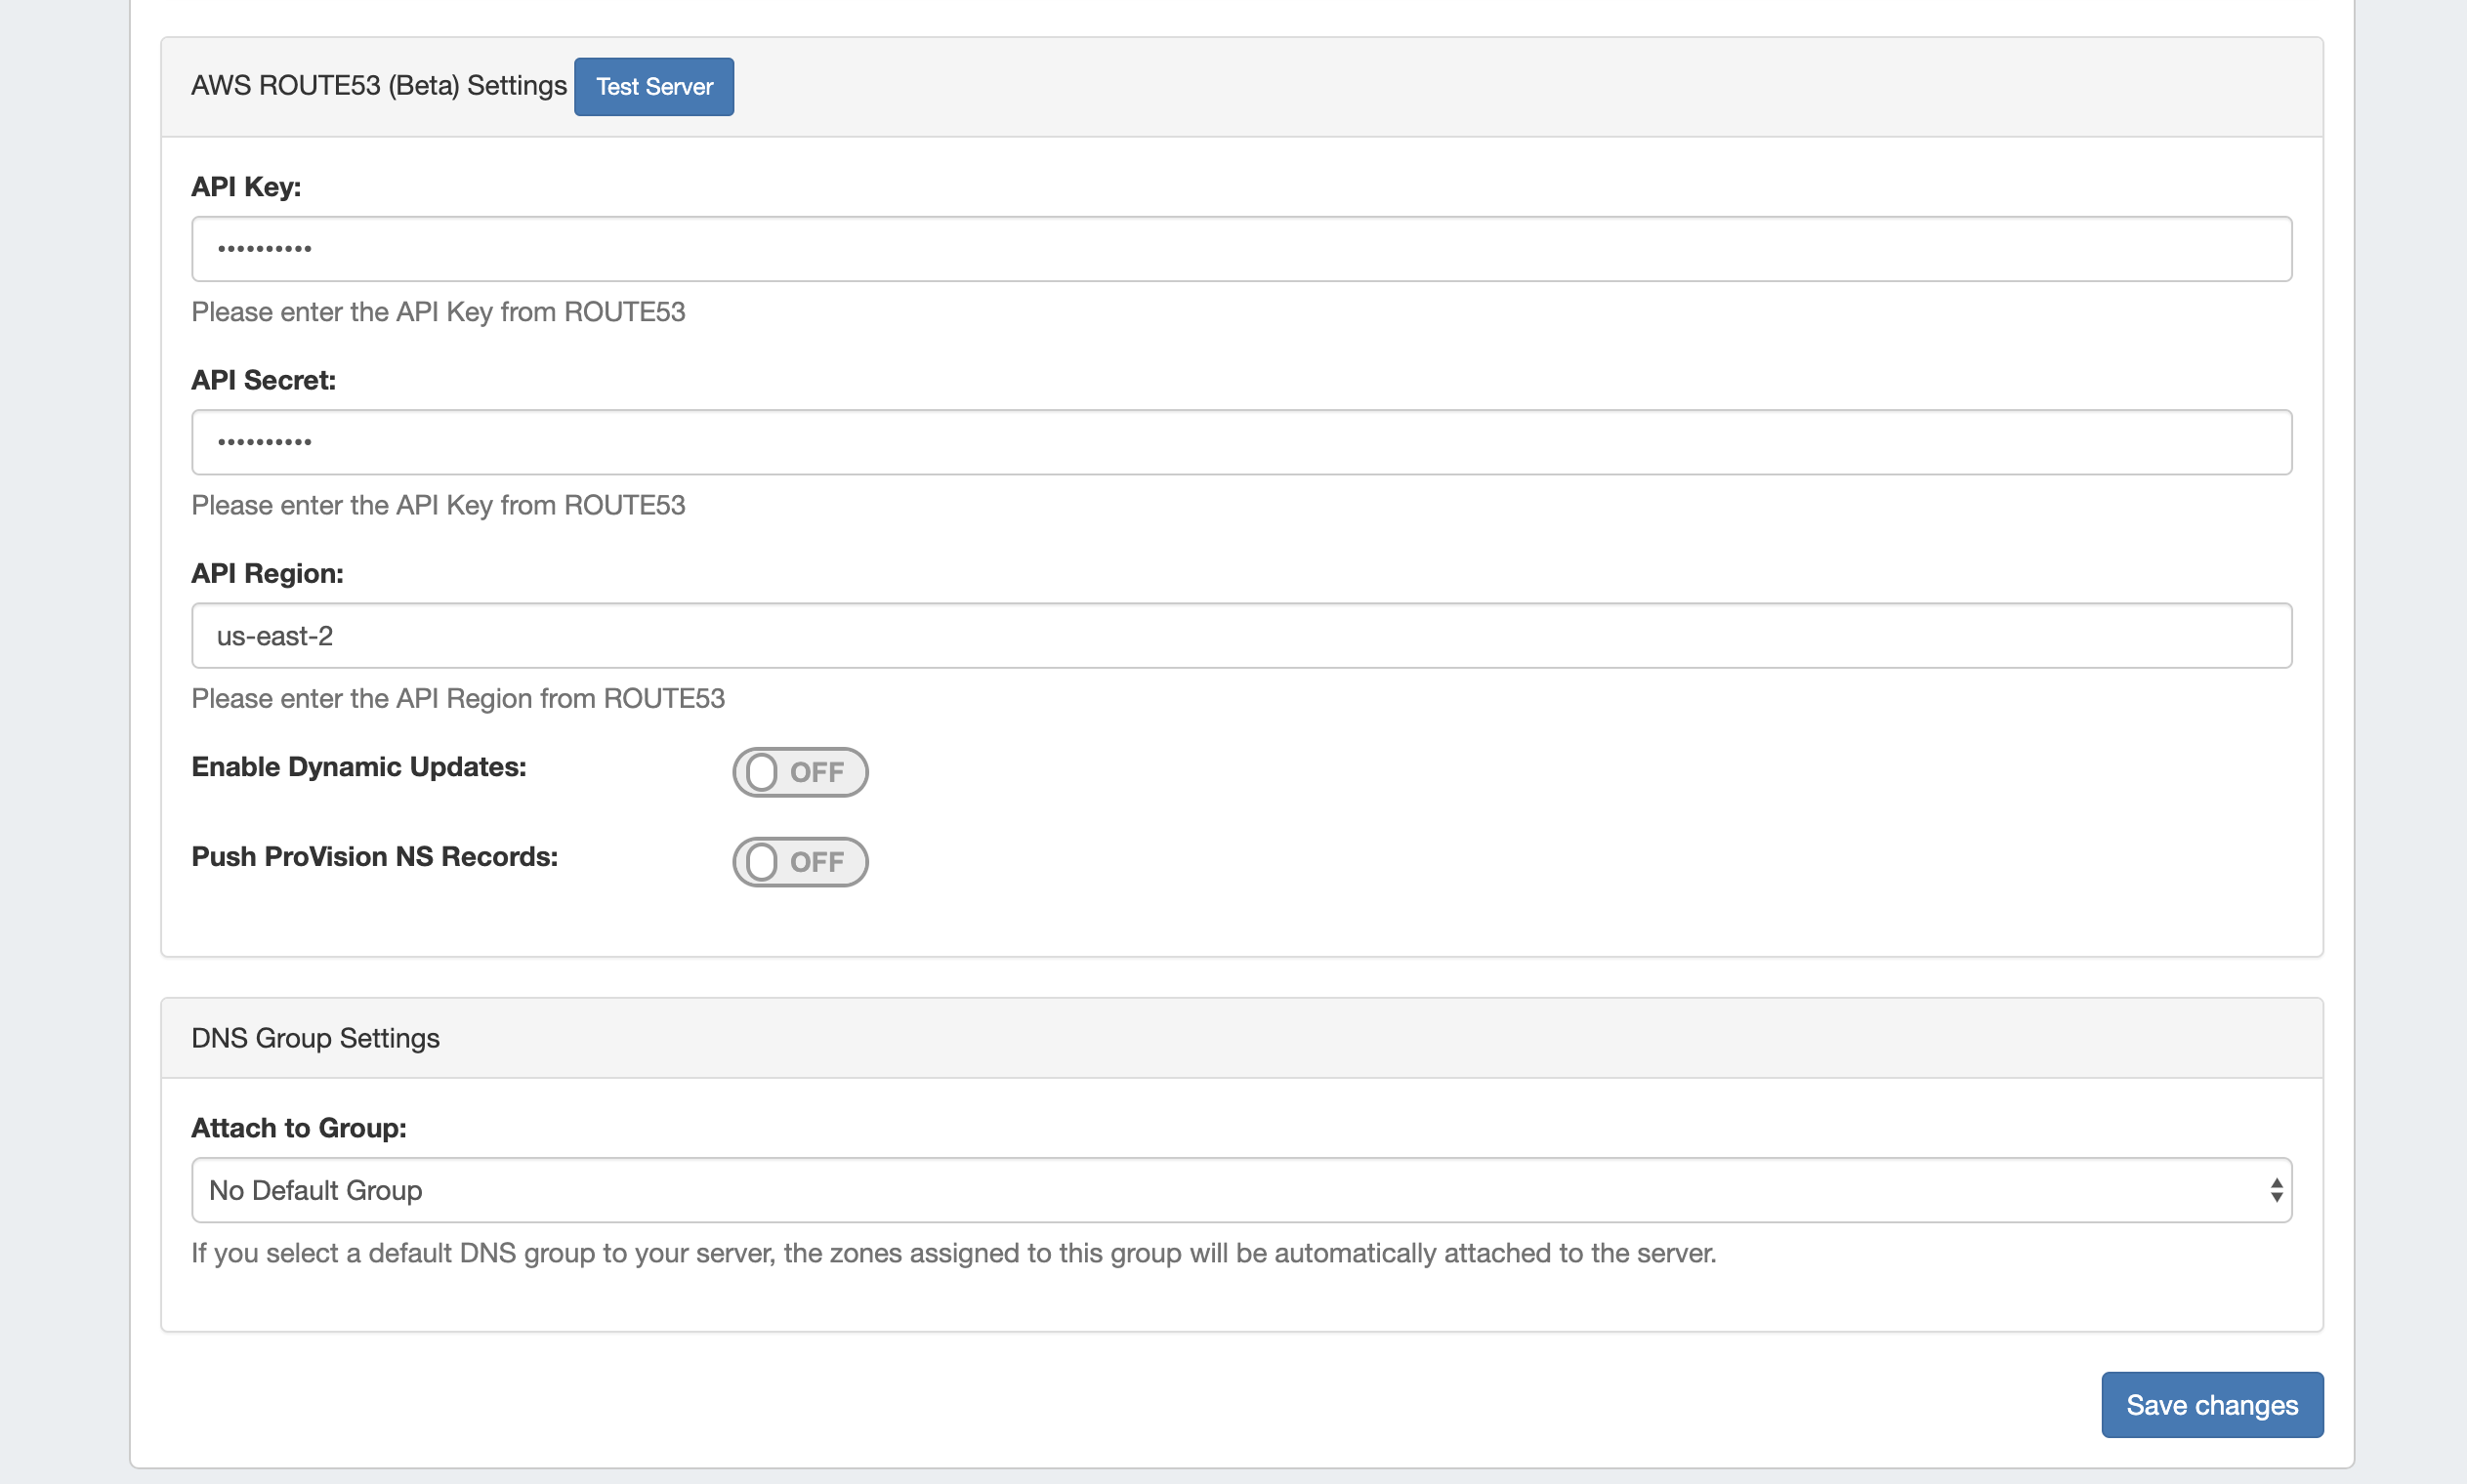
Enter additional Dynamic Updates, NS Records, and Group settings if desired, then click "Save Changes".
For information on working in the rest of ProVision's DNS system, see DNS Tab, DNS Administration, andWorking with DNS Servers.
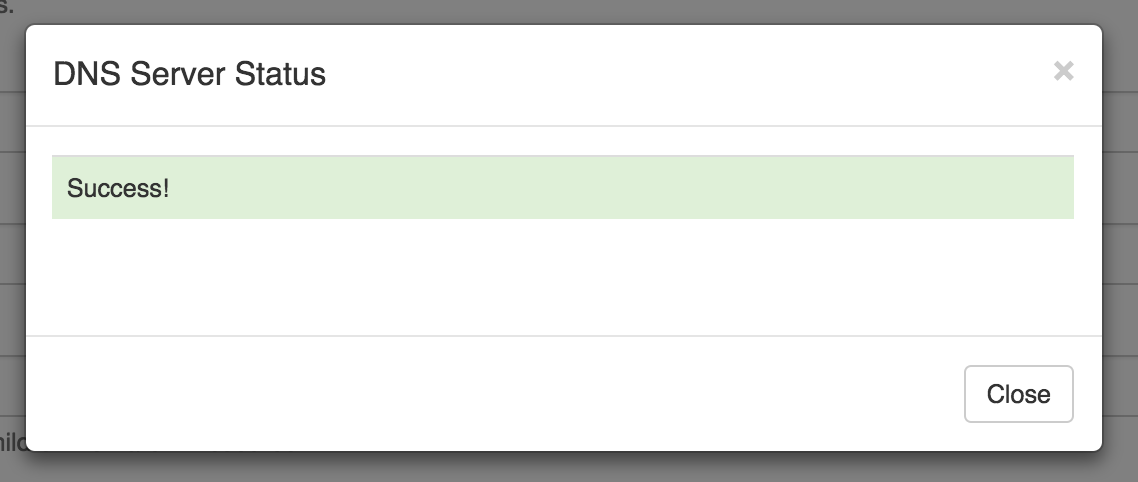
After entering the server-specific settings in this section, you can click the "Test Server" button at the top of the section to test the server connection and authentication.
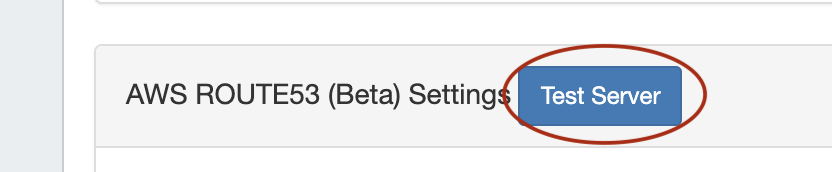
A window will pop up showing a success or failure response.
3) Set DNS Group Settings for Server
In the last section, select a default Group to be associated with the server (optional). Zones assigned to the selected Group will automatically be attached to the server.

4) Save Changes
Save your changes when done! Just click the "Save Changes" button at the bottom right of the page.

Additional Information
For additional information on working in DNS, see the following sections:
- Working with DNS Servers
- Configuring PowerDNS Support
- Configuring Secure64 Support
- Configuring Split Horizon/Views
- Configuring DNSSEC
- Import DNS Zones
- DNS Tab