...
ProVision's DNSv3 combines server management, group organization, and zone management under the DNS tab.
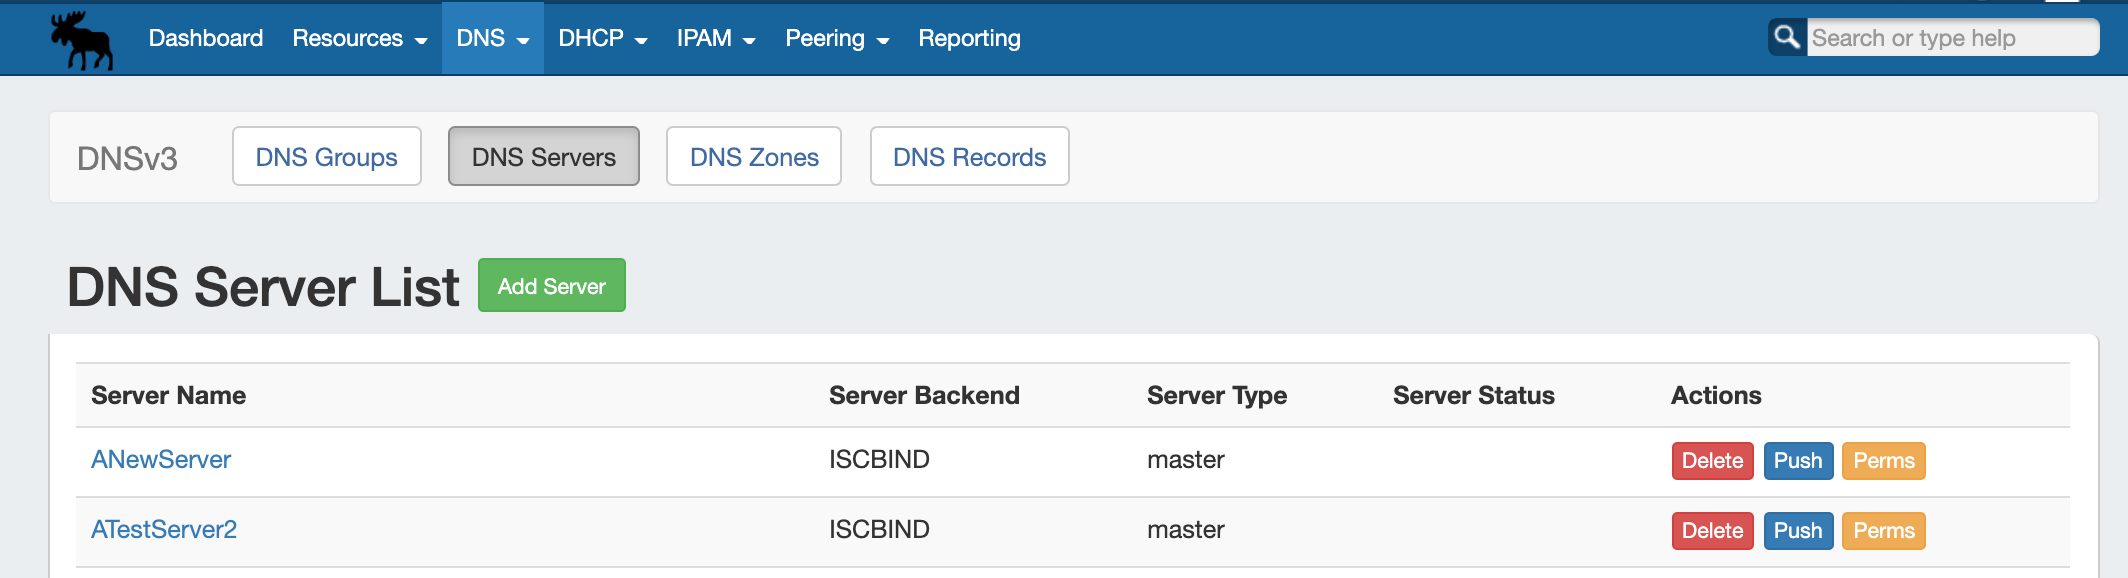
The DNS Servers tab is only accessible to Admin users, and tab is viewable by users with Resource read permissions, though only Admin users or those specifically granted server permissions may perform management actions. The Sever List contains functions for adding, updating, and managing DNS servers as well as scheduling server tasks.
...
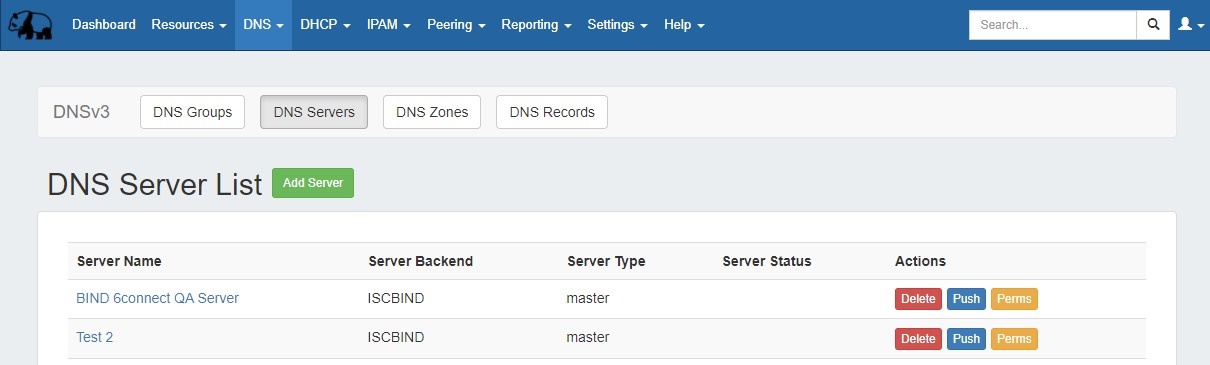
DNS Server List Interface
1) Add Server Button: Opens a dialog for creating a DNS server.
...
10) Perms: Opens a shortcut to edit permissions for the selected server (Admin only).
Working with DNS Servers
...
For SSH Public Key Authentication, DNSSEC, and Dynamic Option updates, click on the ON / OFF toggle to select "ON" or "OFF" for each as needed.
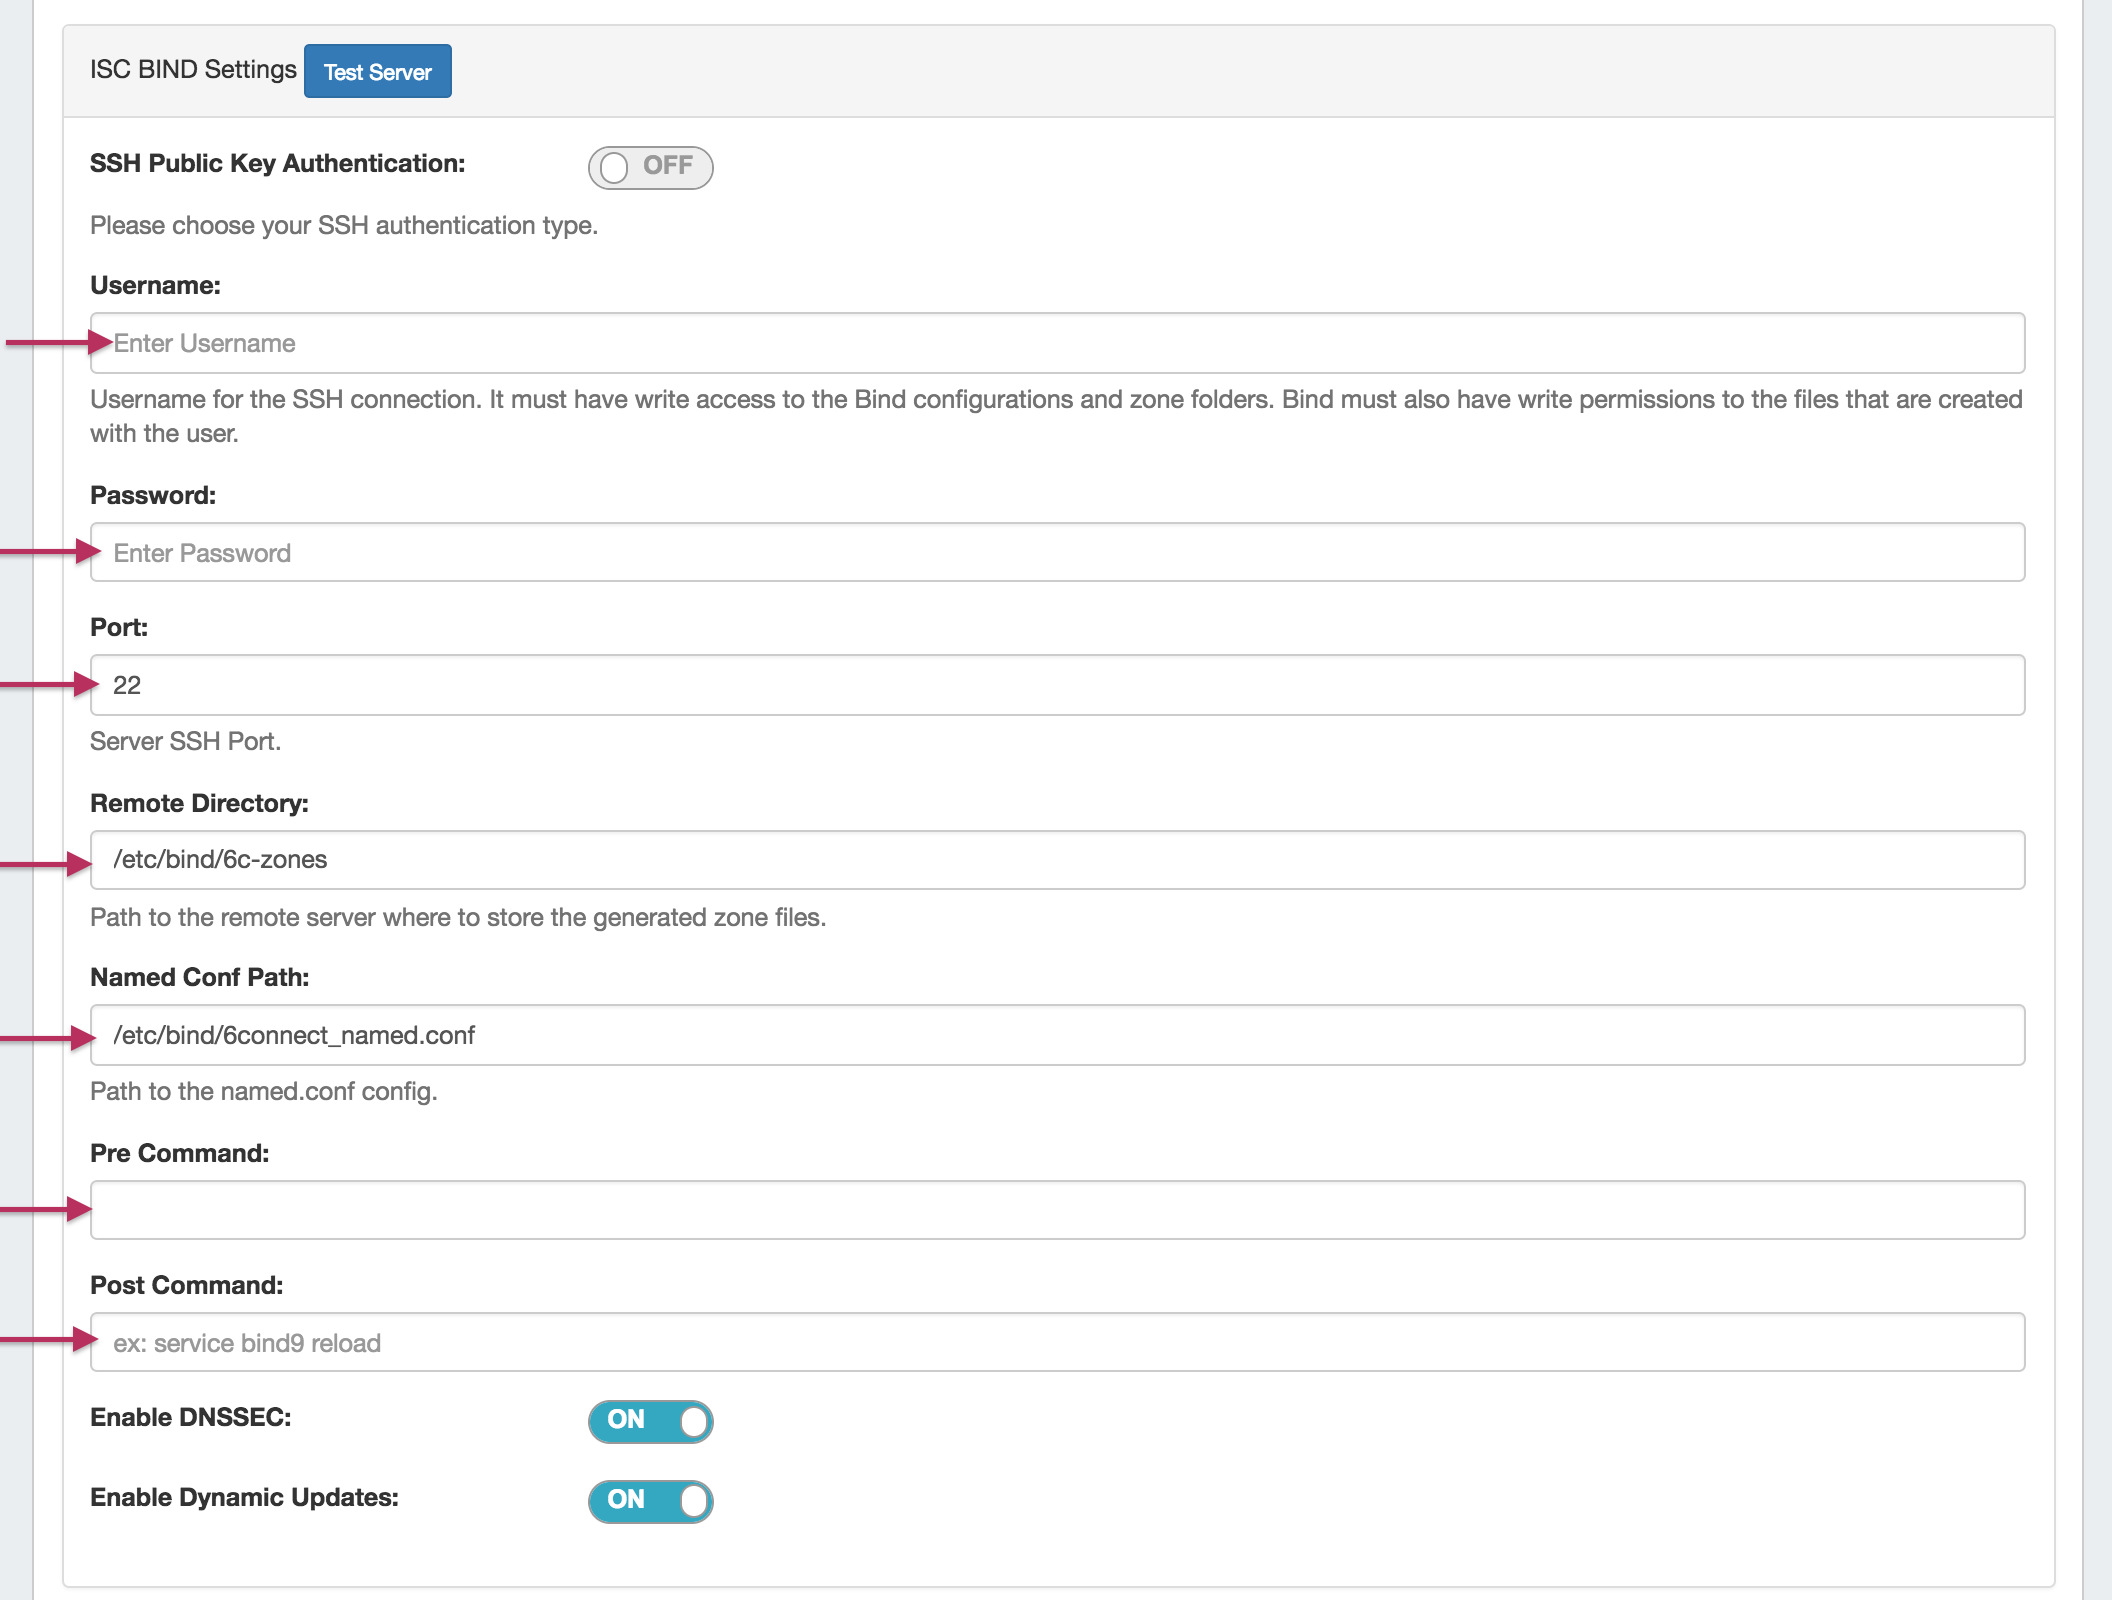
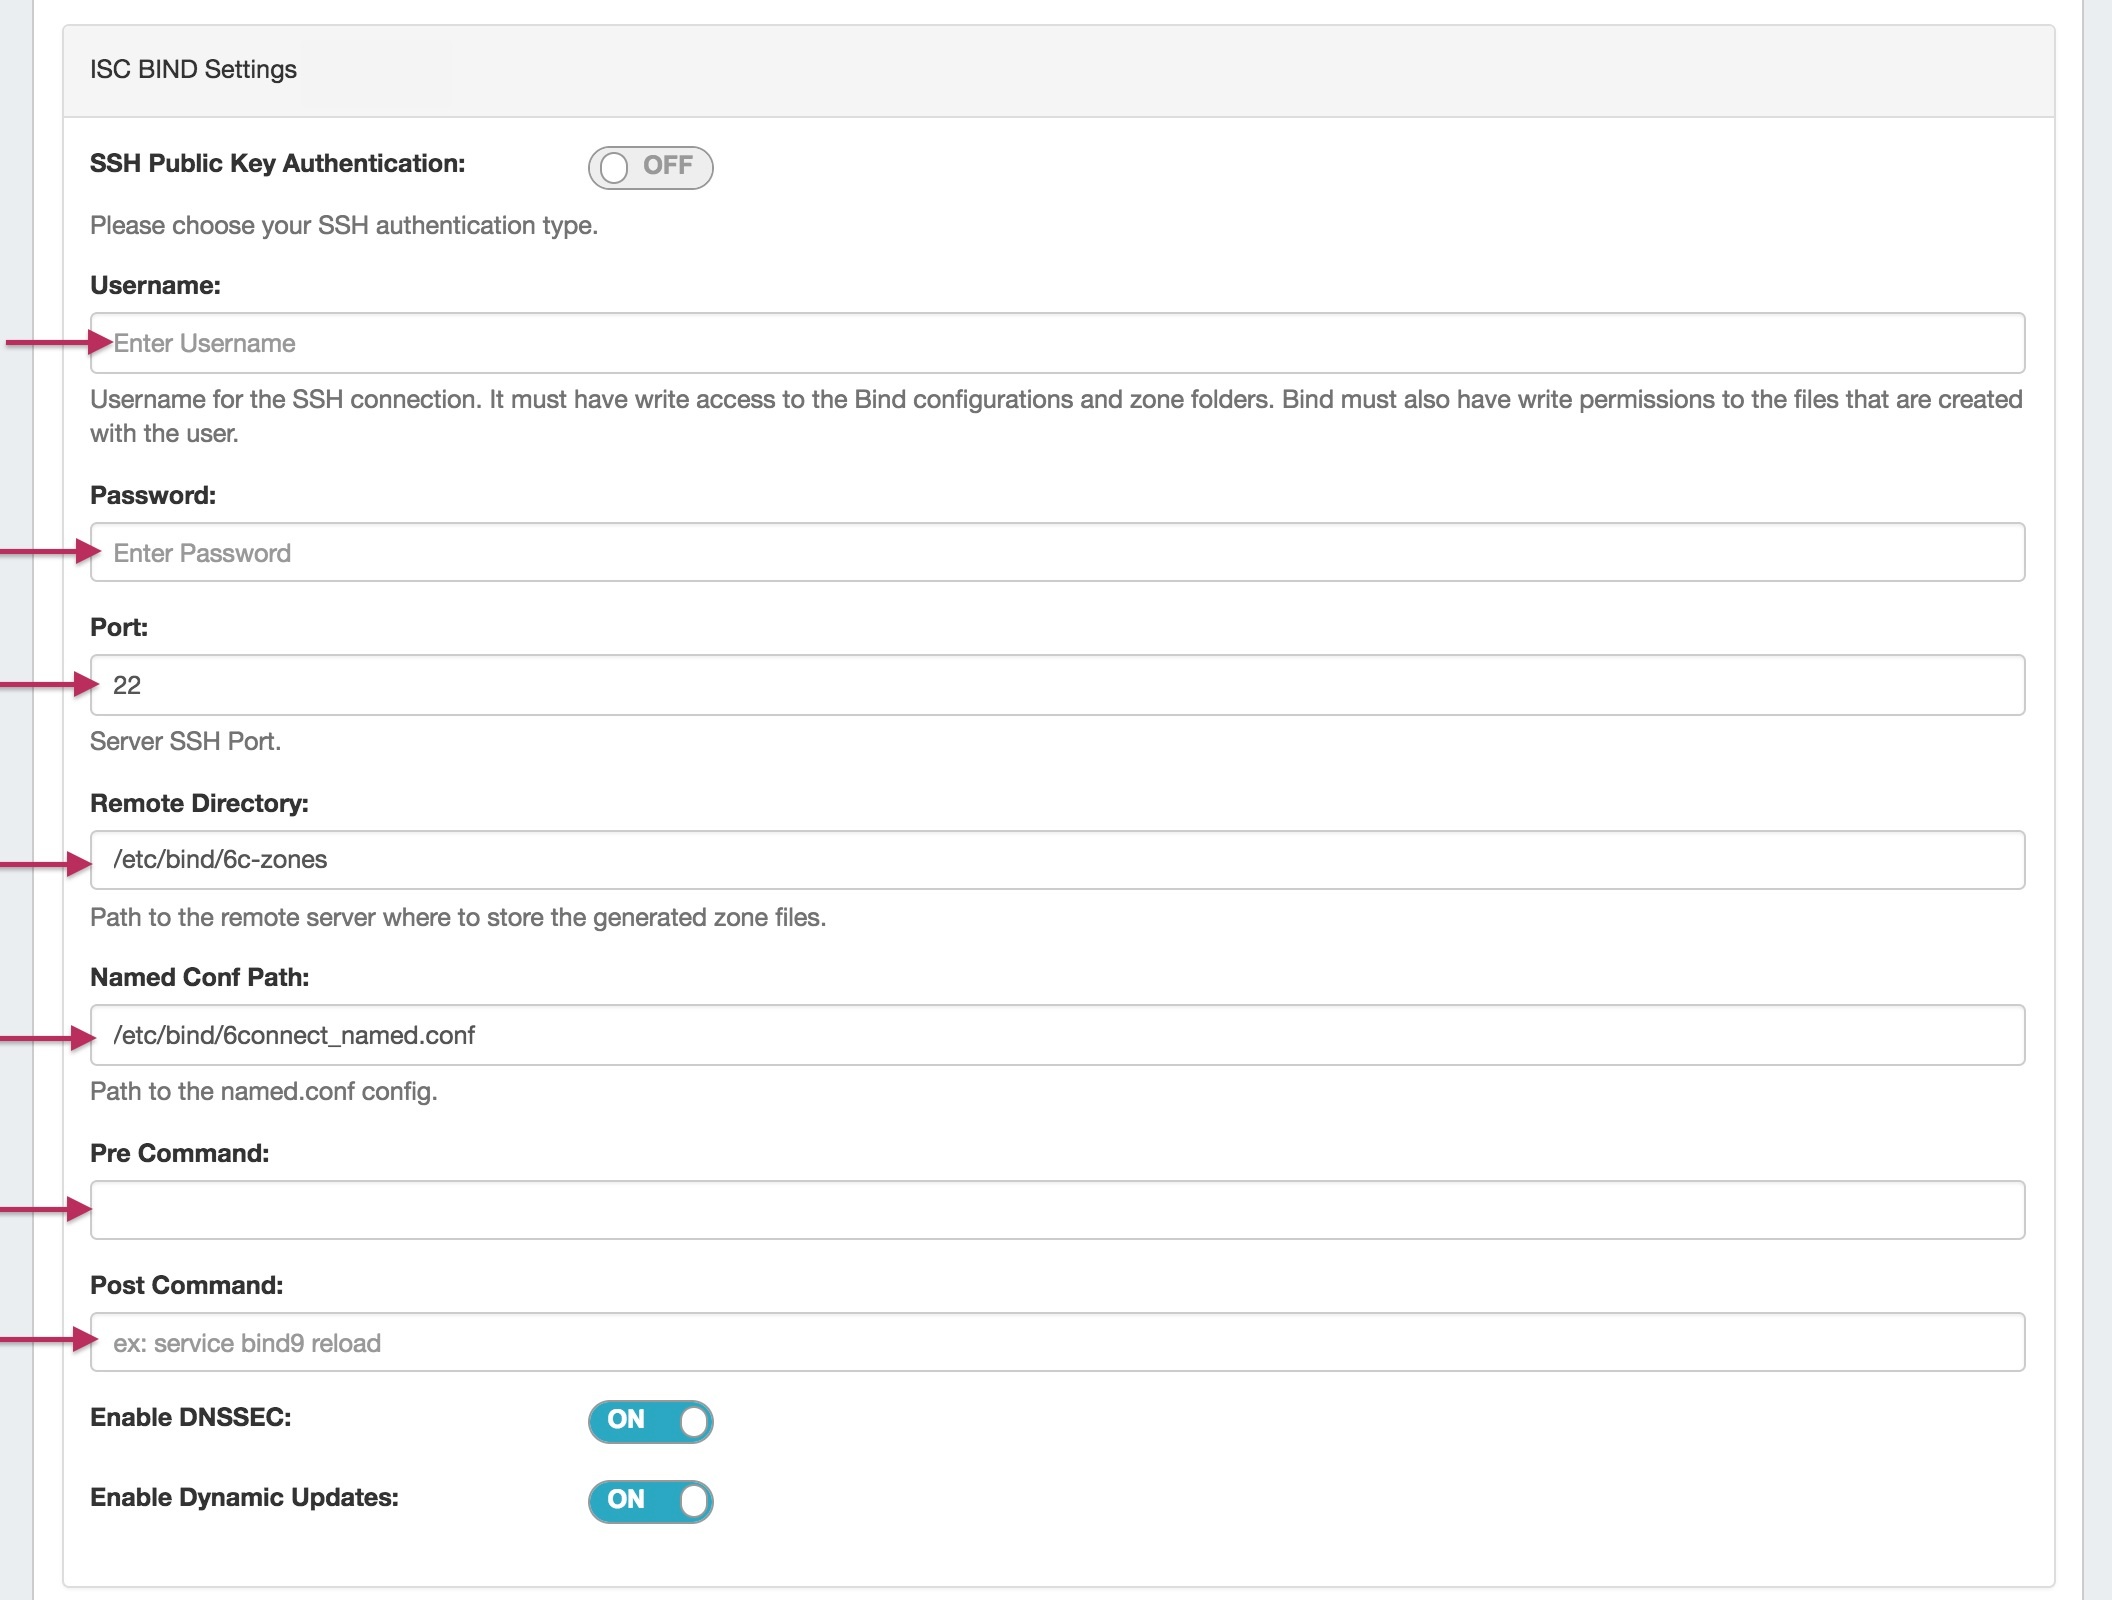
SHH Public Key Authentication: If applicable, toggle "On" or "Off"
...
After entering the server-specific settings in this section, you can click the "Test ServerConnection" button at the top bottom right of the section page to test the server connection and authentication.
The "Test ServerConnection" button will attempt to login to the target system and write to the target directory.
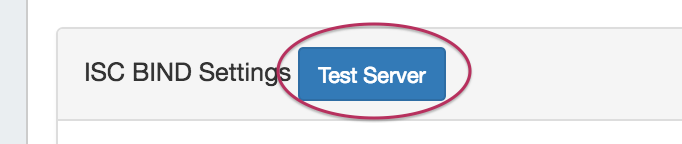
A window will pop up showing a success or failure response.
...
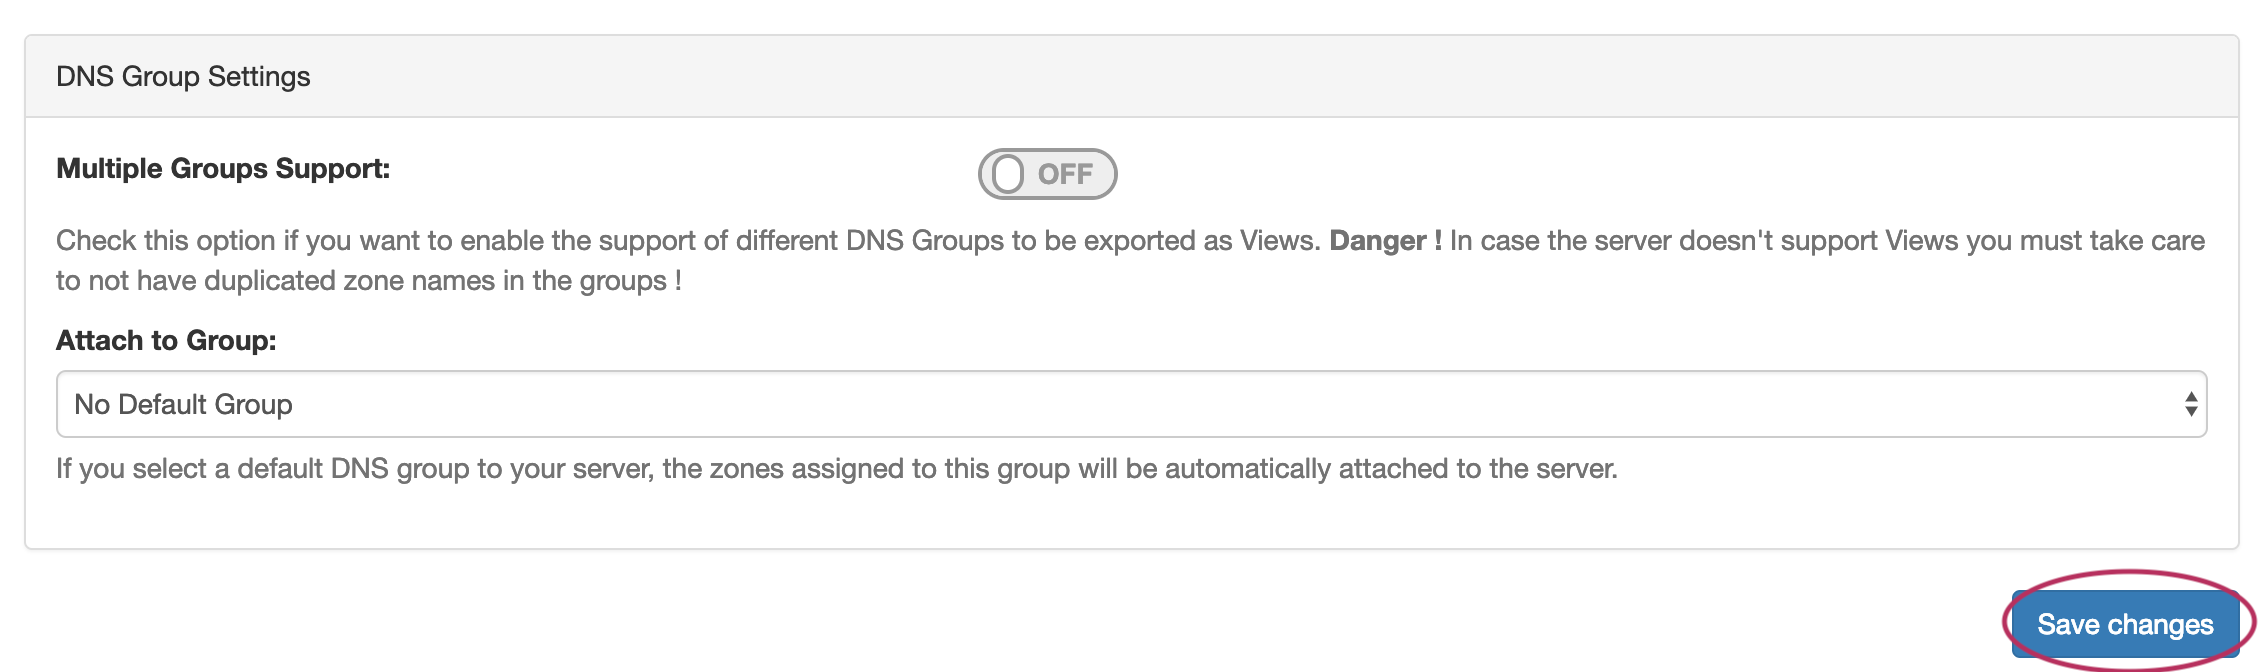
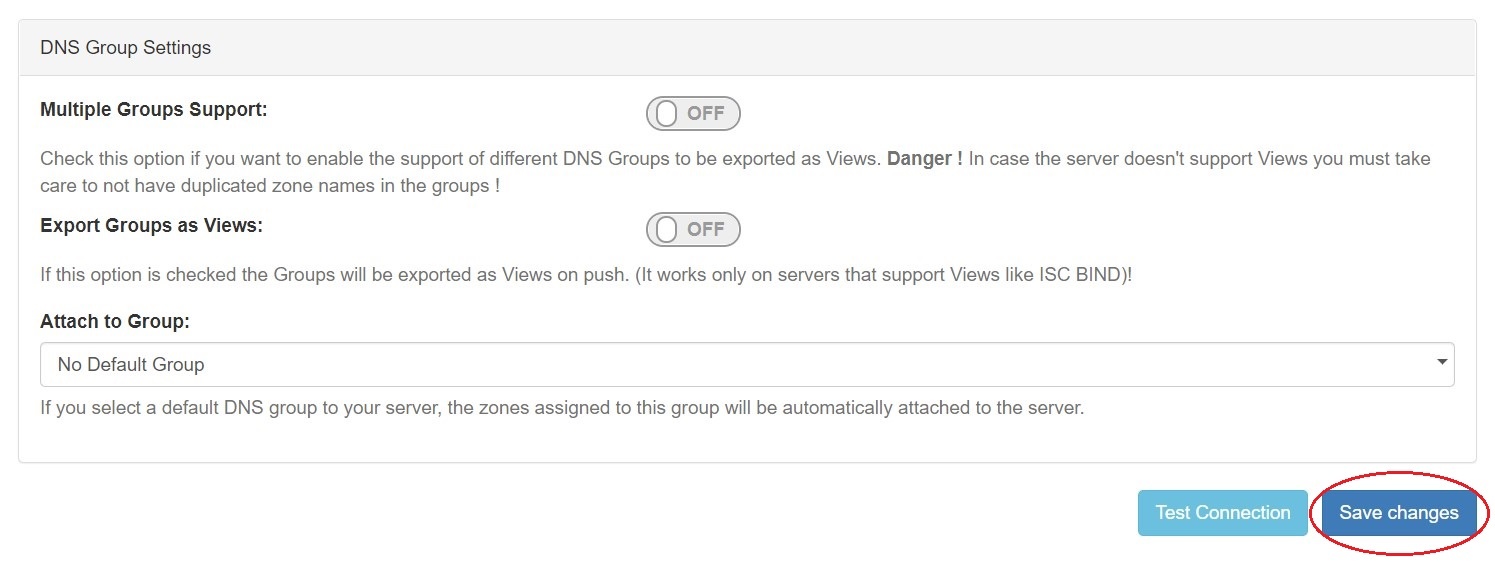
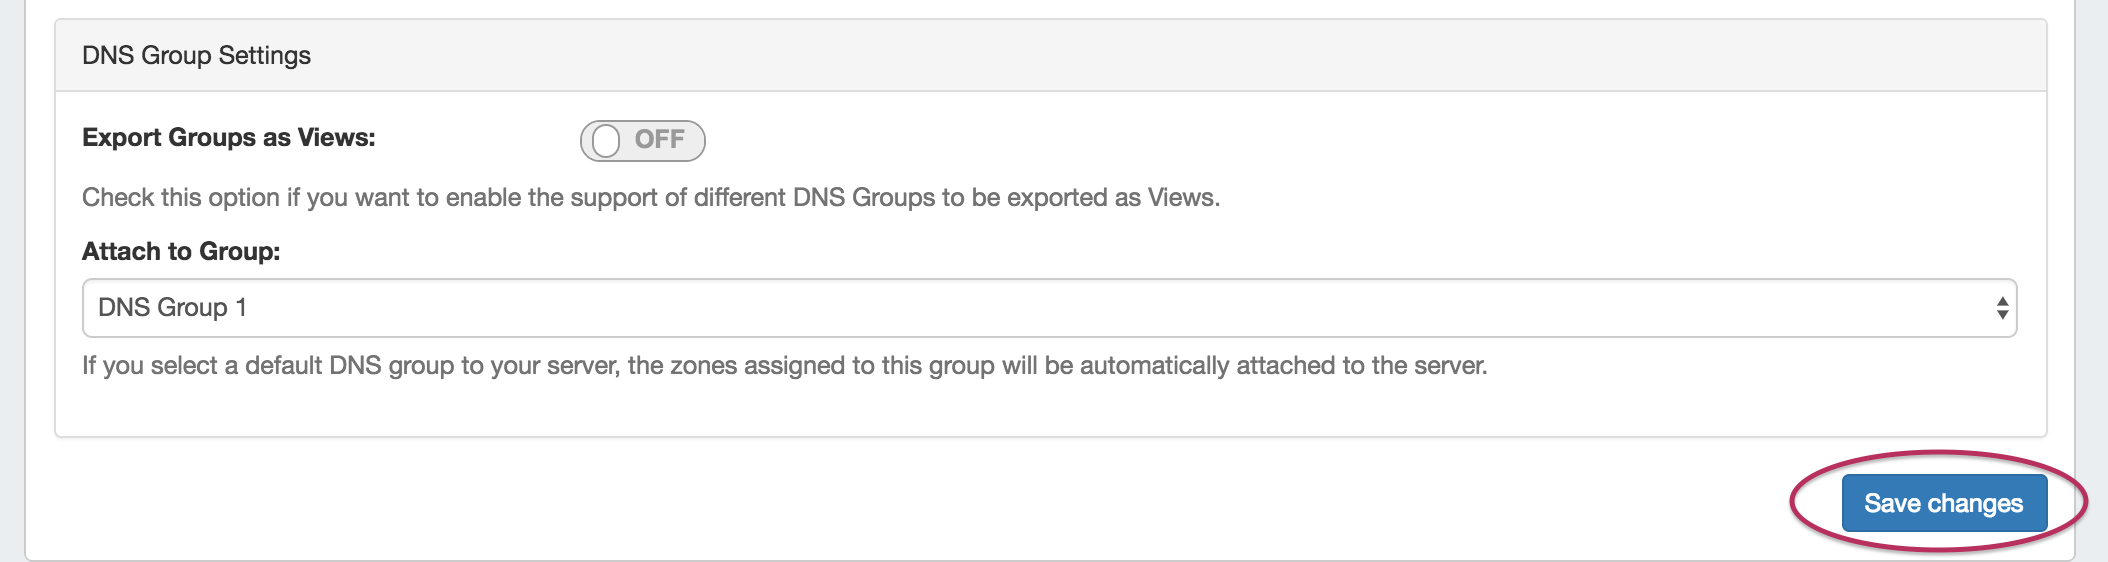
In the last section, select whether to enable Multiple Groups Support for exporting Groups as View (click to toggle toggles ON / OFF), and select a default Group, if desired, to be associated with the server. Zones assigned to the selected Group will automatically be attached to the server.


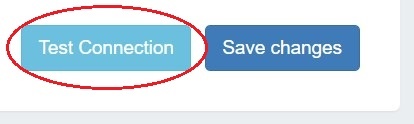
4) Save Changes
Save your changes when done! Just click the "Save Changes" button at the bottom right of the page.
The new server will now be added to the DNS Servers list. These settings may be changed at any time by selecting the server from the server list and editing the information.
...
The "Server Settings" page will open.
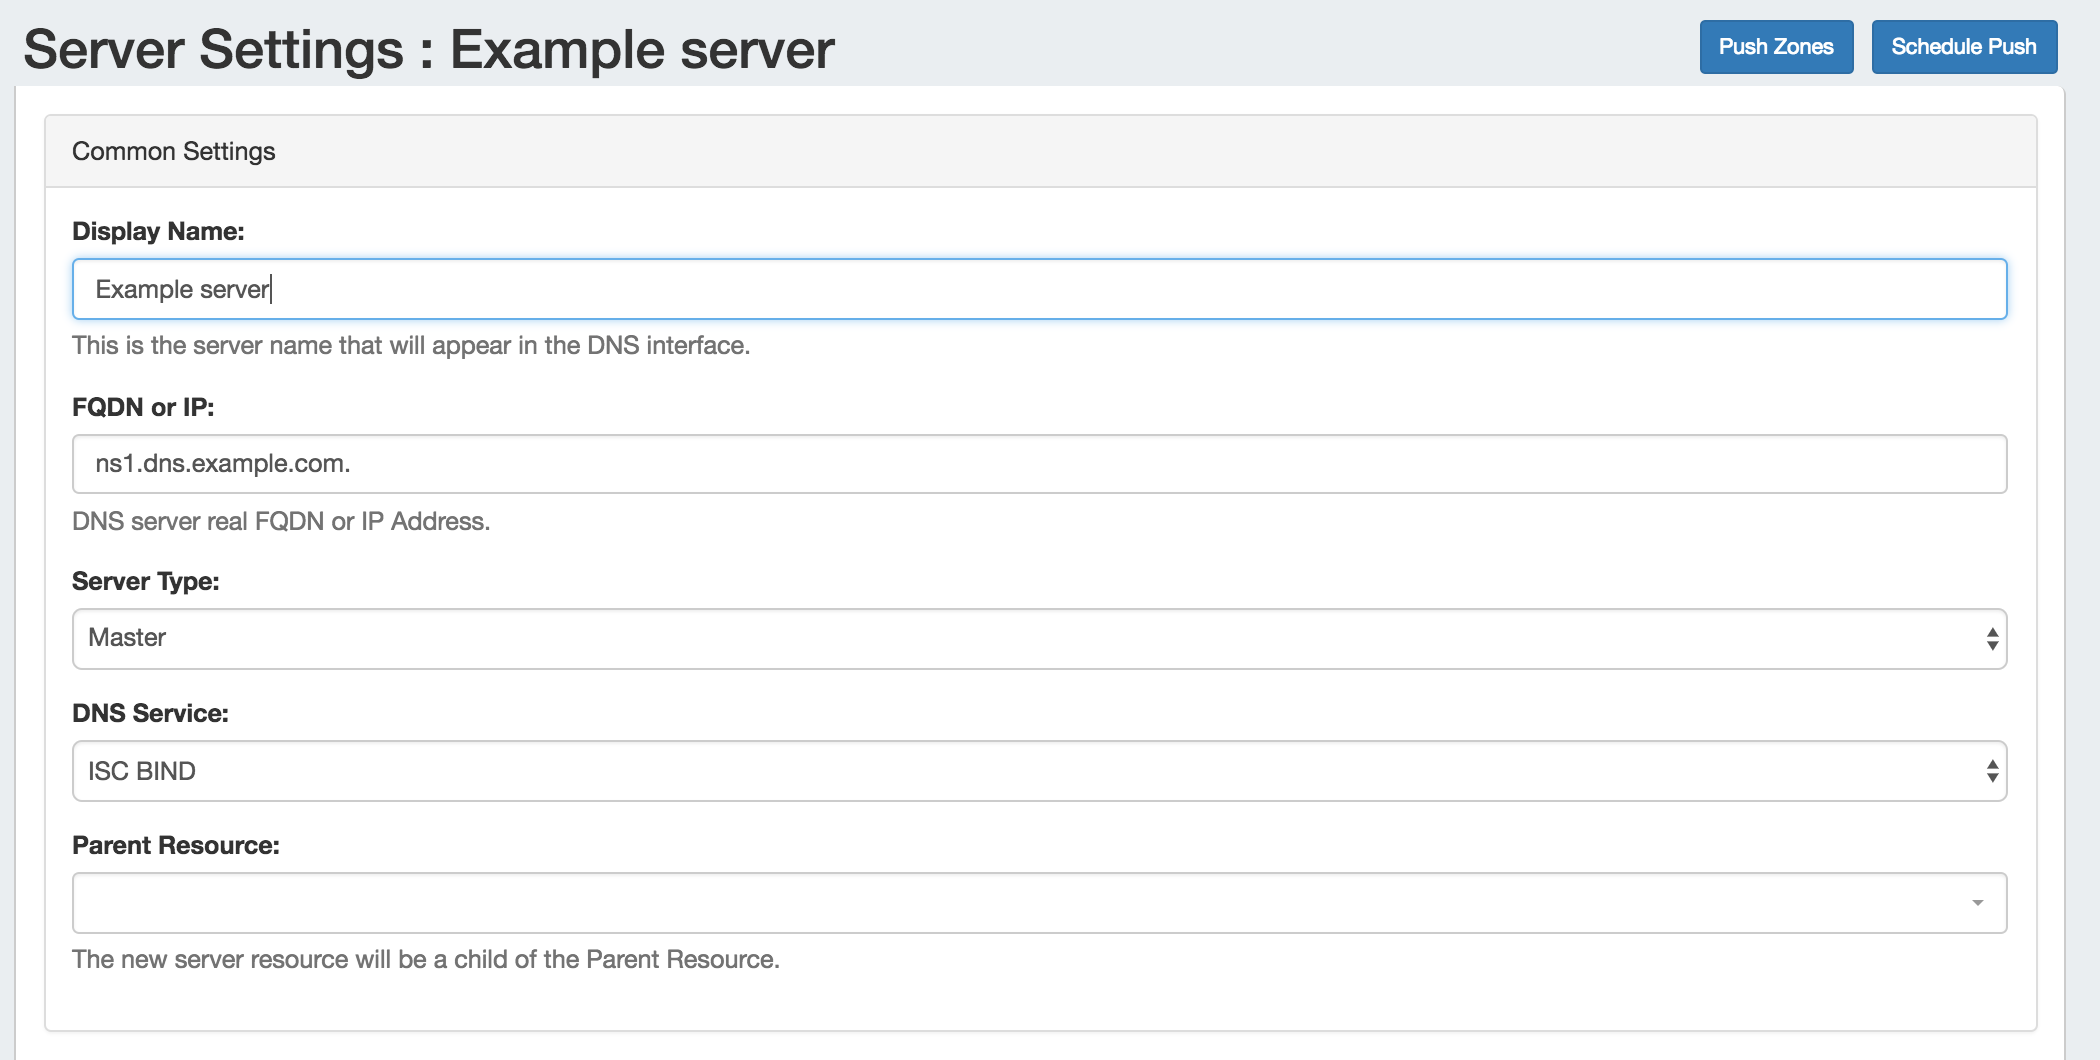
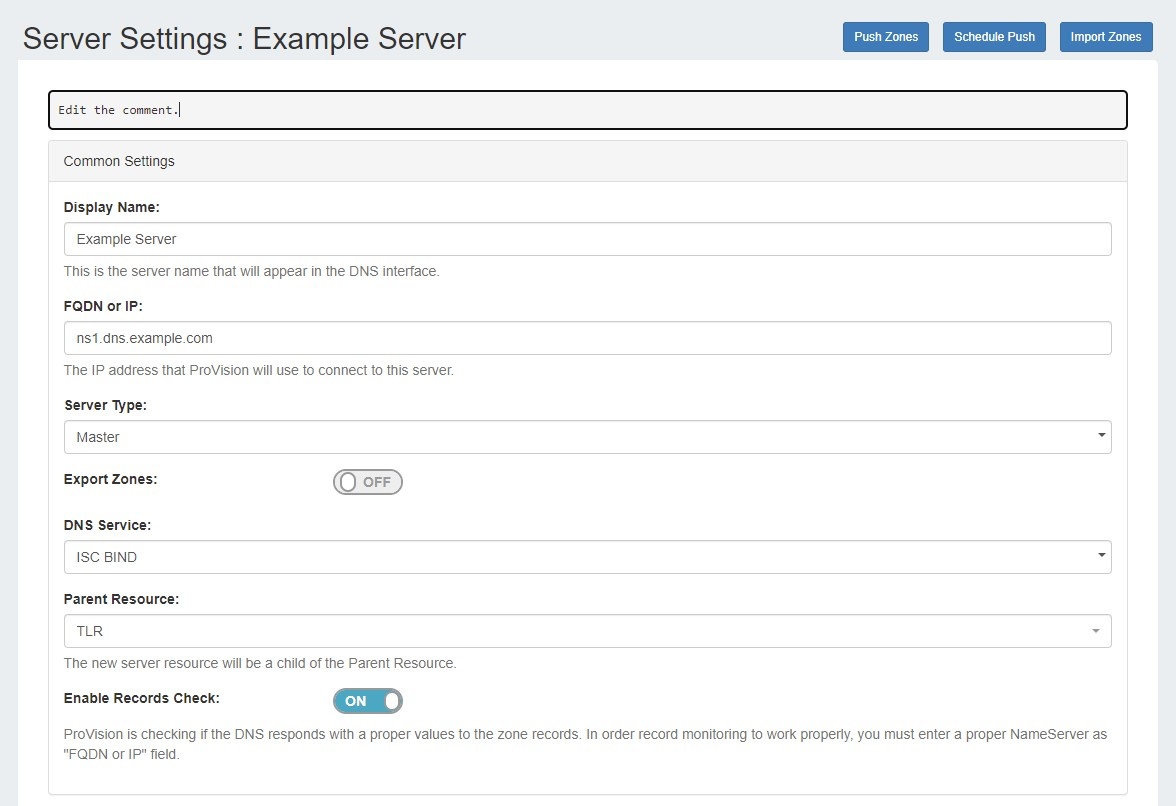
Click inside the field that you want to change, type your changes, and then click "Save Changes" at the bottom of the page.
Review Zones Connected to a Server
...
Scroll to the bottom of the page, and open the module titled "Zones connected to Group '(Group Name)' " by clicking on the expansion arrow.

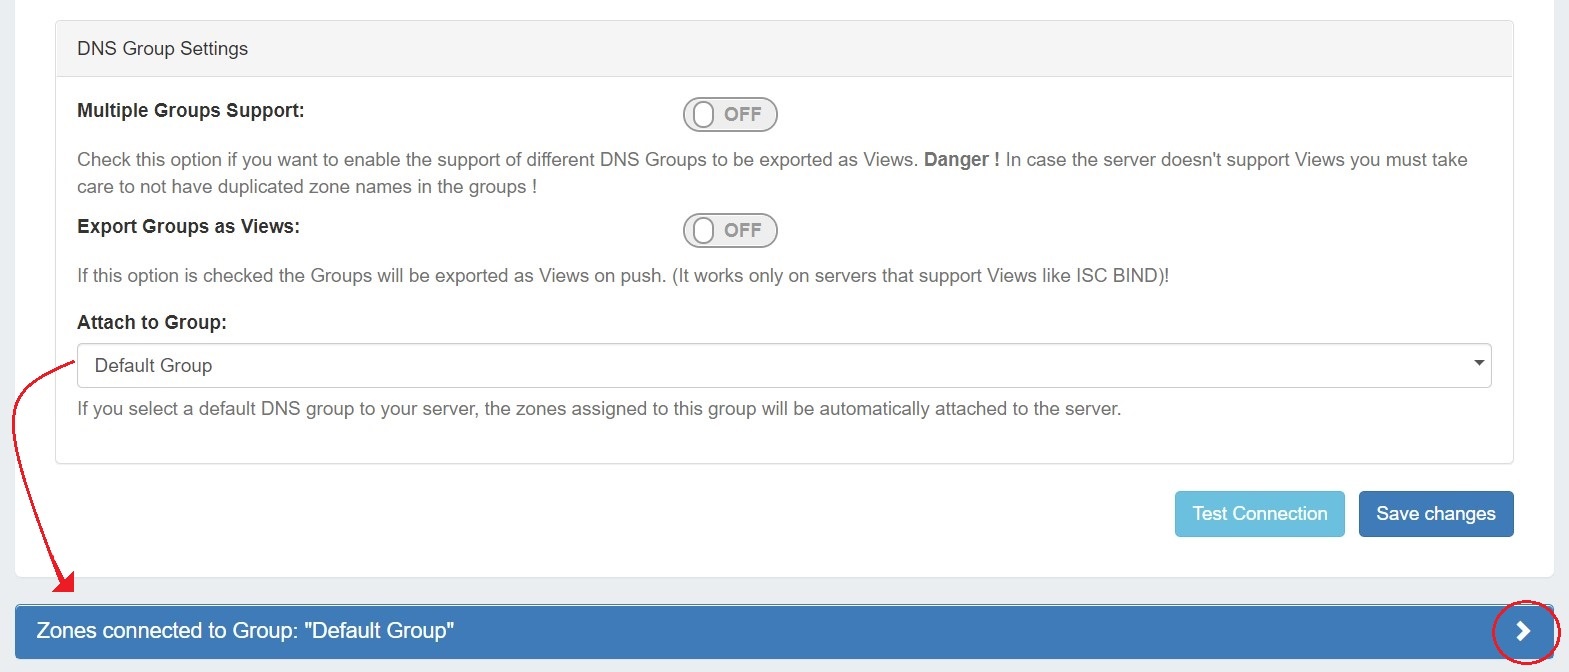
A zone list will show the zone(s) that connected to this server via a selected Group.
...
Pushing may also be done while in the Server Settings page. While in the Server Settings page, click the "Push Zones" button at the top right of the page.
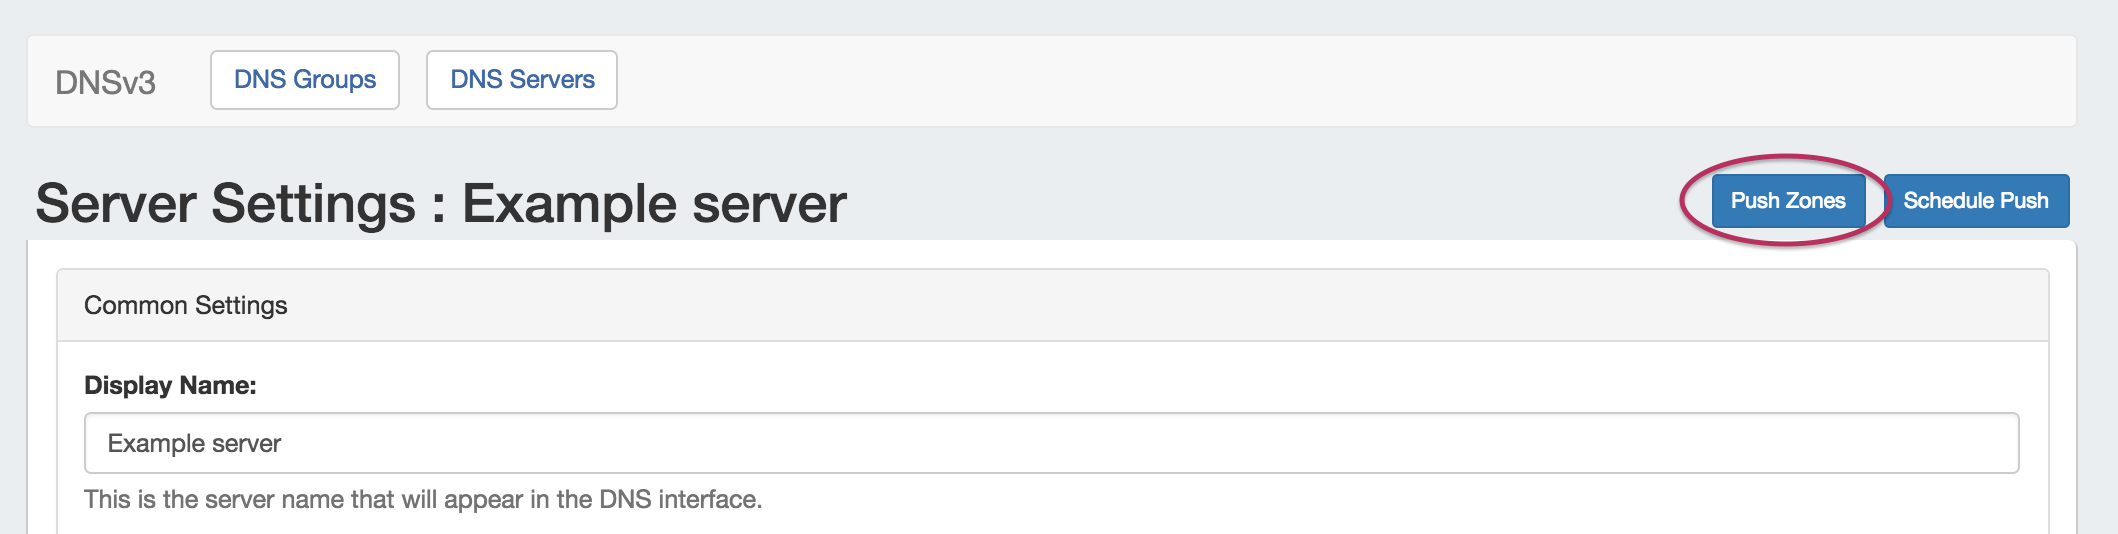
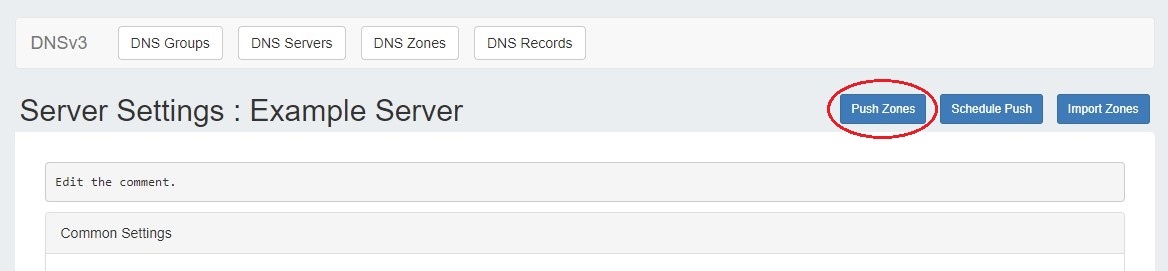
A "DNS Push Status" box will appear, showing the status of each zone as it is pushed. Once all zones have been pushed successfully, a green status message of "Finished DNS Pushing Request" will appear. At this point, the push is complete and the window may be closed.
...
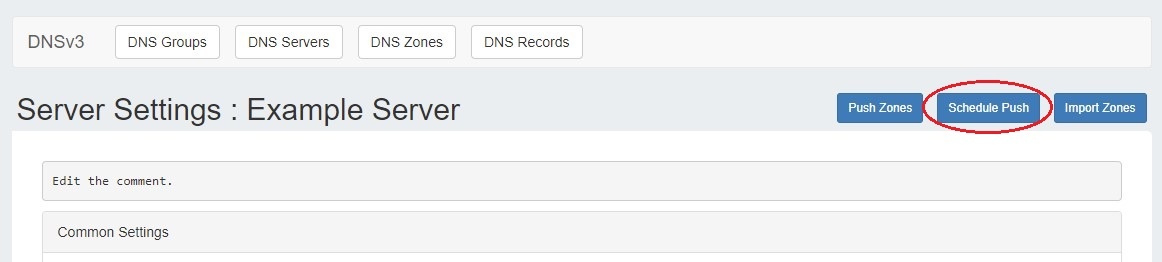
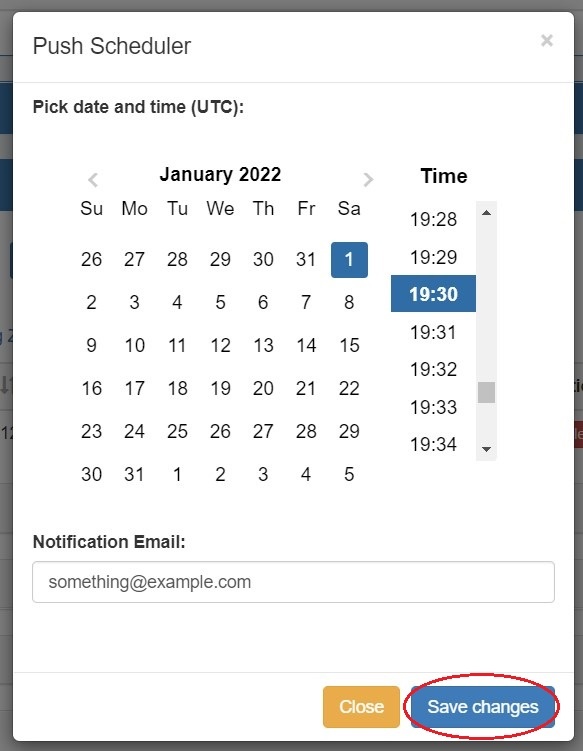
To schedule a push from a server's Settings page, open the Server Settings page for the desired server, and click on the "Schedule Push" button.

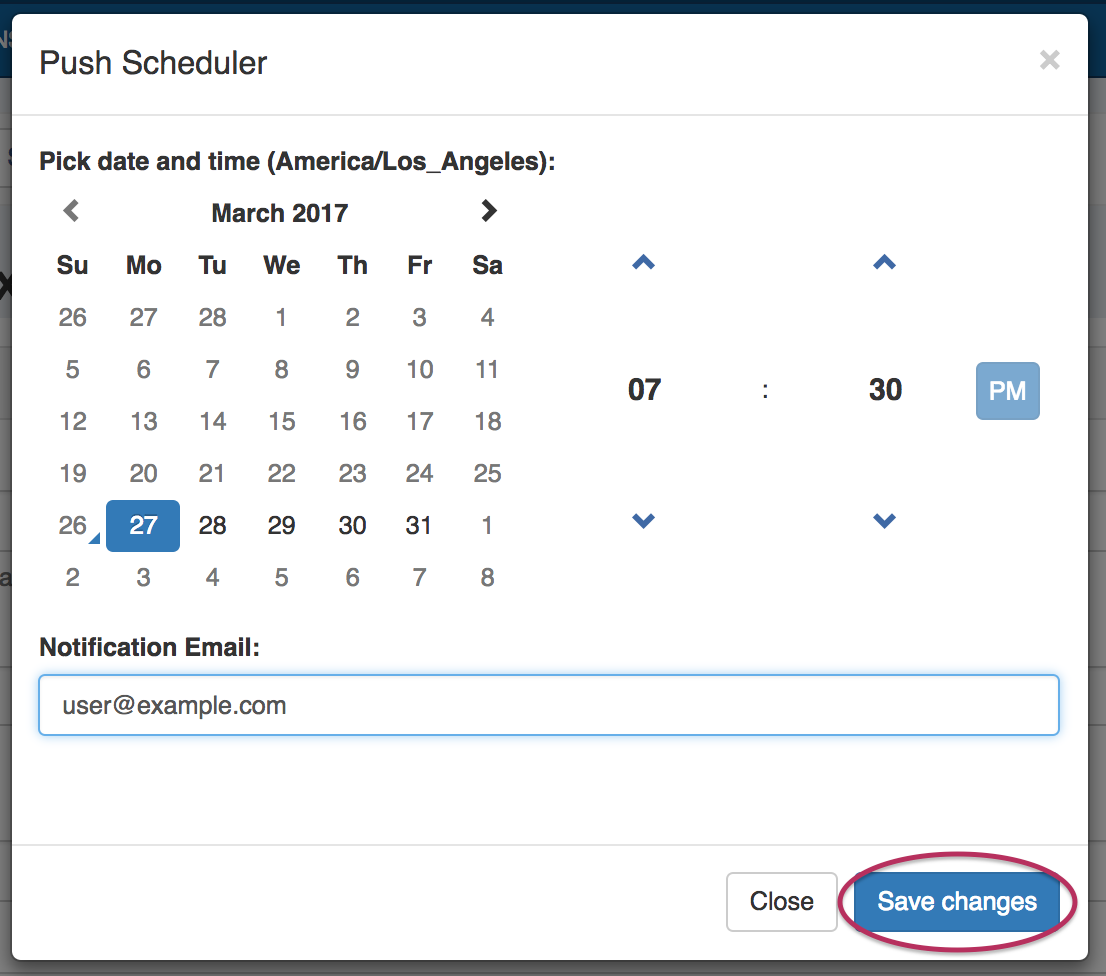
The Push Scheduler dialog will open. Click on the calendar on the left to select a date for the push, set the desired push time on the right, enter a notification email address, and then click "Save Changes".
Once a schedule push has been created, a "Scheduled Tasks" module will appear at the top of the Server Settings page.
Click on the expansion arrow for the module to open and view the tasks.


Scheduled pushes for the server will be listed in the "Scheduled Tasks" module, and may be viewed or deleted (by clicking the "Delete" button under "Actions").


If necessary, the Scheduled Push may be edited from the Scheduler Tab in the Admin area of ProVision. See the Scheduler for information on editing scheduled tasks.
...
- Configuring ISC BIND Support
- Configuring PowerDNS Support
- Configuring Secure64 Support
- Configuring Split Horizon /and Views
- Configuring DNSSEC
- Import DNS Zones
- DNS Tab
...