| HTML |
|---|
<div id="google_translate_element"></div>
<script type="text/javascript">
function googleTranslateElementInit() {
  new google.translate.TranslateElement({pageLanguage: 'en'}, 'google_translate_element');
}
</script>
<script type="text/javascript" src="//translate.google.com/translate_a/element.js?cb=googleTranslateElementInit"></script> |
Simple Upload / Import from CSV
The Upload / Import from CSV tool is used if you have a simple .csv file with IP block information, such as CIDR, Maskmask, ASN, RIR, etc. It It is accessed from the from the Data Import Tab from the Admin section of ProVisionTab from the Admin section.
To import your IP block information, follow the following steps:
...
Common normalization steps required for ProVision IP imports include:
- Remove any empty rows in the data range
- Remove any empty columns in the data range
- Remove stray data from inside and outside the data range, such as:
- notes, comments, and placeholder text as field values, when not set as their own data column
- nested secondary information located in additional rows under a primary record
- Ensure proper data formatting
- Check for data formatting errors - a common issue is leading zeros being dropped from a ZIP field when a file is opened. Re-specify format as needed.
- Ensure each field has consistent formatting for values
Note title Data Encoding Format To ensure correct importing of any special characters, make sure to use UTF-8 encoding for your CSV file!
...
| Note | ||
|---|---|---|
| ||
For IP Import from .csv, the following fields are REQUIRED:
All other fields are optional. |
...
Step 1: Create a new IP Import Job
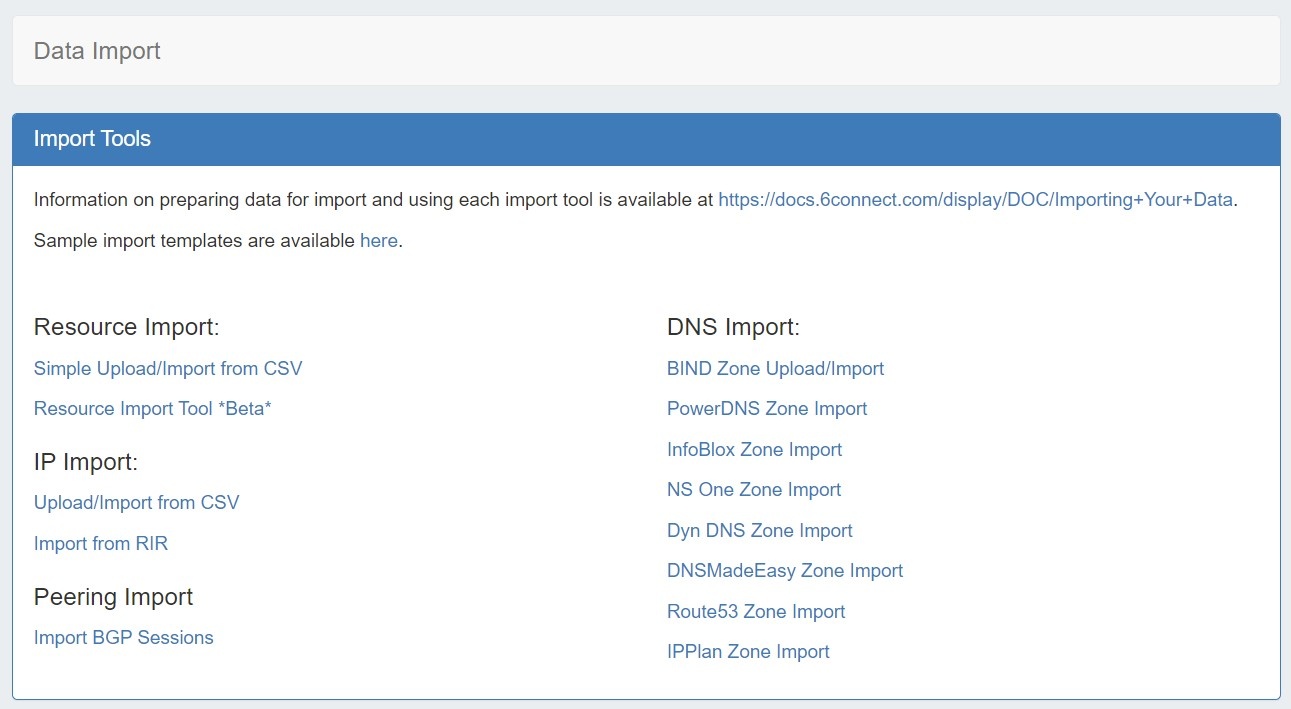
Navigate to the Data Import Tab from the Admin Import Tab from the Admin button. Select "Upload / Import from CSV" under "IP Import".
...
Using the dropdown menu above each data field, select the appropriate definition for each of the imported columns.
- CIDR or IP/Maskmask fields must be provided
- Notes, Tags, and Regions may have multiple columns associated with the data.
- If you do not have a defined RIR column, you must select a default RIR to associated the blocks to.
...
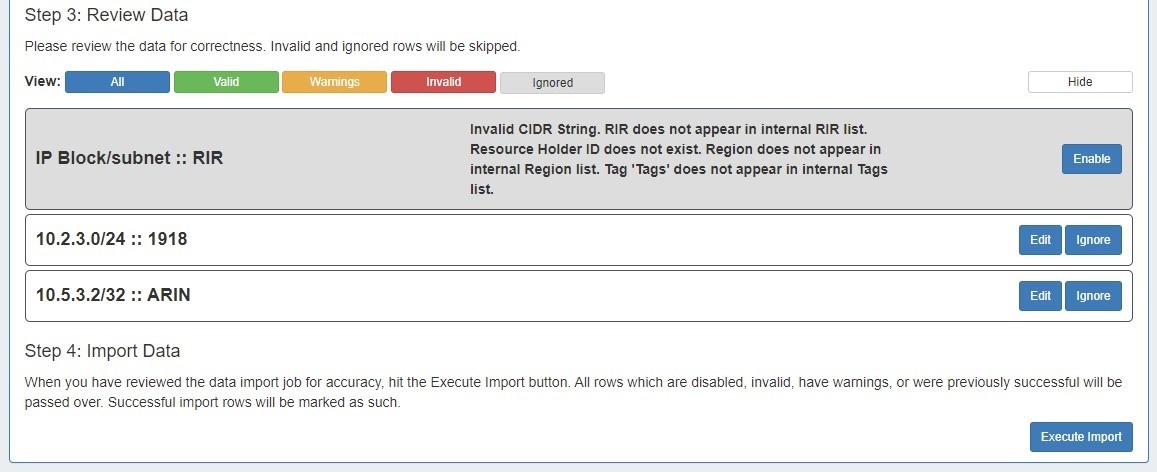
If warnings or invalid entries are found, you may edit the data by clicking the "Edit" button.
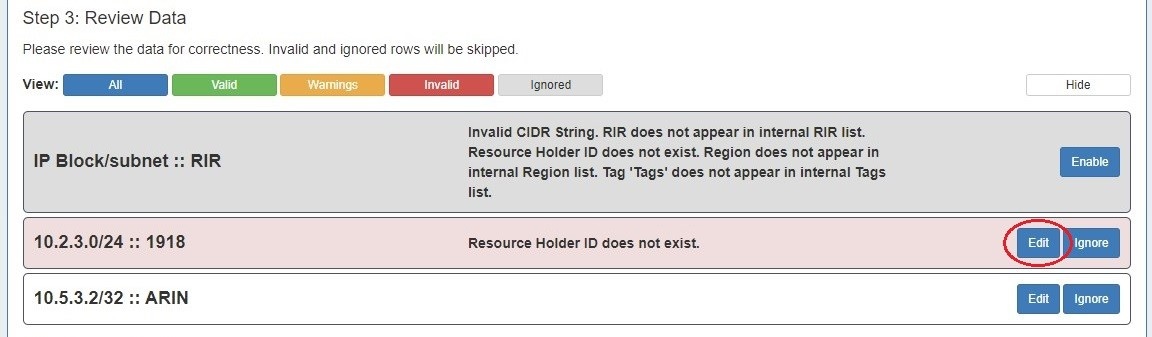

Here you can edit the invalid field, or add /change information for any other available field.
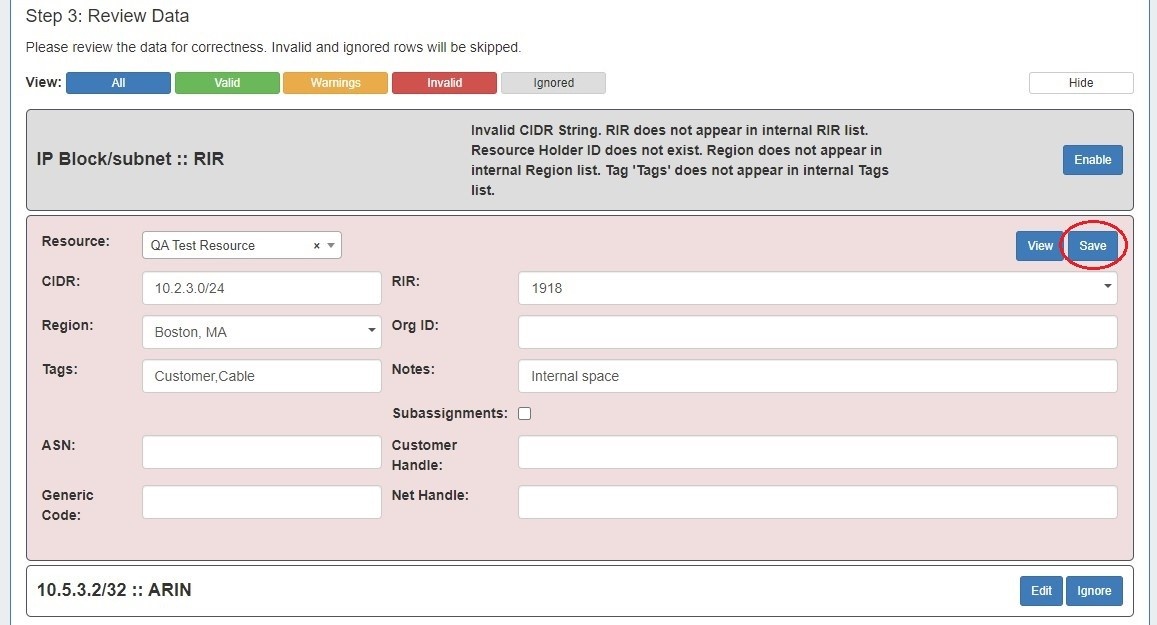
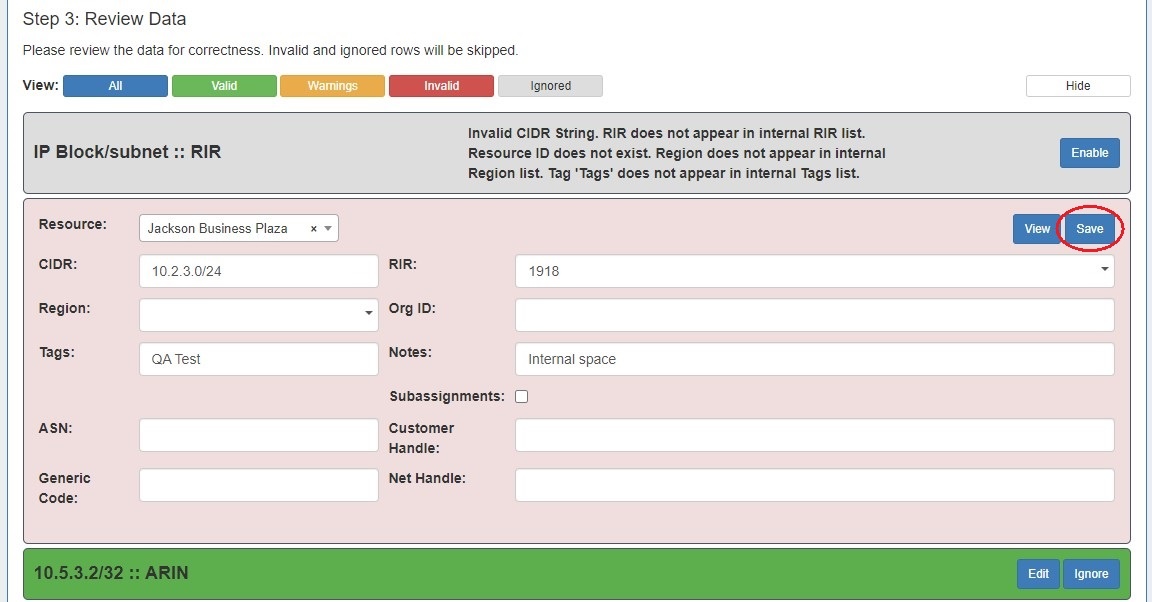
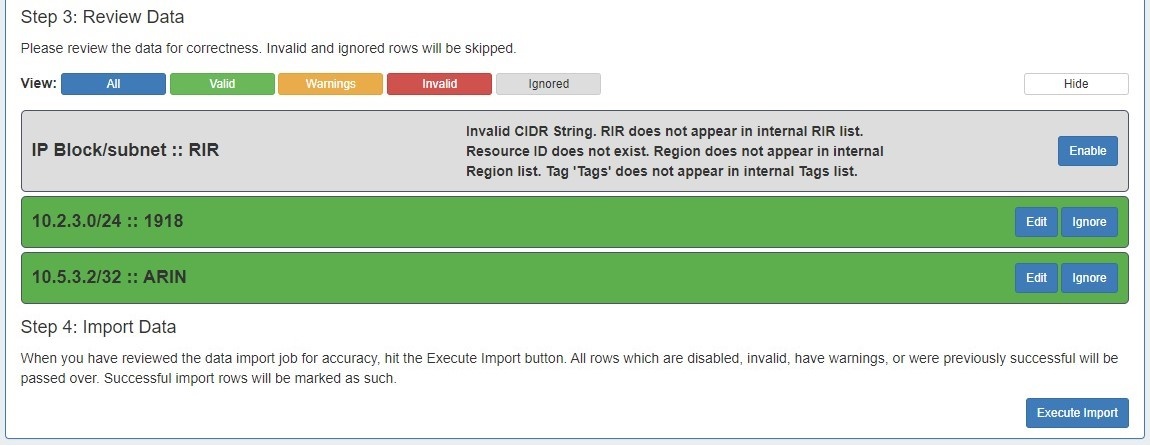
After editing, hit "Save". If the edits are valid, the background color for the data row will be white.
Continue reviewing and editing data as desired. When done, proceed to Step 4.
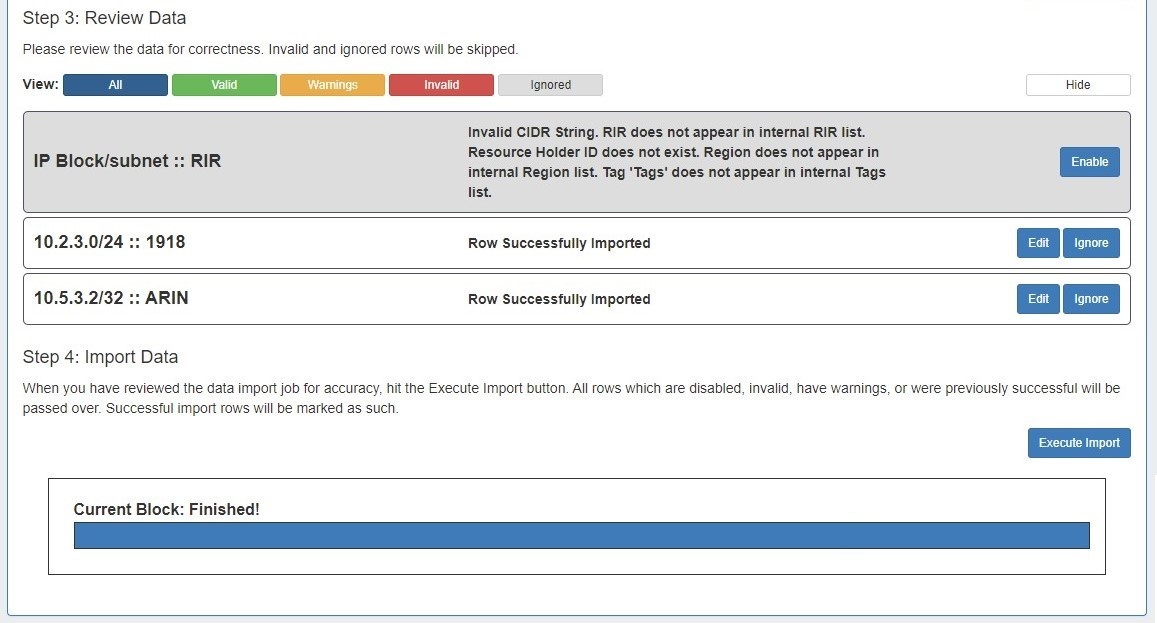
Step 4: Execute Import
...
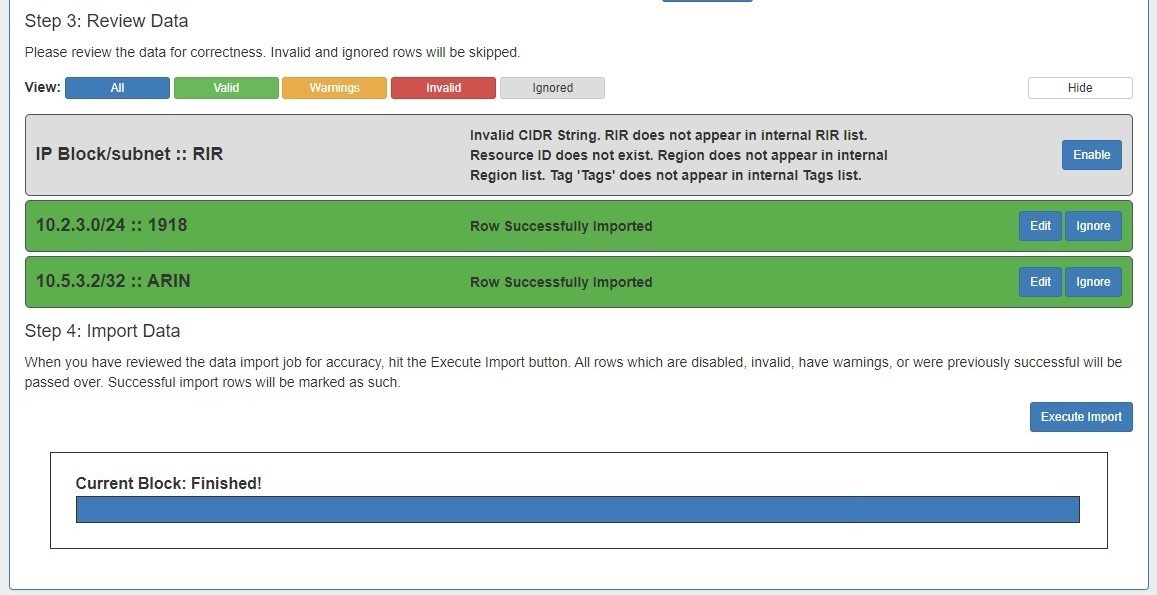
When the bar reaches 100%, the import is complete. The Data Review section will show which data rows were successfully imported.
Post Import Followup
...