Working with DNS Zones
This page details some common DNS tasks performed from the DNS Tab.
...
| Info | ||
|---|---|---|
| ||
In DNSv3, zone files in the server directory will have a number appended, similar to 'example.com._123.zone'. This number is the Resource ID associated with the zone, and is used in ProVision to identify the zone and differentiate zones that may have the same name, but under different DNS Groups. This append does not affect any zone functionality otherwise. |
...
You may also add new zones from the DNS Zonestab, by clicking "Add Zone" next to Zone Listat the top of the page.
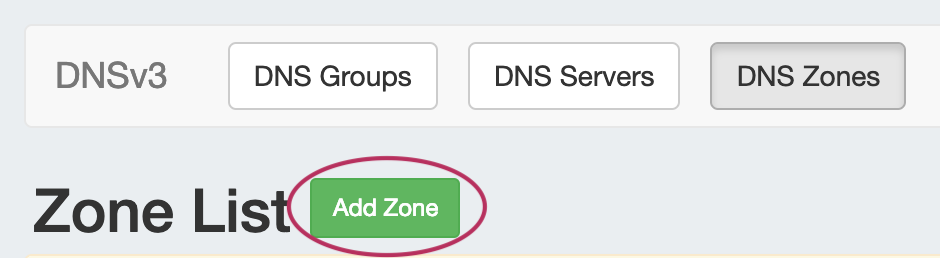
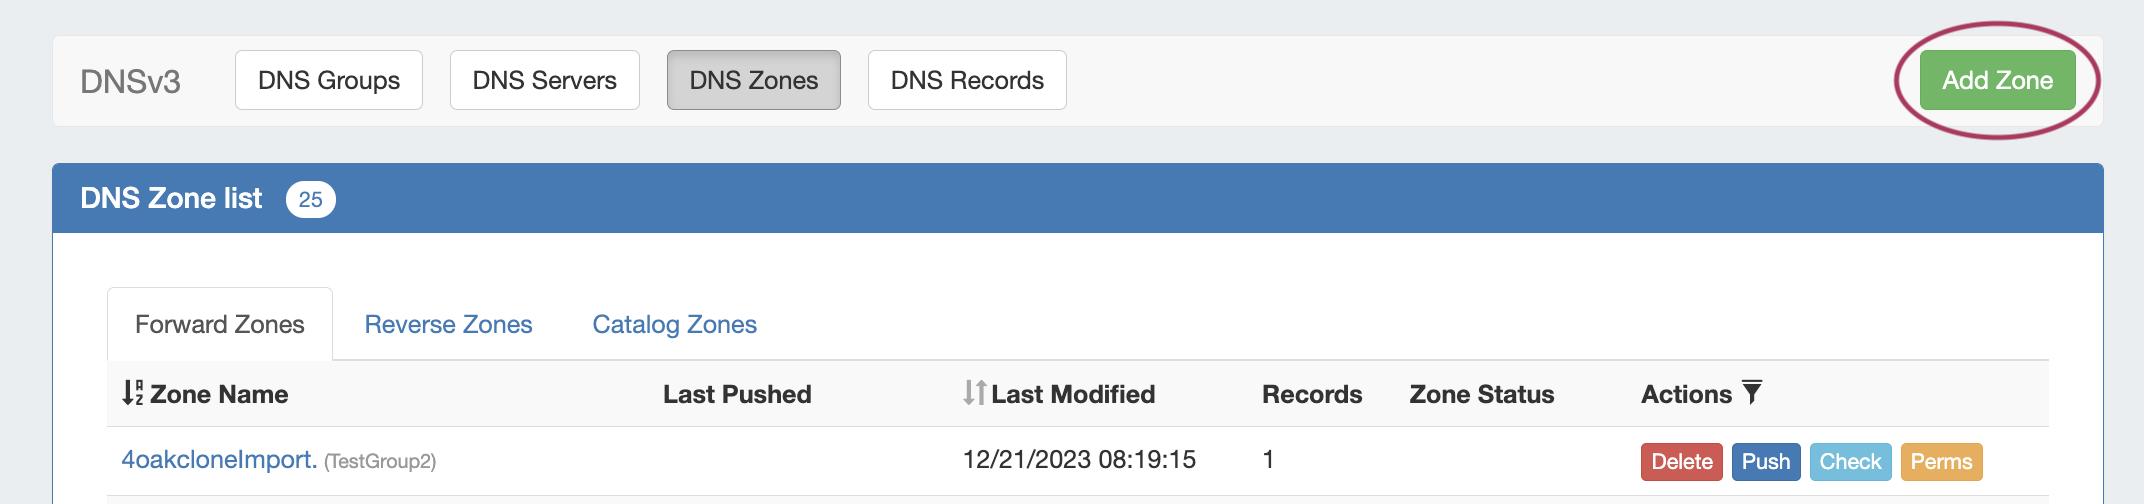
The "Create New Zone" dialog will pop up.
 DNS
DNS
Enter the name of your new zone and select a parent resource, if desired. The DNS group will already be selected.
...
Expand the "Optional Fields" section by clicking on the chevron (>) or the "Optional Fields" header.

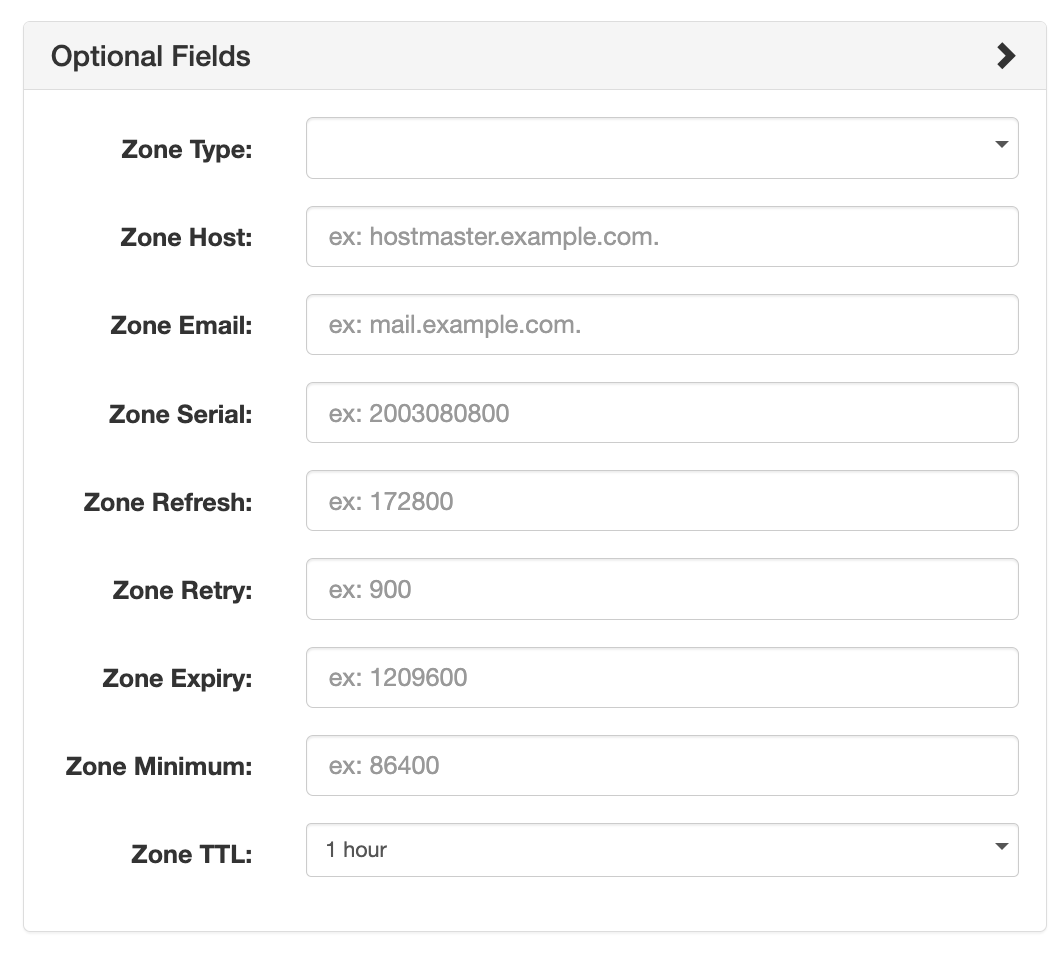
Under this section, add in optional values for Zone Type, Host, Email, Serial , Refresh, Retry, Expiry, or TTL.
...
To exit without saving, simply click "Close".
Autogenerate Reverse Zone
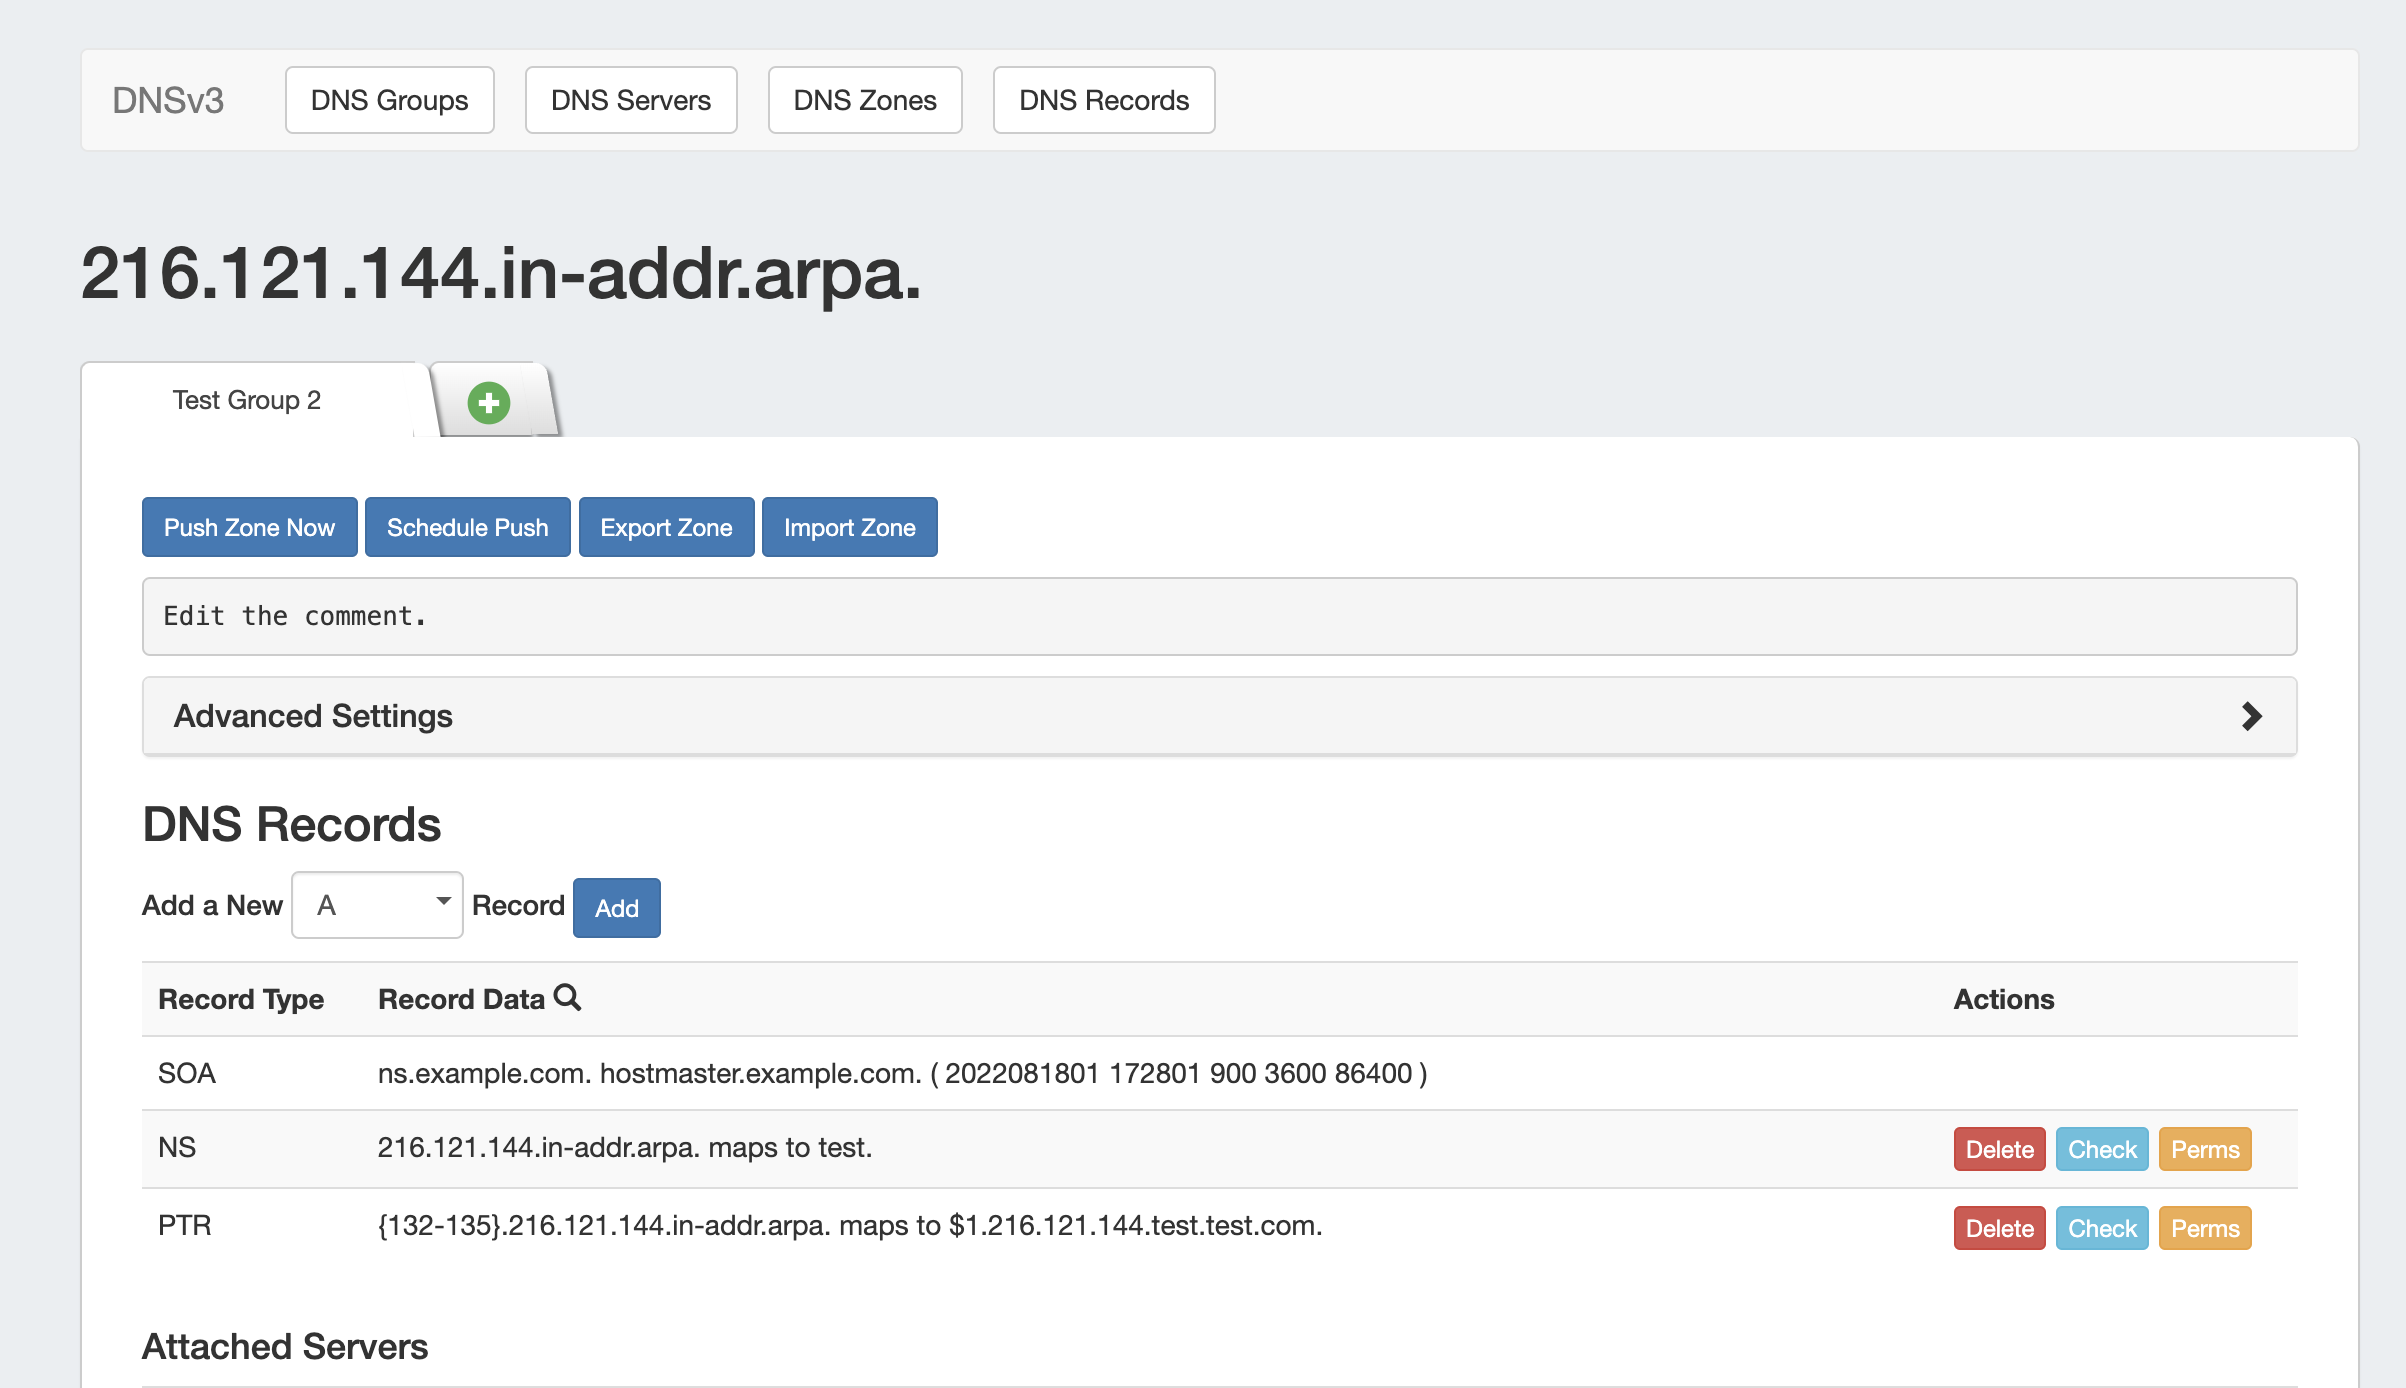
Autogenerate a reverse zone from an IP Block by clicking on the CIDR link in the IPAM Gadget block list.

The reverse zone will be created for the block, and the Zone View page will load, displaying further information.
Edit a Zone (View Zone page)
...
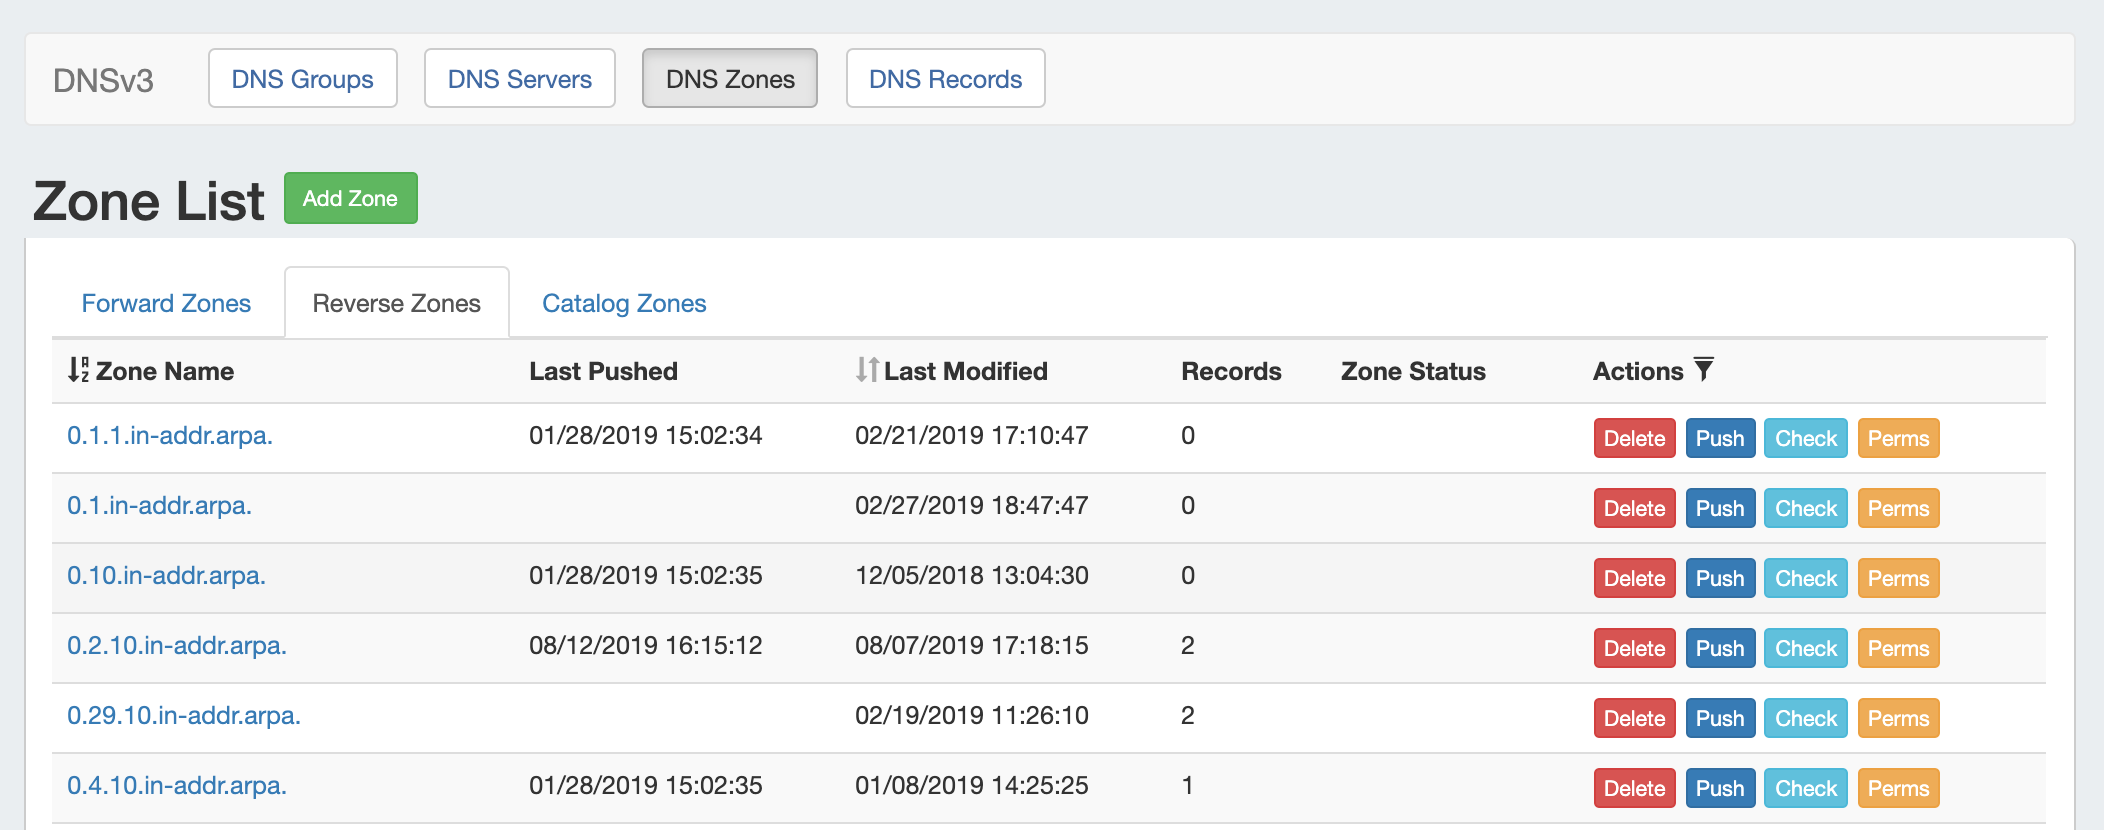
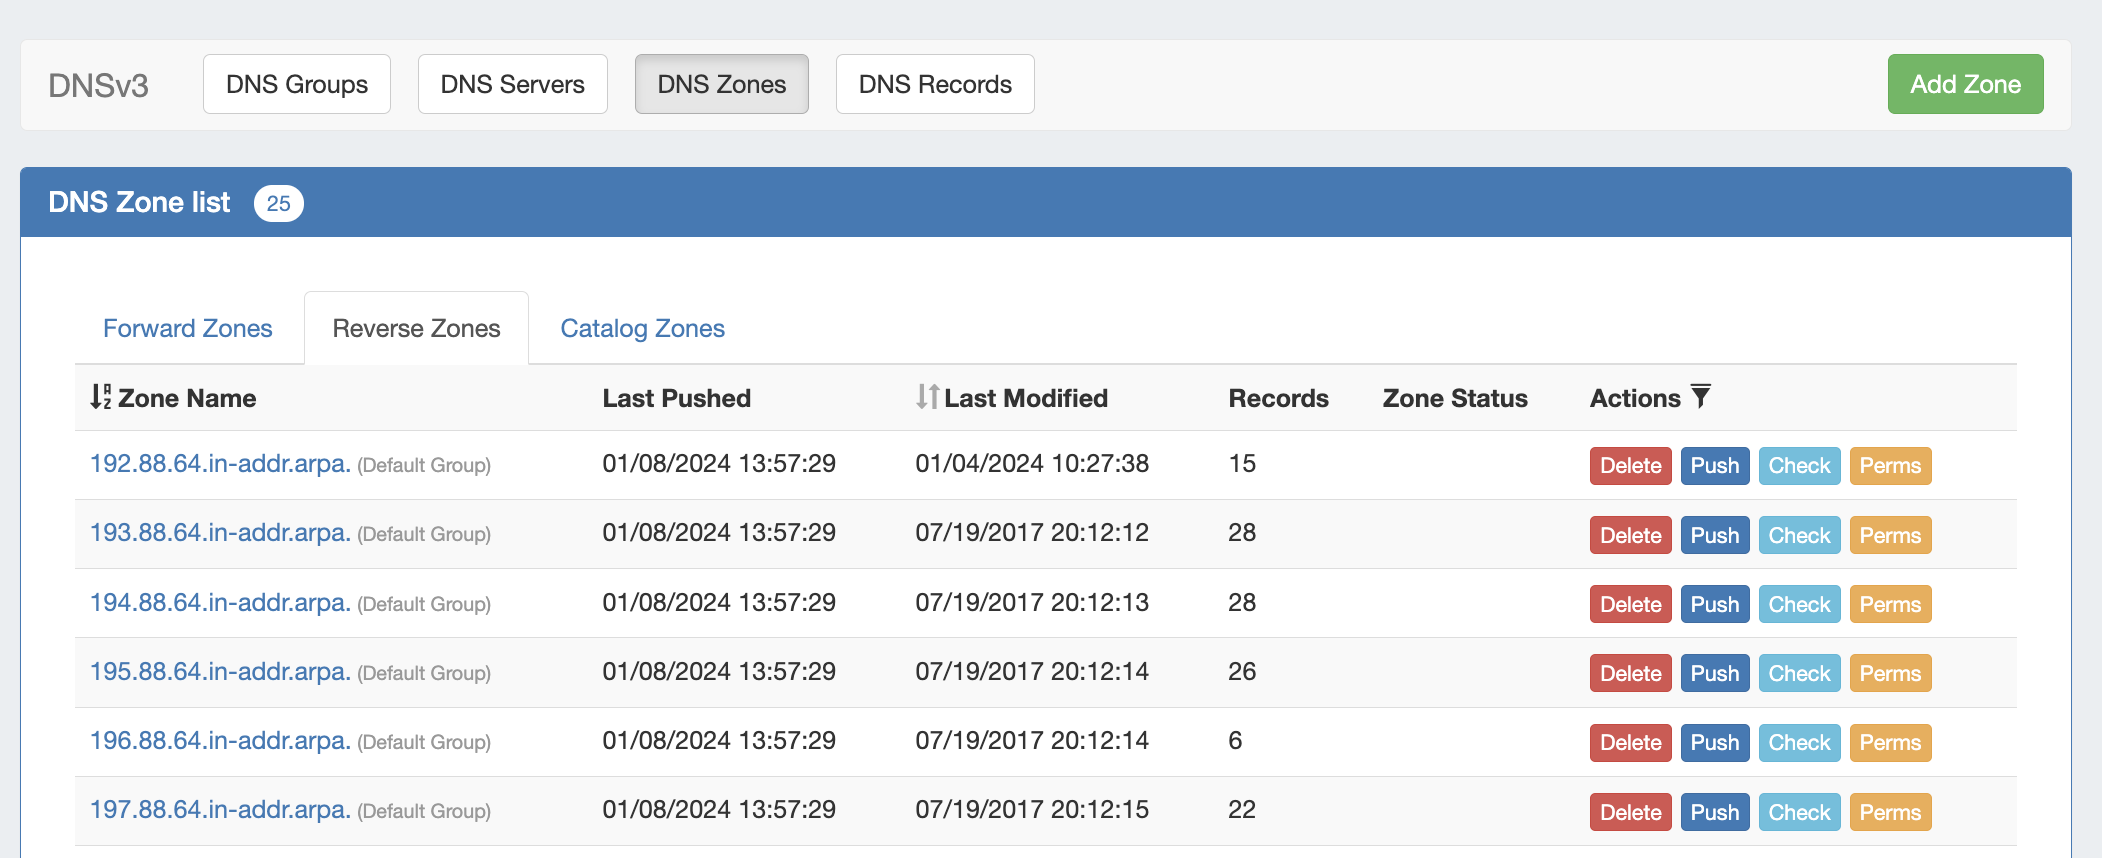
Clicking on the zone name from any zone list opens up the View Zone page.
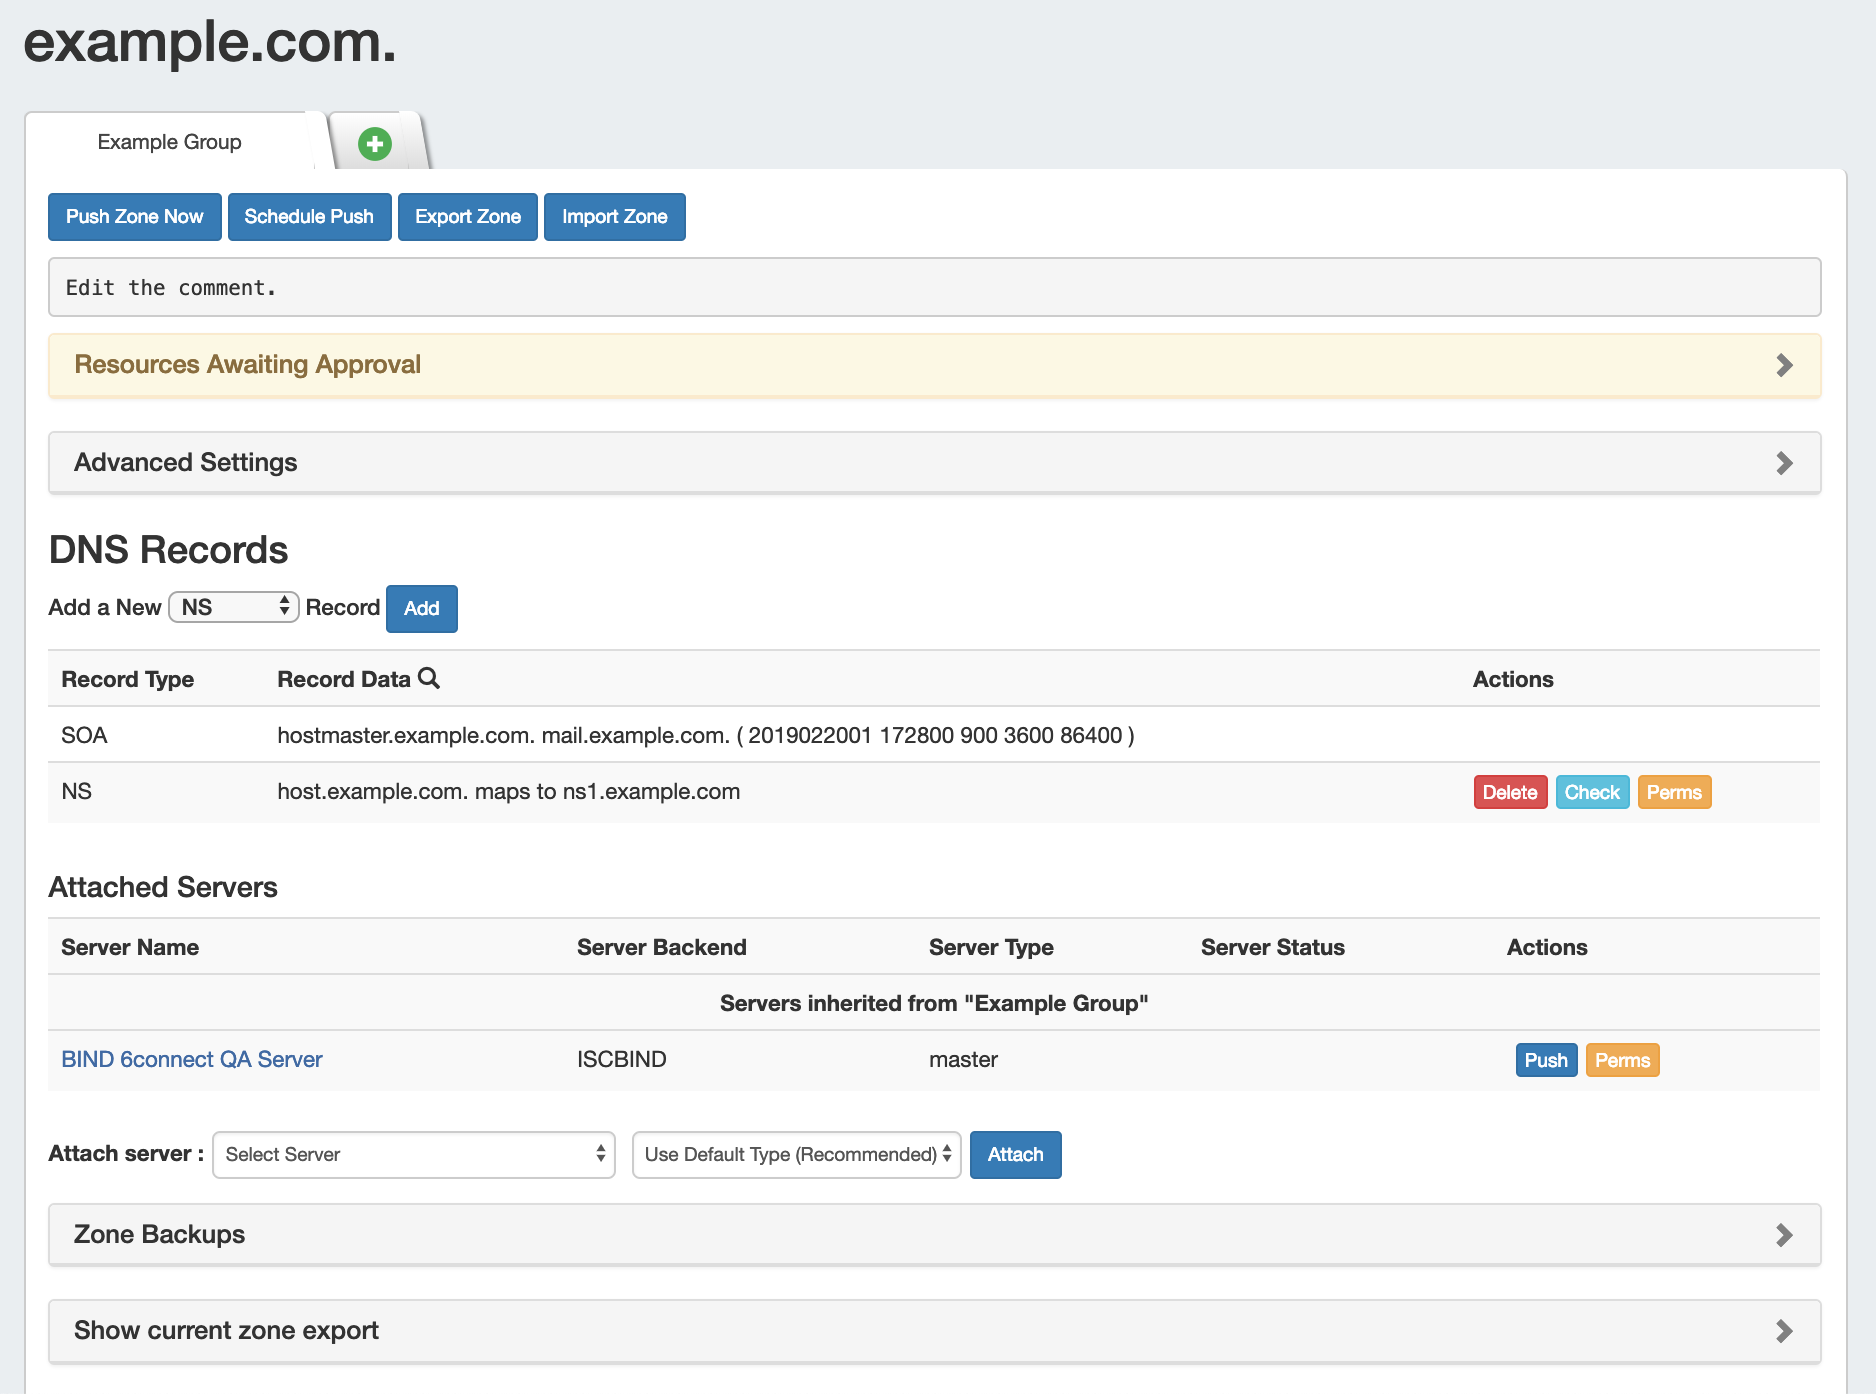
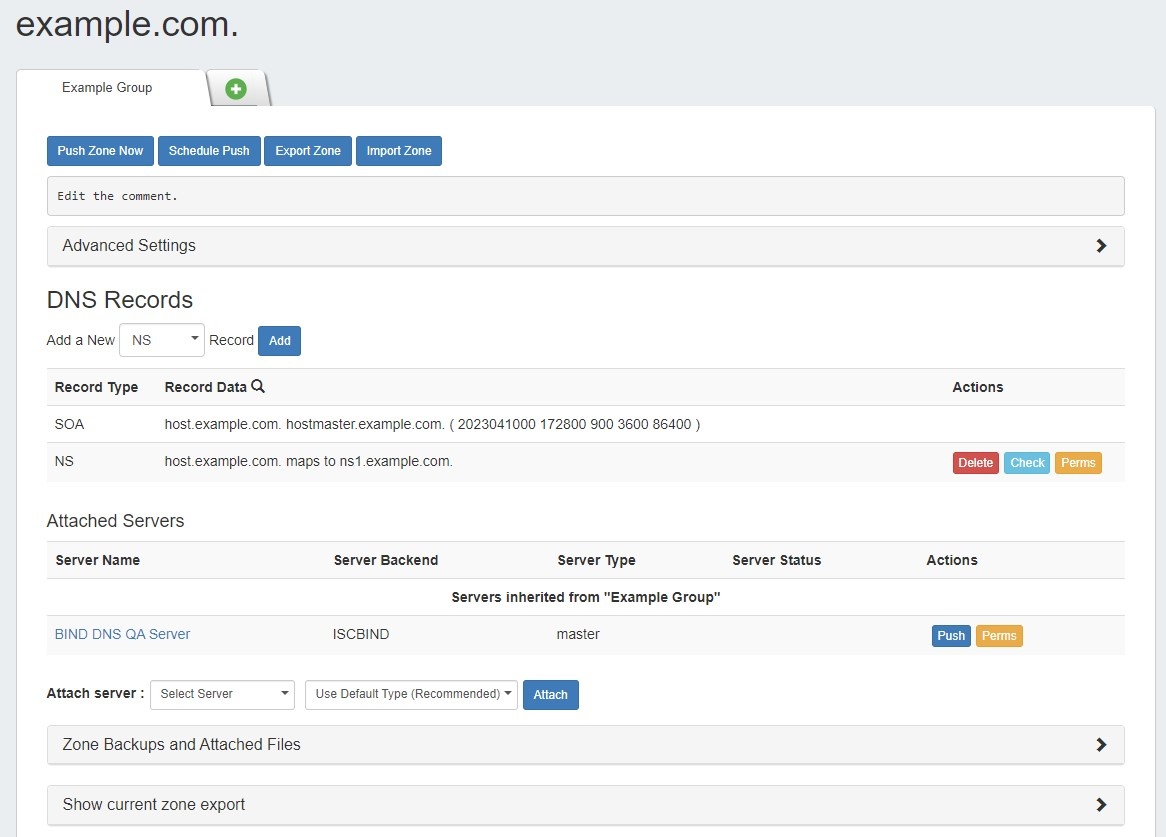
Here, comments may be added, records added or updated, servers attached to the zone, advanced settings edited, backups restored or the zone pushed / exported. For a general interface overview of the View Zone page, see Editing DNS Zones.
...
Under this area, you can change settings such as Parent Resource, DNSSEC, Lists, Zone permissions, and free lines.
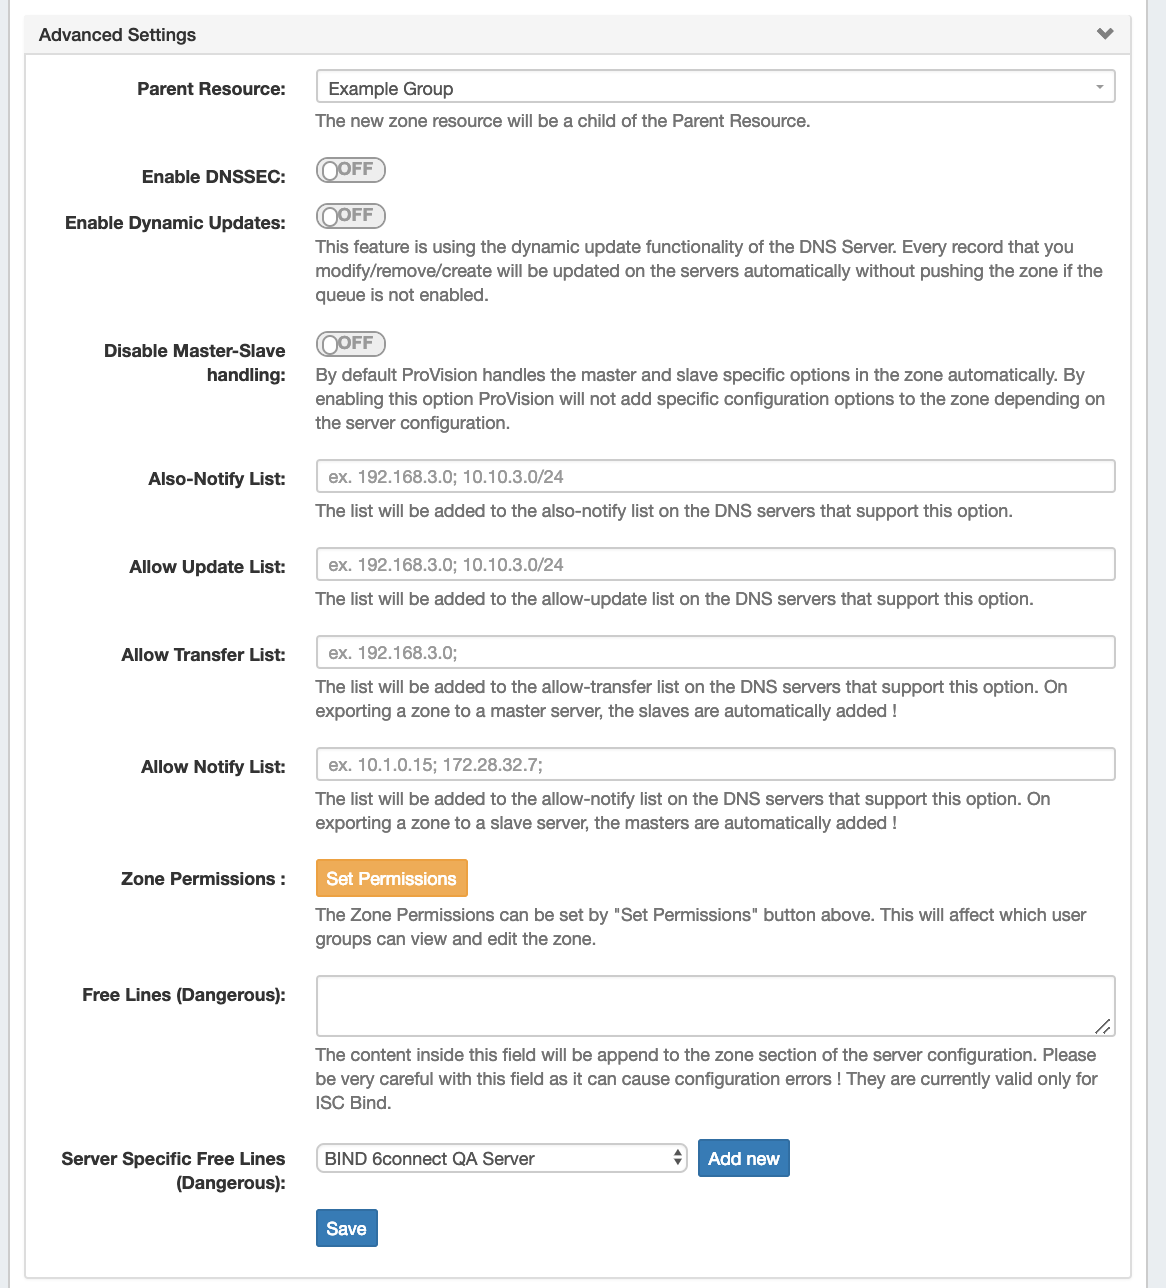
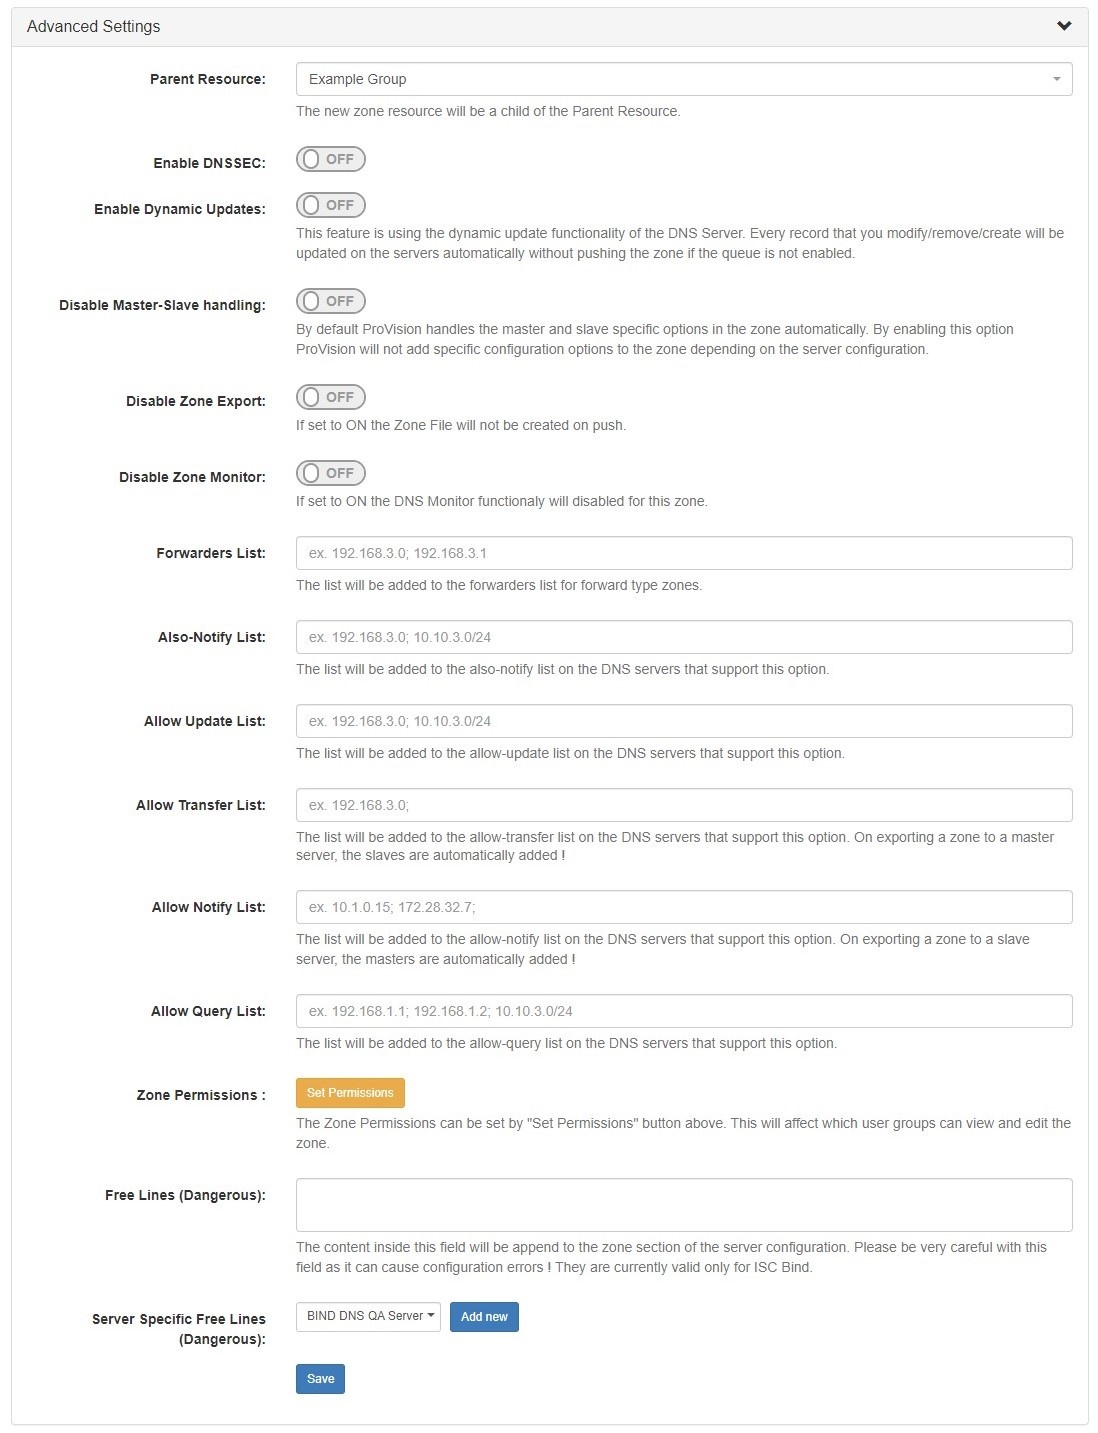
Edit fields as needed, and click "Save" when done.
...
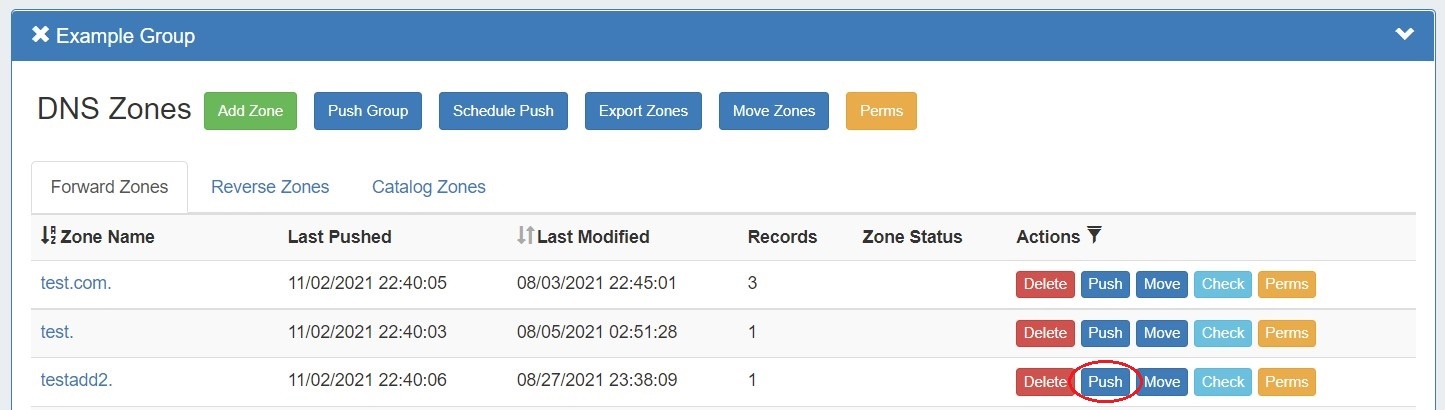
You may also look for the zone in the DNS Zones tab Zone List, and then likewise, click the "Push" button in the zone row.
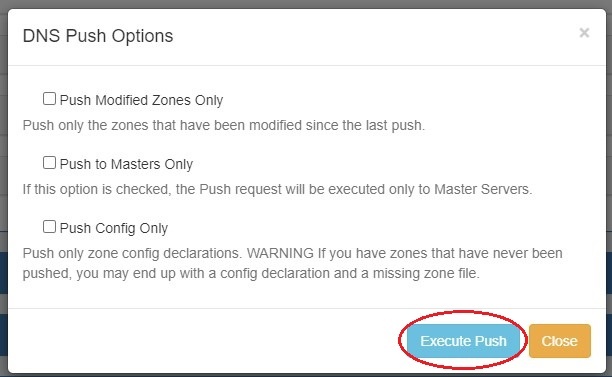
Users can customize a push by choosing an option from the push options modal and clicking "Execute Push". To push normally, click "Execute Push" without selecting any options.
The "Push Status" modal will appear, showing status and any errors that occur. When a successful zone push is complete, a green "Finished DNS Pushing Request" message will appear, and the window may be closed.
...
Click on "Push Zone Now", and the optionally select a customization, and click "Execute Push". The "Push Status" modal will appear, showing status and any errors that occur.
...
Individual .zone files may later be compressed into a .zip, and used with ProVision's the BIND DNS Zone Upload / Import tool.
...
A zone file (.zone) may be imported into a ProVision zone to populate record data. Note: To import the record data, the zone must already exist in ProVision - although it may be an empty placeholder zone if necessary.
...