Contacts
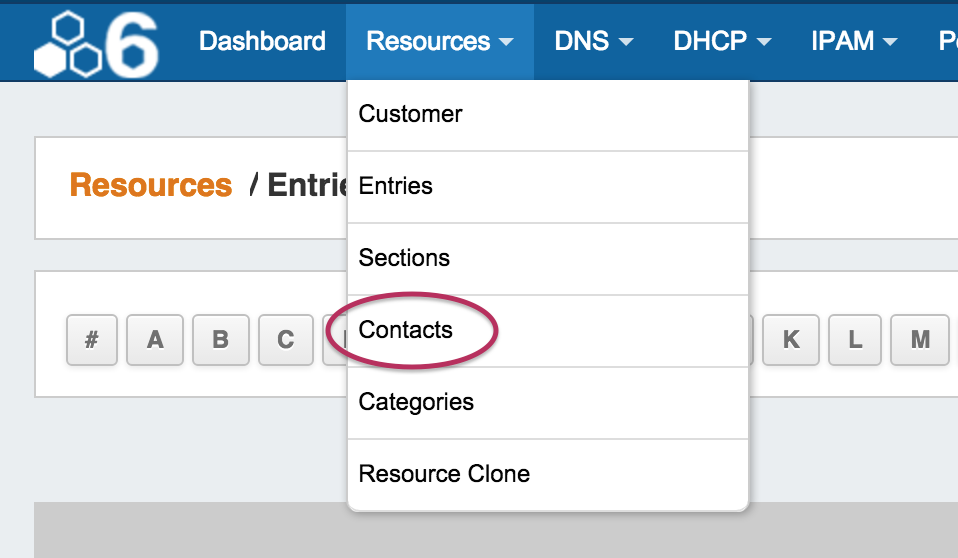
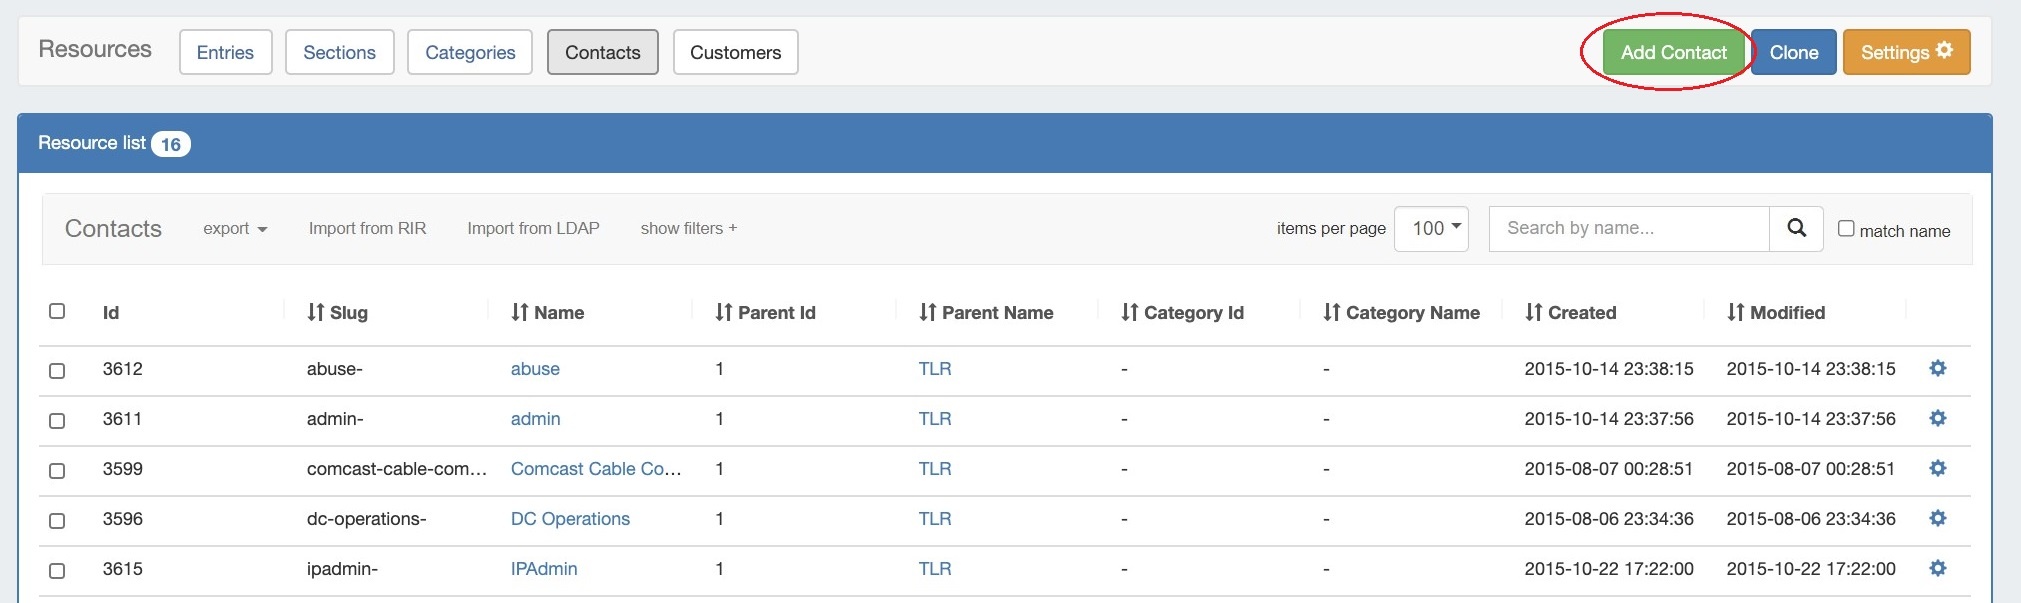
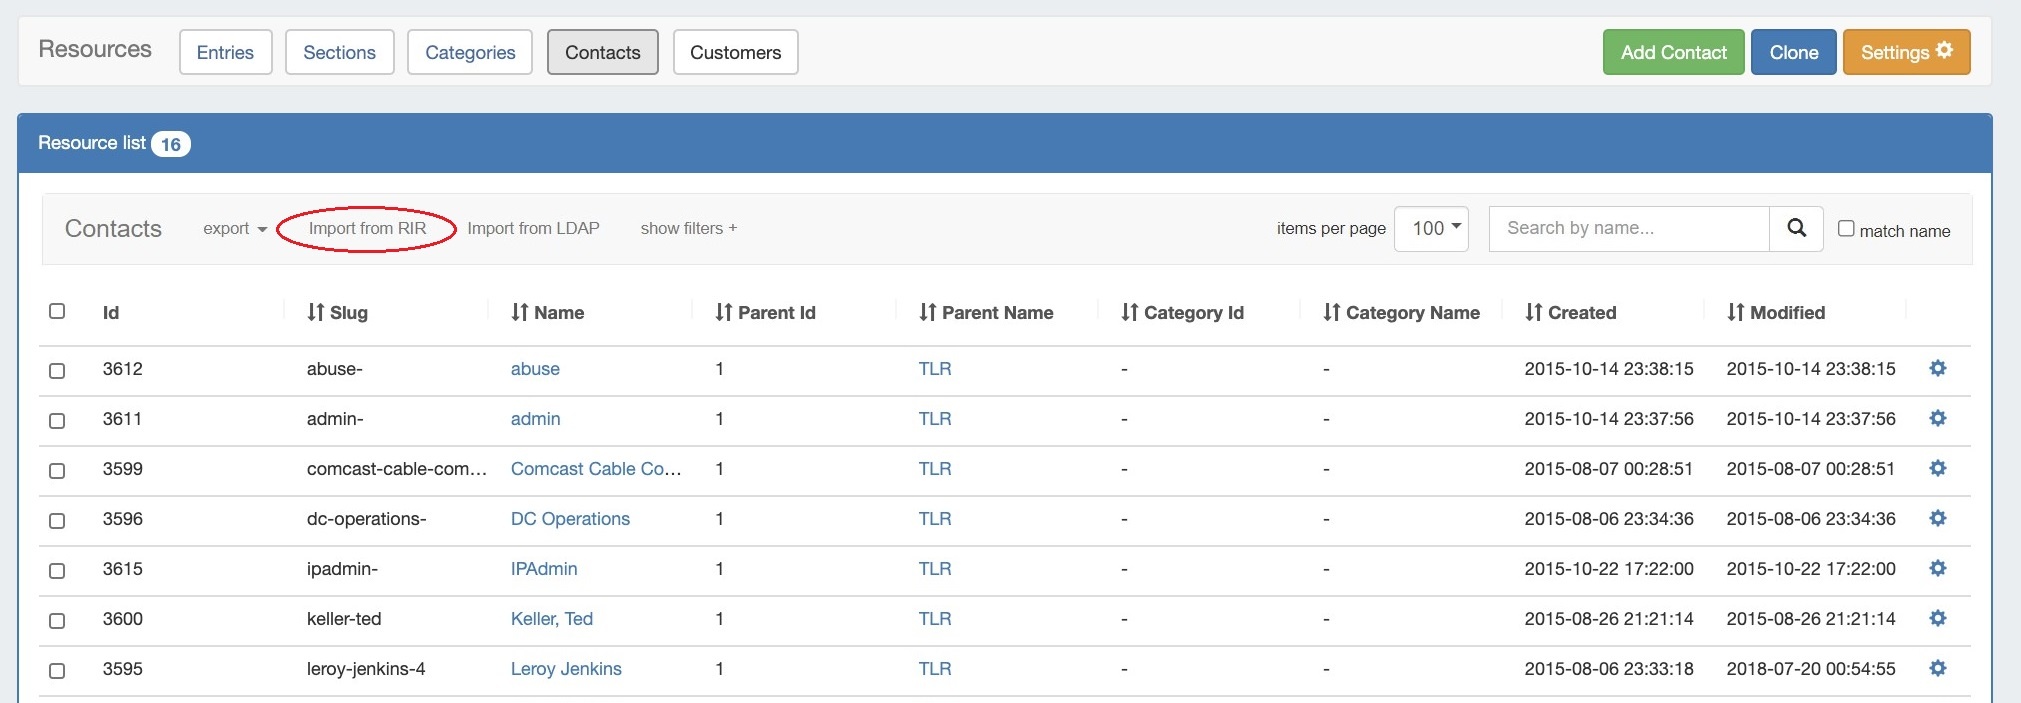
View the Contacts List by clicking "Contacts" from the Resource Tab, or from the Resource Tab dropdown menu, under "Contacts". The Contacts List displays existing contacts and provides options to import new contacts
| HTML |
|---|
<div id="google_translate_element"></div>
<script type="text/javascript">
function googleTranslateElementInit() {
  new google.translate.TranslateElement({pageLanguage: 'en'}, 'google_translate_element');
}
</script>
<script type="text/javascript" src="//translate.google.com/translate_a/element.js?cb=googleTranslateElementInit"></script> |
Contact Manager
The Contact Manager lists and imports contacts into ProVision. You can create new contacts manually, or import contacts from RIR. Contacts may then be assigned to ProVision resources through the Contacts Gadget.
The Contact Manager is accessed from the Resource tab dropdown menu, under "Contacts"
| Table of Contents |
|---|
UI Overview
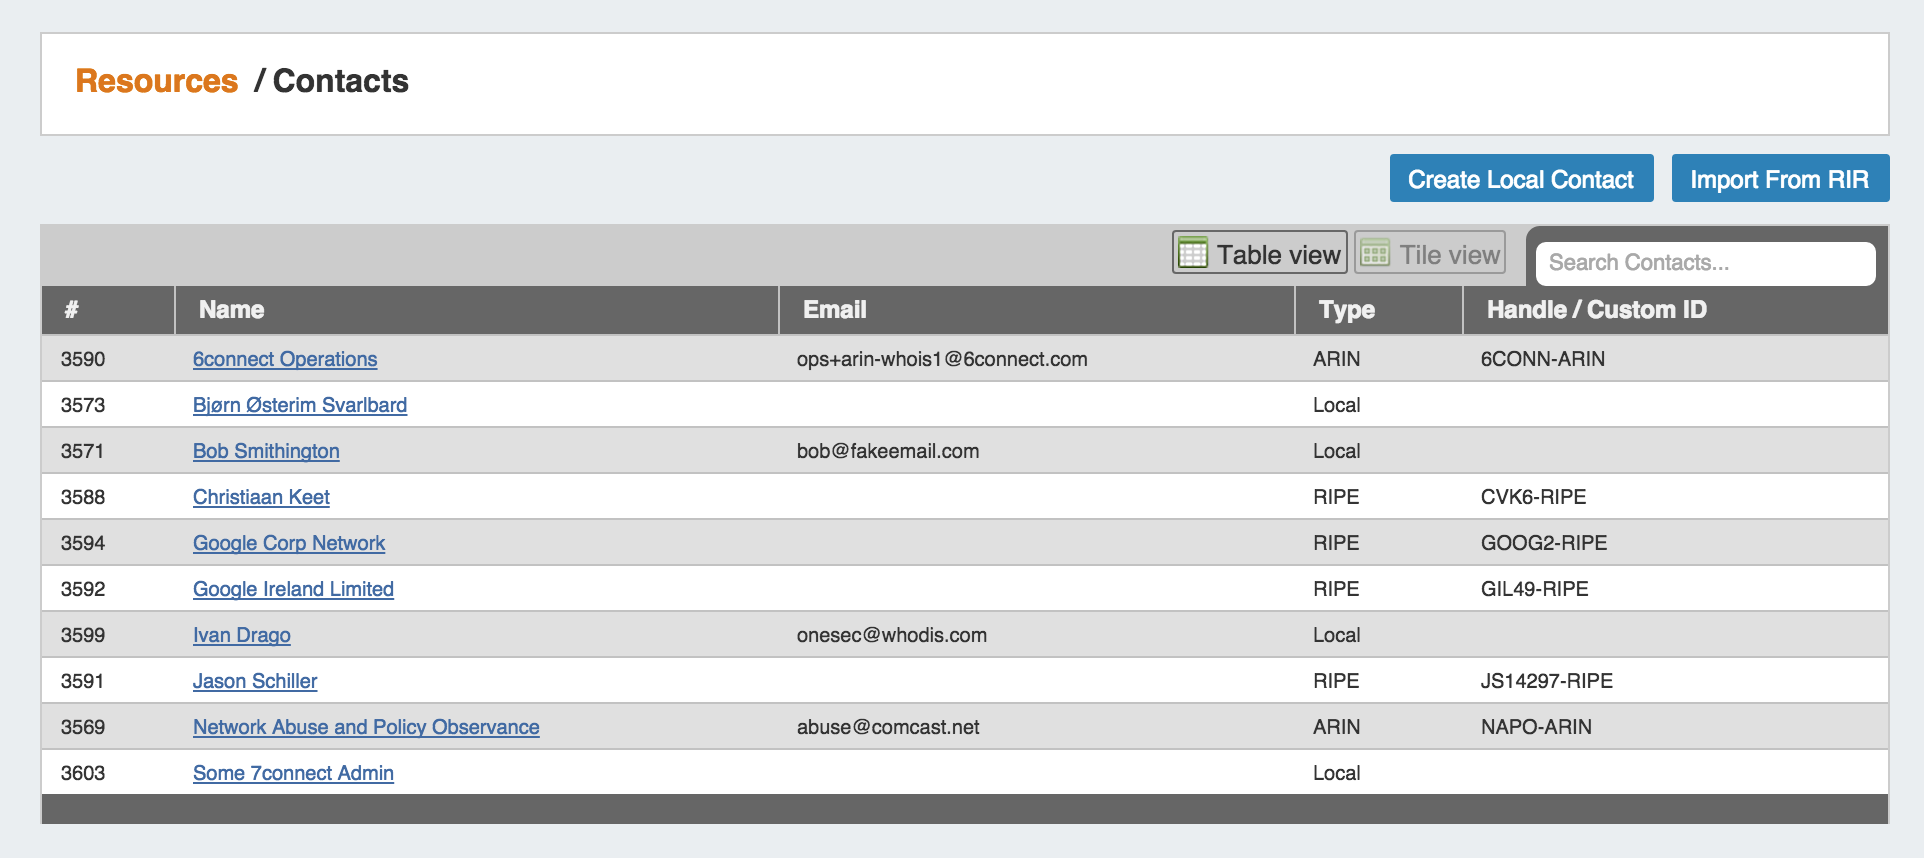
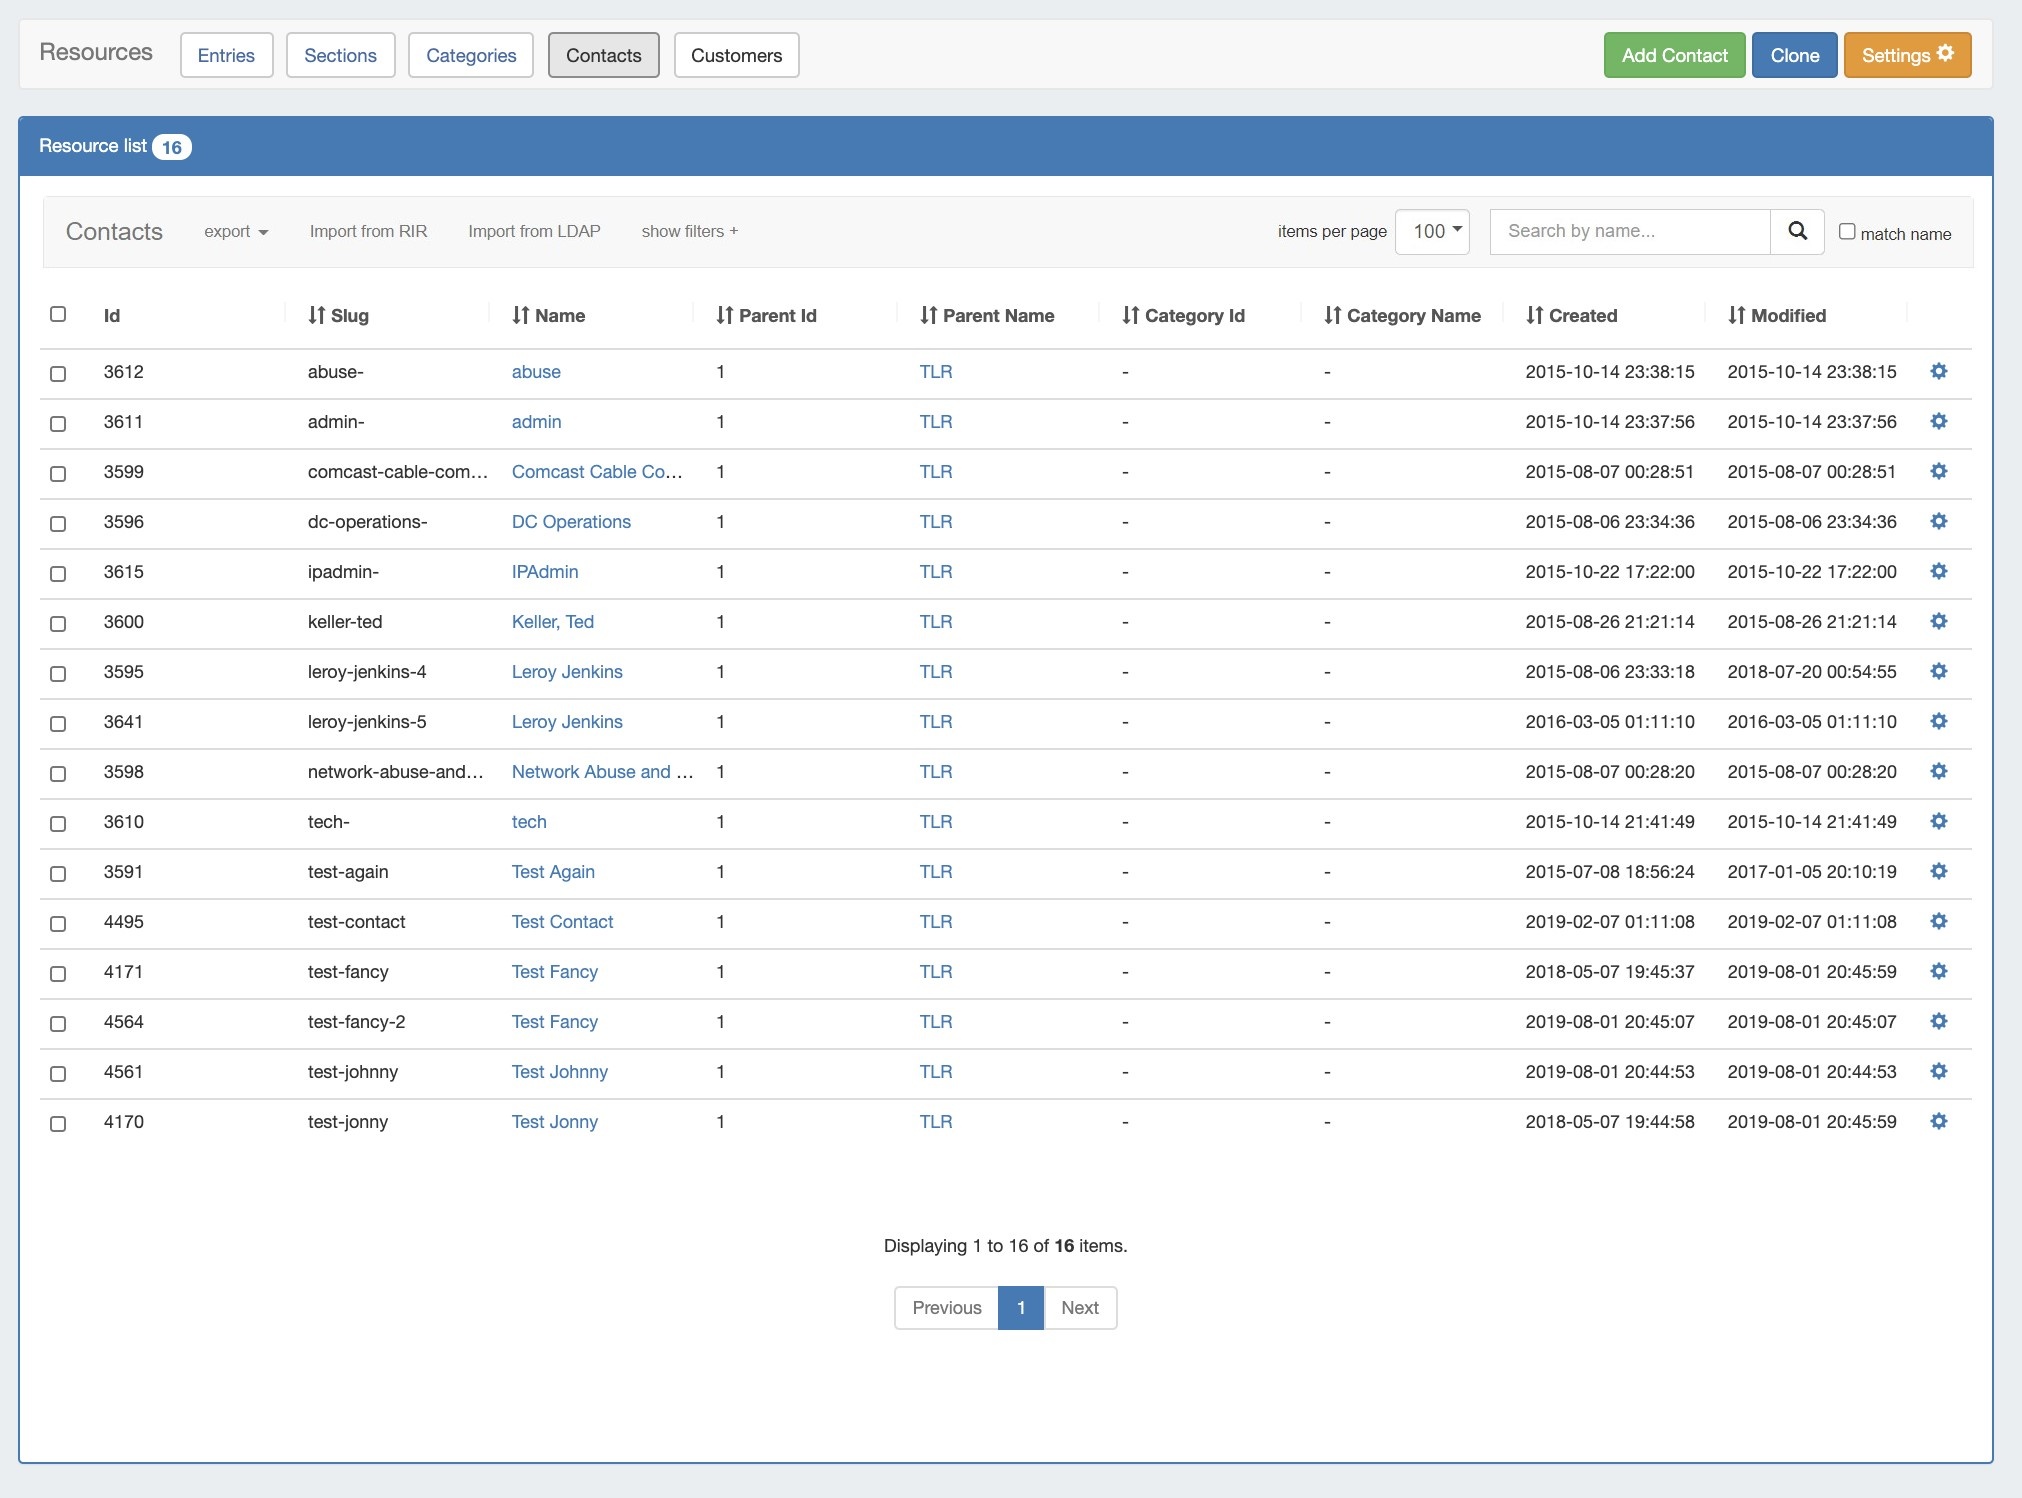
Table View
Table View shows contacts in list form, their ID number, email, contact type, and their handle /custom ID. If the contact was manually created through the "Create New Contact" button, it will show as type "Local", whereas a contact imported from RIR will show of type "RIPE" or "ARIN".
Tile View
Tile view allows you to see all current contacts as a snapshot of basic information, based on contact type:
Base Contacts: Shows Contact Name, Email, and Phone
ARIN Contacts: Shows Contact Name, Company, Email, and Phone (if provided in ARIN)
RIPE Contacts: Shows Contact Name, nic-handle, maintained by, and phone (if provided in RIPE).
Clicking on the contact name on the header of the tile takes you to the contact's detail information page.
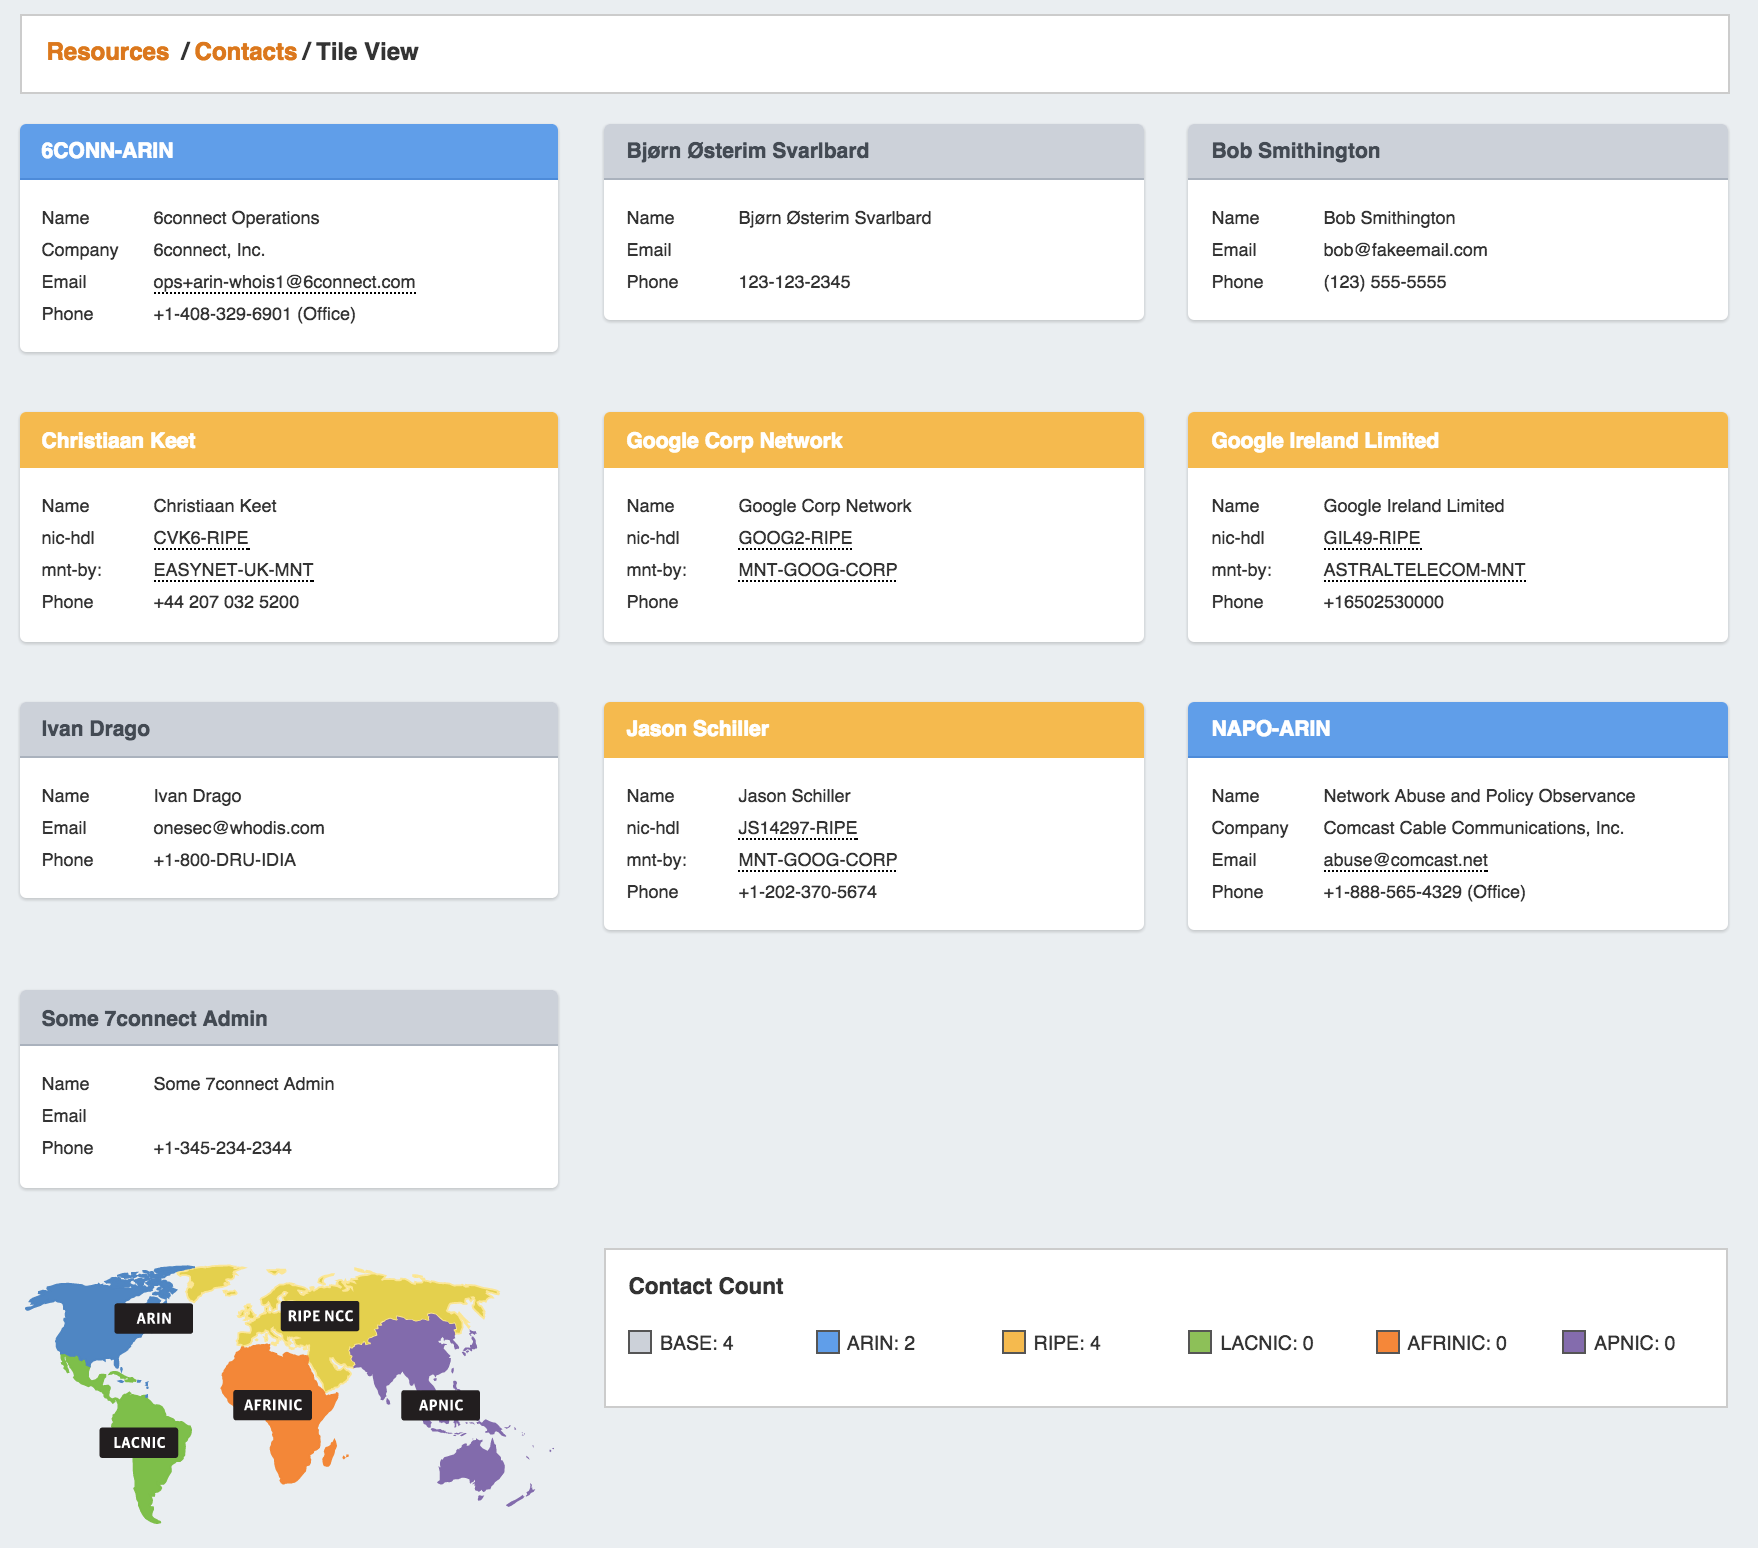
At the bottom of the Tile View page, counts of current contacts by RIR as well as an image map are provided. At this time, only Base (Local), ARIN, and RIPE contacts are supported.
| Table of Contents |
|---|
Working with Contacts
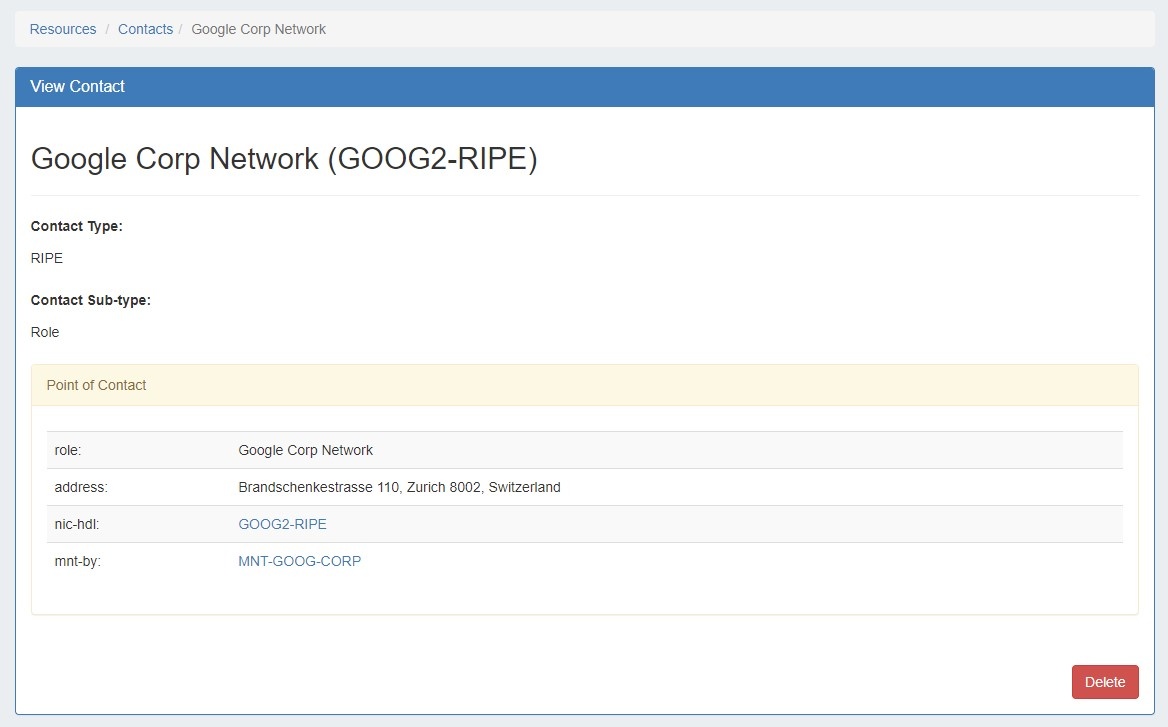
View Contact Details
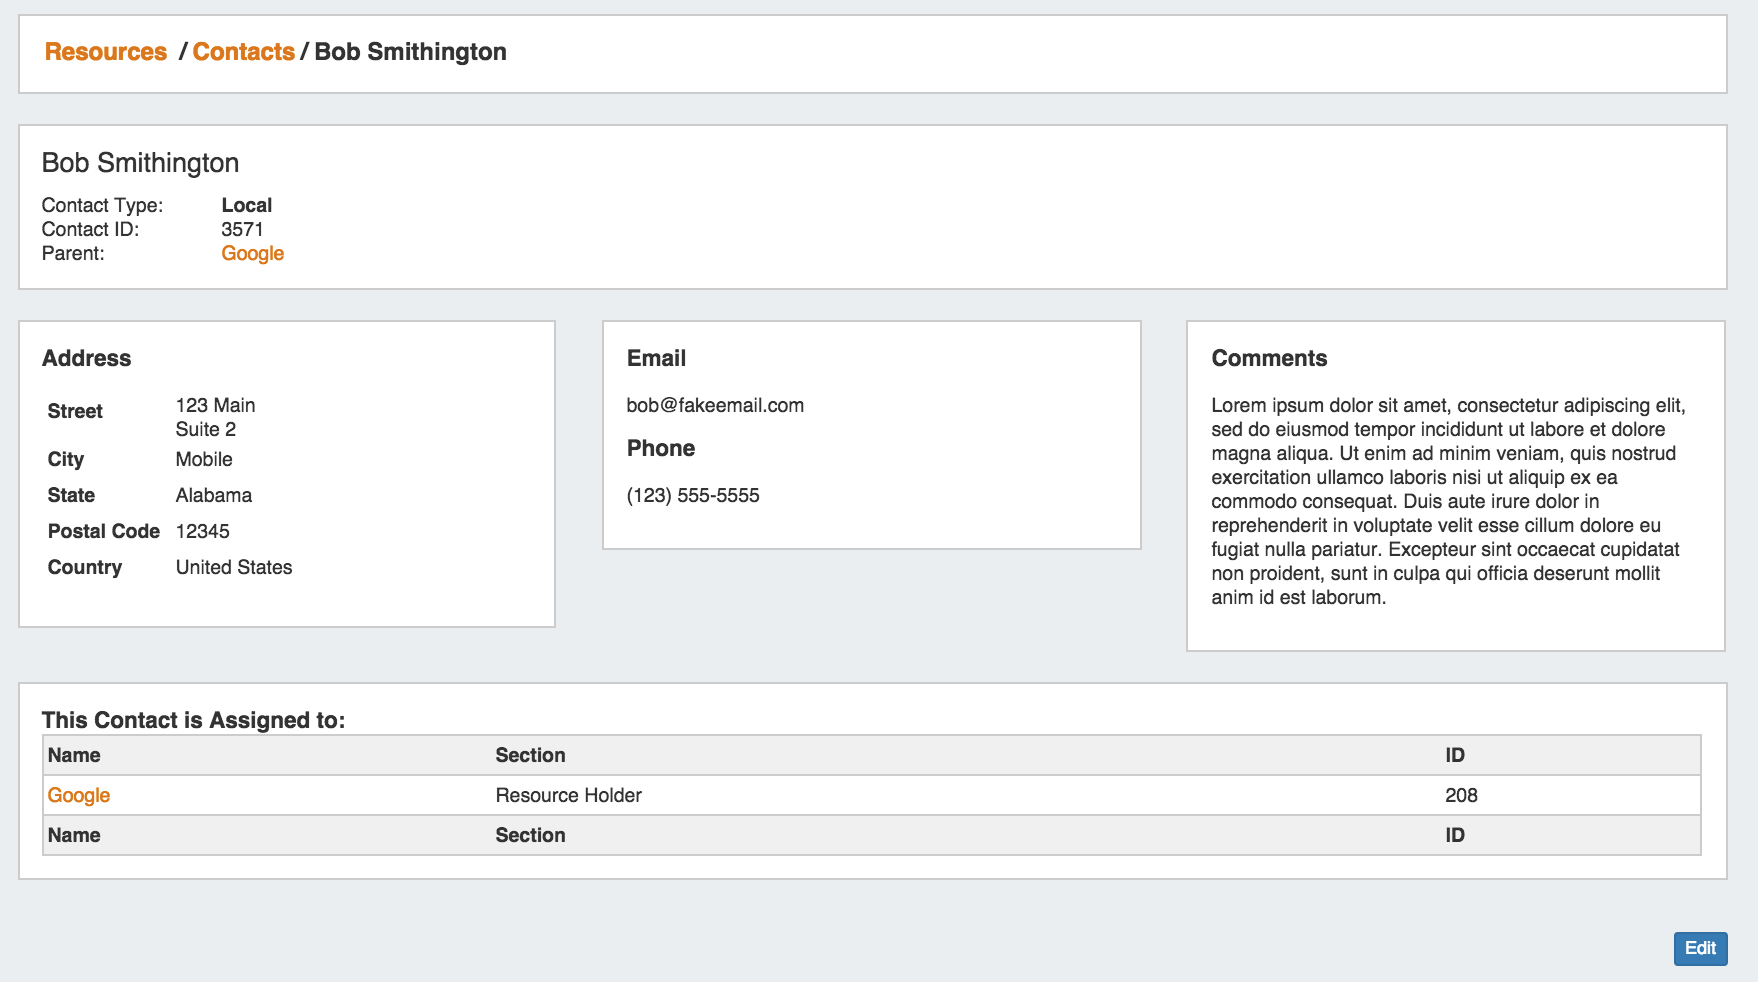
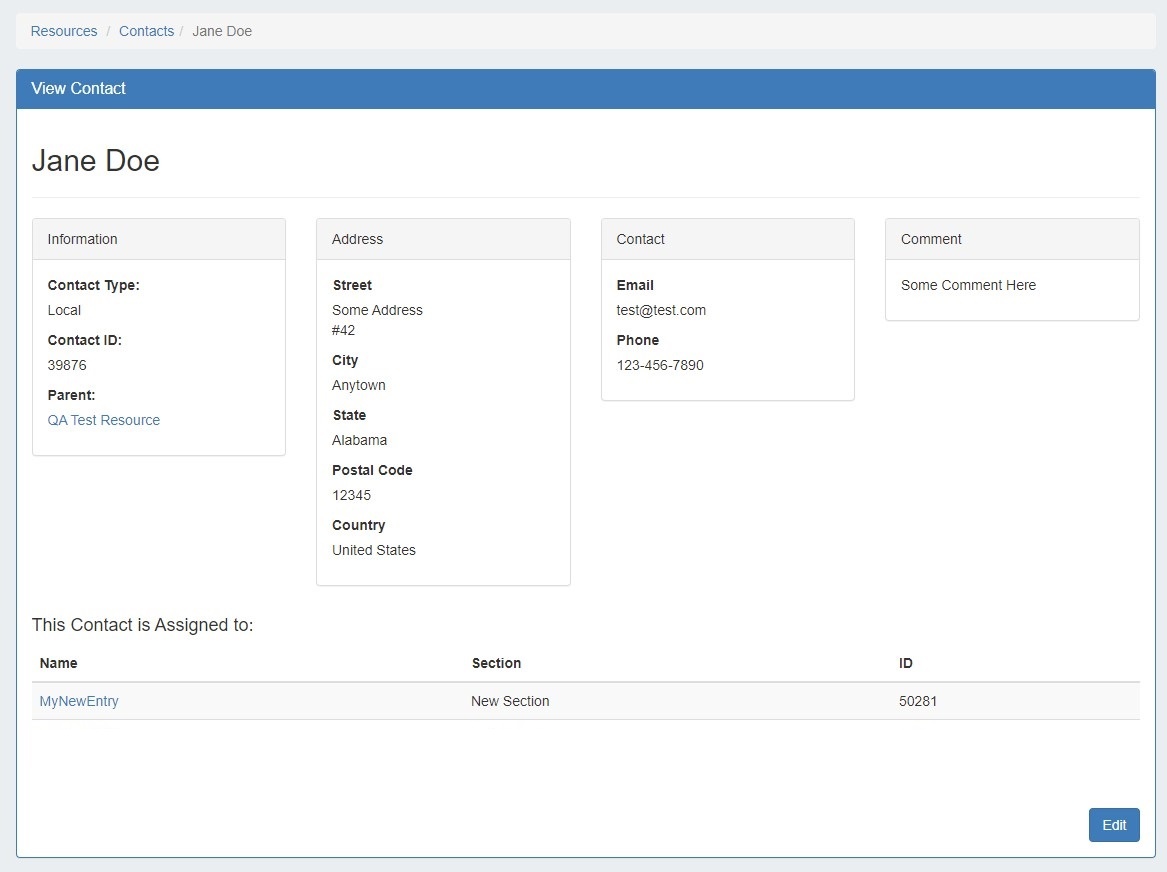
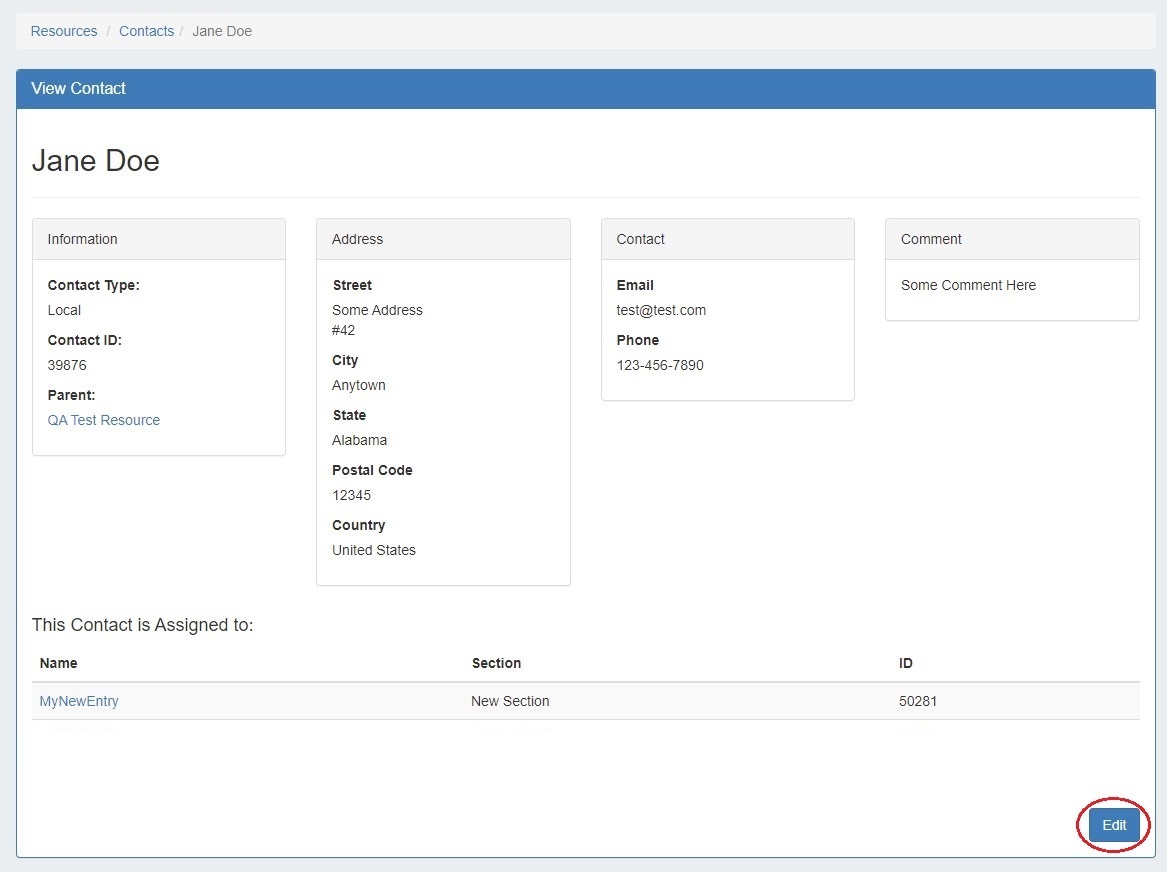
To view the contact details, click on the contact's name in either list or tile viewthe Resource Contact List. You will be taken to the contact details page.
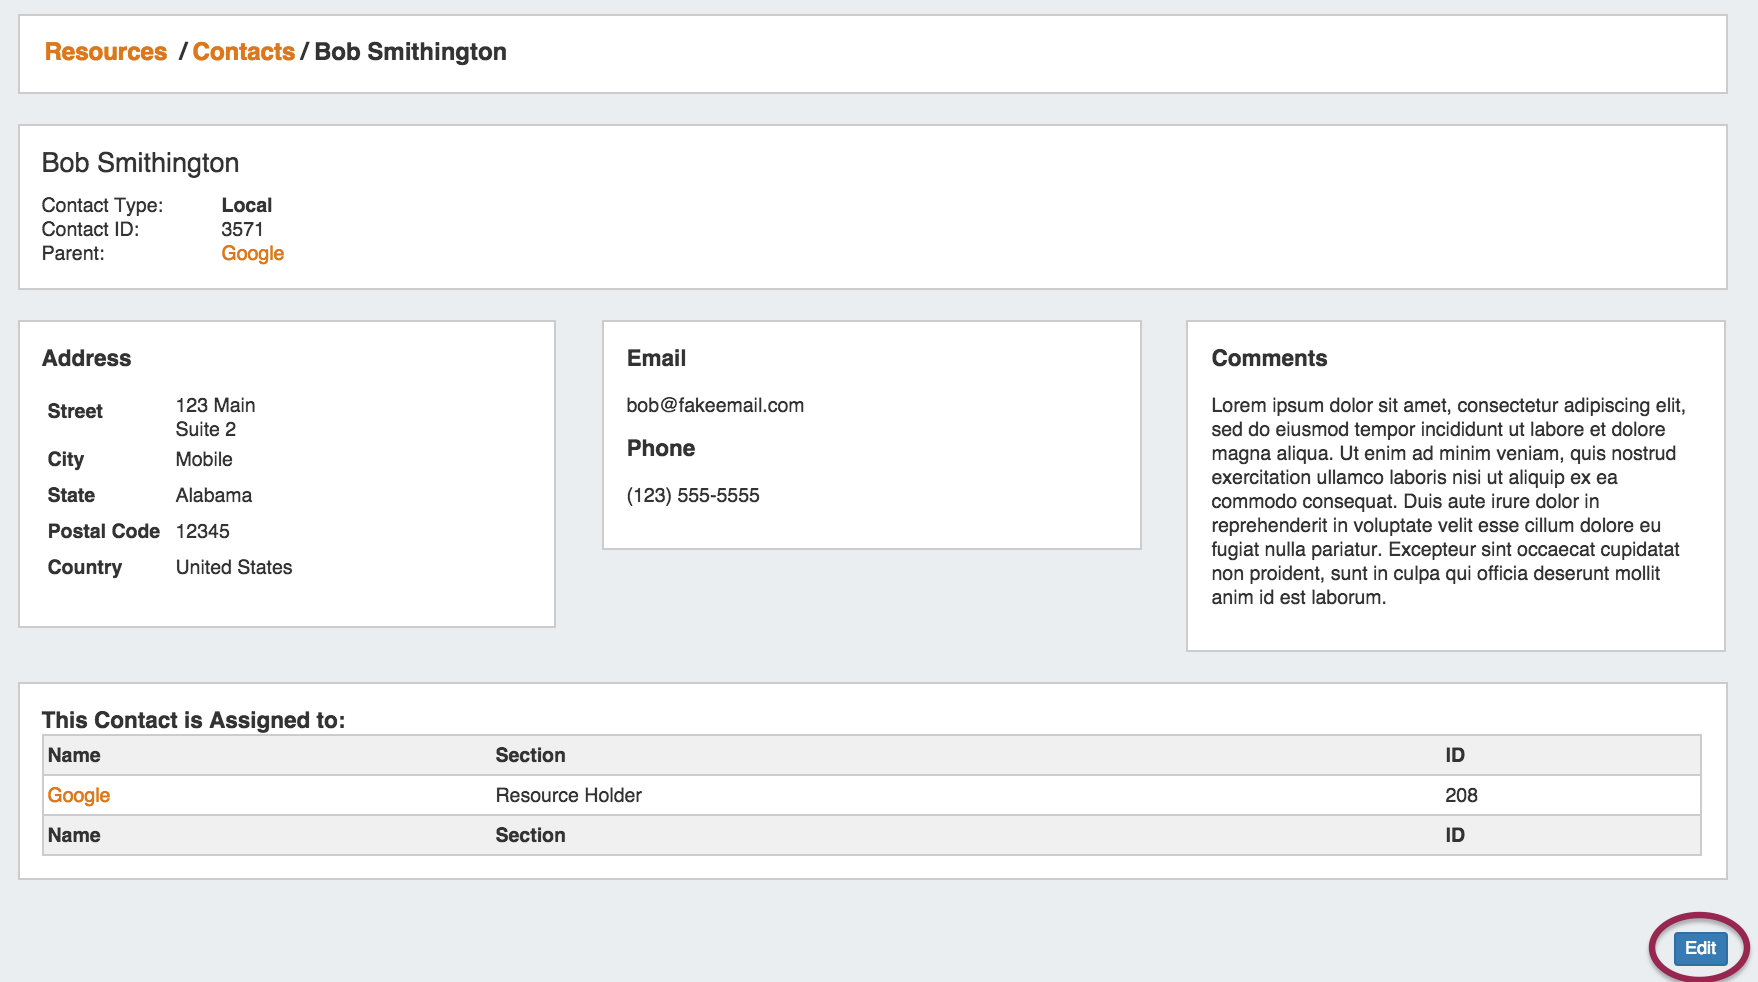
A Local local contact created in ProVision will have modules shown for Address, Email/Phone, and Comments, as well as a list of any resources that contact is assigned to via the Contacts gadgetGadget.
You may edit or delete a Local contact by clicking the "Edit" button at the bottom of the page.
A contact imported from a RIR will have its details shown as determined by the imported RIR module - this data is not editable in ProVision.
You may delete the contact by clicking the "Delete" button at the bottom of the page.

Create New Contact
You can manually create a new contact in ProVision by clicking on "Create Local Add Contact" under the contacts pagefrom the Contacts List View.

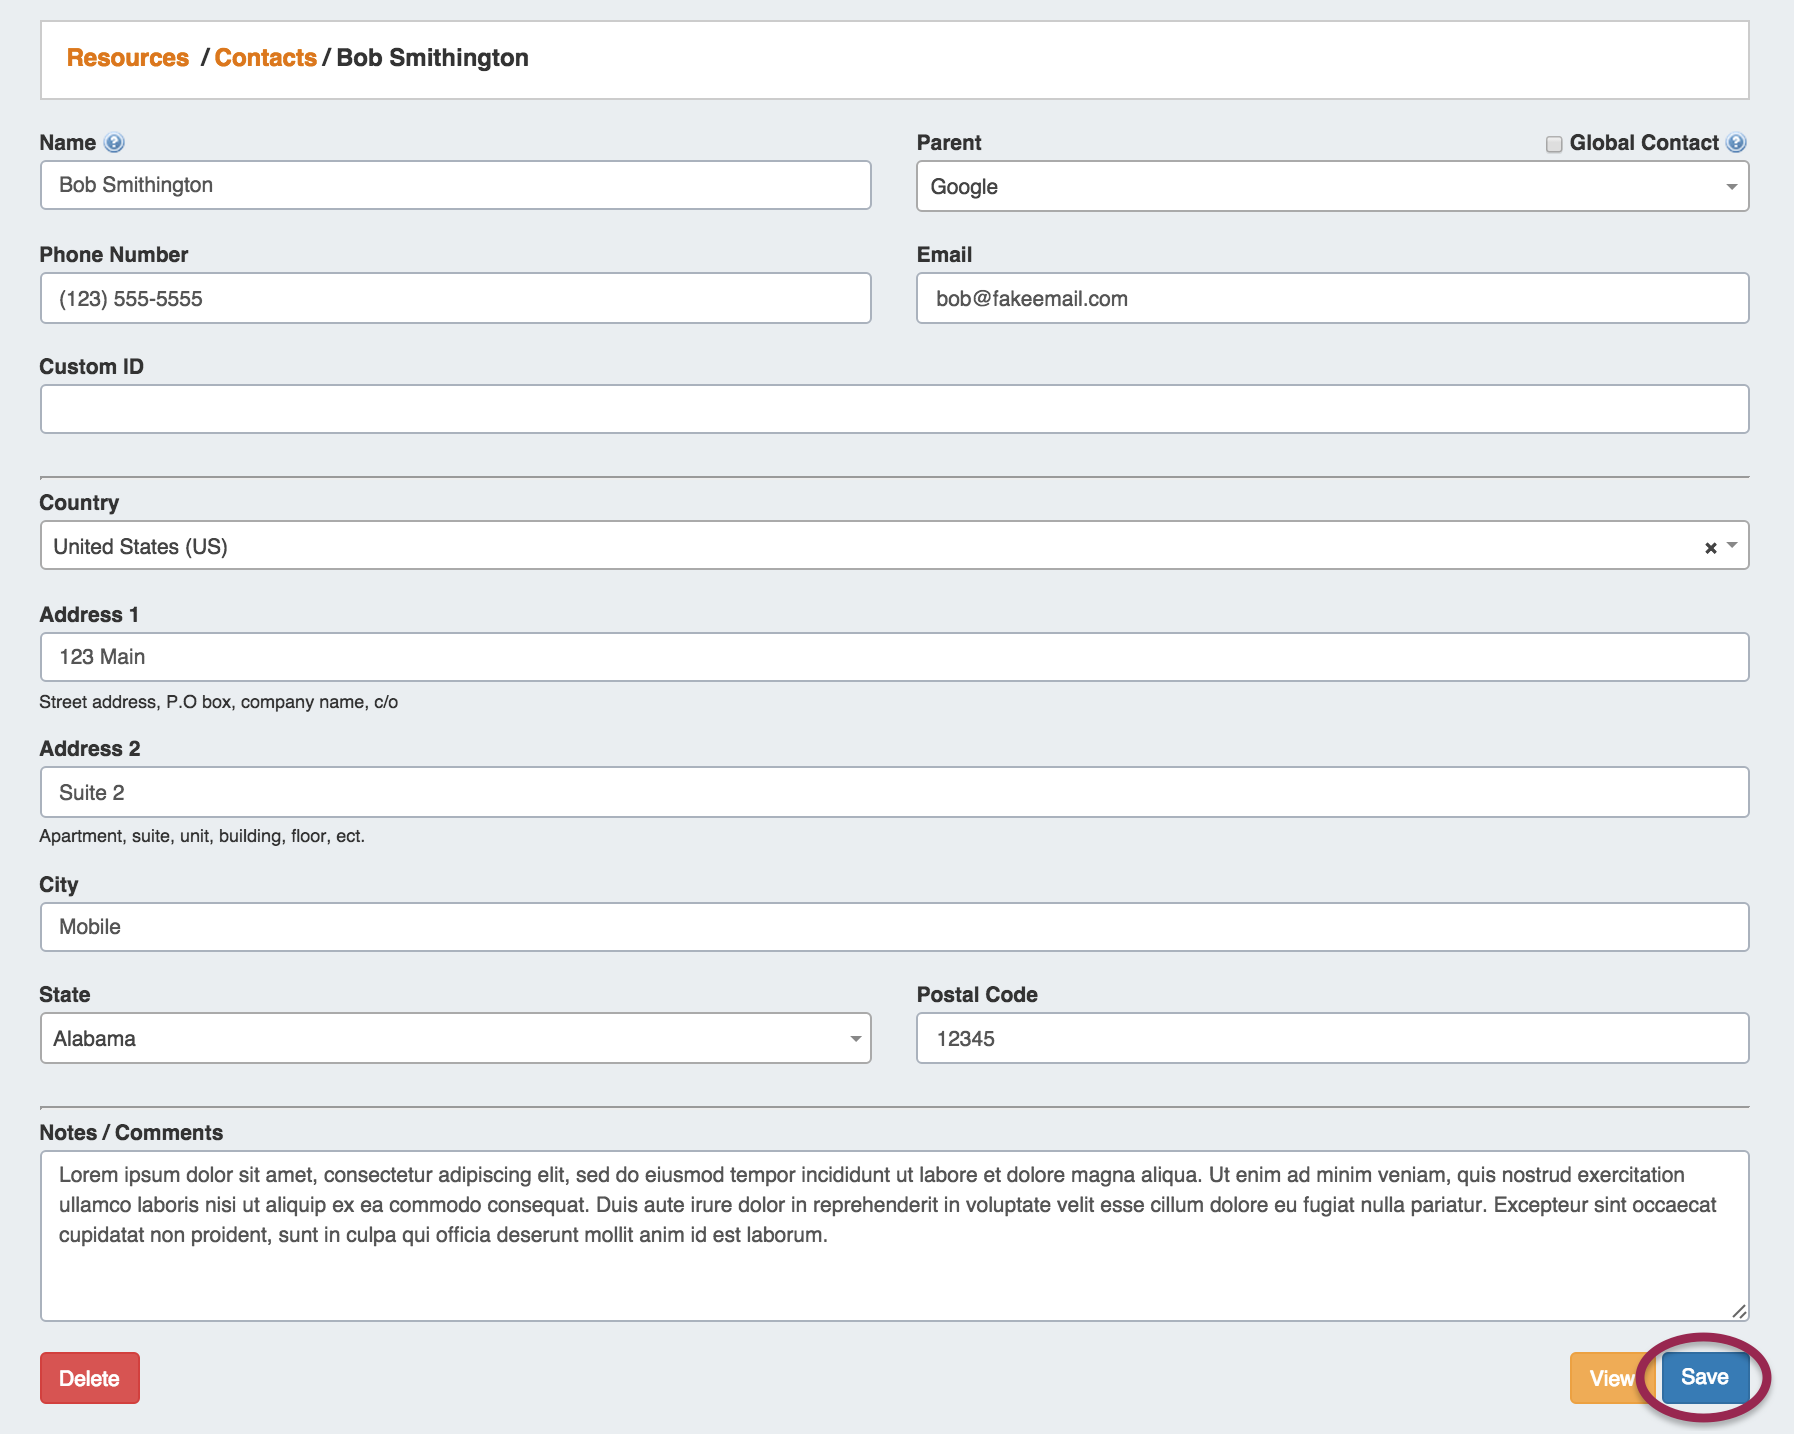
Fill in the contact's information for Name, Parent Resource (if desired), Phone, Custom ID, Email, Address, and Comments if desired.
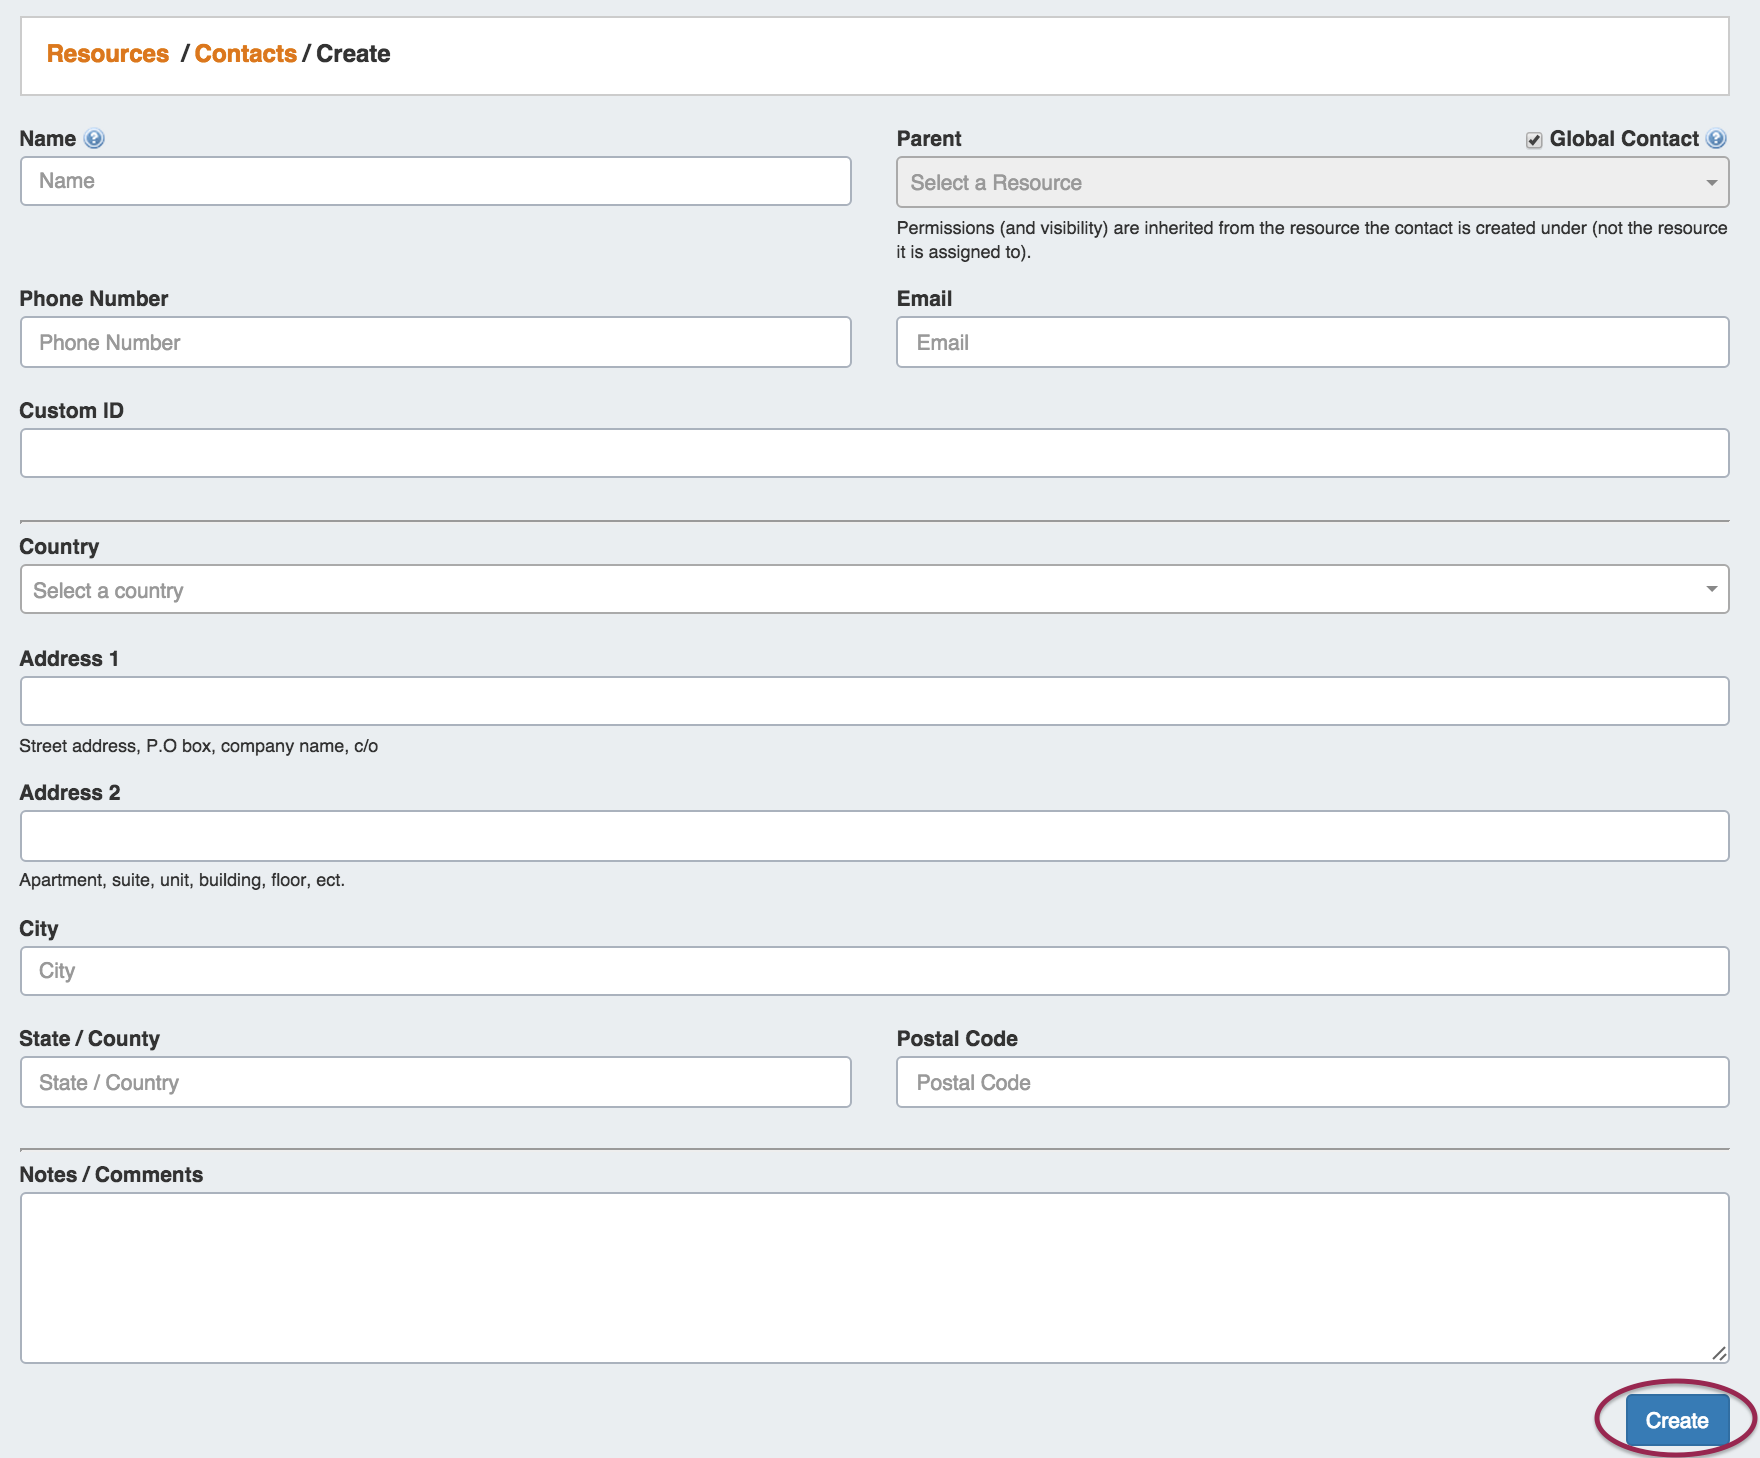
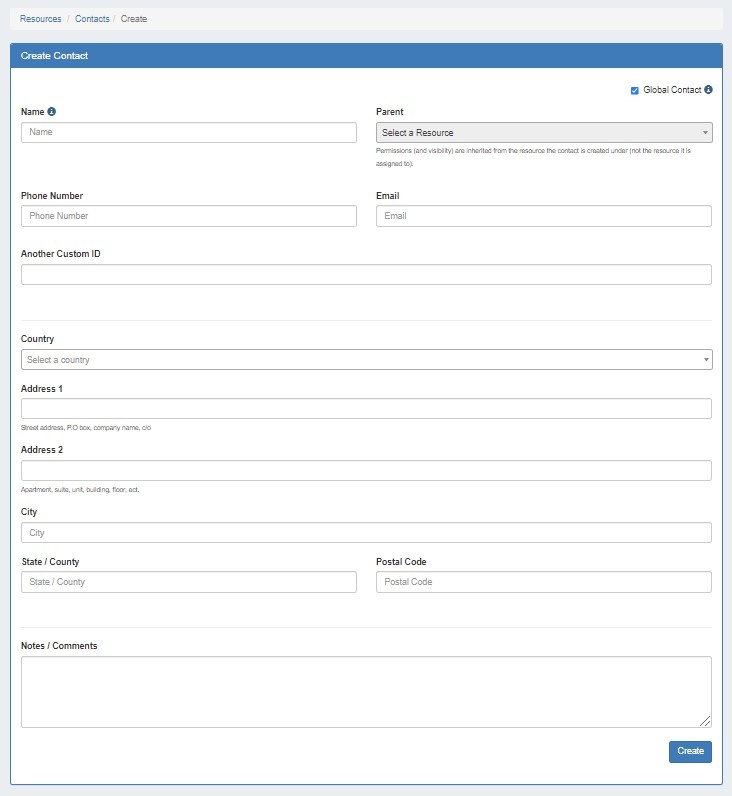
When done filling out the information fields, hit the "Create" button to save your contact.
| Info | ||
|---|---|---|
| ||
The parent field relates the contact to a resource's permissions structure, only allowing users with permissions for that resource to view and assign the affiliated contact(s). To allow the contact to be viewed globally in ProVision, check the "Global Contact" box above the Parent Field. |
...
To import a contact from ARIN or RIPE, click the "Import from RIR" button from the contacts page.

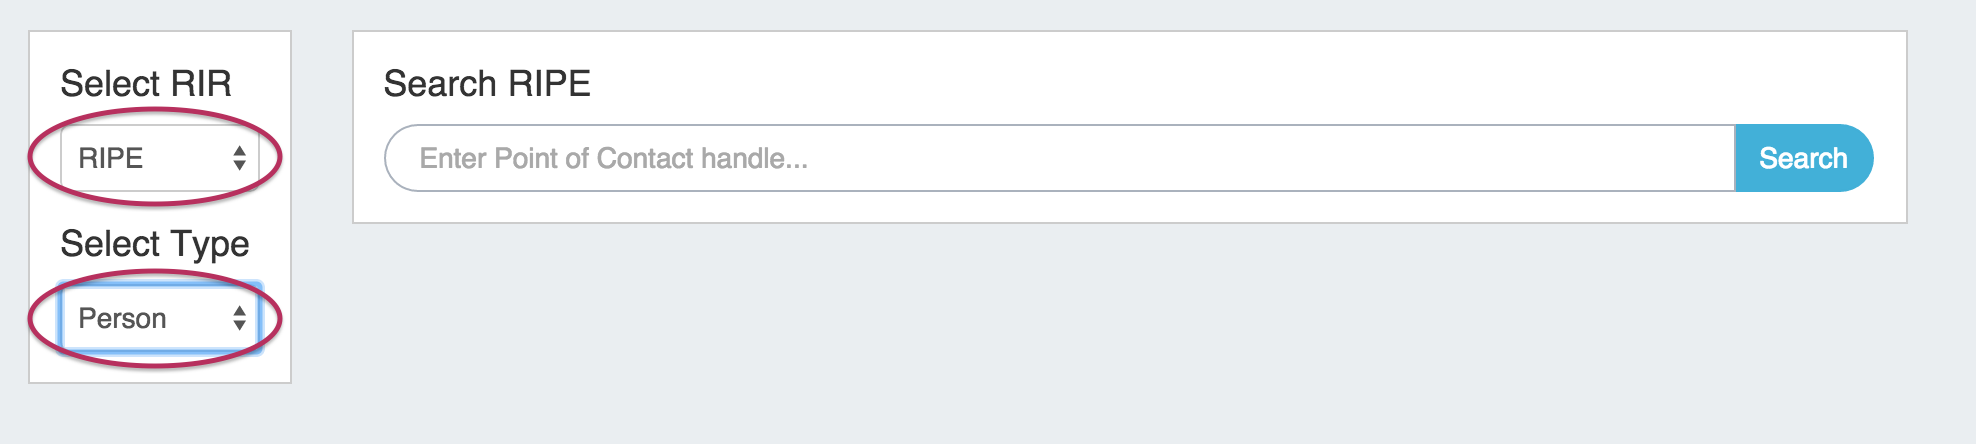
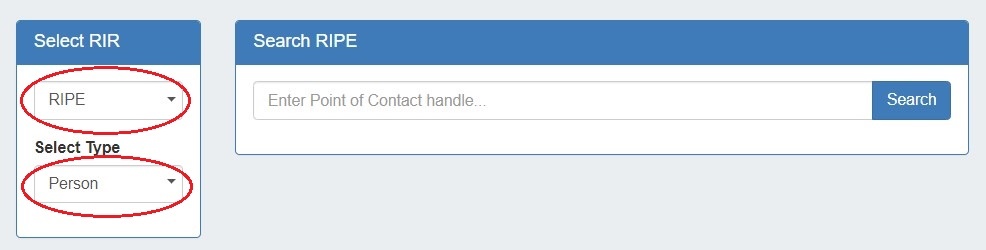
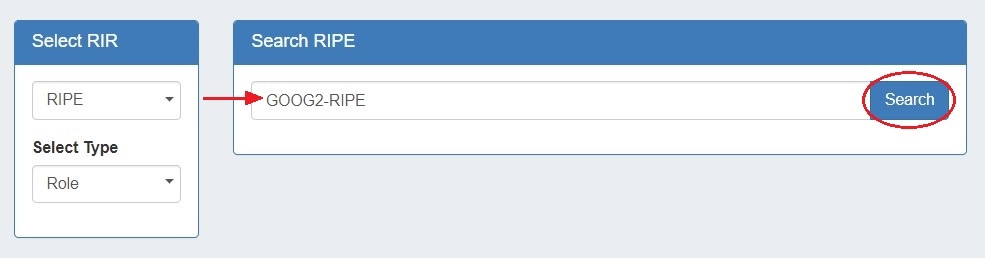
1) Select RIR / Type
Once on the the Import from RIR page, on the left hand side of the page select the RIR from which you wish to import - ARIN or RIPE.


If you select RIPE, you will also be prompted to choose whether you are importing a "Person" or "Role".
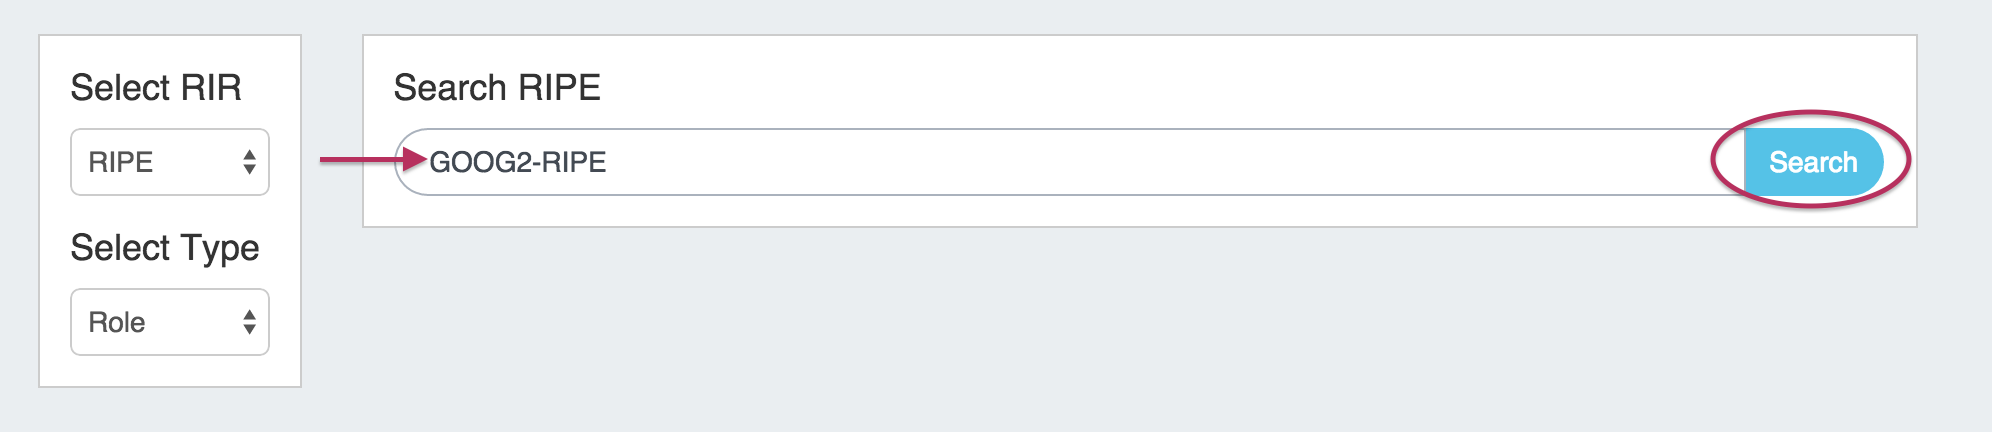
2) Enter Point of Contact Handle
...
| Warning |
|---|
Point of Contact Handle is the only search term that is valid. Attempting to search by name or keyword is not valid, and will return an error. |
3) Verify and Add
If the search is successful, the found contact information will display at the bottom of the screen. If this is the information you wish to add into ProVision, click the "Yes" button on the right hand side of the page under "Would you like to add this RIPE contact to 6connect?". Otherwise, you may hit "No" to decline adding, or cancel and return to the index.

Import Contact from LDAP
| Info |
|---|
Import LDAP Contact requires that an LDAP authentication server is enabled and setup in Admin Settings, and access credentials to be provided prior to import. |
First, ensure that the LDAP authentication server is enabled and setup in Admin Settings, and access credentials provided.
Then, from the Resource Tab → Contacts List, click the "Import from LDAP" button at the top of the list.

Use the search box to find an LDAP contact and click the "Import Contact" button.

You may also access LDAP Import from the Contacts Gadget, if preferred.
Once imported, the LDAP contact will be available to add to the Contacts Gadget and will show in the Users List. 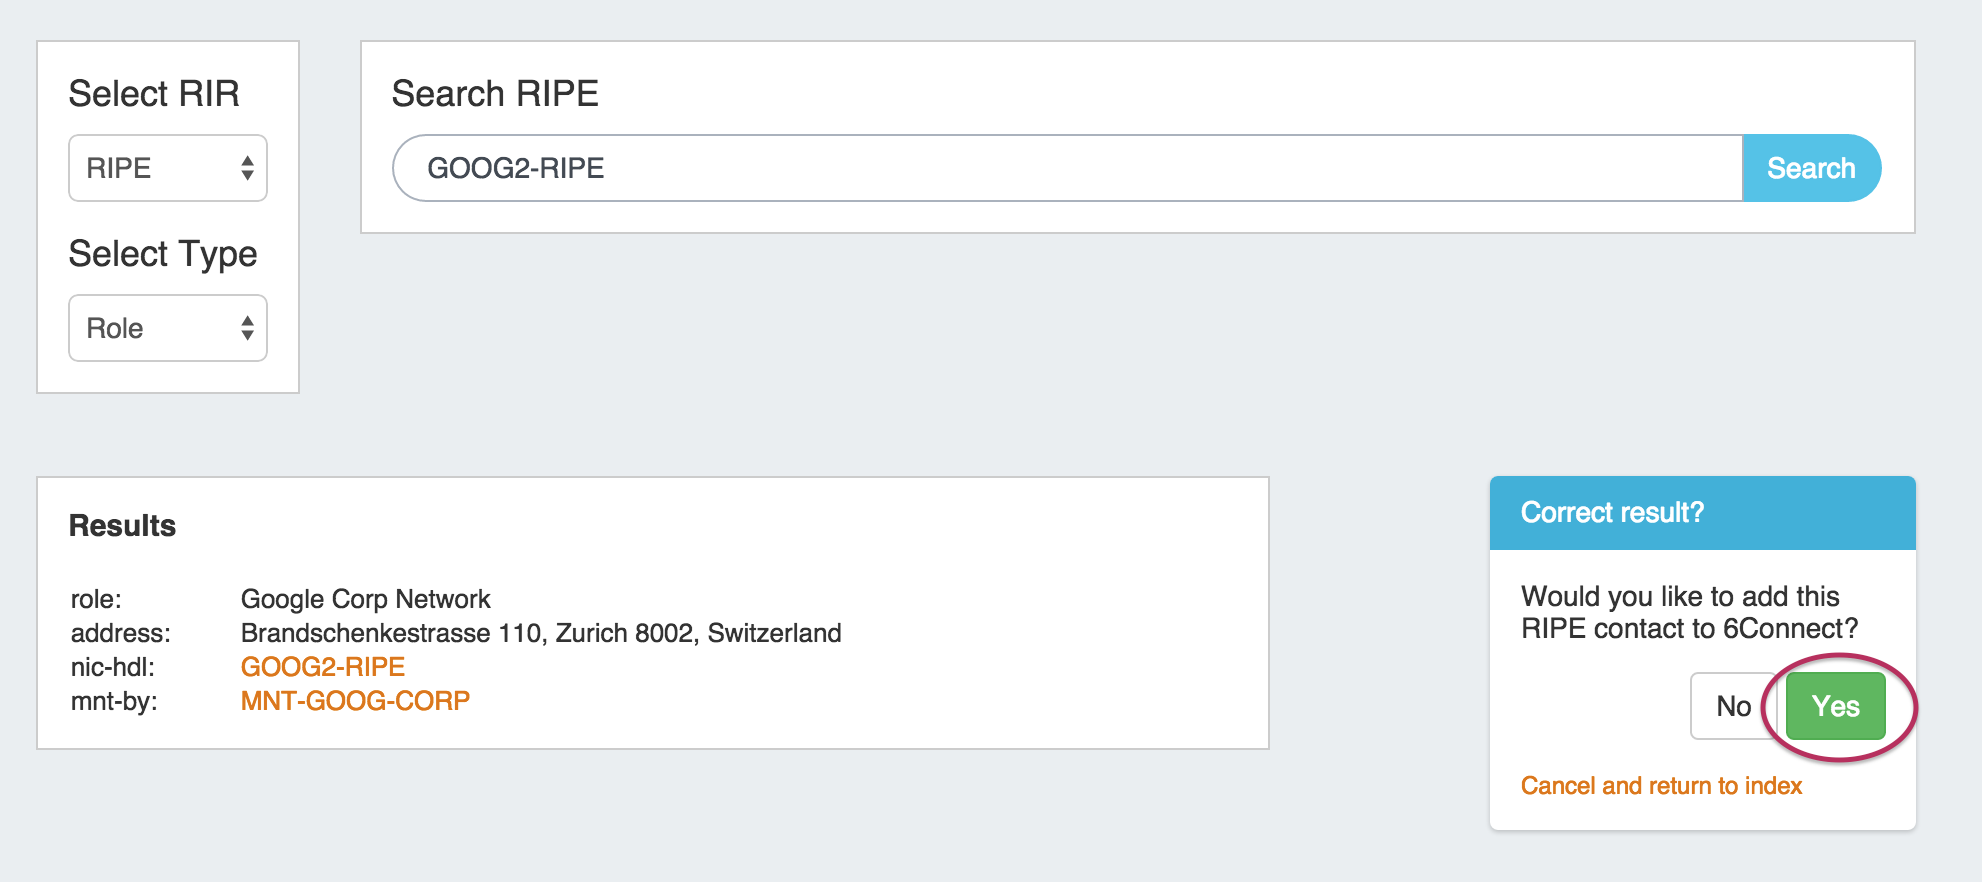
| Note |
|---|
| Note: The Scheduler task "LDAP - Sync LDAP Contacts" must be manually created at the desired interval in order to automatically update the LDAP user based on the server information. This task updates imported LDAP users with any changes made on the LDAP server. |
Edit or Delete Contact
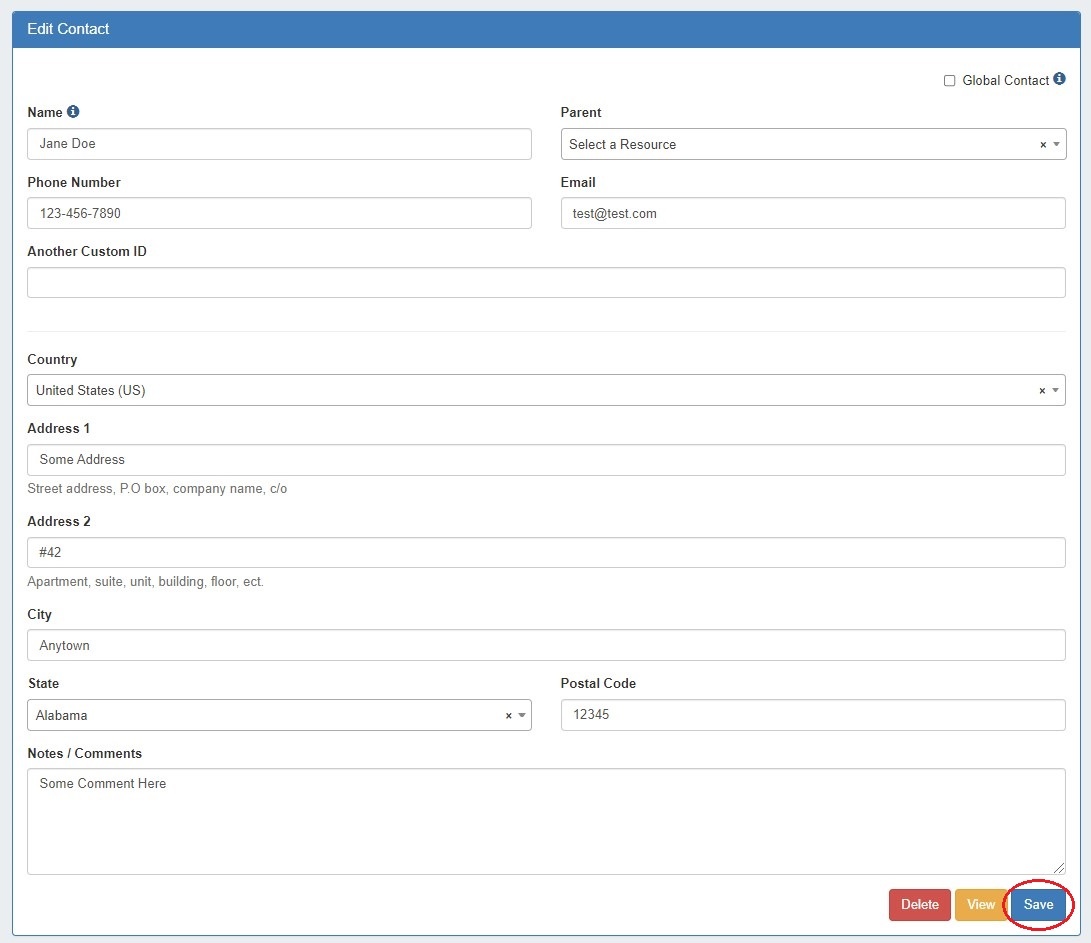
To Edit or Delete a base contact, click on the contact's name in the contact list to go to its detail view page. From there, click "Edit".
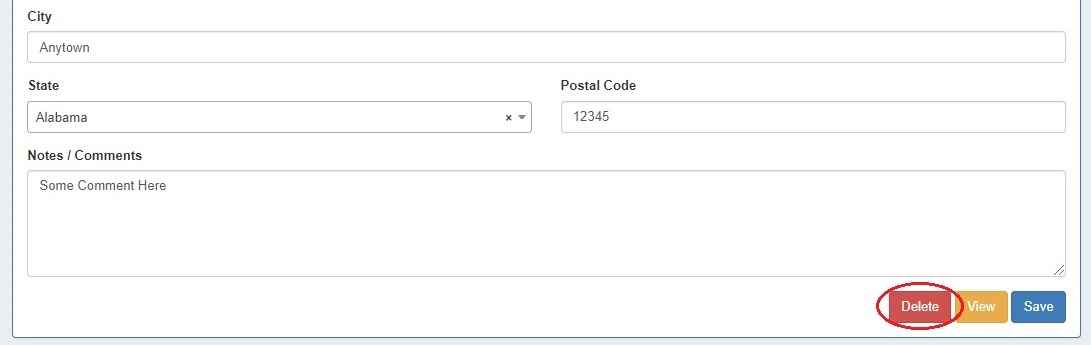
This will take you to the detail information page, where you may edit fields as desired. When done editing, hit "Save" to save your changes, or "View" to cancel without saving and view the contacts list.
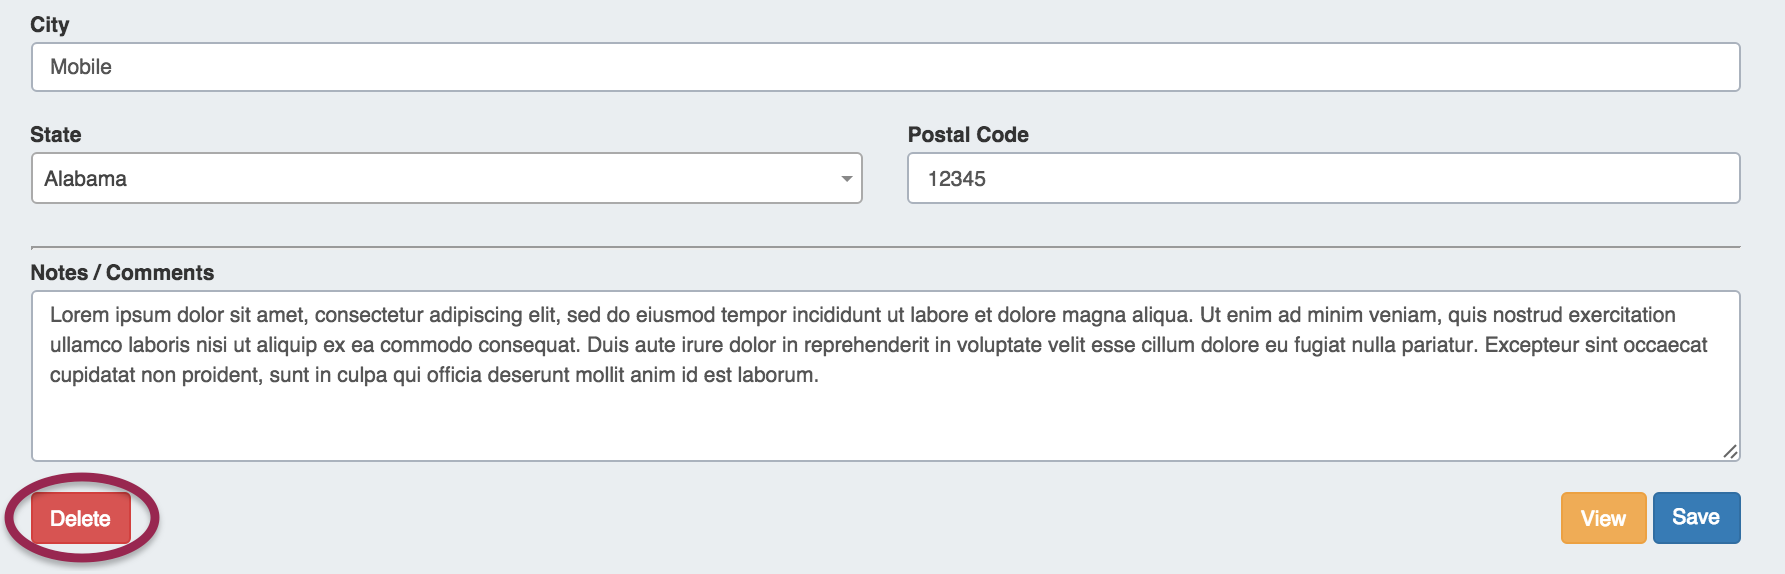
To delete the contact, click the "Delete" button while in the contact details page.
Working with the Contacts Gadget
...
Contacts may be assigned to a resource through the Contacts gadgetGadget. To add a gadget to a Resource's Entry page, see Customizing Sections and Gadgets.
Once the Contacts gadget Gadget has been added to the desired Sectionsection, go to the Resource Entry resource entry page for the Resource resource you wish to assign the contact to, and navigate to the Contacts gadgetGadget.
Assign the Contact
In the Contact Contacts Gadget, search for a contact by typing the first few letters of the contact name in the search box, then click on the desired contact.

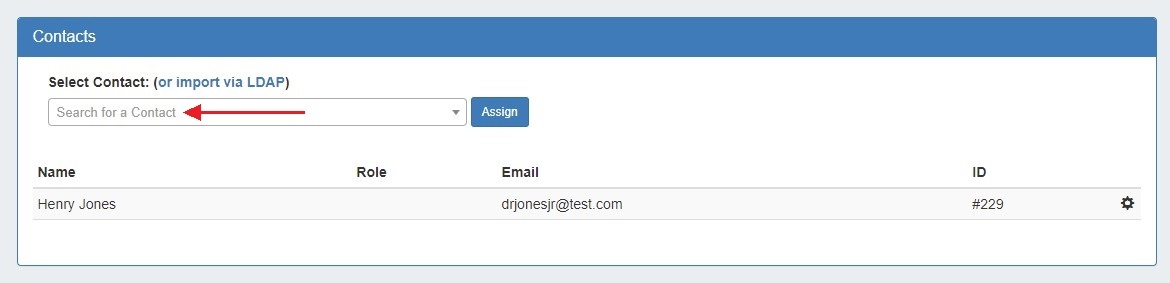
Then hit "Assign".
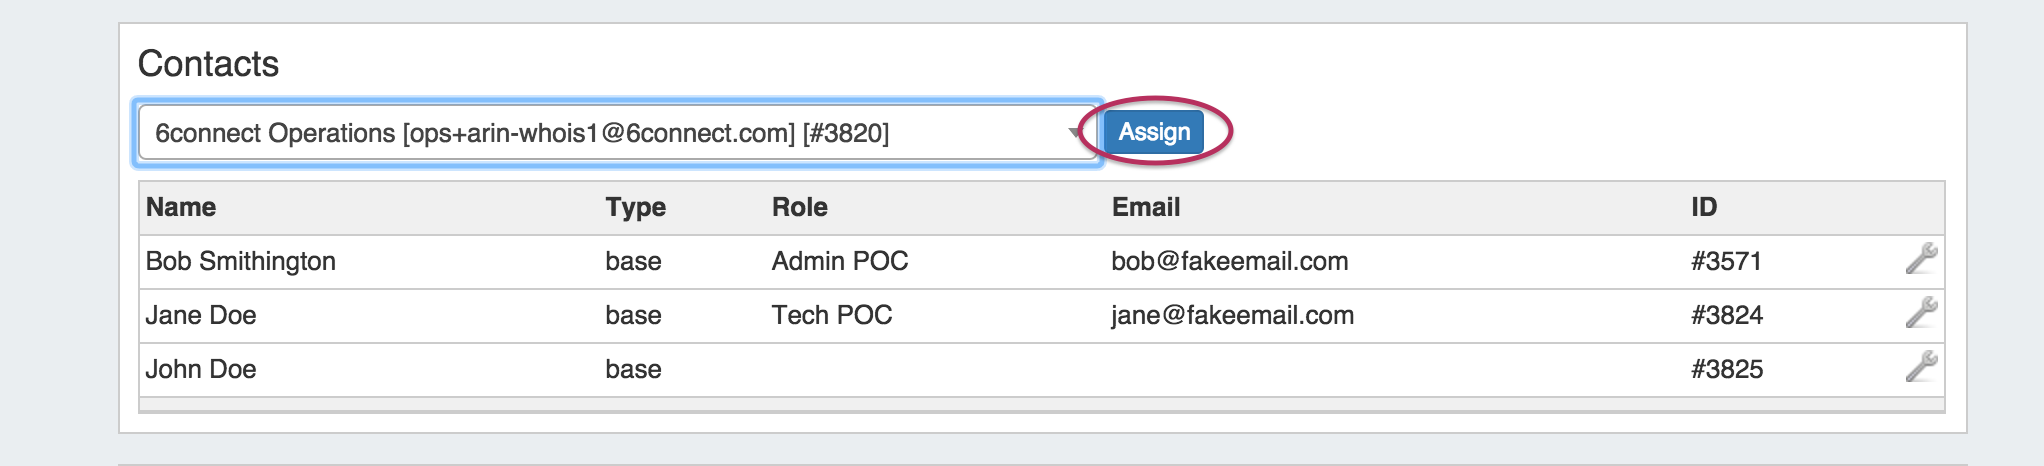
The Contact contact will show in the list below.
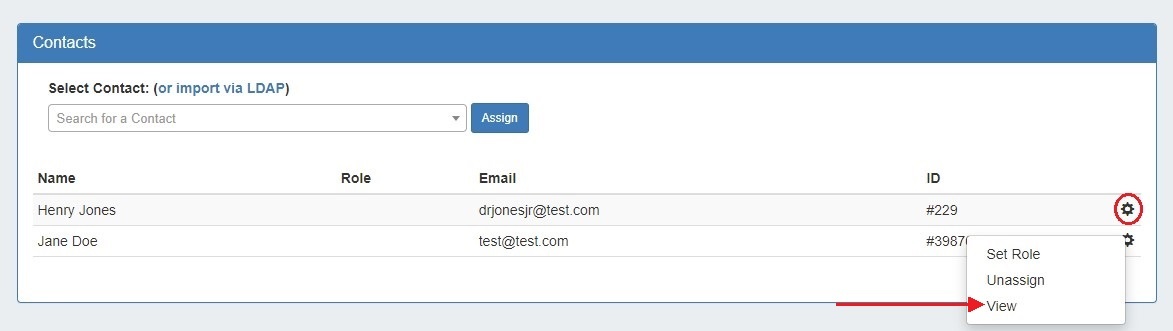
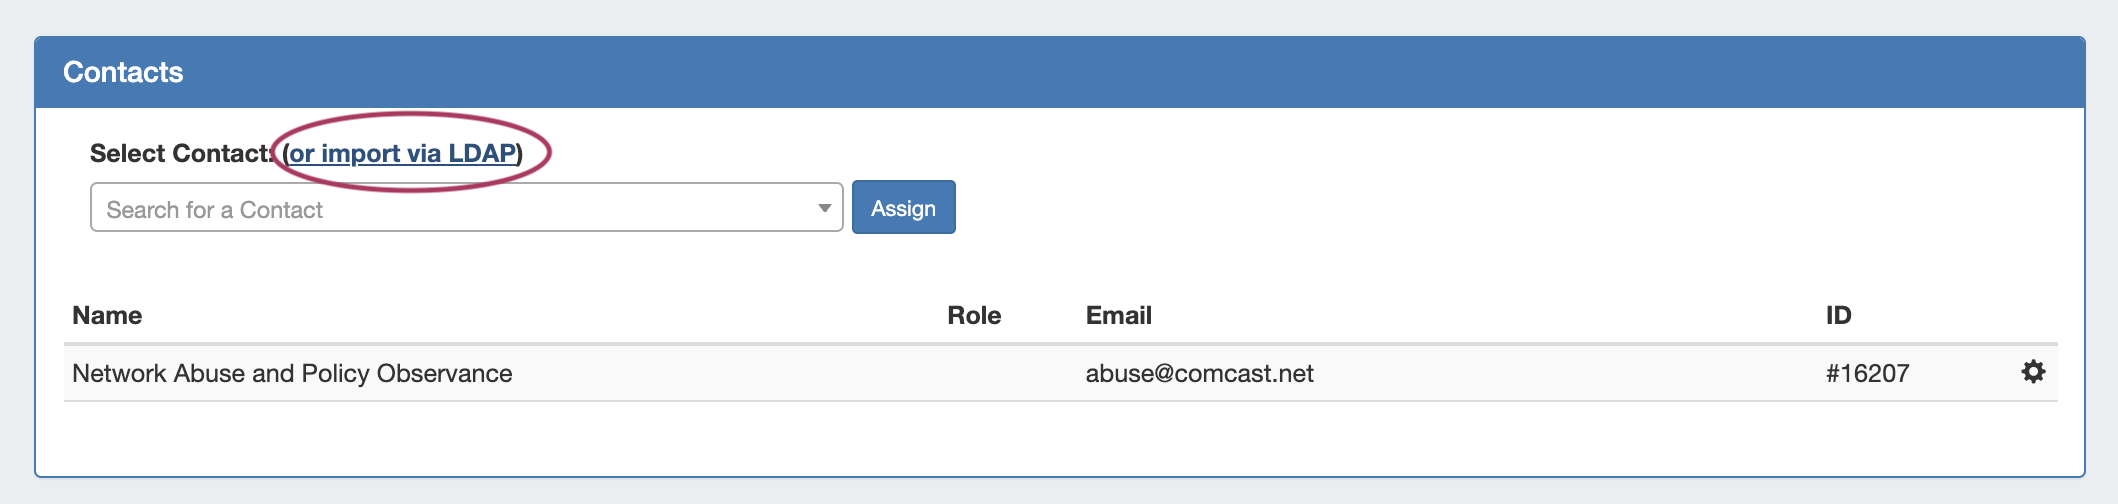
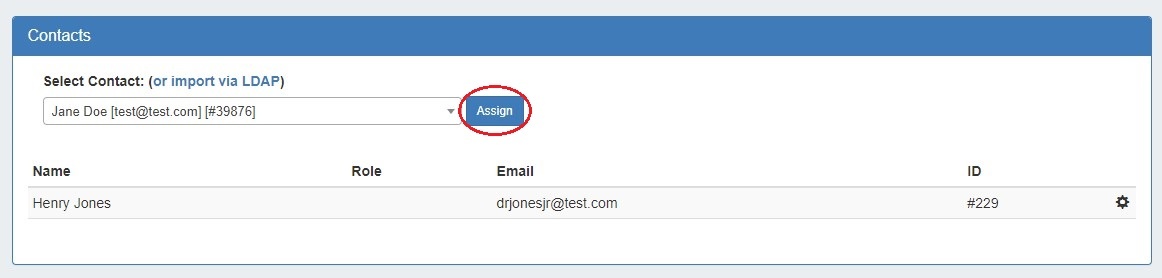
You can also import and assign a contact via LDAP from the Contacts Gadget. Click on "import via LDAP" and a separate search box will appear. Search for an LDAP contact and hit "Assign".
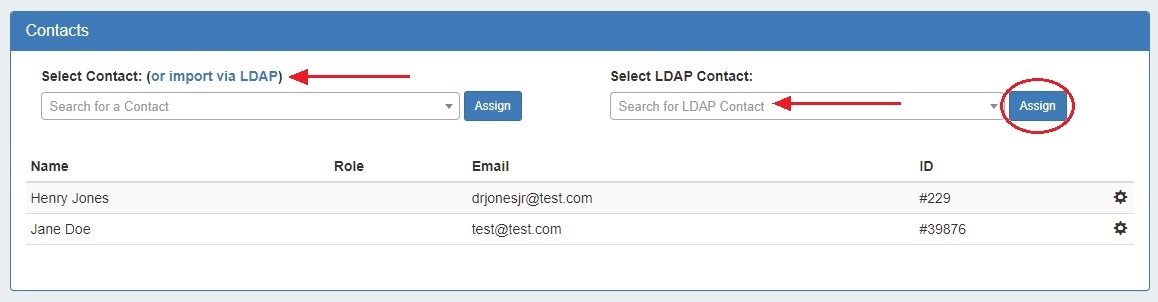
The contact will be imported and assigned to the resource. If a contact has already been imported, a notification will appear and the gadget will assign the contact to the resource, but the contact will not be imported again.
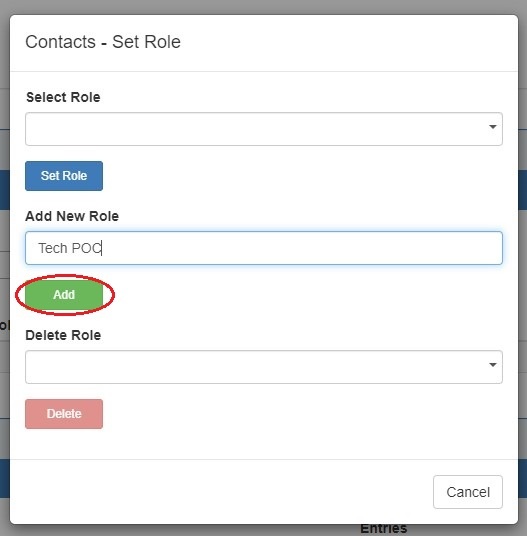
Create a Contact Role
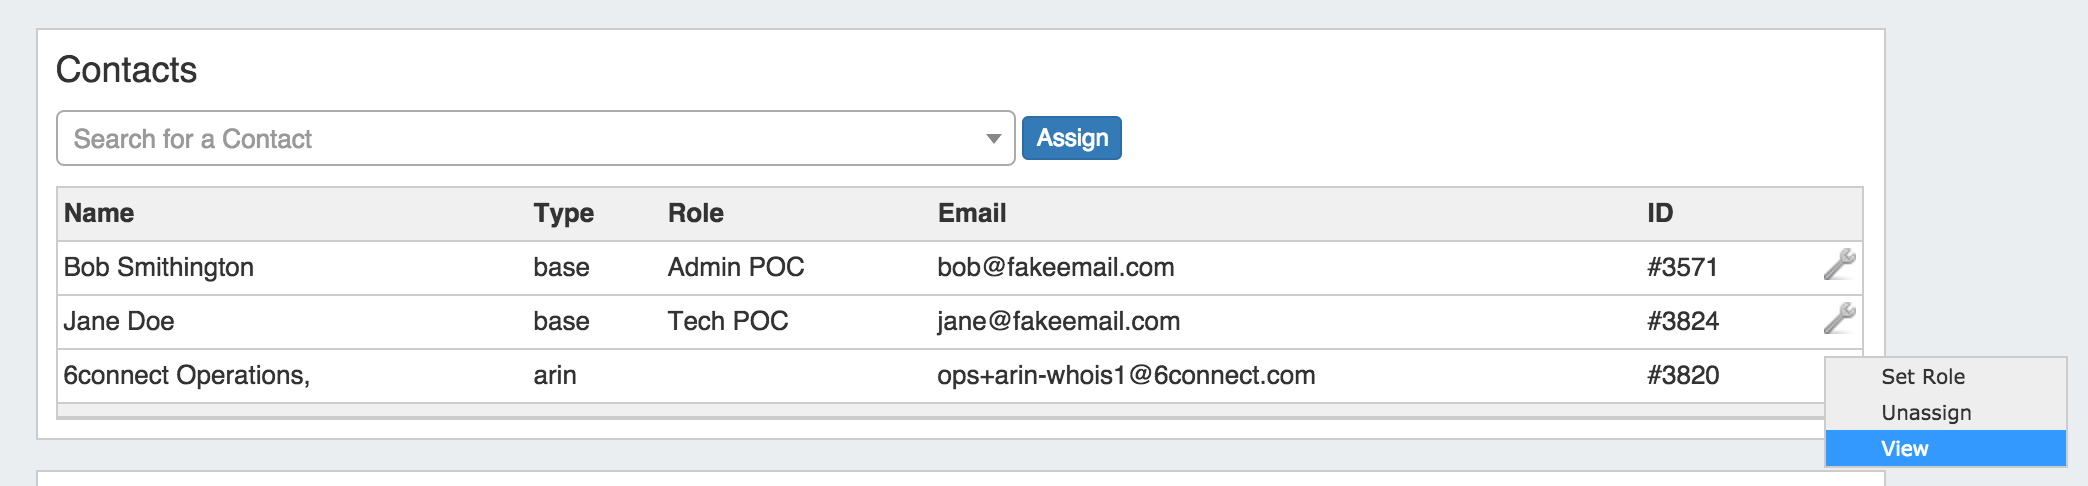
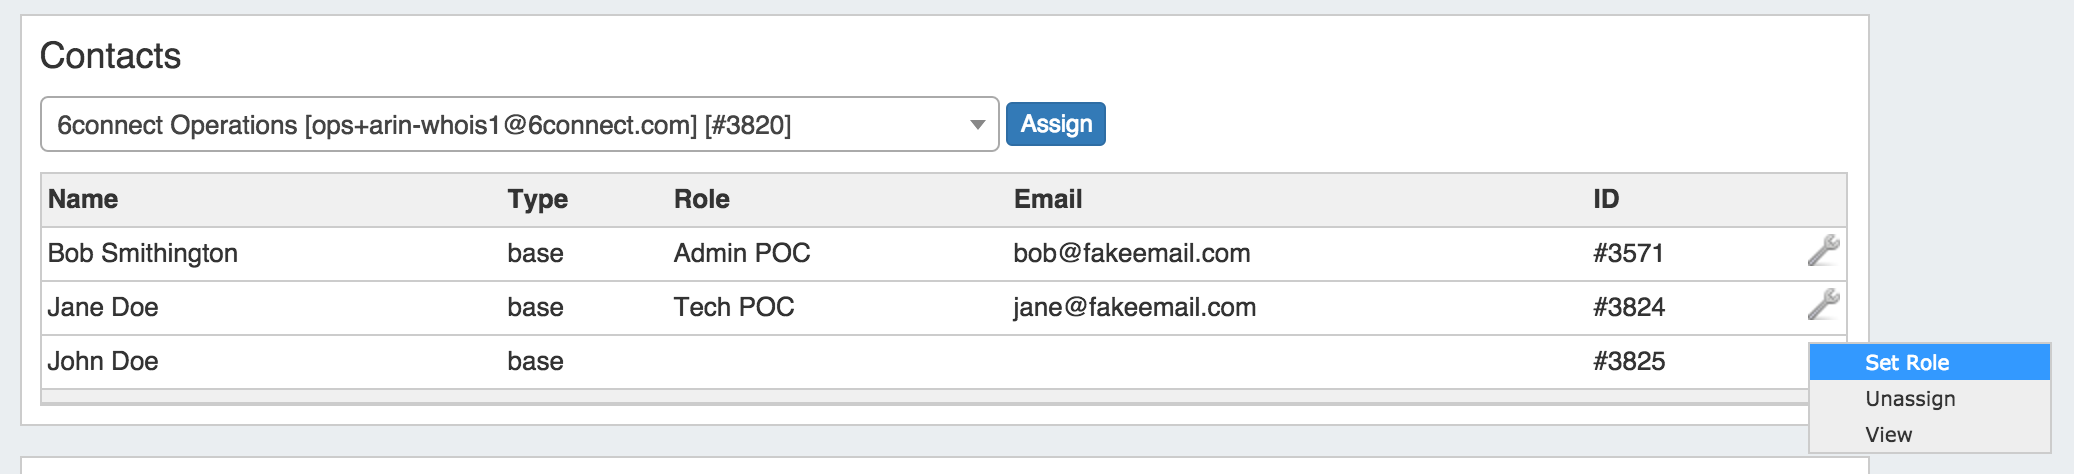
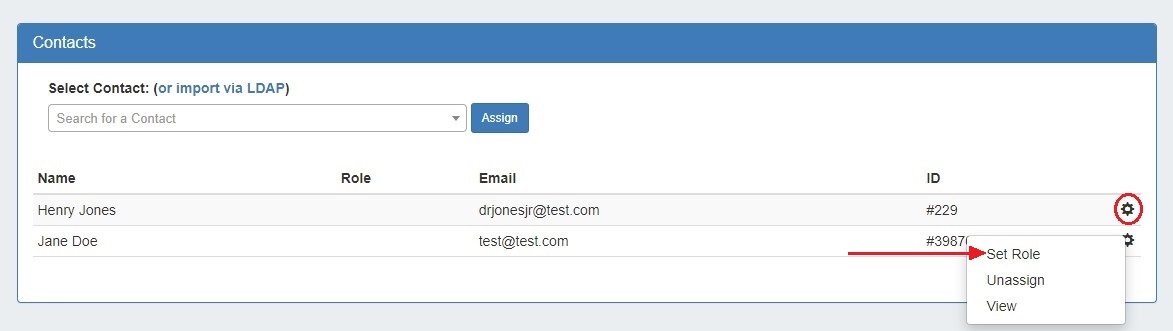
Once a contact has been assigned, you can create and set a role for the contact by clicking on the Action Menu (wrench gear icon).

Select Then, select "Set Role".
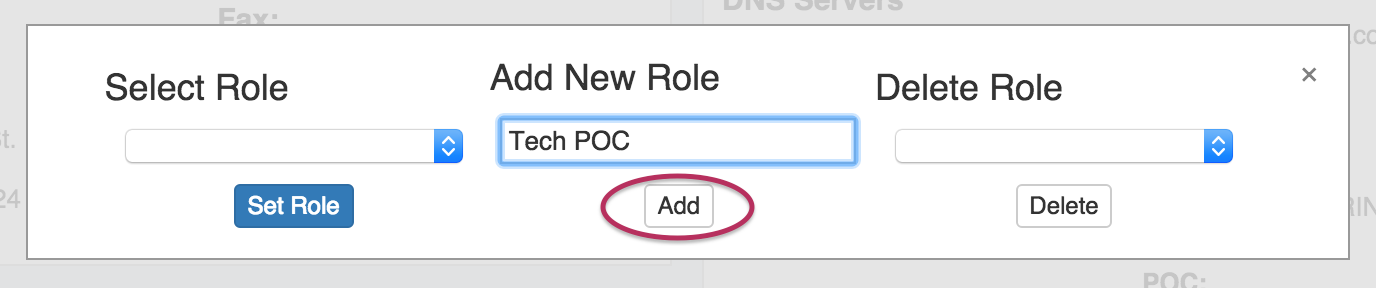
Under the "Add New Role" section, type in the desired tole name and click the "Add" button.
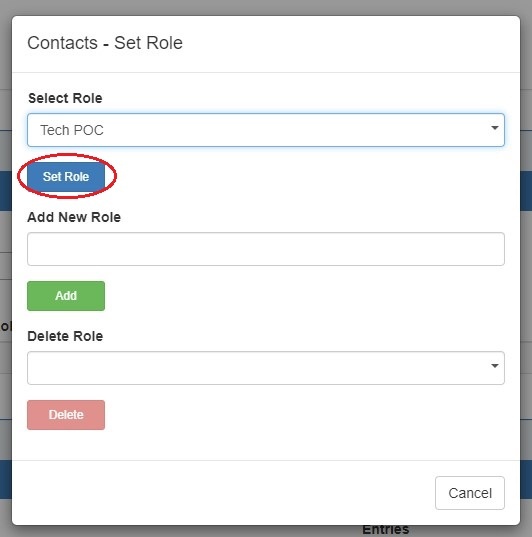
Assign a Role to a Contact
Once a contact has been assigned, you can set a role for the contact by clicking on the Action Menu (wrench gear icon).
Select Then, select "Set Role".
Under the "Select Role" section, choose the desired Role role from the dropdown list, and click the "Set Role" button.

Delete a Role from the Roles List
Select "Set Role"
Under the "Delete Role" section, choose the desired Role role from the dropdown list, and click the "Delete" button.

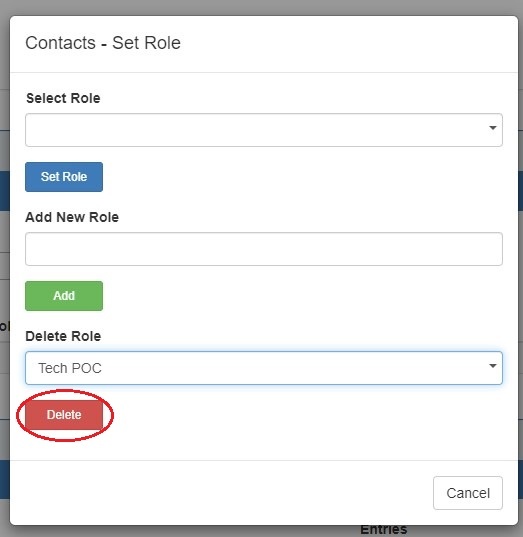
This removes the role from the "Select Role" list.
...
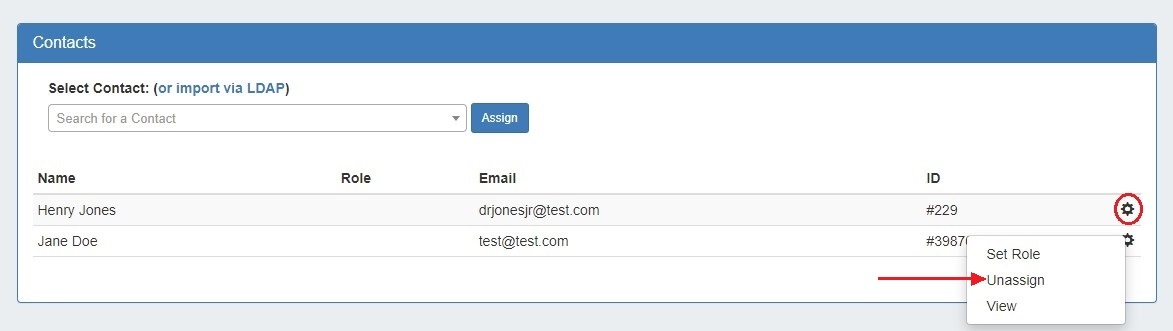
To unassign a contact from a resource, in the Contacts gadget Gadget click the Action Menu, then select "Unassign".
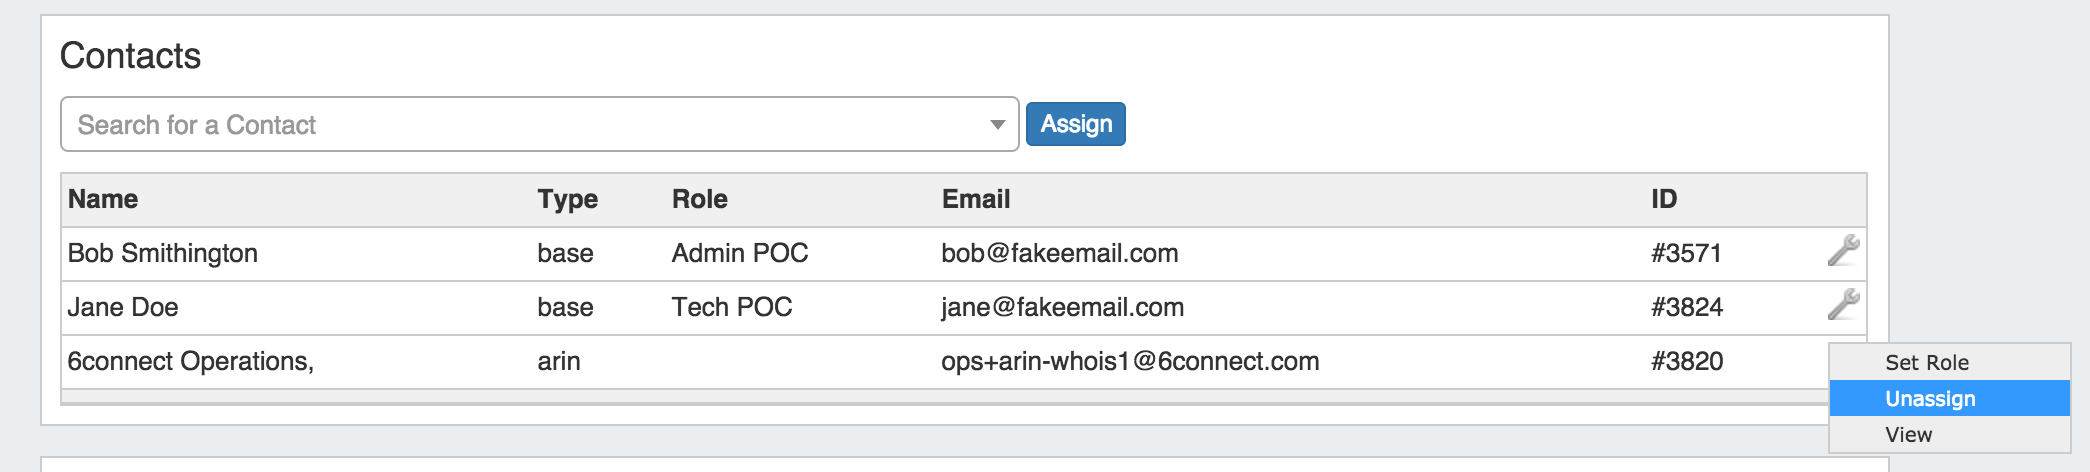
View the Contact Details Page
To view the contact's details, click the Action Menu, then select "View". You will be redirected to the contact's detail page.