...
| HTML |
|---|
<div id="google_translate_element"></div>
<script type="text/javascript">
function googleTranslateElementInit() {
  new google.translate.TranslateElement({pageLanguage: 'en'}, 'google_translate_element');
}
</script>
<script type="text/javascript" src="//translate.google.com/translate_a/element.js?cb=googleTranslateElementInit"></script> |
Contact Manager
Contacts
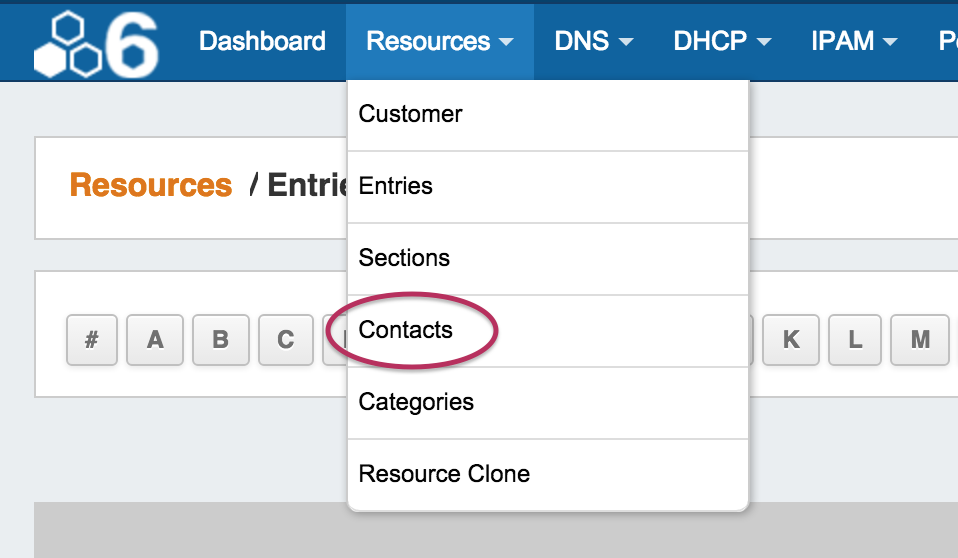
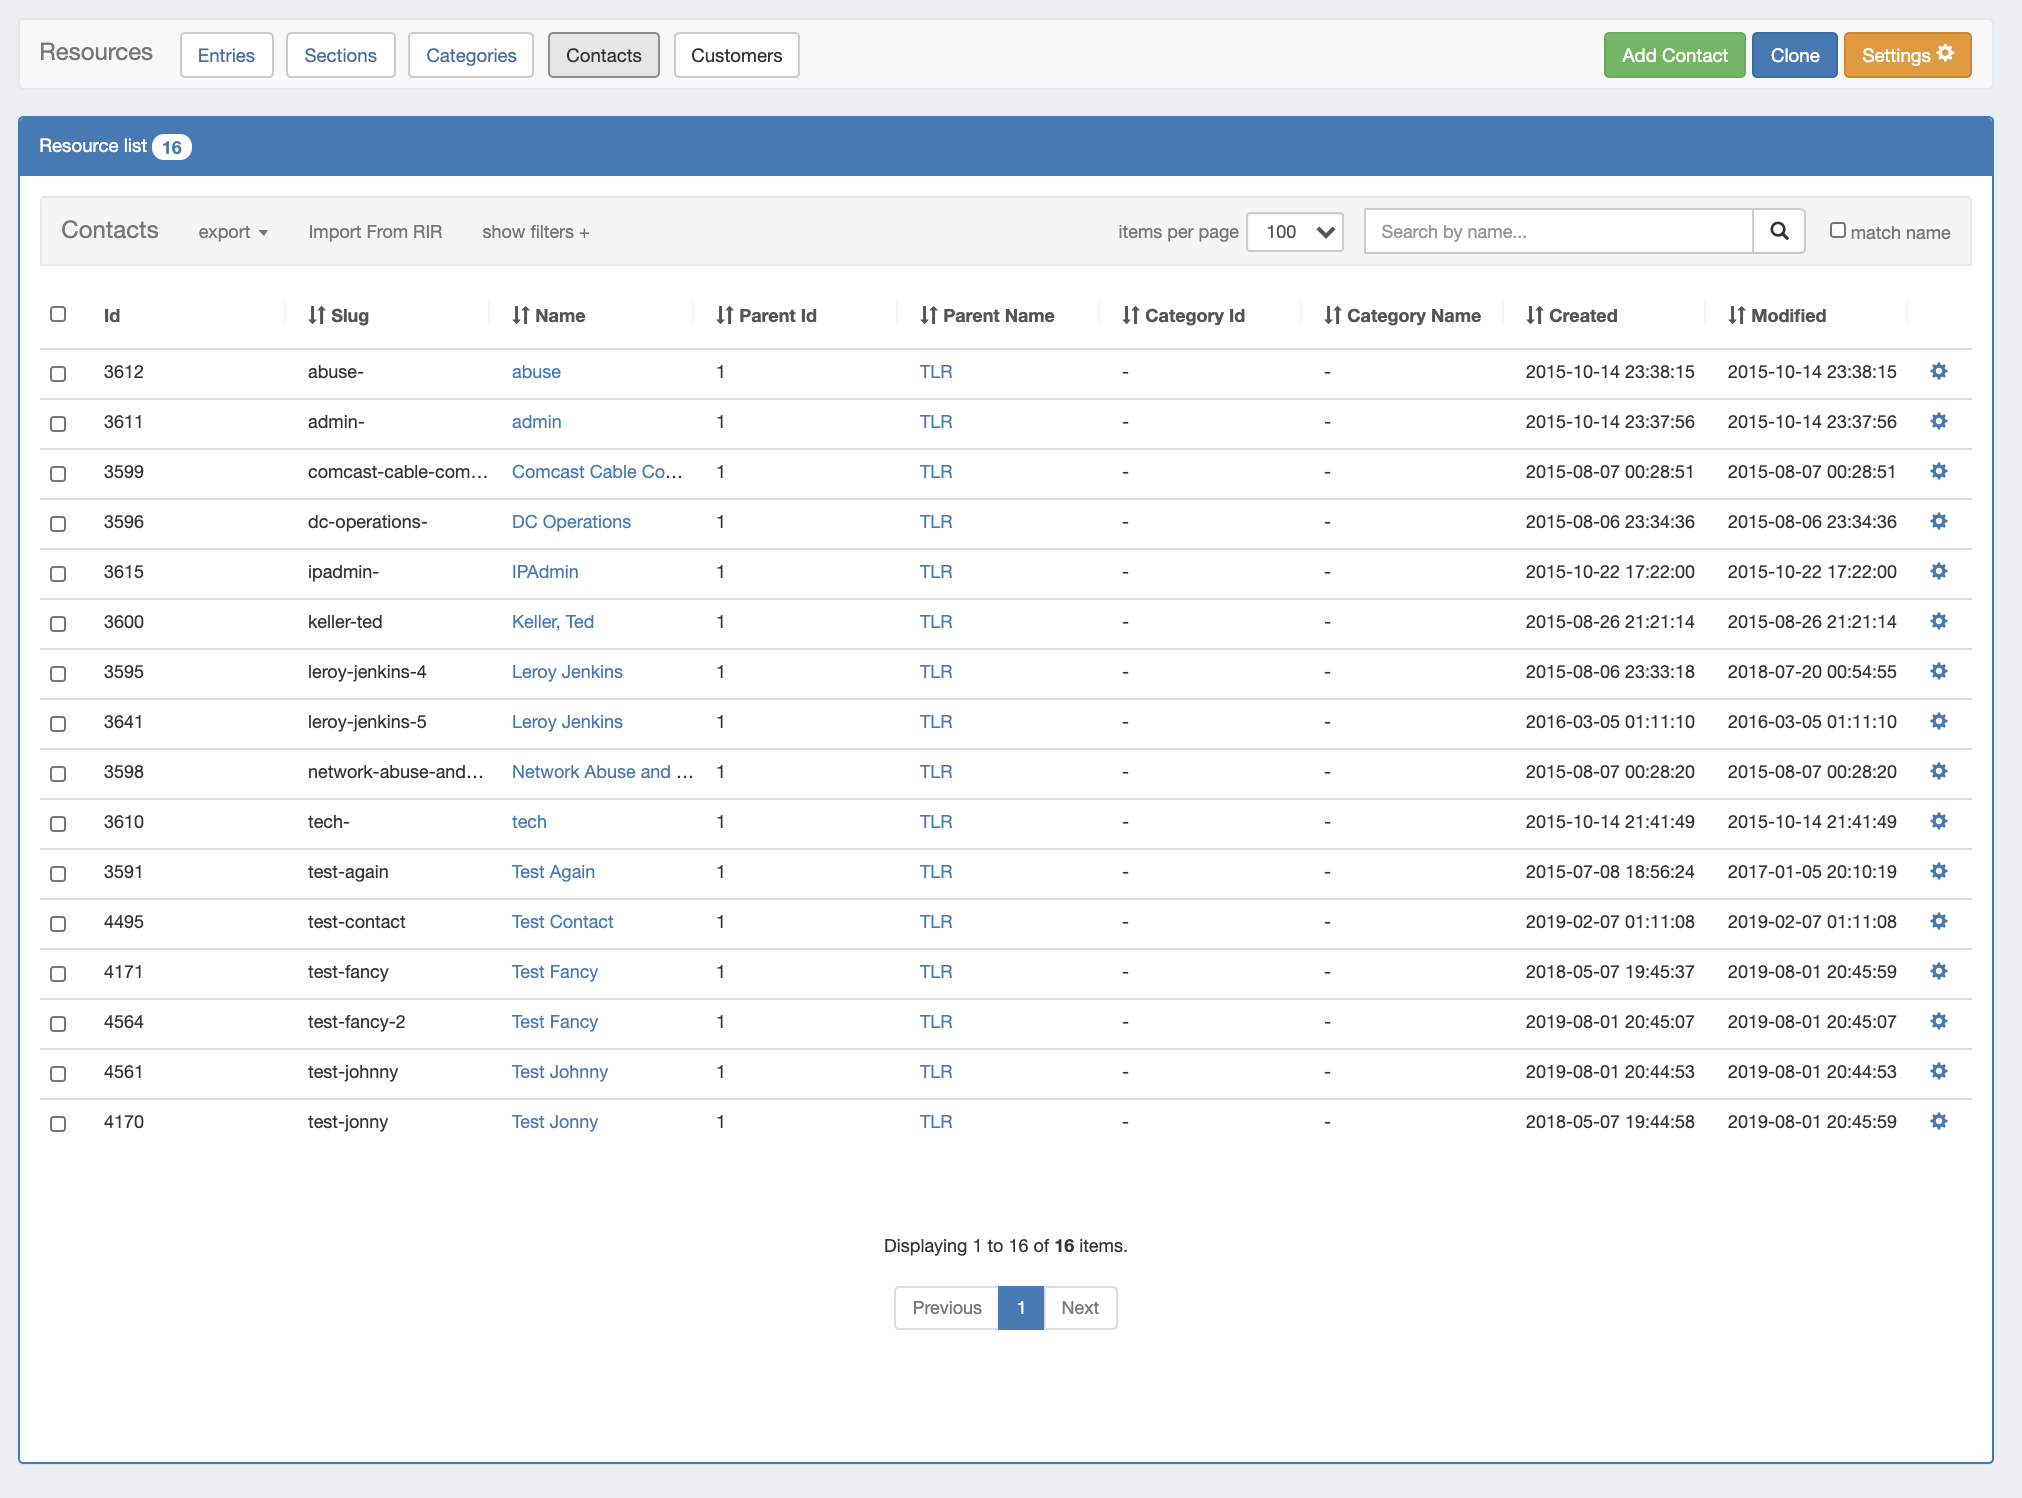
View the Contacts list by clicking "Contacts" from the Resource Tab, or from the Resource tab dropdown menu, under "Contacts". The Contacts list displays existing contacts and provides options to import new The Contact Manager lists and imports contacts into ProVision. You can create new contacts manually, or import contacts from RIR. Contacts may then be assigned to ProVision resources through the Contacts Gadget.
The Contact Manager is accessed from the Resource tab dropdown menu, under "Contacts"
| Table of Contents |
|---|
UI Overview
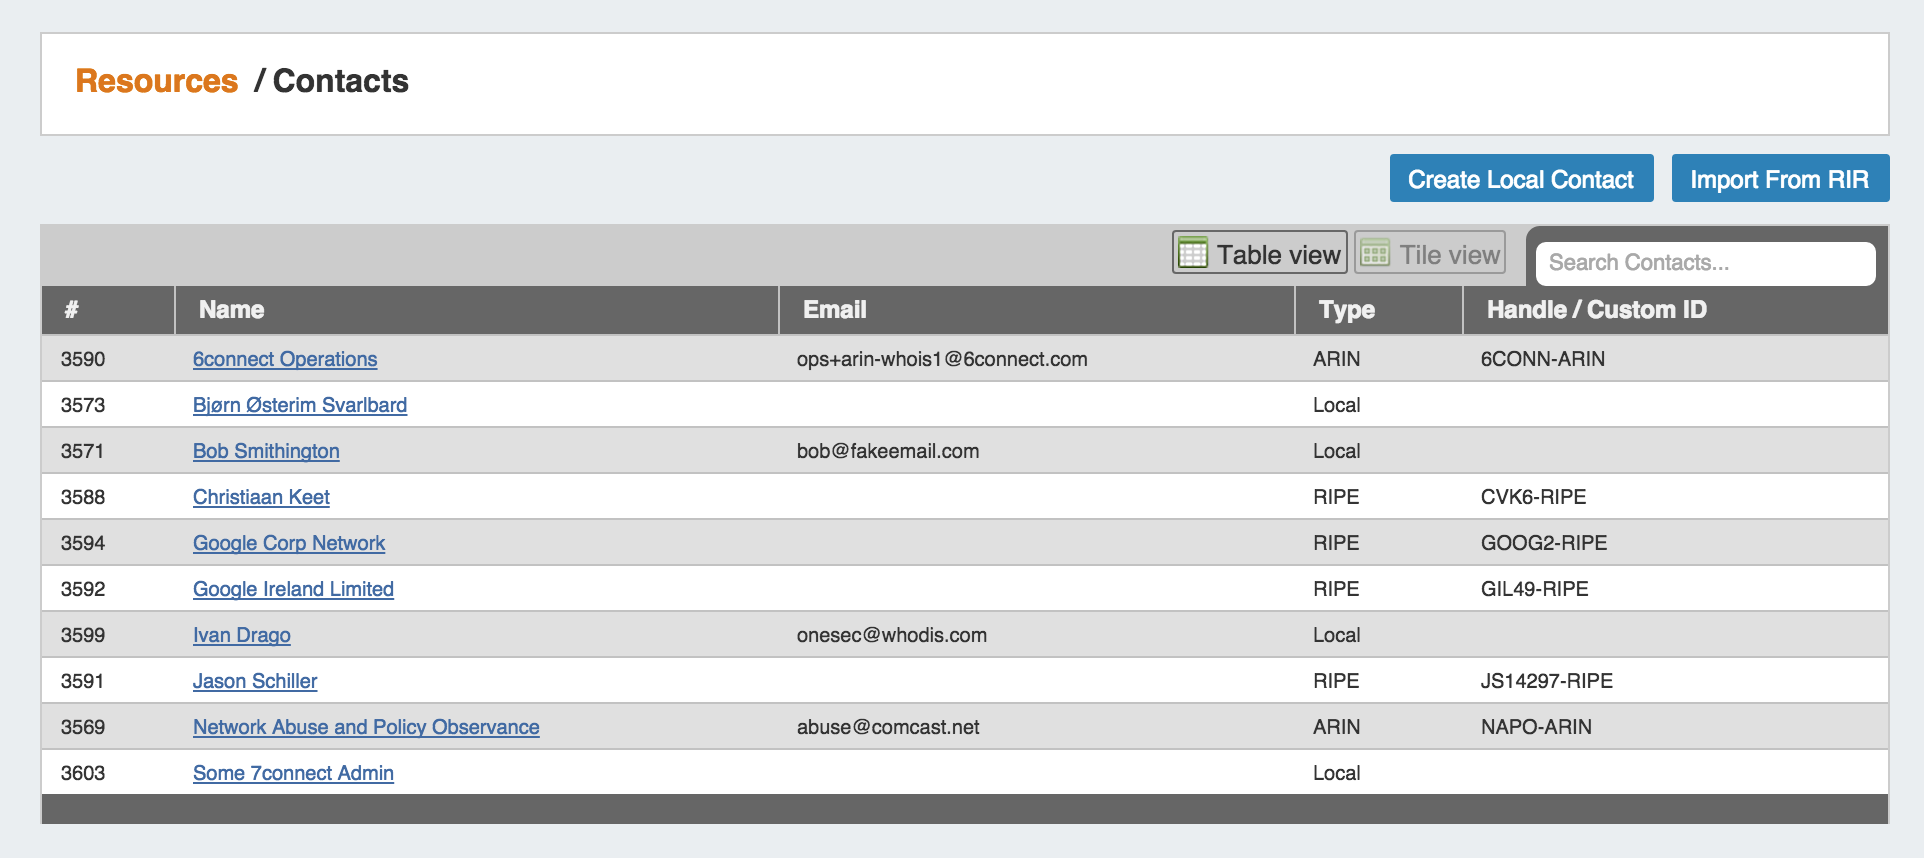
Table View
Table View shows contacts in list form, their ID number, email, contact type, and their handle /custom ID. If the contact was manually created through the "Create New Contact" button, it will show as type "Local", whereas a contact imported from RIR will show of type "RIPE" or "ARIN".
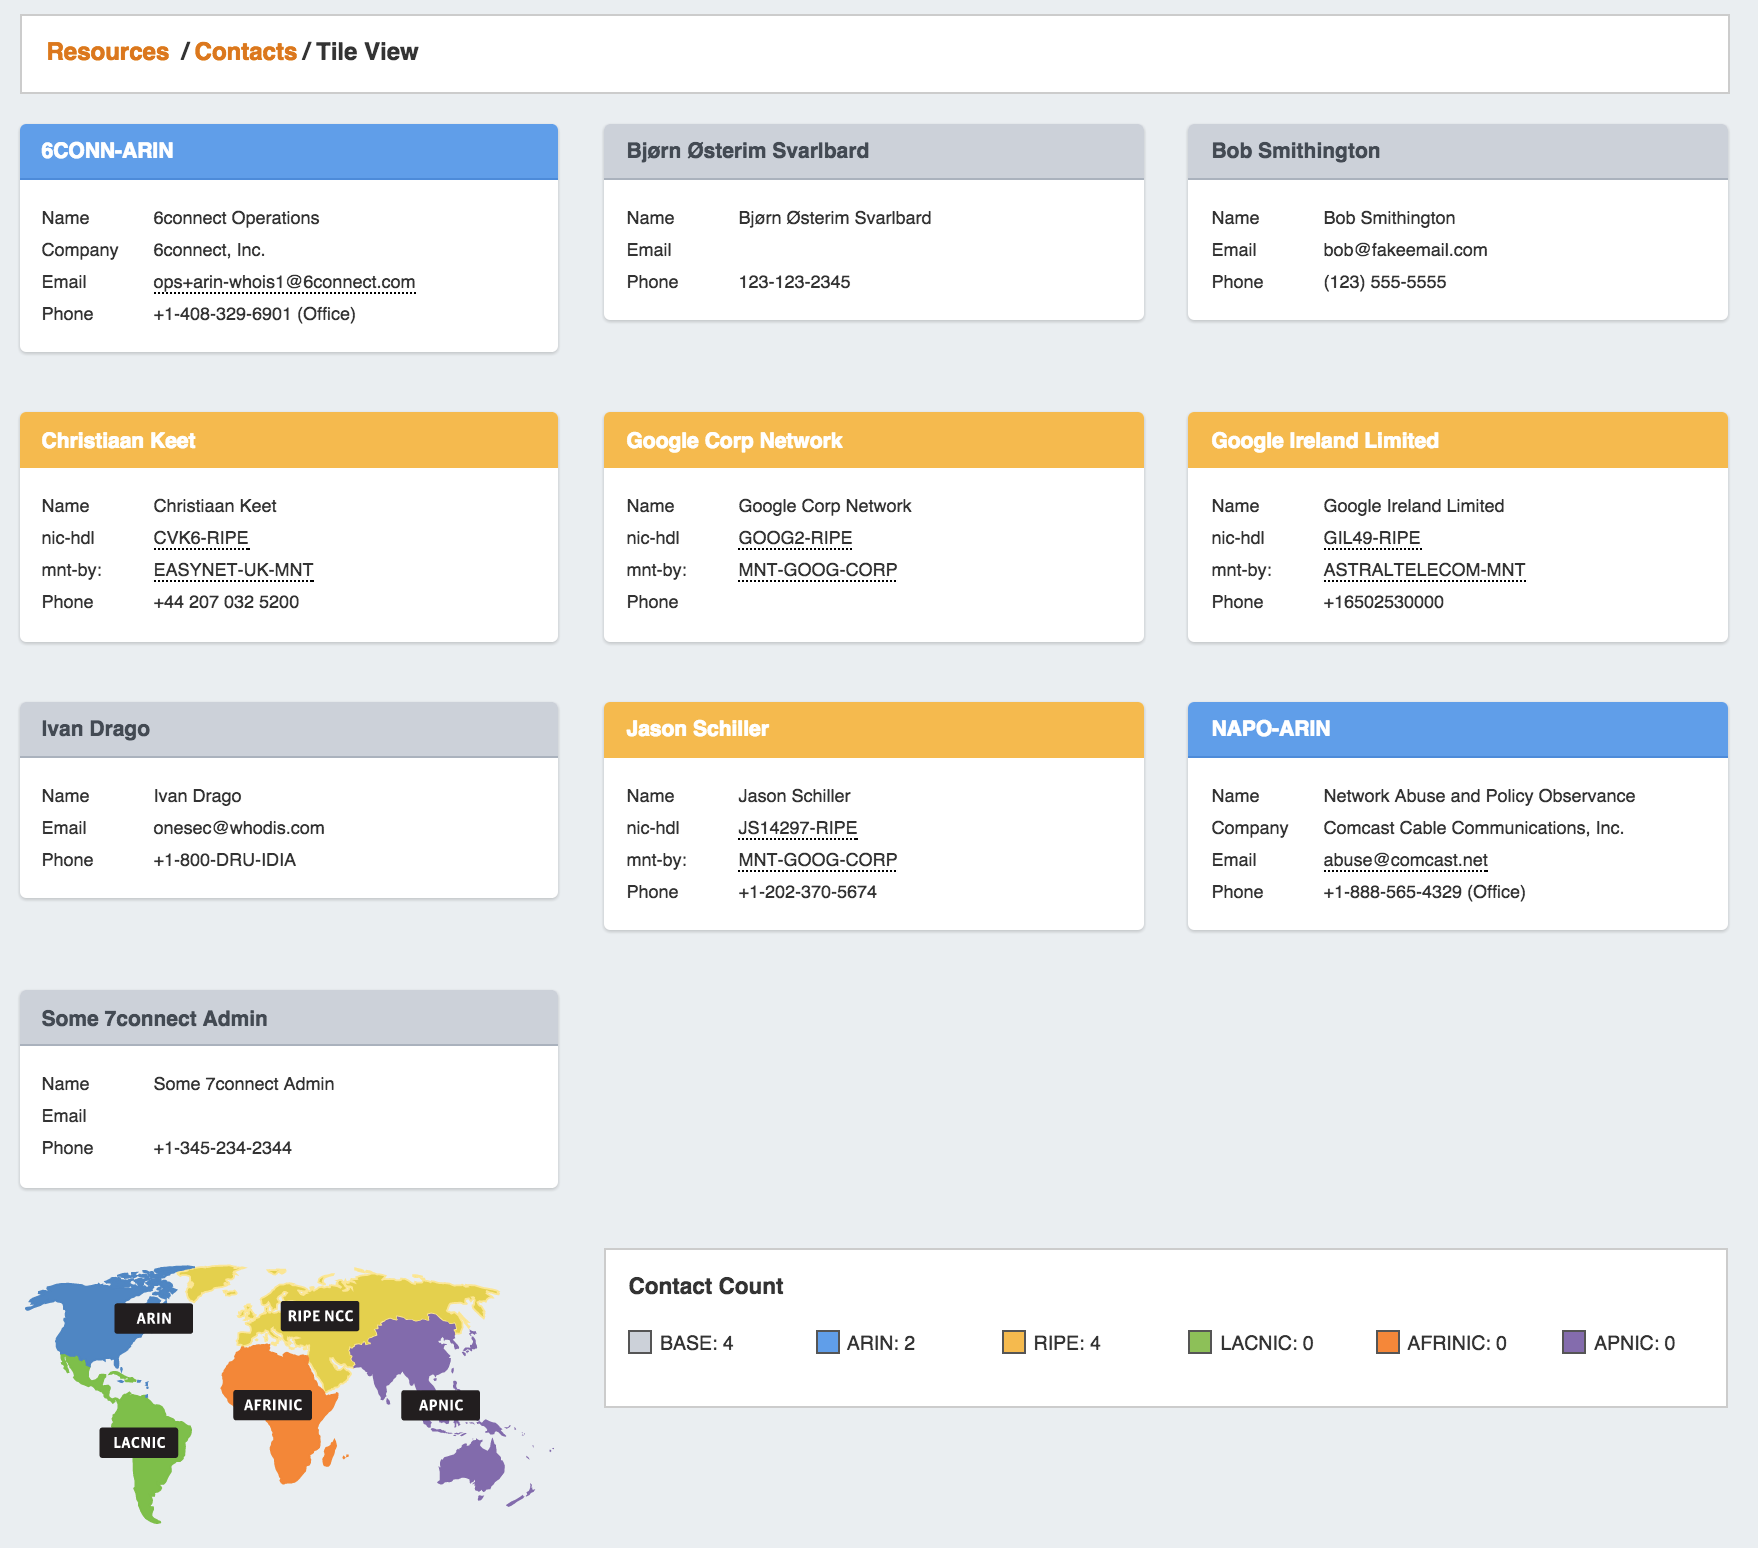
Tile View
Tile view allows you to see all current contacts as a snapshot of basic information, based on contact type:
Base Contacts: Shows Contact Name, Email, and Phone
ARIN Contacts: Shows Contact Name, Company, Email, and Phone (if provided in ARIN)
RIPE Contacts: Shows Contact Name, nic-handle, maintained by, and phone (if provided in RIPE).
Clicking on the contact name on the header of the tile takes you to the contact's detail information page.
...
| Table of Contents |
|---|
Working with Contacts
View Contact Details
To view the contact details, click on the contact's name in either list or tile viewthe Resource Contact List. You will be taken to the contact details page.
...
You can manually create a new contact in ProVision by clicking on "Create Local Add Contact" under the contacts pagefrom the Contacts List View.

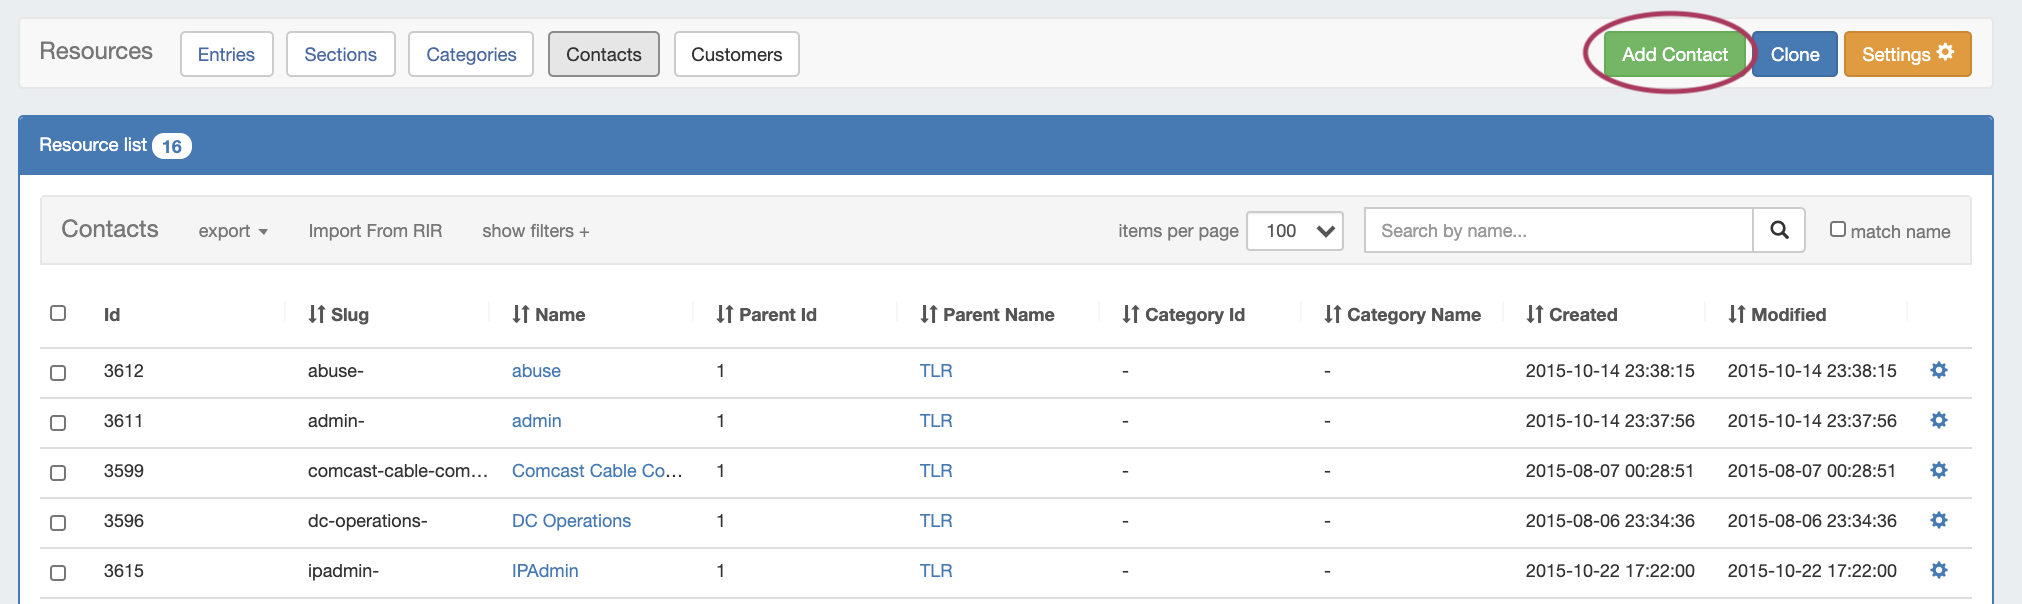
Fill in the contact's information for Name, Parent Resource (if desired), Phone, Custom ID, Email, Address, and Comments if desired.
...
To import a contact from ARIN or RIPE, click the "Import from RIR" button from the contacts page.

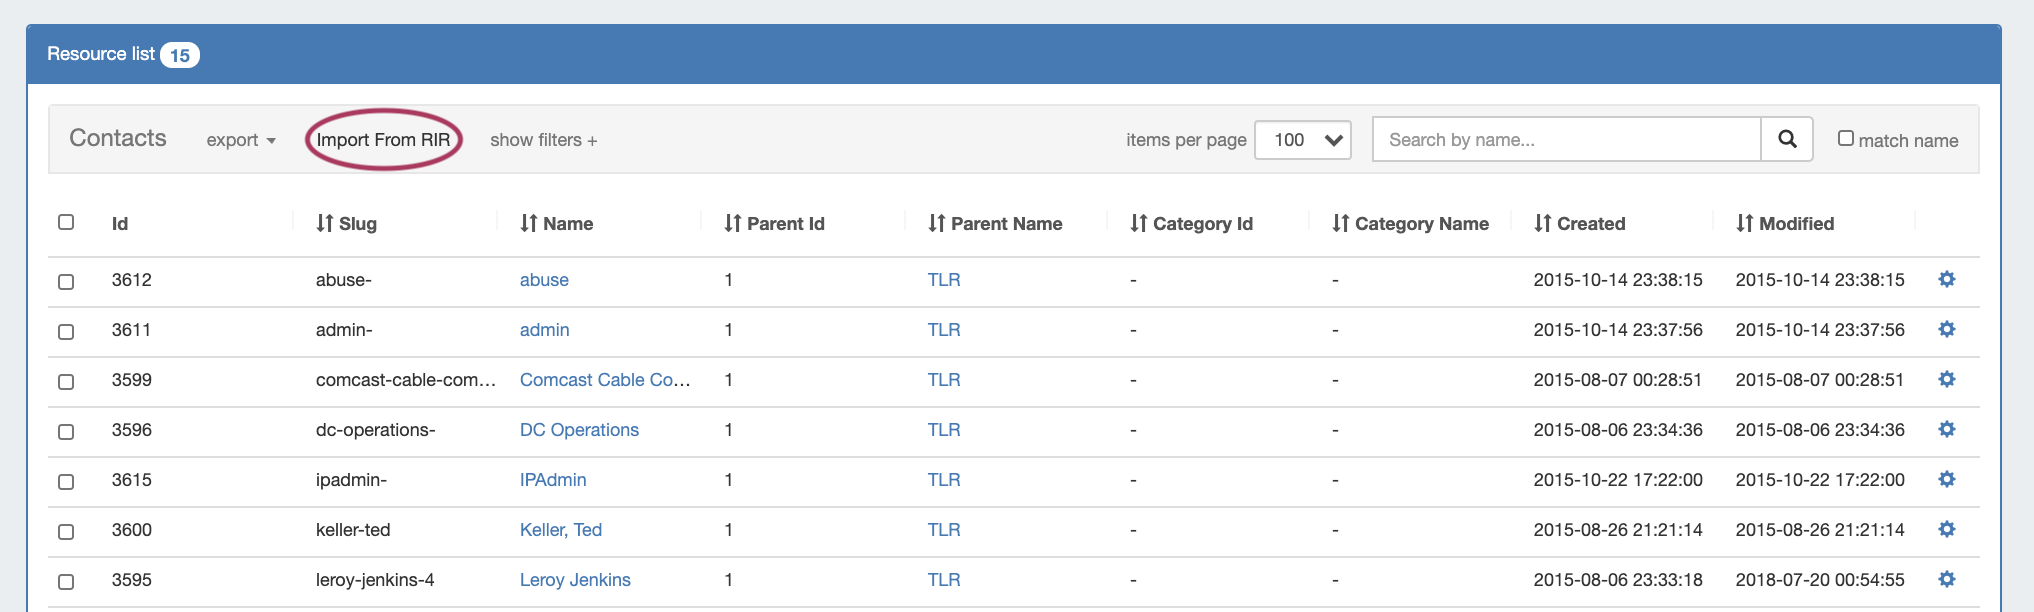
1) Select RIR / Type
...
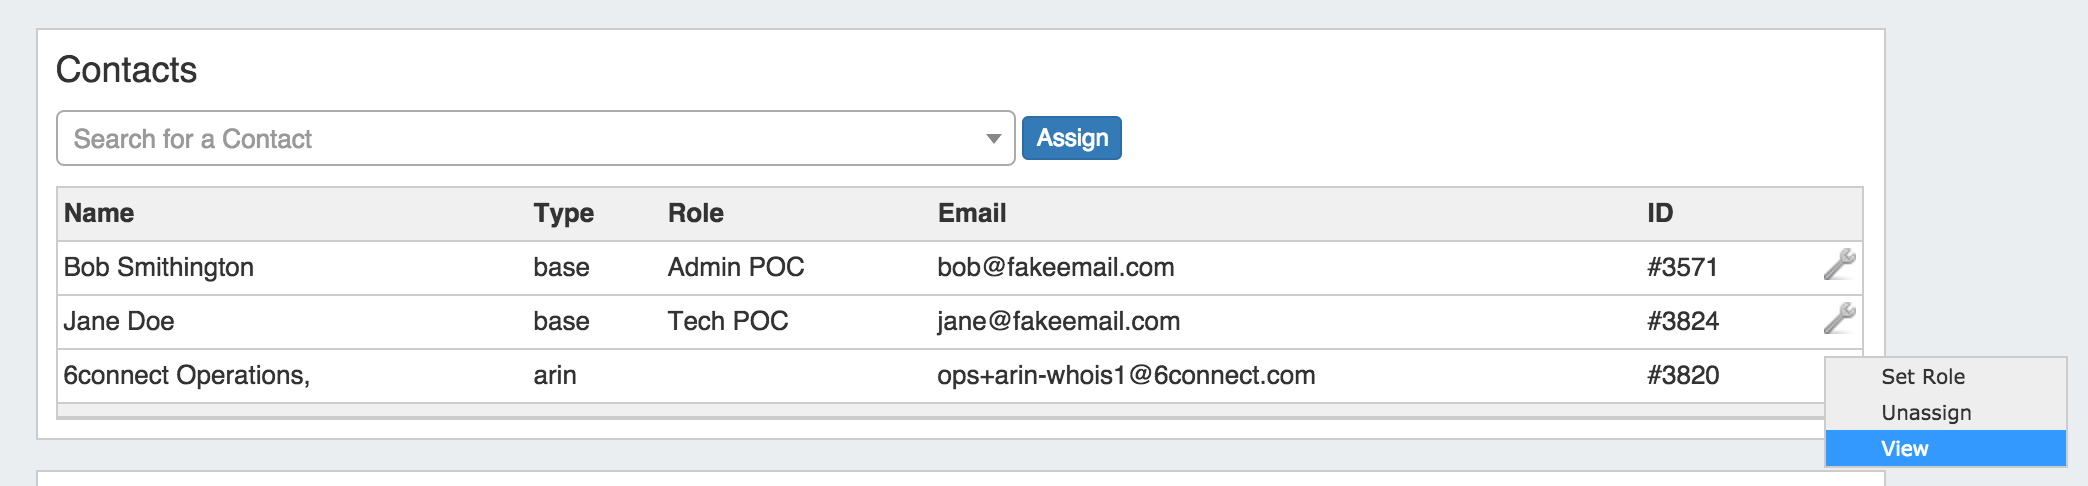
In the Contact Gadget, search for a contact by typing the first few letters of the contact name in the search box, then click on the desired contact.


Then hit "Assign".
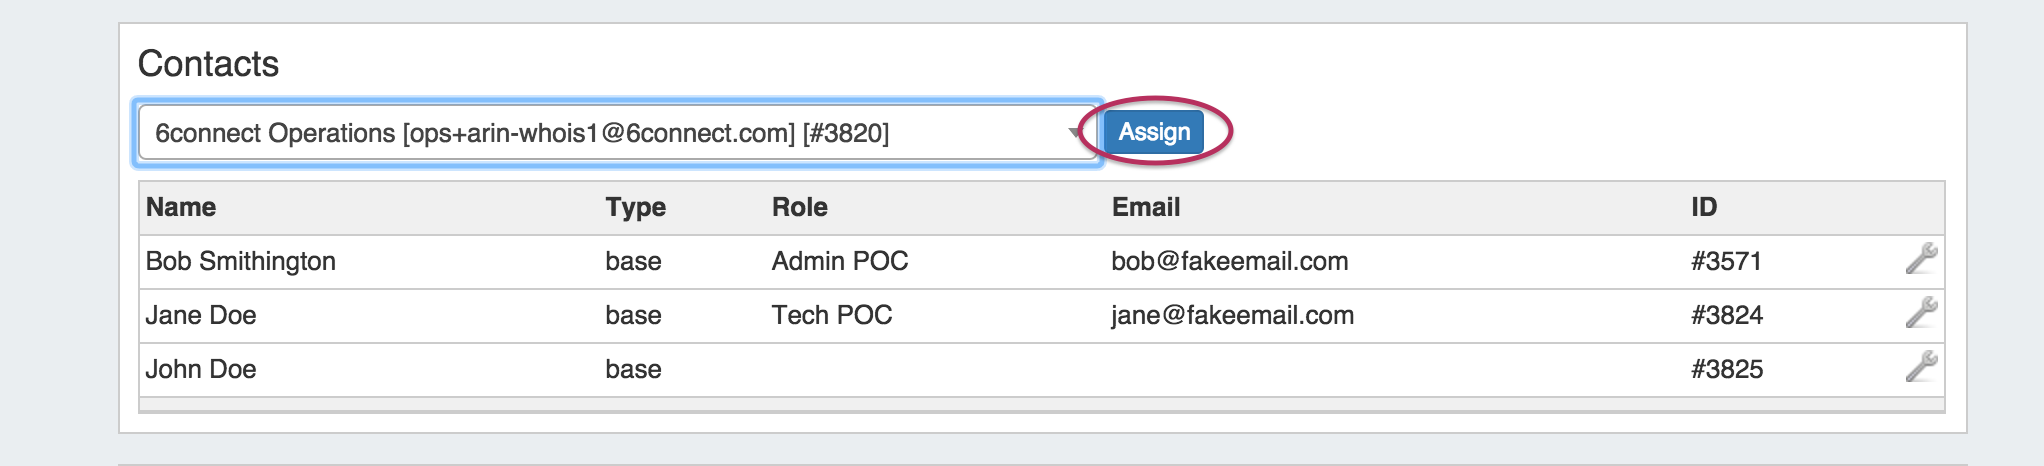

The Contact will show in the list below.
...
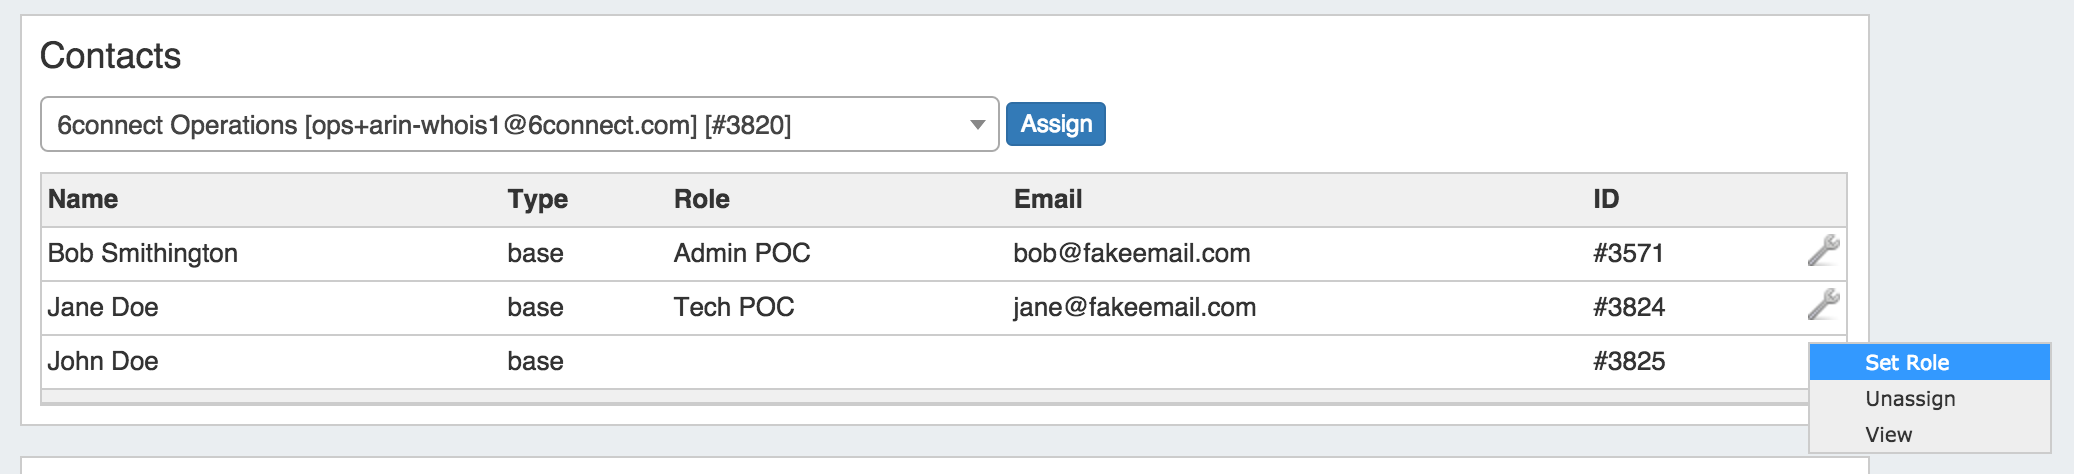
Once a contact has been assigned, you can create and set a role for the contact by clicking on the Action Menu (wrench icon).

Select Then, select "Set Role".

Under the "Add New Role" section, type in the desired tole name and click the "Add" button.
...
Once a contact has been assigned, you can set a role for the contact by clicking on the Action Menu (wrench icon).
Select Then, select "Set Role".
Under the "Select Role" section, choose the desired Role from the dropdown list, and click the "Set Role" button.
...
Delete a Role from the Roles List
Select "Set Role"
Under the "Delete Role" section, choose the desired Role from the dropdown list, and click the "Delete" button.
...
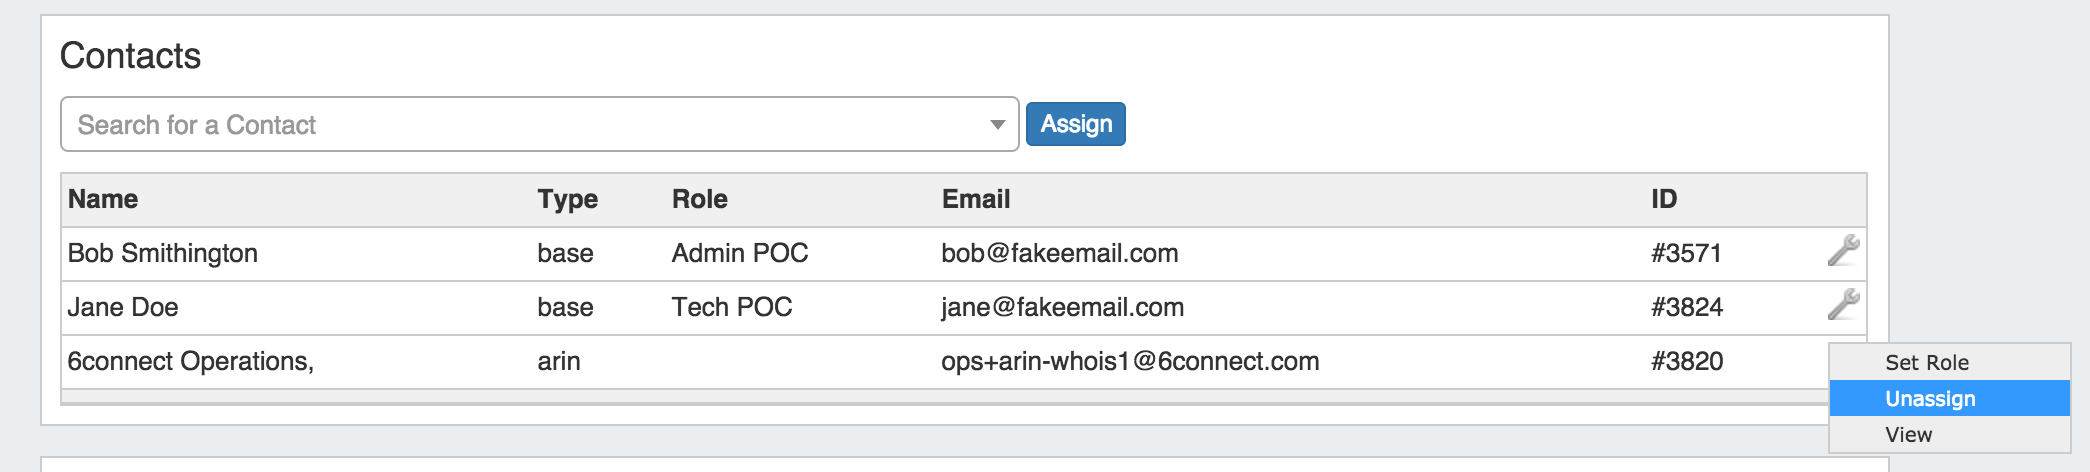
To unassign a contact from a resource, in the Contacts gadget click the Action Menu, then select "Unassign".

View the Contact Details Page
To view the contact's details, click the Action Menu, then select "View". You will be redirected to the contact's detail page.