| HTML |
|---|
<div id="google_translate_element"></div>
<script type="text/javascript">
function googleTranslateElementInit() {
  new google.translate.TranslateElement({pageLanguage: 'en'}, 'google_translate_element');
}
</script>
<script type="text/javascript" src="//translate.google.com/translate_a/element.js?cb=googleTranslateElementInit"></script> |
Working with DNS Zones
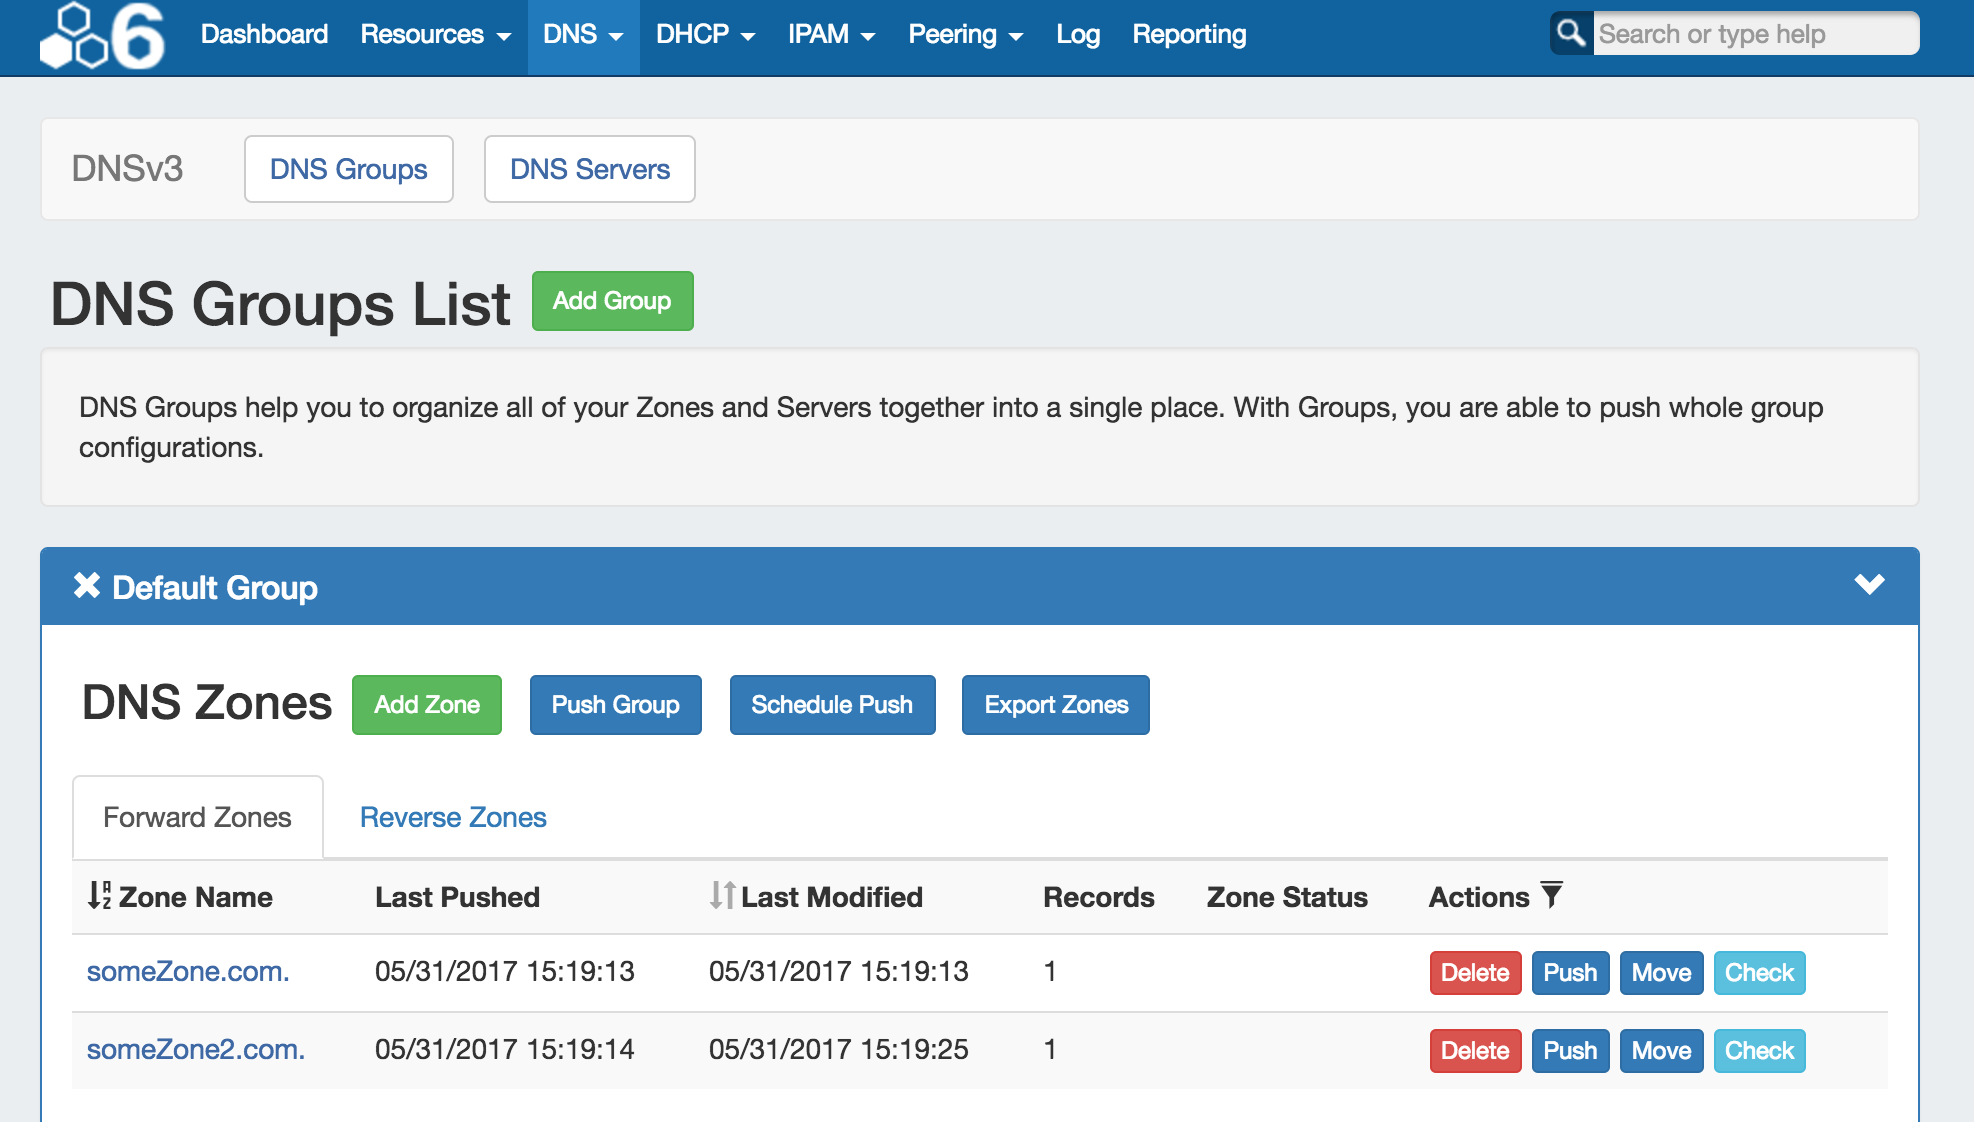
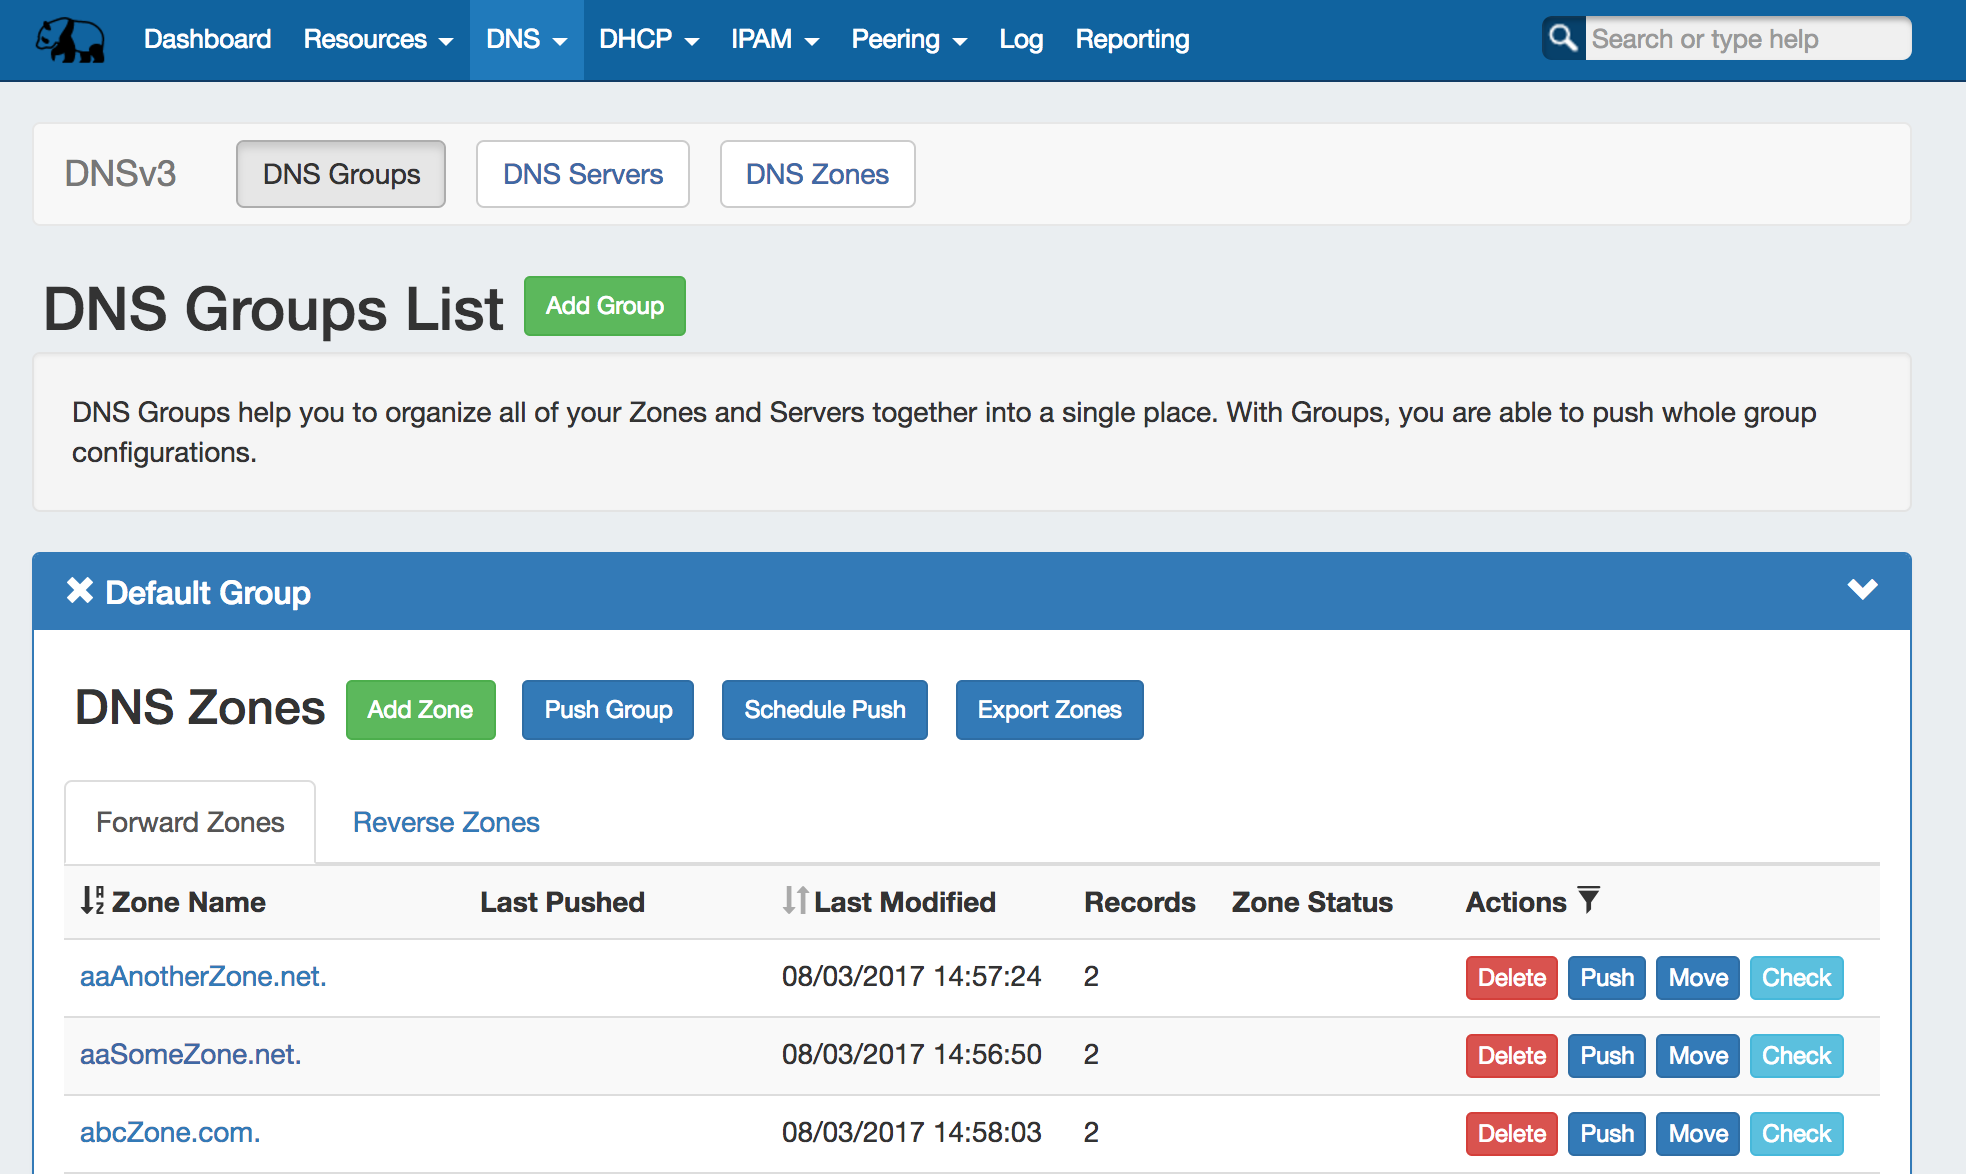
This page details some common DNS tasks performed from the DNS tab and DNS Gadget. DNS Zones are accessed under the DNS tab, DNS Groups sub-tabor DNS Zones sub-tabs. Separate zone lists exist under each DNS Group.
...
Add a new zone while in the DNS Groups tab by selecting "Add Zone" under the desired Group. The You may also add new zones from the DNS Zones page, also by the "Add Zone" button. The "Create New Zone" dialog will pop up.
...
Expand the "Optional Fields" section by clicking on the chevron (>) or the "Optional Fields" header.
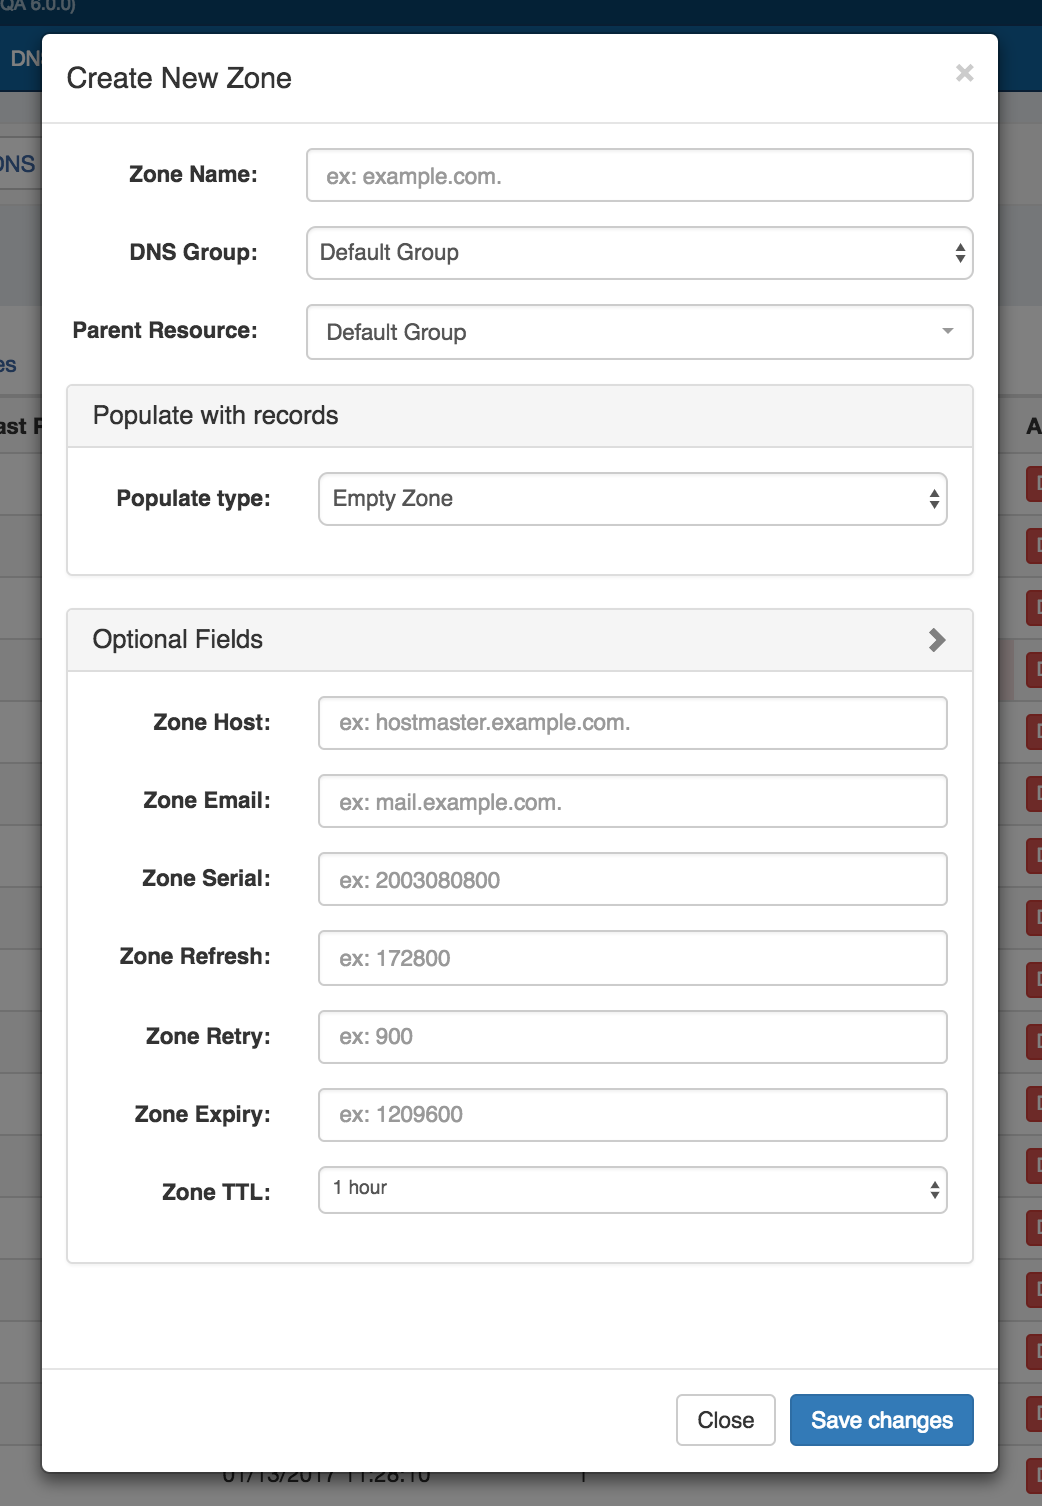
Under this section, add in optional values for Zone Host, Email, Serial , Refresh, Retry, Expiry, or TTL.
...
To add a comment to a zone, click anywhere inside the comment area and begin typing. The comment will be saved when an area outside of the comment box is clicked, deselecting the comment area.

Edit Advanced Settings:
...
To edit an existing zone record, click on the record line in the DNS Records list.

The Edit Record dialog will open, allowing you to fill in record details.
...
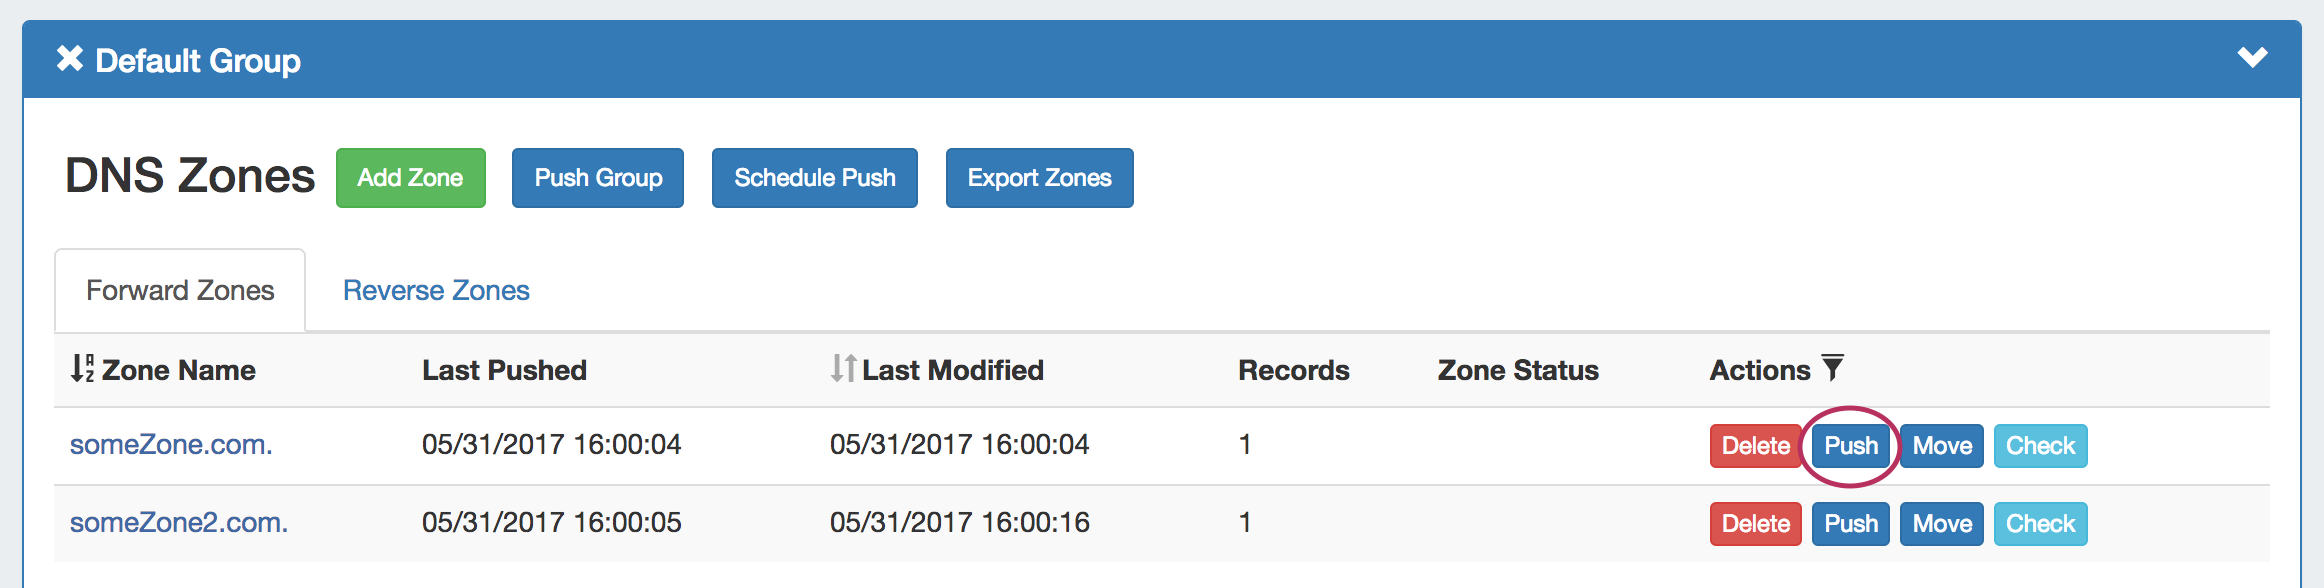
To immediately push a single zone, navigate to the DNS Group the zone is under, then click the "Push" button in the Actions column for the zone. You may also look for the zone in the DNS Zones tab Zone List, and then likewise, click the "Push" button in the zone row.
The "Push Status" modal will appear, showing status and any errors that occur. When a successful zone push is complete, a green "Finished DNS Pushing Request" message will appear, and the window may be closed.
...