...
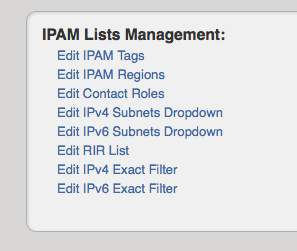
From here you can set a variety of attributes for a given block. All of these values are also customizable from the Admin screen - IPAM Admin.
Assigning IP Space
To assign space, you do it using the IPAM Gadget from the particular Resource.
There are two areas where you can assign IP Space: in the IPAM Gadget for the particular Resource, or through IPAM Manage for manually assigning a block to a resource. The IPAM Gadget allows for more detailed assignment options including Browse to Assign, Direct Assign, and Smart Assign with advanced options, and is the primary tool for space assignment.
Assigning Space from the IPAM Gadget
The IPAM Gadget is accessed from a Resource Entry page, once enabled for the Section (to add Gadgets, see Customizing Sections and Add Gadgets to your Section).
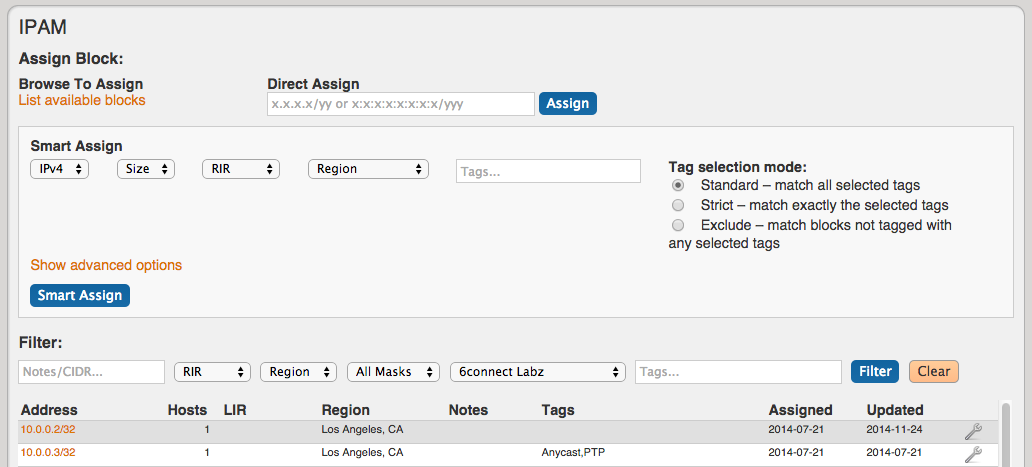
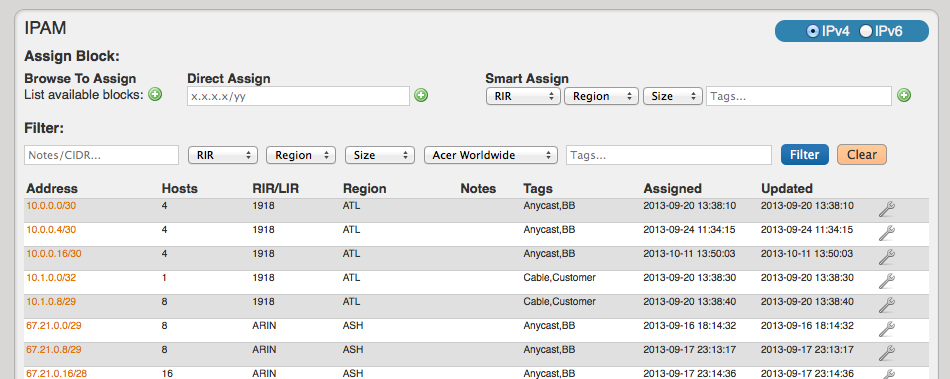
You have three options for assigning IP space using the IPAM Gadget:
Browse to Assign
This brings up a list of IP aggregates where you can select the block to assign.
Direct Assign
This field allows you to manually enter an IP block to assign. Enter an IPv4 or IPv6 block, and then click "Assign".
Smart Assign
This series of dropdowns allows you to specify the parameters for the type of IP block you want to assign, as well as tag selection modes. Then it will look at the IPAM blocks that match your criteria to find the correct IP assignment based on availability and relevant parameters..
Additional advanced Smart Assign options are available under "Advanced Options", including VLAN and LIR.
Once your criteria has been set, click the "Smart Assign" button.
Manually Assigning Space from the IPAM Manager
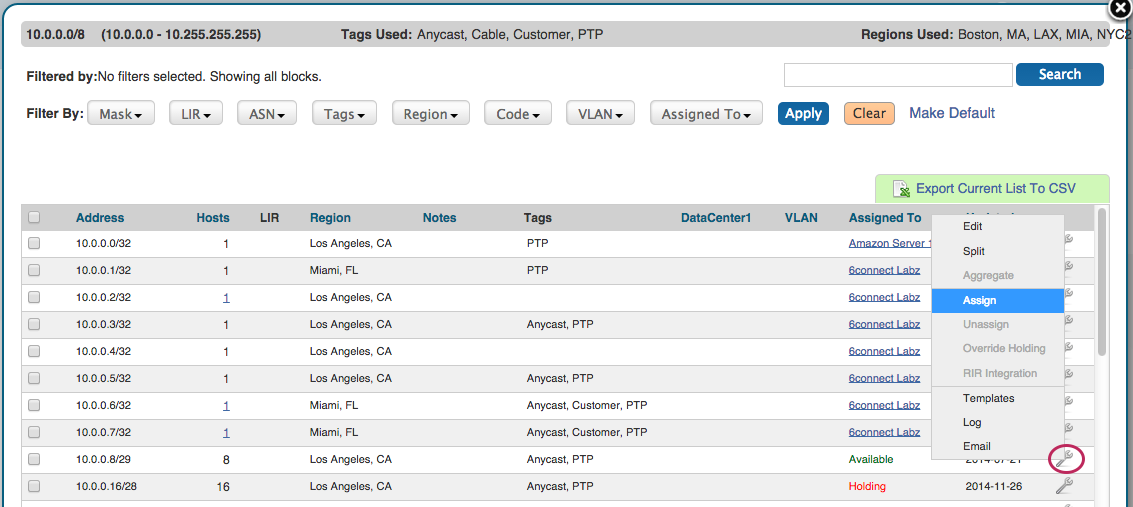
You can also Or you can assign blocks manually using the "Assign" function from the IPAM Manager screen (accessible from the IPAM Tab). Click the Action Menu (wrench icon), then select "Assign".
Then, select the Resource to assign the block. A filter tool is provided to narrow the list to a particular Section type.
Please note that once a block is assigned, you will also have other options available, including reverse DNS, and IP subassignments
Sub Assigning IP Space
To allow sub assignments, just check the "Allow sub assignments" check box under Edit. Once the allow sub assignments box is checked, the block may be further split and assigned to other resources. Split blocks may also be re-claimed to the originally assigned resource and re-aggregated. When allow sub assignments is checked, the block is counted as allocated, but not assigned - various statistics in IPAM, on the dashboard, and reporting will reflect this. Sub assignments can be useful for tracking IPs assigned to a customer with multiple subsidaries, or locations.
...
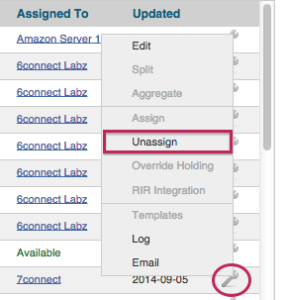
When a block is assigned, you will then have the option of unassigning the block from the resource and returning it to the Holding Tank.
To unassign the block, simply click on the Action Menu (wrench icon) for the block and select "Unassign".
To return IP space in the Holding Tank to the Available Pool - there are two methods:
...
2) Process the Holding Tank via the Admin screen (this will only process blocks that were present for the specified number of days).
For more information on the Holding Tank, see Holding Tank Management
