...
Table of Contents maxLevel 34
IPAMv2 Gadget
The IPAMv2 Gadget is used on the Resource Holder section type, and allows you to view, assign, and manage blocks for that resource.
...
The IPAMv2 Gadget provides pagination, advanced filters, sortable columns, reverse zone generation, customized column order/names, and custom data fields.
Working with the IPAMv2 Gadget
Using this gadget, you can :
...
assign blocks via Direct Assign, Smart Assign, or Smart Browse, as well as edit and manage blocks assigned to the resource.
The IPAM Gadget may also be used as a reference for other gadgets. The "DNS Autogenerator" and "Linked IP Blocks" gadgets use the IPAM Gadget - Blocks List to generate content and perform operations associated with those gadgets.
A basic overview of the gadget is covered in this section, however, more detail on specific tasks may be available under IPAM Tab and Working with IP Blocks.
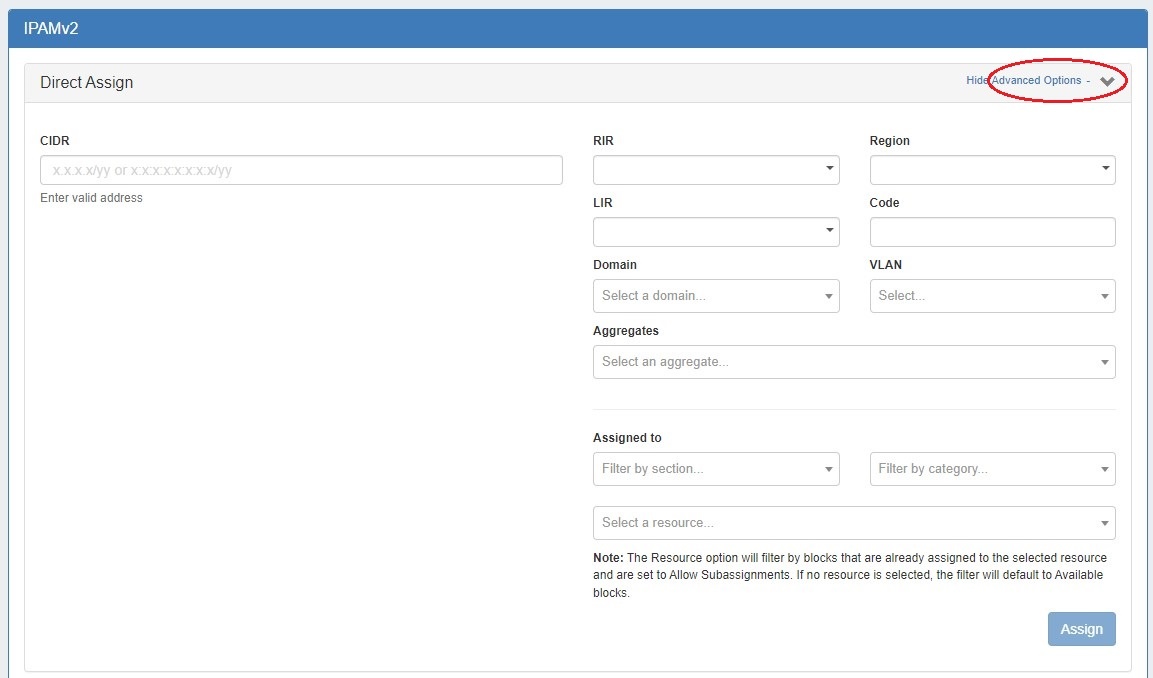
Direct Assign
Direct Assign blocks with a CIDR address, with or without additional filtering options. In cases where duplicate blocks exist, using the filter options with Direct Assign allows you to specifically control which of the duplicate blocks is assigned.
To assign a sub-assignable block, select the resource under which the block is allocated. Section and category filters are available to further filter the resource selector. If the provided CIDR / filter criteria do not match any available blocks, but do match one or more sub-assignable blocks, a list of sub-assignable block suggestions will notify the user of suitable resources to select.
| Expand |
|---|
To open the Direct Assign section of the gadget |
...
, click the expansion caret in the upper right section |
...
. Clicking "Advanced Options" next to the caret will show/hide optional additional filter criteria to apply to direct assign. Enter the desired CIDR and filter criteria, then click " |
...
Assign". For additional details on working with direct assign, see: IPAM Tab and Working with IP Blocks |
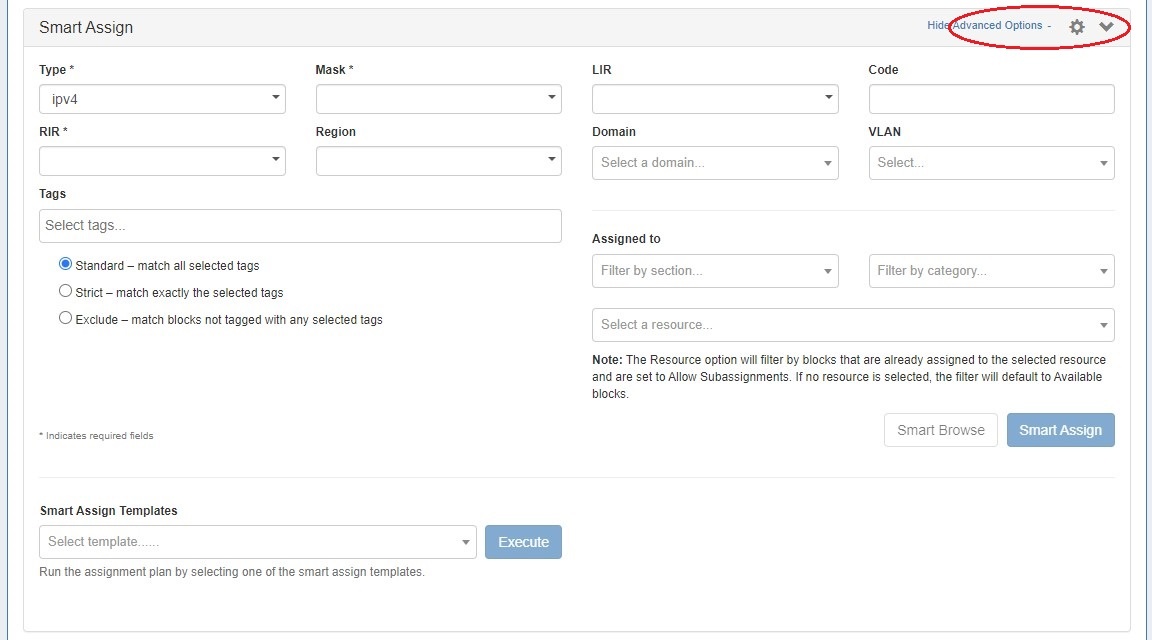
Smart Assign / Smart Browse
Smart Assign blocks by providing block criteria and Smart Assign will find suitable blocks and assign the first available block that matches the filter criteria.
Required fields for Smart Assign are: "Type", "RIR", and "
...
Mask". Additional fields,
...
such as "Region", "VLAN", "LIR", "Resource" (for blocks that allow subassignments), custom code, and
...
"Tag"
...
information are optional but may help narrow results.
To assign a sub-assignable block, select the resource under which the block is allocated. Section and category filters are available to filter the resource selector. If the provided filter criteria do not match any available blocks, but do match one or more sub-assignable blocks, a list of sub-assignable block suggestions will notify the user of suitable resources to select.
Smart Browse using
...
the the filter options to bring up a browsable list of blocks meeting that criteria, from which you may
...
review results and select blocks to assign / assign out of.
| Expand |
|---|
To open the Smart Assign |
...
section of the gadget |
...
, click the expansion caret in the upper right |
...
section. Clicking "Advanced Options" next to the caret will show/hide optional additional filter criteria to apply to Smart Assign / Smart Browse. Enter the desired filter criteria, then click "Smart Assign", or Smart Browse. For additional details on working with Smart Assign / Smart Browse, see: IPAM Tab and Working with IP Blocks. |
Predefined Filters
Commonly applied Smart Assign / Smart Browse filter criteria can be saved for repeat use as Predefined Filters, accessible through the gear menu.
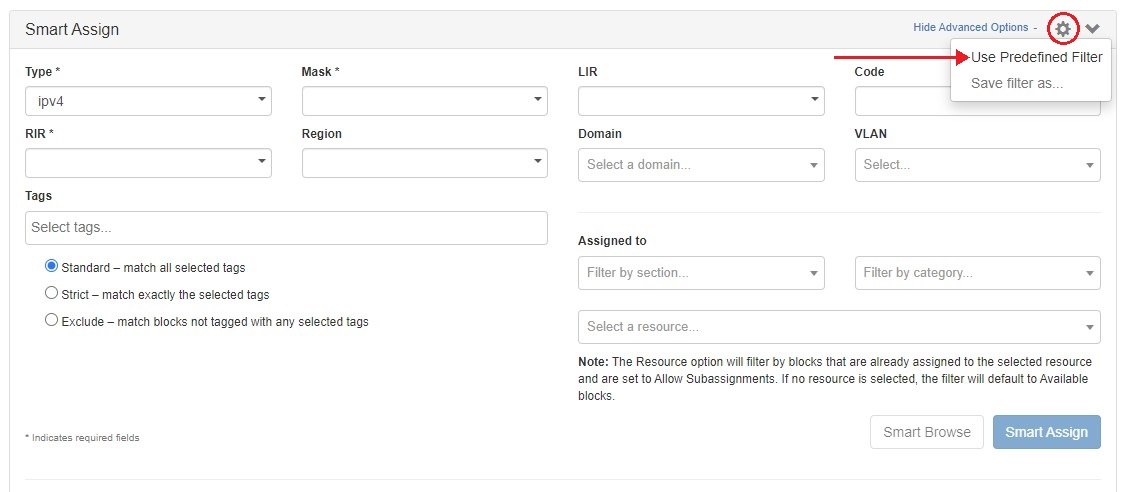
For more detail see Working with IP Blocks - Common Tasks --> Working with Predefined Filters.
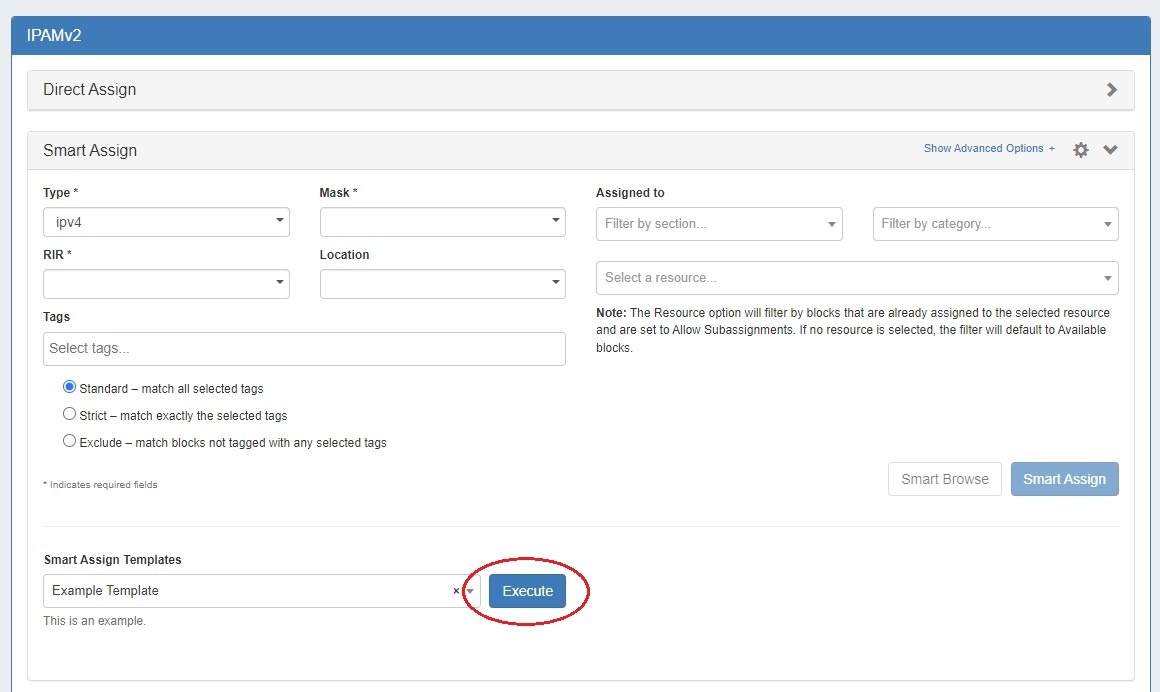
Smart Assign Templates
To run a smart assign template from the IPAM Gadget, expand Smart Assign and select the template from the "Smart Assign Templates" dropdown and click "Execute".
IP Blocks List
The IP Blocks list displays the CIDR and attributes for all blocks assigned to the resource. The included columns and column order may be customized in IPAM Parameters.
From the block list, blocks may be reviewed, filtered, sorted, managed, edited, and used to autogenerate a reverse zone.
View Blocks
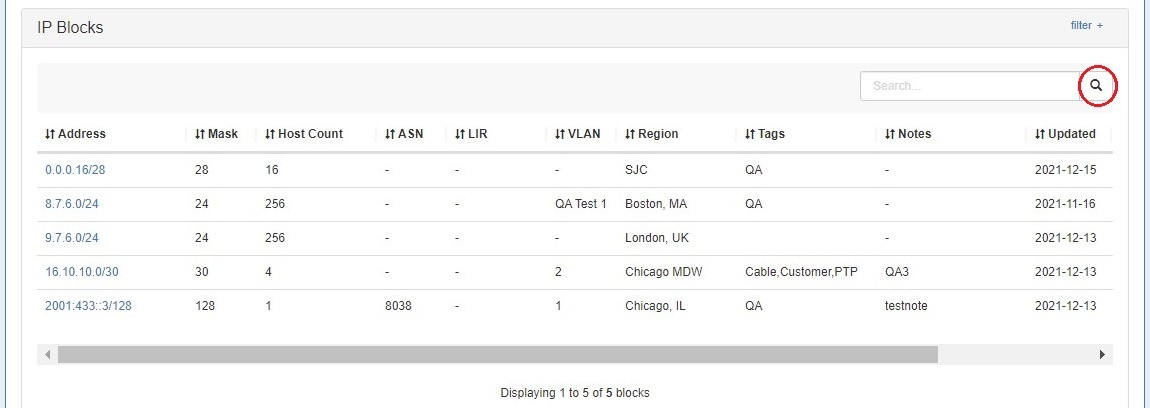
View, search, filter, and sort Assigned Blocks for the resource via the "IP Blocks" list
...
:
| Expand |
|---|
To Search: enter a full or partial CIDR, assigned resource name, or other search term into the search box at the top of the list and click the search icon.
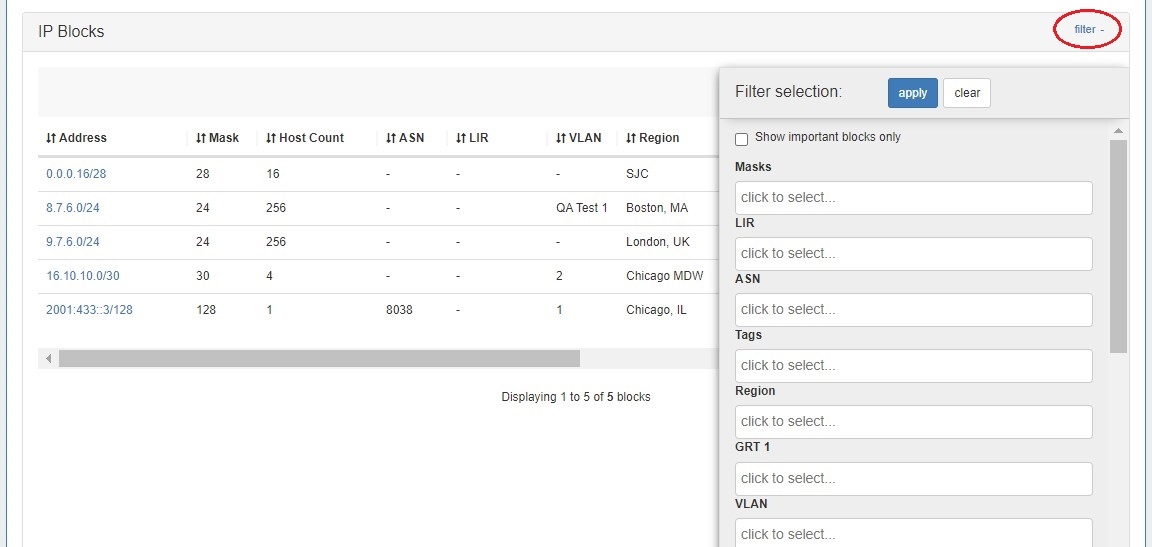
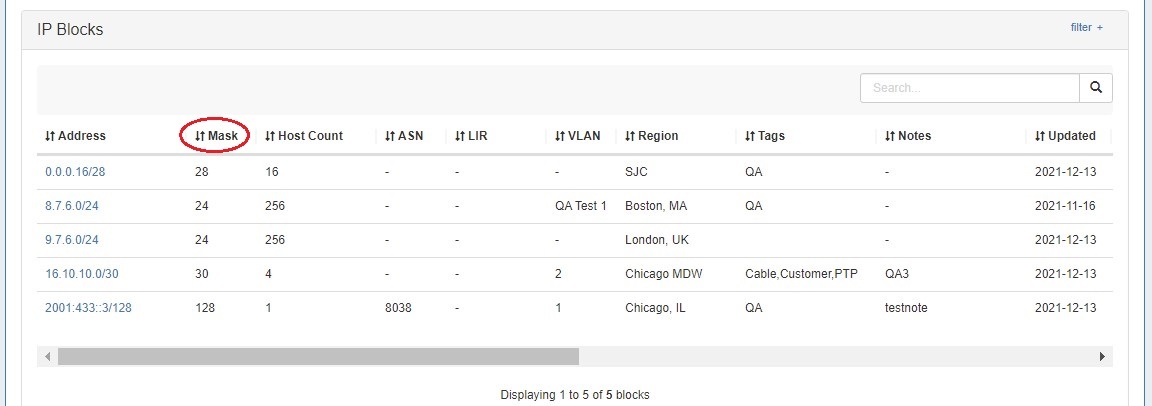
To Filter: click the "filter" link in the top right area of the header to open filter options. Enter your desired criteria and hit "Apply". To Sort: Click on the header name you wish to sort by, and the field will toggle between ascending and descending order. |
Manage Assigned Blocks
Manage for the resource by going into the "IP Blocks" list, and using the Action Menu (Gear Icon) to perform actions for the selected block.
All options available in IPAM Manage for a block are also available in the IPAM Gadget Action Menu, although the "Templates" option will be applicable in the IPAM Gadget. 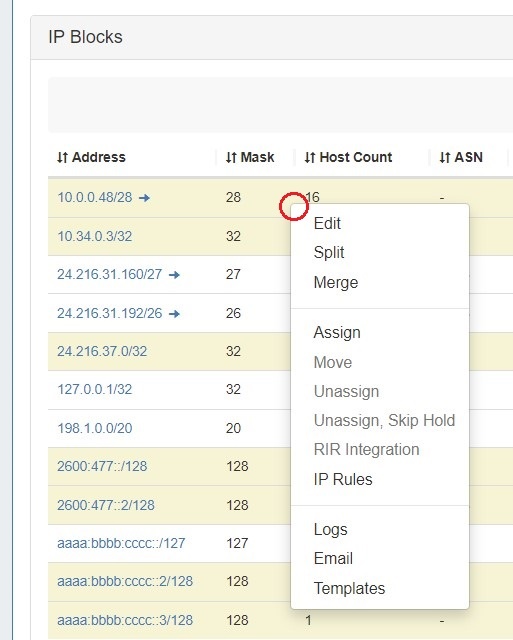
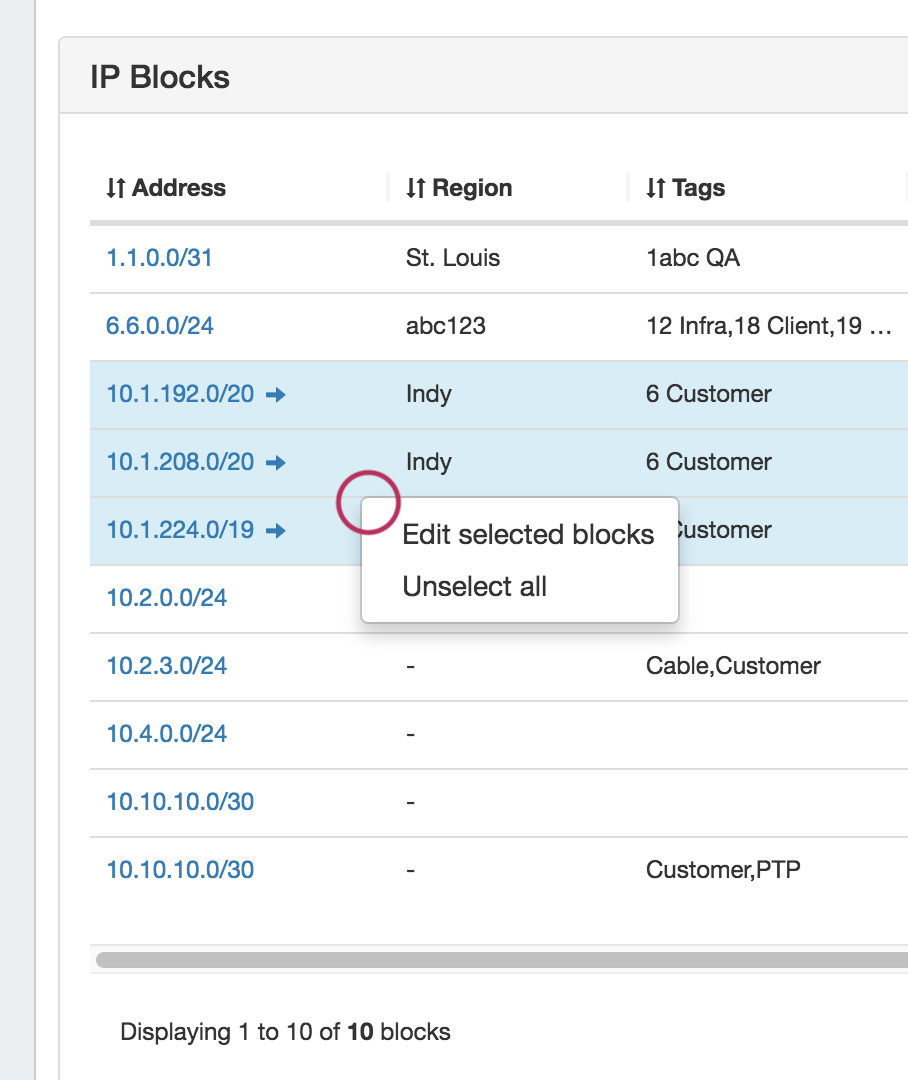
Edit Multiple Blocks
...
Edit two or more blocks at a time by shift-clicking or cmd-clicking to select multiple blocks,
...
then right click to show the multi-block Action options
...
.
Select "Edit"
...
, and the Edit Block Attributes screen will display to edit all selected blocks..
Make the desired updates to the blocks, then click "Save".
For more information on assigning and managing blocks, see Working with IP Blocks - Assigning IP Space.
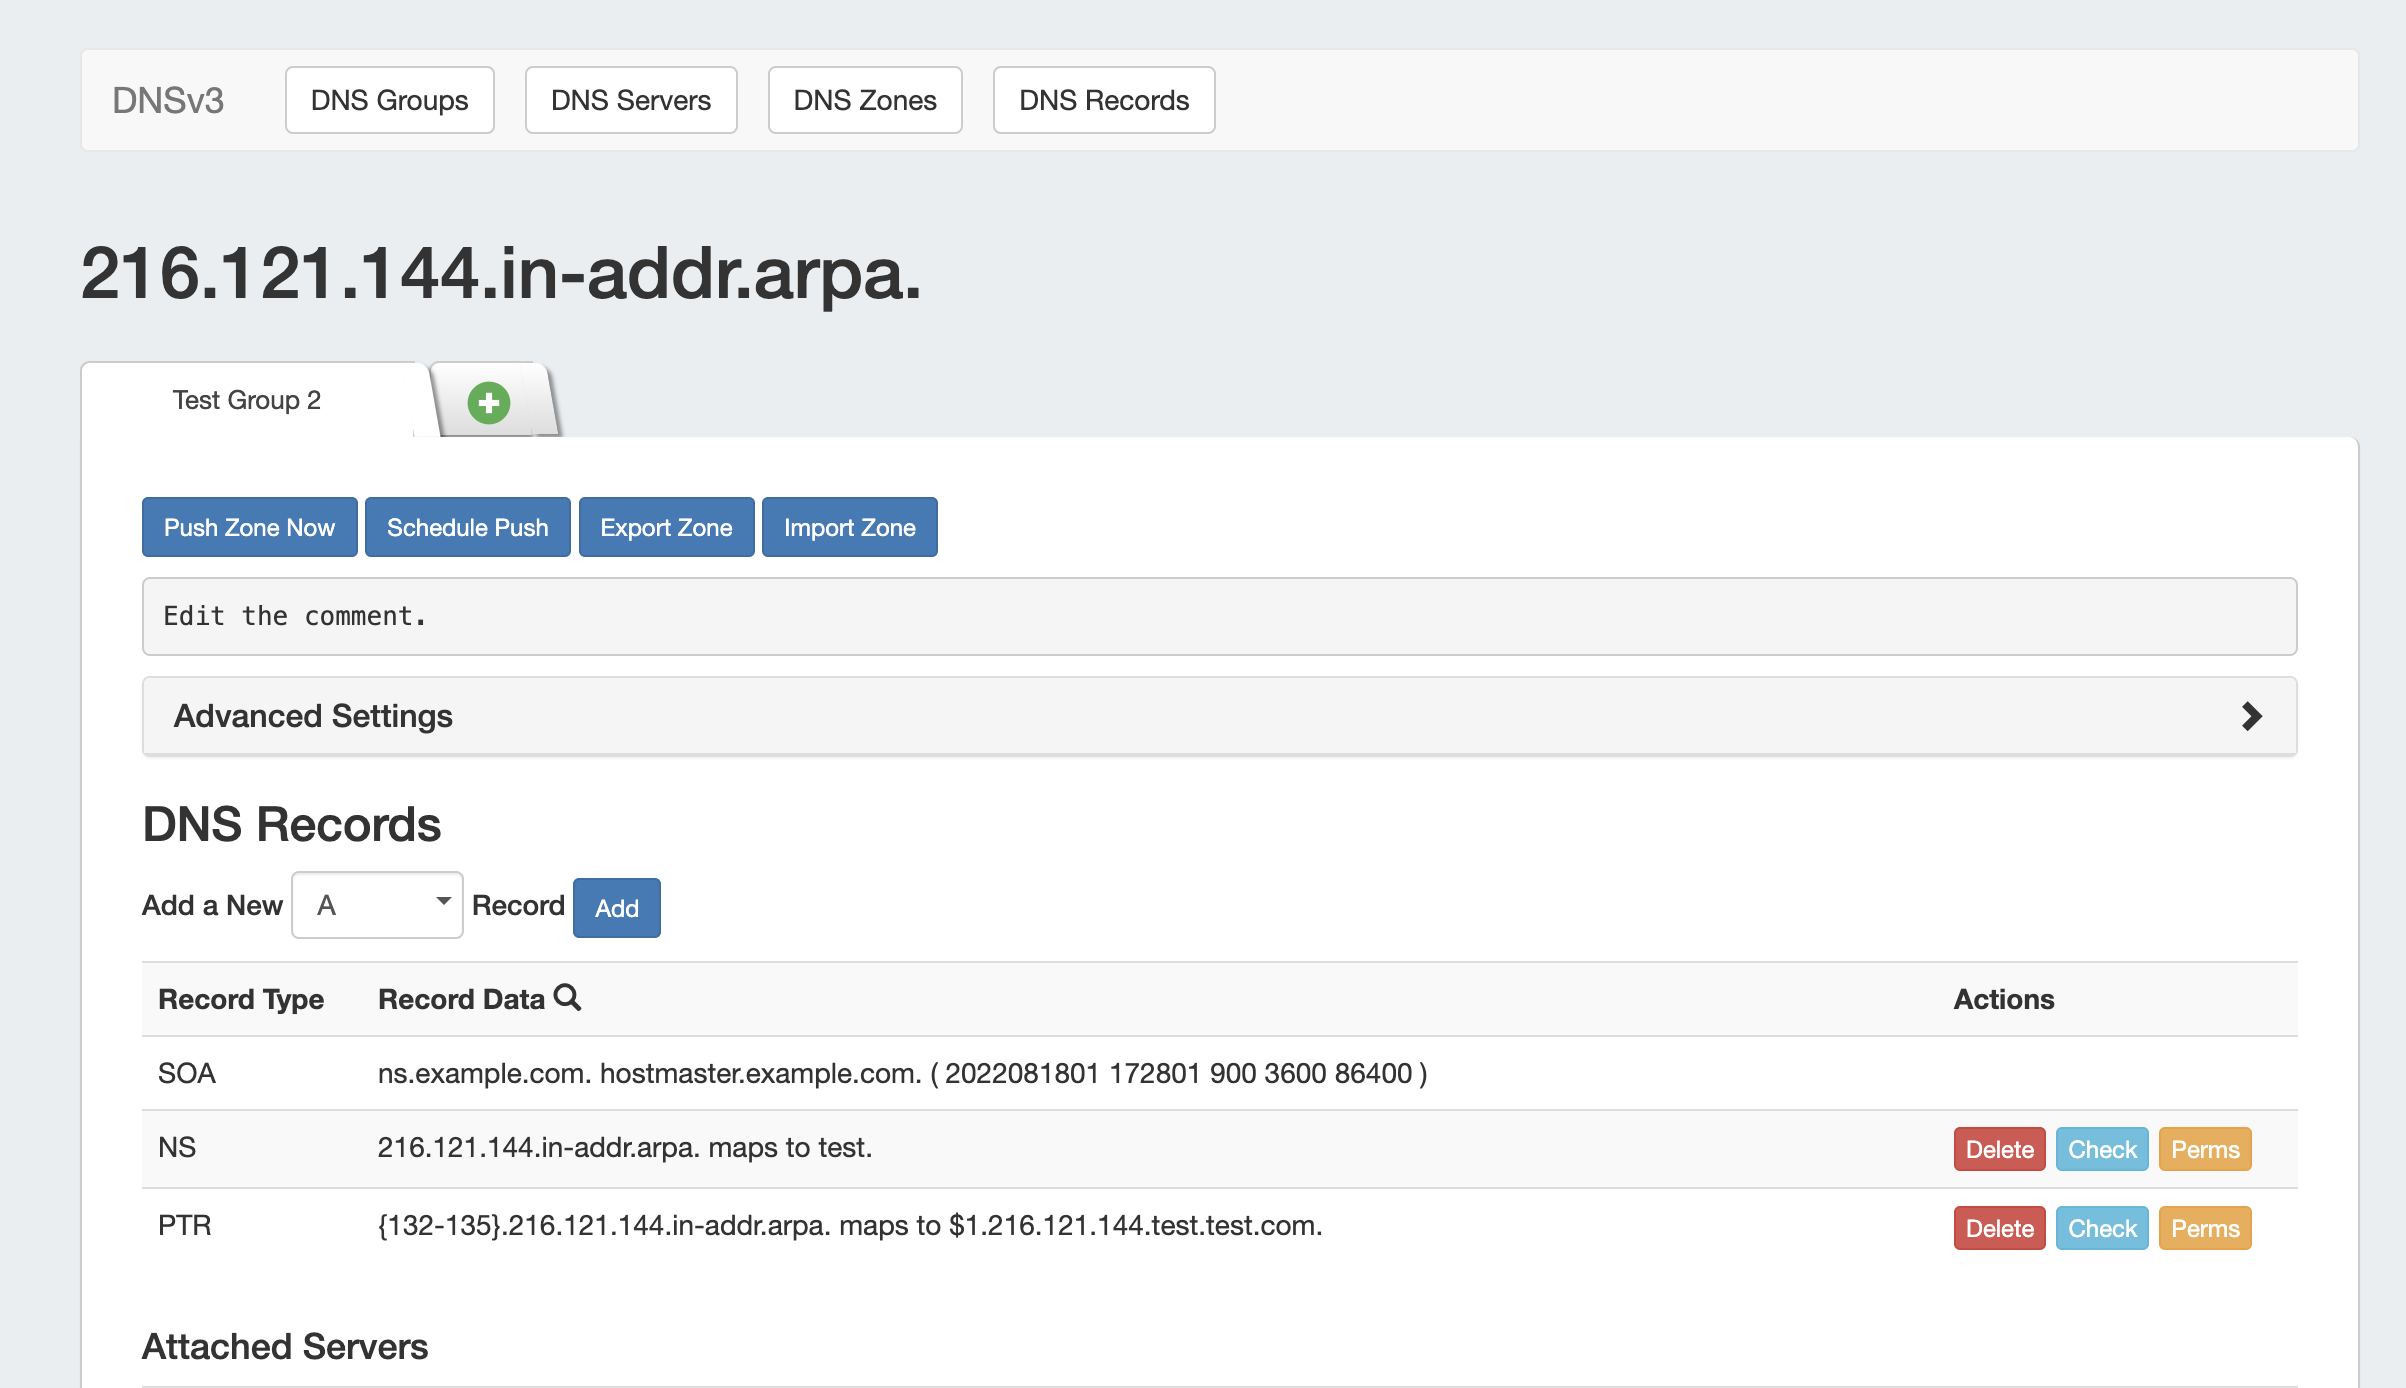
Autogenerate Reverse Zone
Autogenerate a reverse zone from an IP Block by clicking on the CIDR link in the block list.

The reverse zone will be created for the block, and the Zone View page will load, displaying further information.
For more information on DNS zones, see: DNS Tab and Working with DNS Zones - Common Tasks.
Additional Information
See the following pages for additional information on working with IPAM and blocks:
| Page Tree | ||||||
|---|---|---|---|---|---|---|
|