Scanlet (Beta)
Known Issues
- In some cases, the application may appear to hang before it finishes. This is usually related to timeouts not being addressed quickly. We erred on the side of caution to ensure that devices were located, but the result is that sometimes unresponsive devices can make the scan take longer than expected.
Documentation
This software is currently in Beta - please forward all feedback to gary@6connect.com
Starting Scanlet
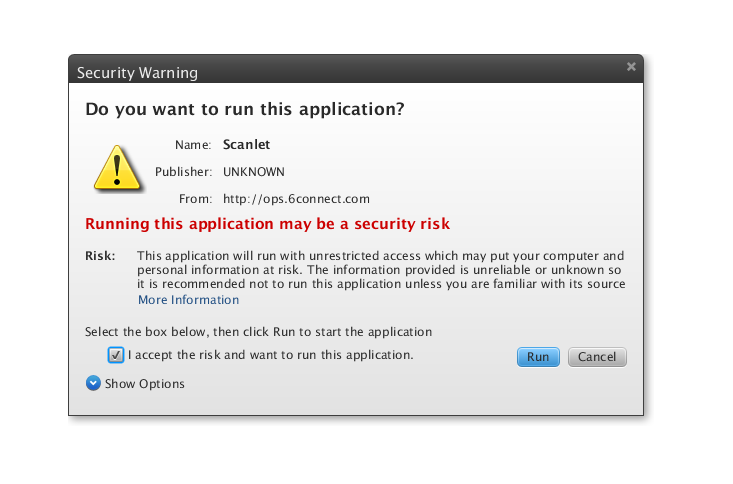
When you open the download URL, you should see the Java plugin activate and should be prompted with a security warning to confirm that you are knowingly running the application.
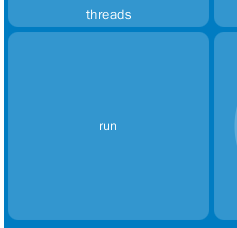
Upon checking the box and clicking the "Run" button, it should automatically bring up the UI in your browser.
If this does not work, try to click the link at the bottom left of the webpage to manually open the application.
Using Scanlet
Running a Scan
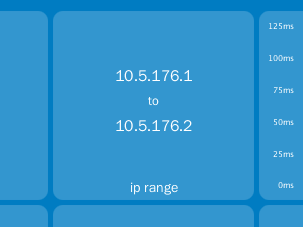
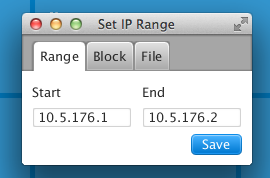
STEP 1: Set the IP range that you would like to scan. If you click on the "IP Range" square, you will have a window open to set the parameters.
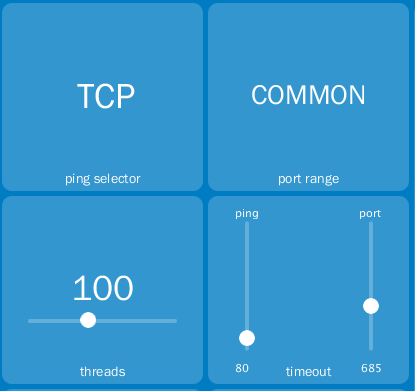
STEP 2: Select the additional parameters for your scan (ping selector, Ports, thresholds, etc.)
STEP 3: Run the scan!
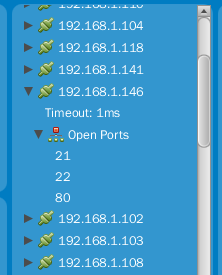
STEP 4: View the scan results. You can expand the arrows per IP address, view Port information or MAC address data.
Uploading/Saving scan results
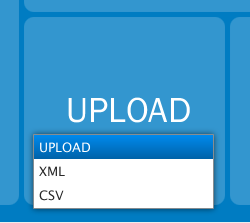
Option 1: If you have a 6connect ProVision instance to test with, you can upload your scan results into the platform using the API with the "UPLOAD" selection.
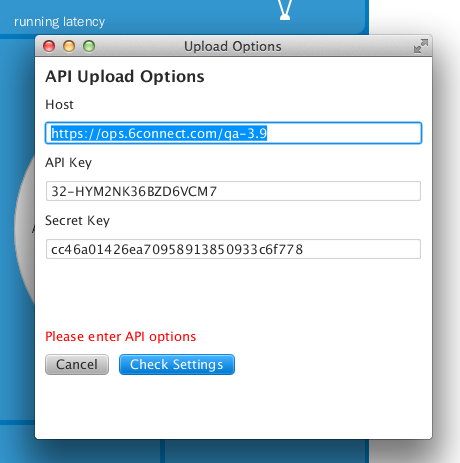
When you click on the "SAVE" button, you will be directed to enter the API information for your particular instance. Discovered devices will be imported as type "Scanlet". We will be pushing out an update that will allow you to modify different types and even allow some more detailed heirarchies from the initial discovery model.
Option 2: If you would like to save an XML/CSV version locally to your computer, simply select the format you prefer. When you click on the Save button, it will prompt you for a location to save the file.
