Resource Gadgets
The gadgets listed on this page support the resource system, through either displaying resource info, fields, or properties of linked resources.
Field Gadget
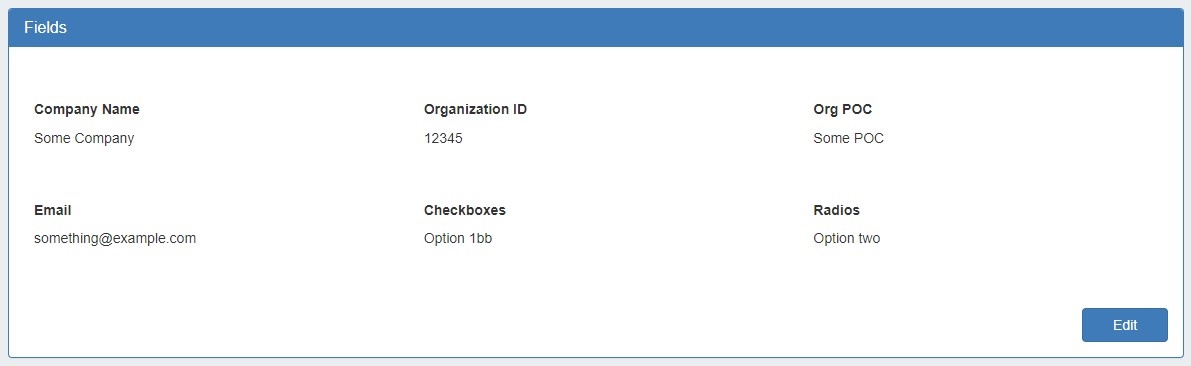
The Field Gadget displays the information fields available for the section and added to the specific resource that is being viewed on the resource entry page.
Users may add enabled fields to the resource, edit field values, and remove fields from the resource through this gadget.
Before You Begin
First, ensure that the Field Gadget has been added to the section - see Adding Gadgets to a Section or go to Customizing Sections for detailed instructions.
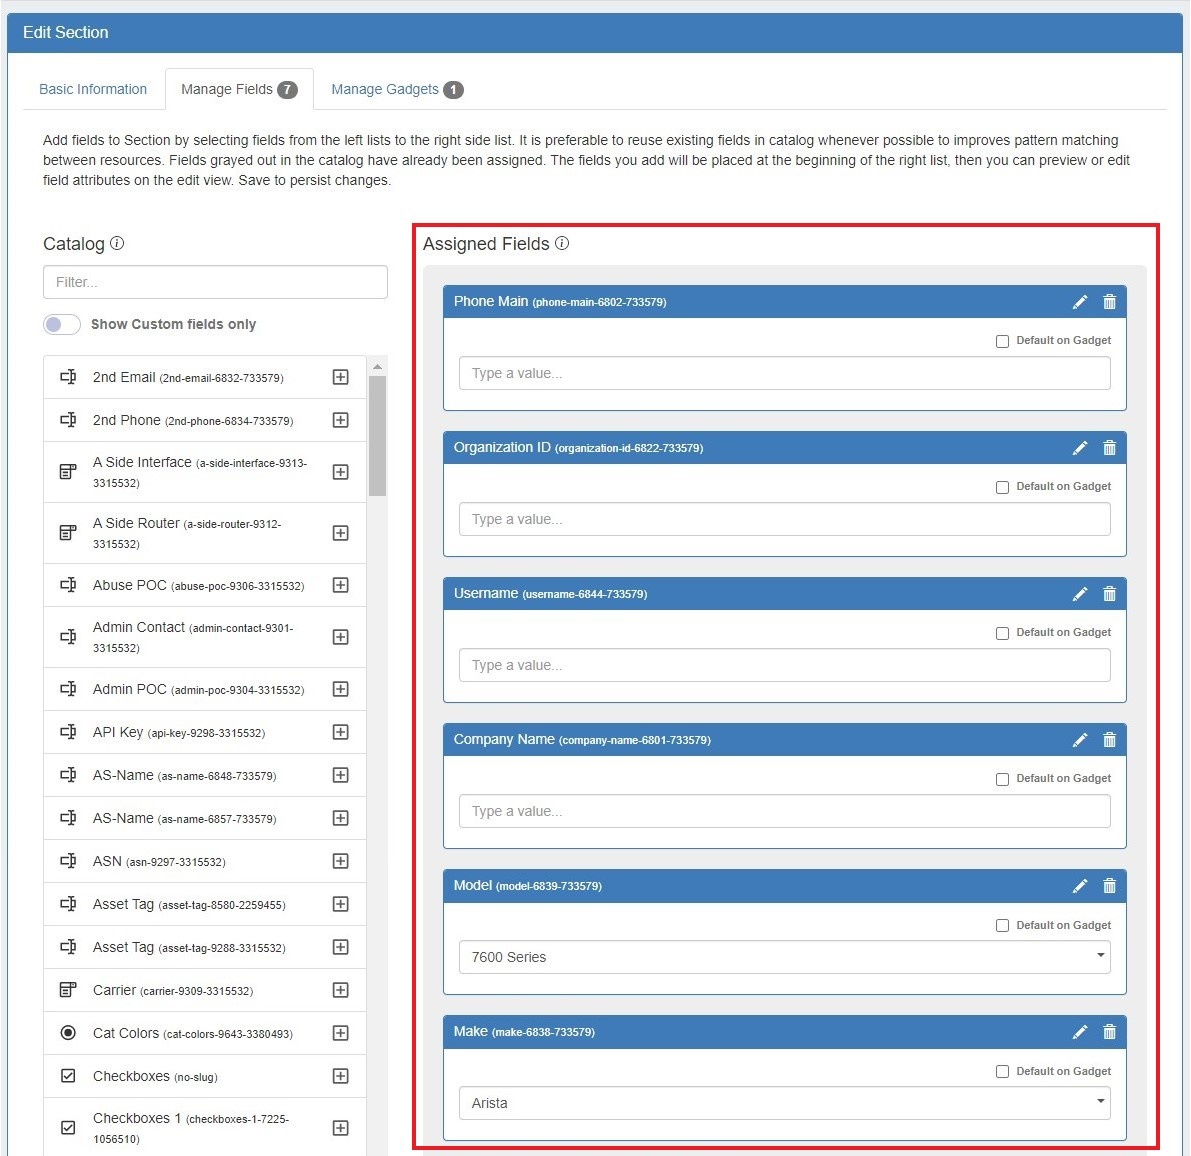
Then, fields must be enabled and added to the resource's section in order to be used in the Field Gadget. See Customizing Fields for detailed instructions.
Fields assigned to a section (pictured below) will be available to add to the Field Gadget for any resource of that section.
Working with the Field Gadget
Once the Field Gadget has been added, and fields have been enabled for a section, the Field Gadget will display on the resource entry page for a resource of that section.
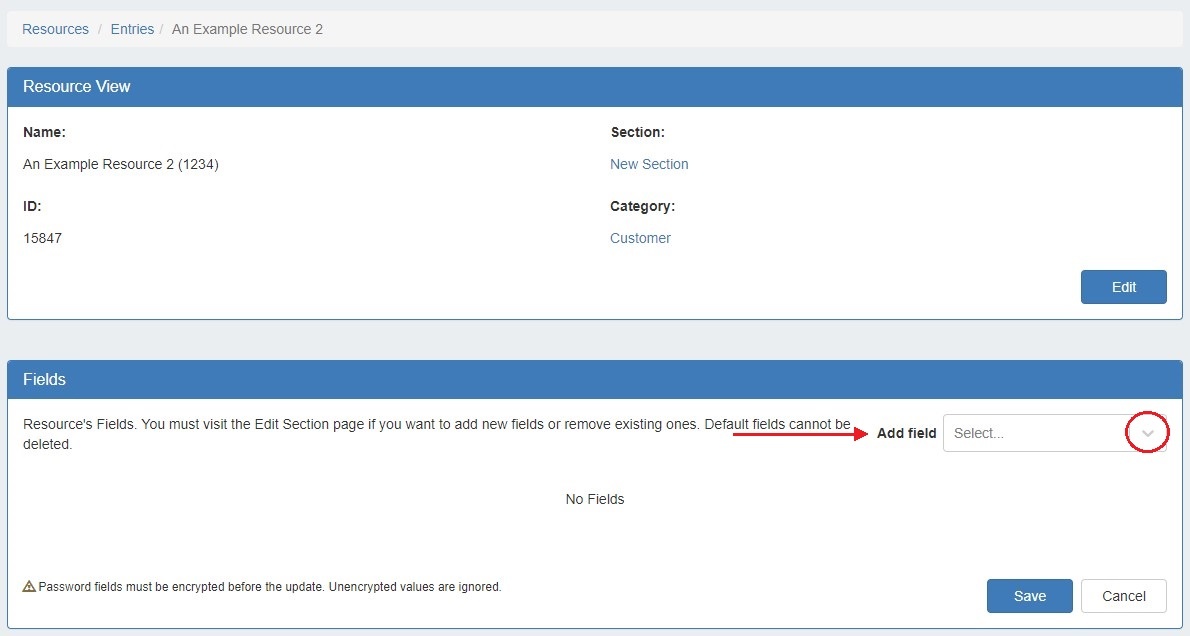
To add all or some of the enabled fields to the gadget, navigate to the resource entry page, and click the "Edit" Button at the bottom right corner of the Field Gadget.
![]()
Then, next to "Add Field:", select one of the available fields from the dropdown.
Continue to add the desired fields to display for this specific resource.
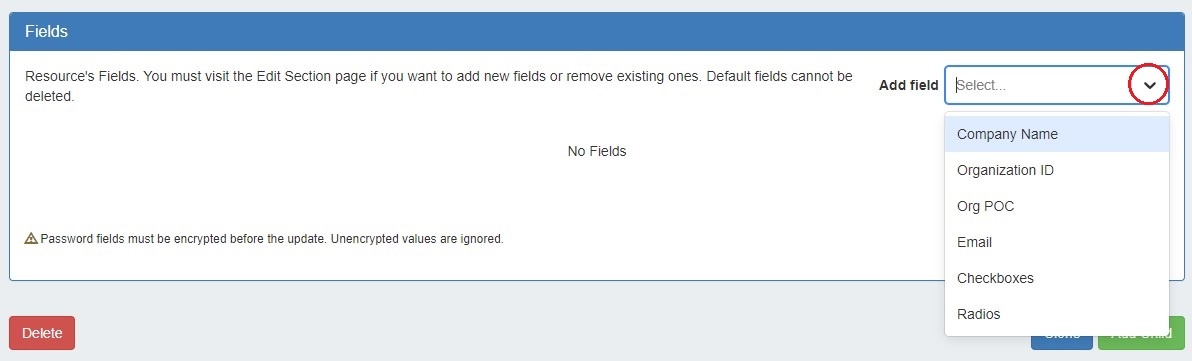
Once added, the field will be available to edit or remove. Edit field value(s) as desired, then click "Save". Fields that are assigned to a section and enabled as "Default on Gadget" are not removable from the Field Gadget. See Customizing Fields for more detail on default fields.
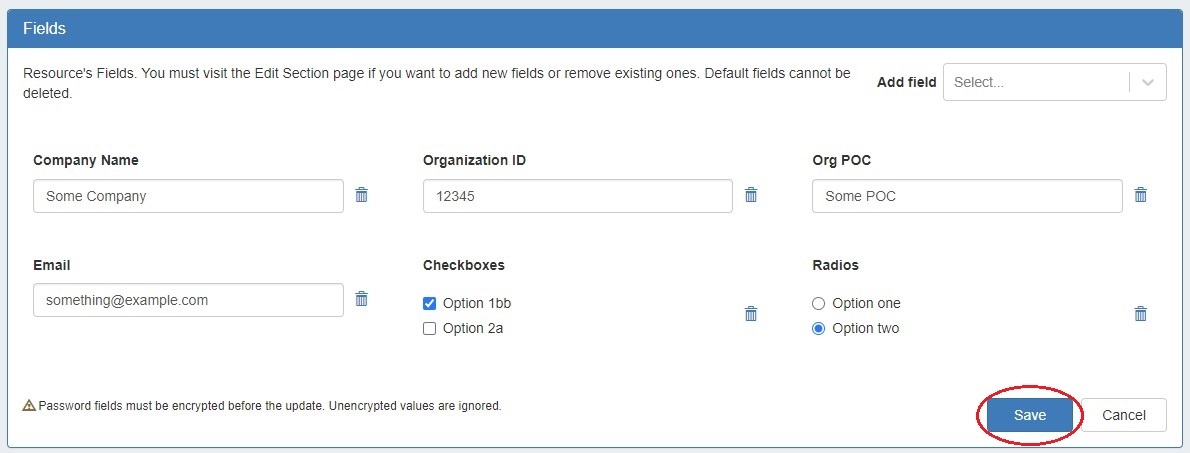
The Encrypted Data field can be used to store passwords or other sensitive data in encrypted format. When added to the Field Gadget, this field will display obscured text with a "Decode" eye icon. The data will only display as plain text when the "Decode" icon is clicked by a user with update permissions for the selected resource.
History Gadget
The History Gadget displays Log information on an individual Resource level.
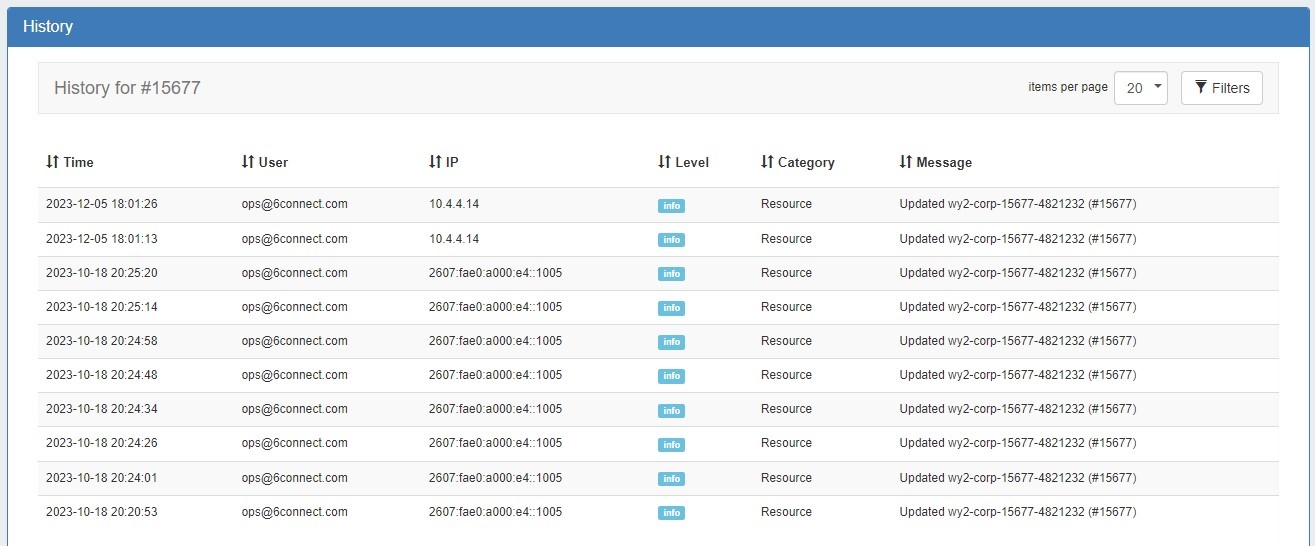
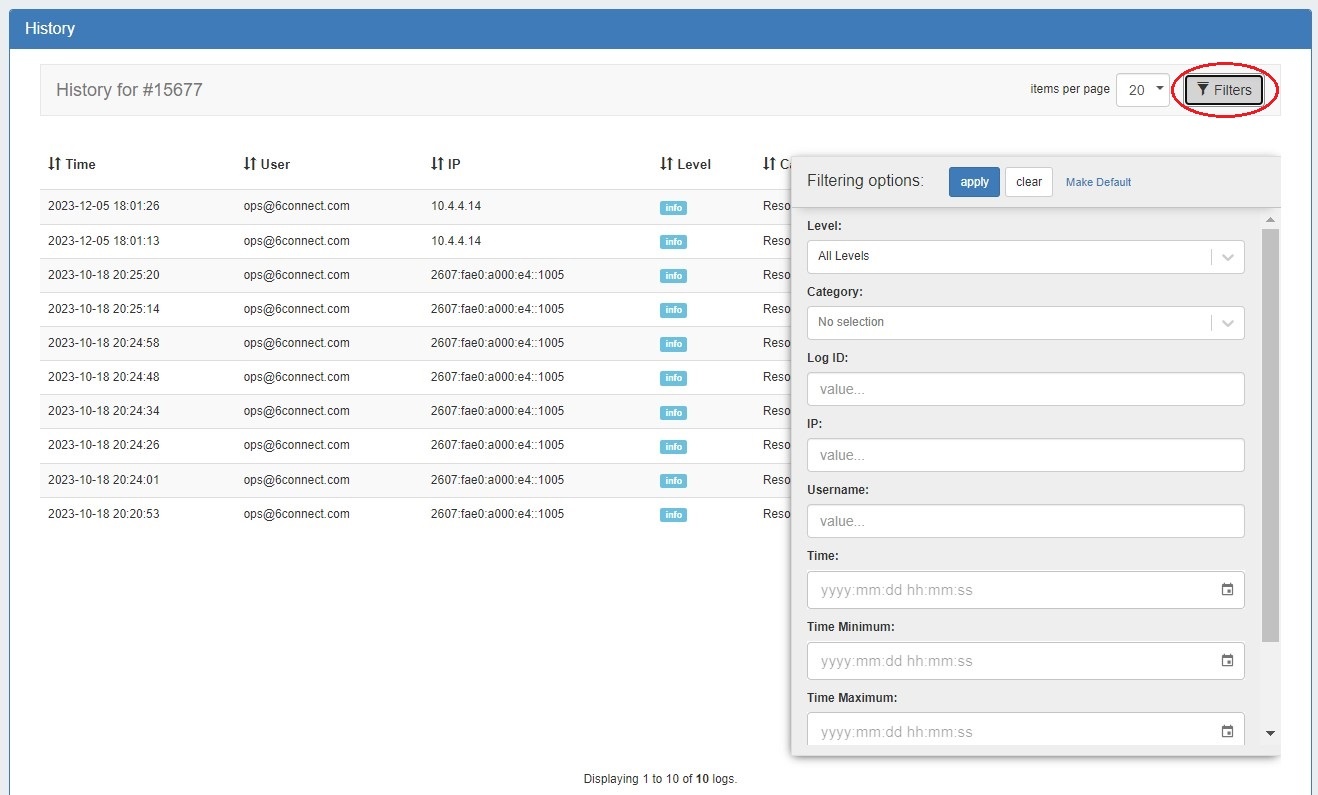
Log activity can be filtered by clicking the "Filters" button at upper right. Logs may be filtered by log level, category, log ID, IP, username, and time/date. Filters can be saved as the default gadget view by clicking "Make default".
Resource Linkage Gadget
The Resource Linkage Gadget allows you link a resource to other resources, and display the links in one place, without needing a hierarchy relationship. This gives you more flexibility to centralize data without requiring direct relationships. By default, all links created in the Resource Linkage Gadget are reciprocal.
The Resource Linkage Gadget also provides information to the Linked IPs Gadget - Resources linked here will have their IP block information displayed in the Linked IPs Gadget.
Working with the Resource Linkage Gadget
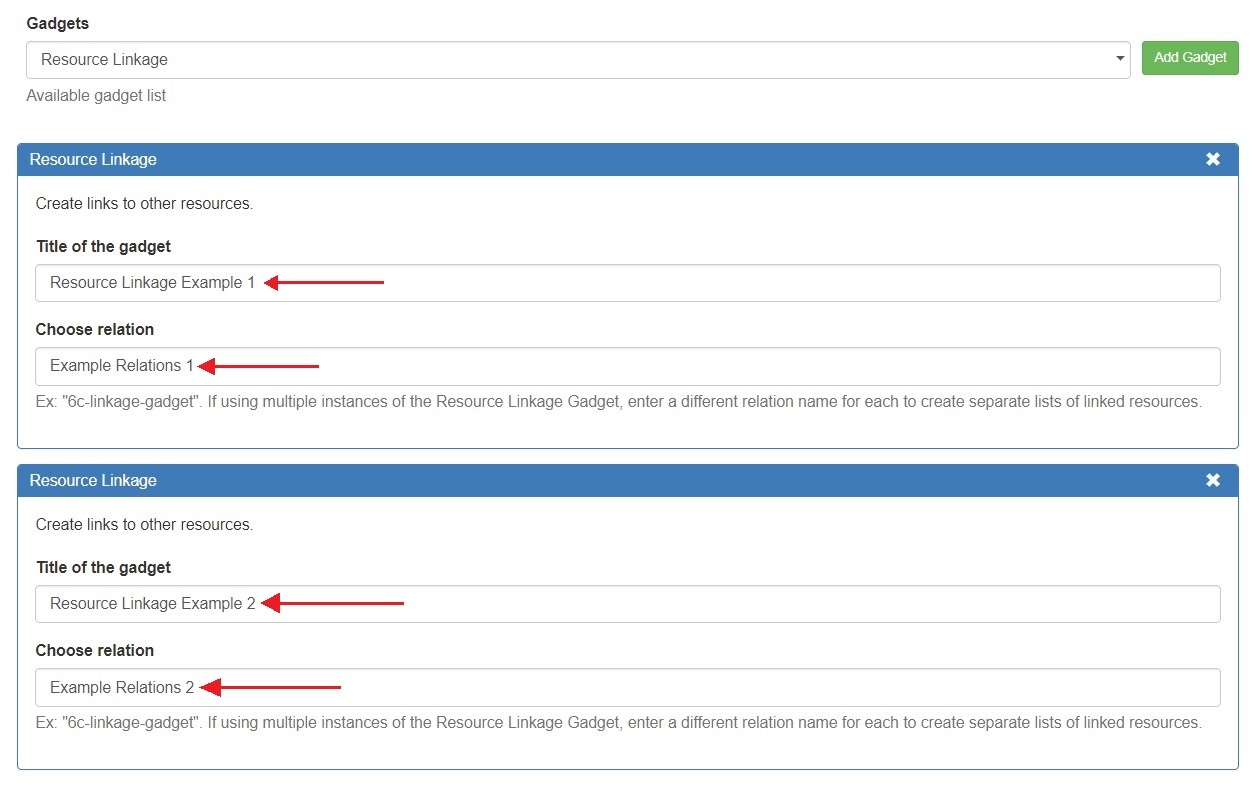
To use the Resource Linkage Gadget, first, ensure that "Resource Linkage" is enabled under "Manage Gadgets" for the section type of the resource being used.
Multiple Resource Linkage gadgets can be added to a section. Use the "Choose relation" field to enter a different relation name to create separate lists of linked resources.
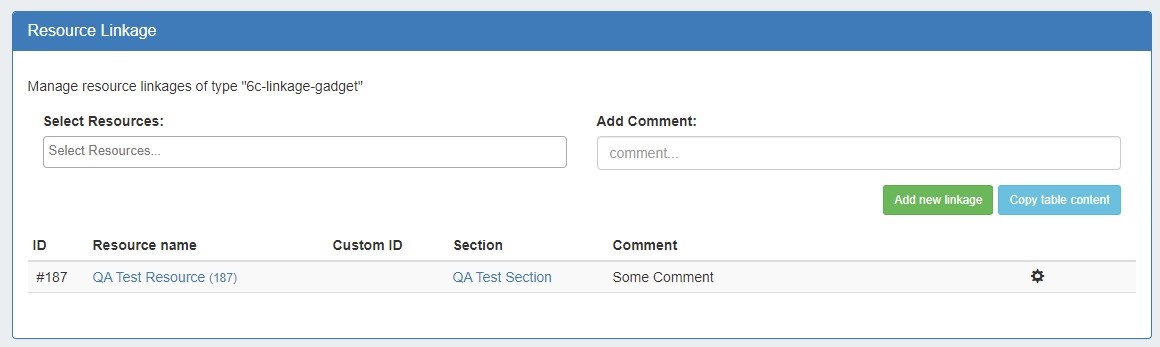
At this step, an empty Resource Linkage Gadget is displayed on the resource's entry page.
Add a New Resource Link
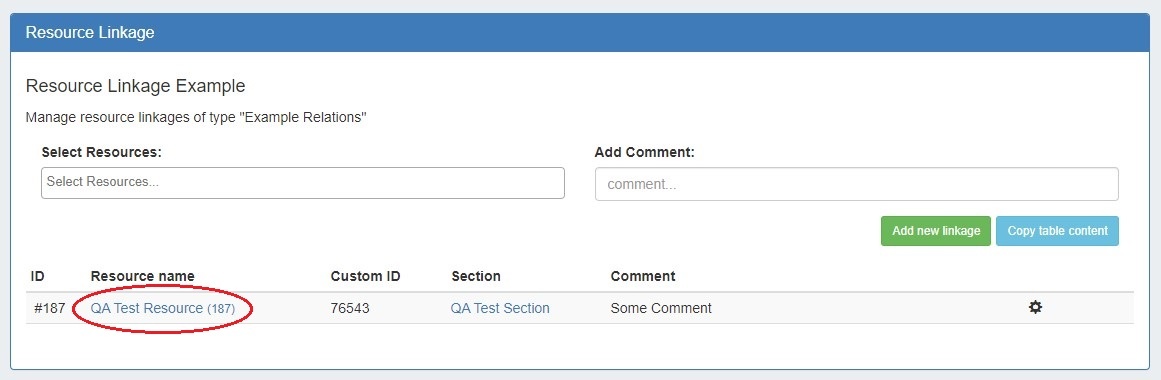
To add a new link select the desired resource from the dropdown, type in a note, and click "Add new linkage". A reciprocal link will be created, and the linked resource will show in the resource list for the gadget.

To follow the link, simply click on the resource name for the linked resource.
Once a resource link has been created, you may also edit the comment or delete the link.
Edit a Resource Link
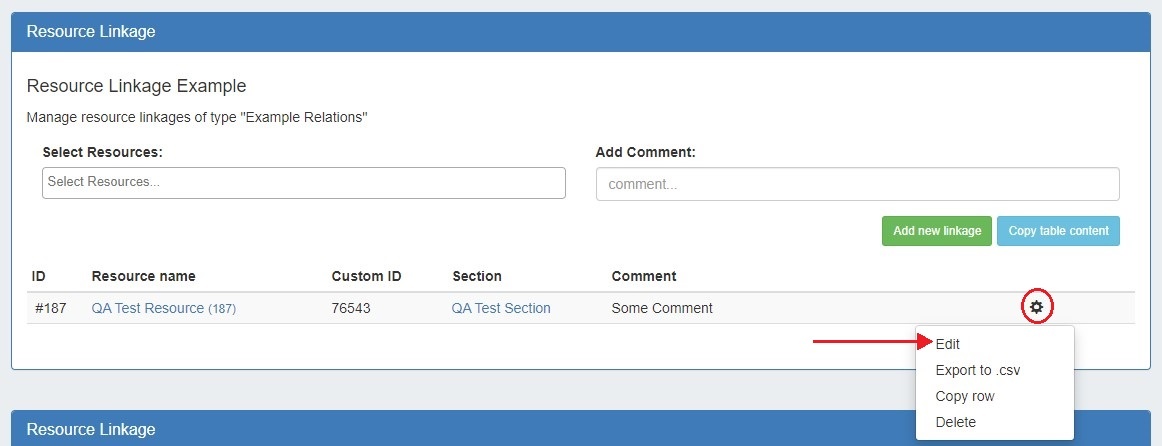
Editing a link allows for changes to be made to the associated comment - just click on the action menu (gear icon) for the link, then select "Edit".
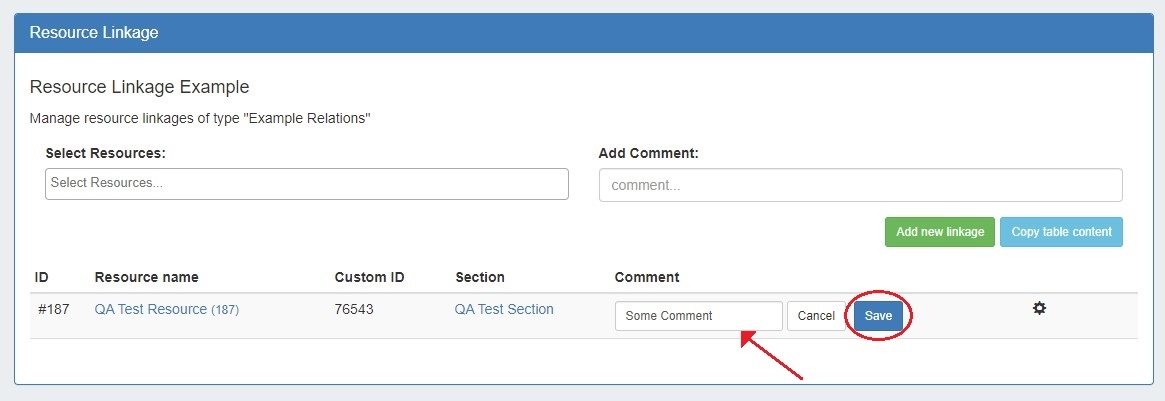
Type in the desired comment change, and click "Save" when complete. Or, you may exit out by clicking "Cancel".
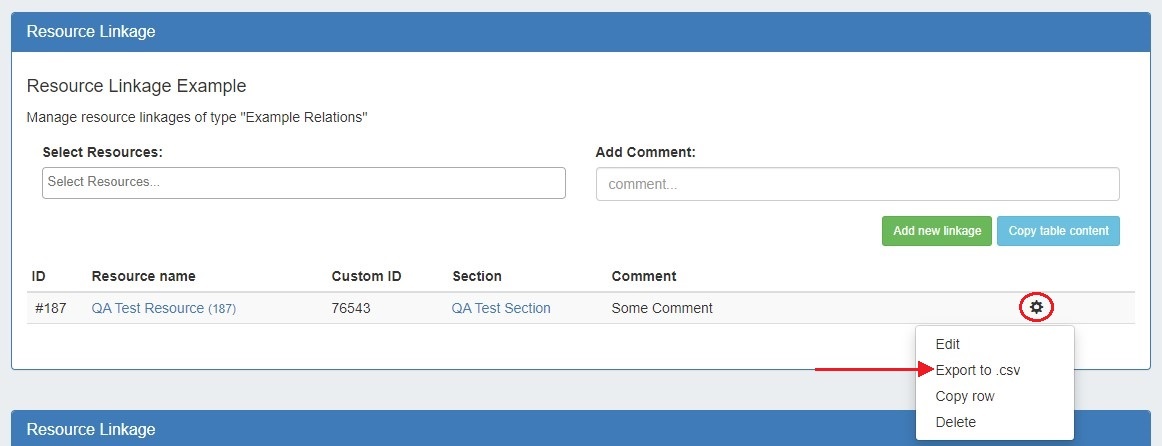
Export Linked Resource Fields to .csv
Resource field data for a linked resource may be exported to a .csv file. This includes basic resource metadata, such as the resource's Name, Section, Category, Created Date, and Modified Date.
If the resource also contains data in custom resource fields (fields that have been added to the Resource Field Gadget, and filled in), those fields will also be contained in the export.
To export, click on the action menu and select "Export to .csv" - the file will download via your browser.
Copy Link Data
You may copy either a single row of data, or the entire table, to the clipboard to paste into another application.
To copy the entire table, click "Copy table content" at the top of the gadget. To copy only a single row, open the action menu (gear icon) for the row, and select "Copy row".
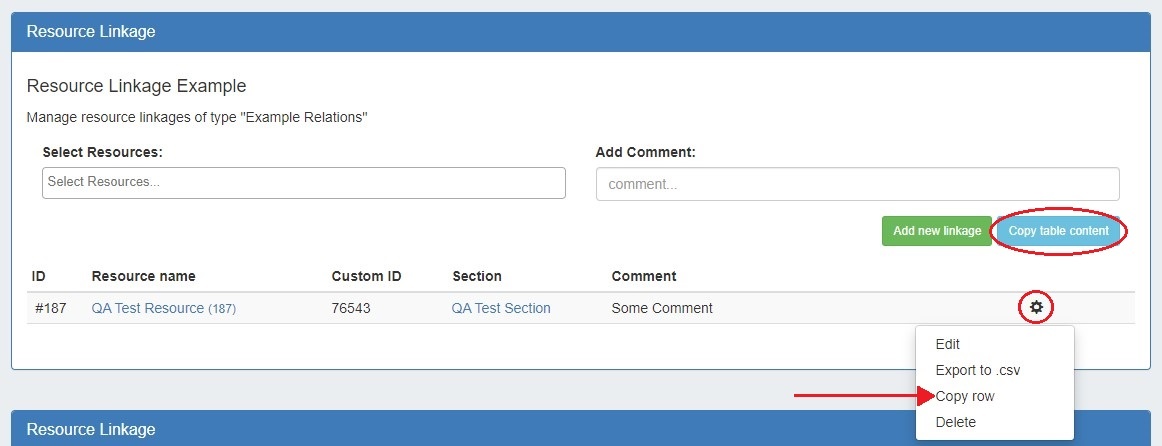
Then paste the data into the desired application.
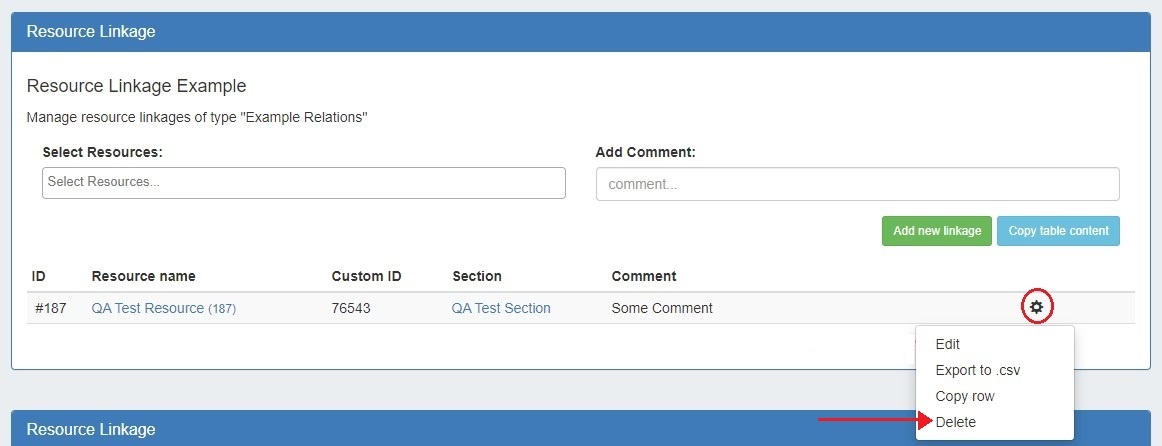
Delete a Resource Link
To delete a resource Link, click the "Delete" button for the desired link in the list, and confirm the delete in the message that appears.
Deleting a resource link also deletes the reciprocal link from the other resource's page.
For additional information on working with sections and fields, see Customizing Sections and Customizing Fields.
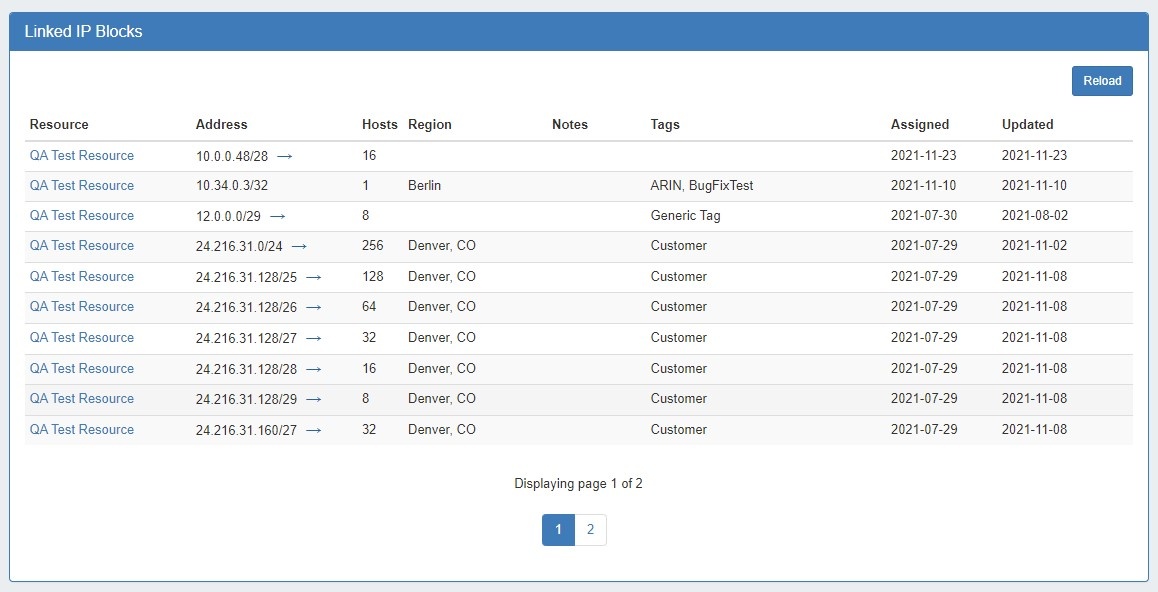
Resource Linkage - Linked IPs Gadget
The Linked IPs Gadget lists IP blocks assigned to resources linked under the Resource Linkage Gadget, with a link to the resource holder.
Block information may be refreshed by clicking the "Reload" button to check for changes.
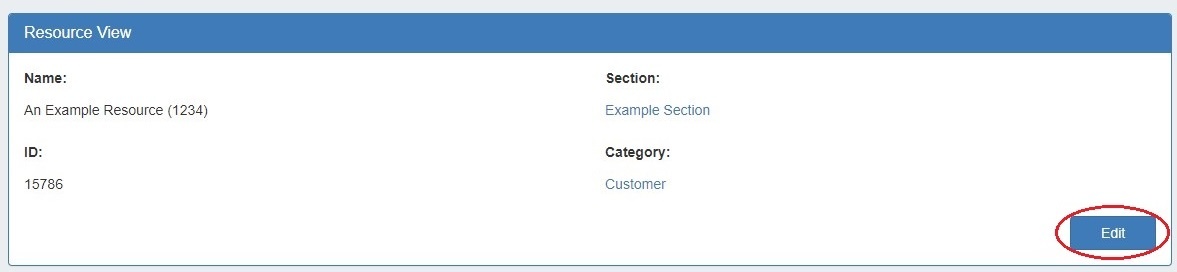
Resource View
This gadget is automatically enabled for all resources. The Resource View displays and provides links for the section and category for the resource. It also allows you to edit this information.

Working with the Resource View Gadget
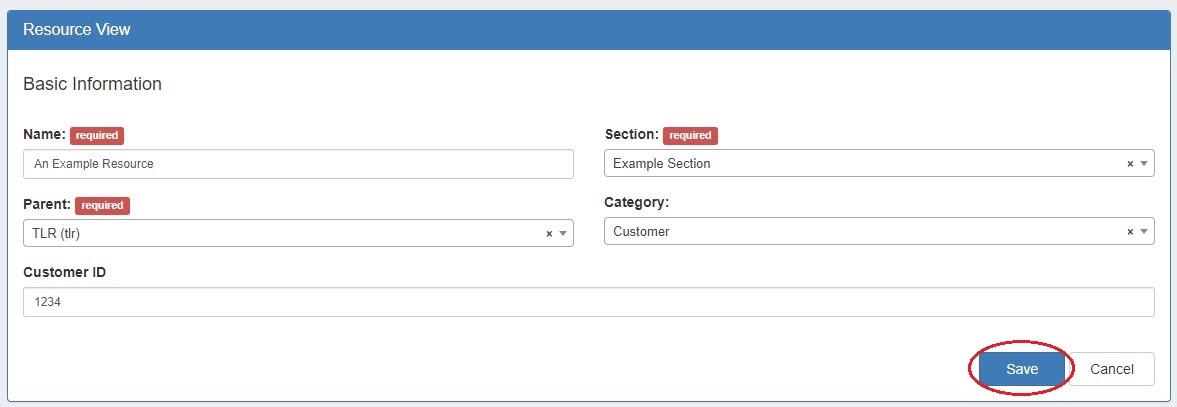
Click "Edit" to change basic details for the resource.
Hit "Save" to save your changes.
The Resource View Gadget is automatically available on all resources, but in order to move the gadget you will need to add it to a section from the "Manage Gadgets" dropdown menu along with other section gadgets. This does not add a duplicate gadget, it simply gives you the ability to change the display order by dragging and dropping the gadget.