RADIUS Authentication
ProVision supports 6connect vendor-specific attributes (VSAs) for use with RADIUS authentication. To use these attributes, you must perform the following procedures:
Add the 6connect VSA to the Radius Installation
To use the 6connect VSA, the attributes must be defined on the RADIUS server. Add the following RADIUS dictionary file to your RADIUS server and name it dictionary.6connect:
ProVision 4.0 and greater:
VENDOR 6connect 36009

BEGIN-VENDOR 6connect

ATTRIBUTE 6connect_user_group 10 string
#A 6connect User Group to which this user belongs.

END-VENDOR 6connect
Configure Radius Accounts
On the Radius server, configure the user accounts that will have access to the ProVision system.
An example of a ProVision account configuration for the user file on a Freeradius system for ProVision 4.0 and greater:
Example: To add a new radius user, edit the 'users' file found at /etc/raddb/users and add a block like:
bobber Cleartext-Password := "hello"
6connect_user_group = "Global Admins,Group 2,Group 1,Group Nonexistant"
The Radius server must be restarted every time you add, remove, or modify users. To restart the Radius server, use this command:
/etc/init.d/radiusd restart
Note on RADIUS attributes
Test Radius Accounts
For ProVision 4.0 and higher, test and response should look like the following:
To query a radius server, use the following command format:
radtest [USERNAME] [USERPASSWORD] [SERVER] 0 [SECRET]
Example:
radtest bobber hello 208.39.140.106 0 6connect
A successful response will look like this:
Sending Access-Request of id 198 to 208.39.140.106 port 1812
User-Name = "bobber"
User-Password = "hello"
NAS-IP-Address = 67.221.240.229
NAS-Port = 0
Message-Authenticator = 0x00000000000000000000000000000000
rad_recv: Access-Accept packet from host 208.39.104.106 port 1812, id=198, length=69
Attr-10 = 0x476c6f62616c2041646d696e732c47726f757020322c47726f757020312c47726f7570204e6f6e6578697374616e74
A rejected response may look like this:
Sending Access-Request of id 68 to 208.39.140.106 port 1812
User-Name = "bobberbro"
User-Password = "hello"
NAS-IP-Address = 67.221.240.229
NAS-Port = 0
Message-Authenticator = 0x00000000000000000000000000000000
rad_recv: Access-Reject packet from host 208.39.104.106 port 1812, id=68, length=20
Configure ProVision for Radius Authentication
To configure the use of Radius authentication with ProVision, follow the steps below.
- Log into 6connect ProVision
- Go to Admin -> Authentication
- Ensure that Radius functions are marked as available. Radius functions are always available on 6connect cloud instances. Radius functions are available on VM Images and Local Installations only if the relevant PHP Pear Radius Libraries have been installed.
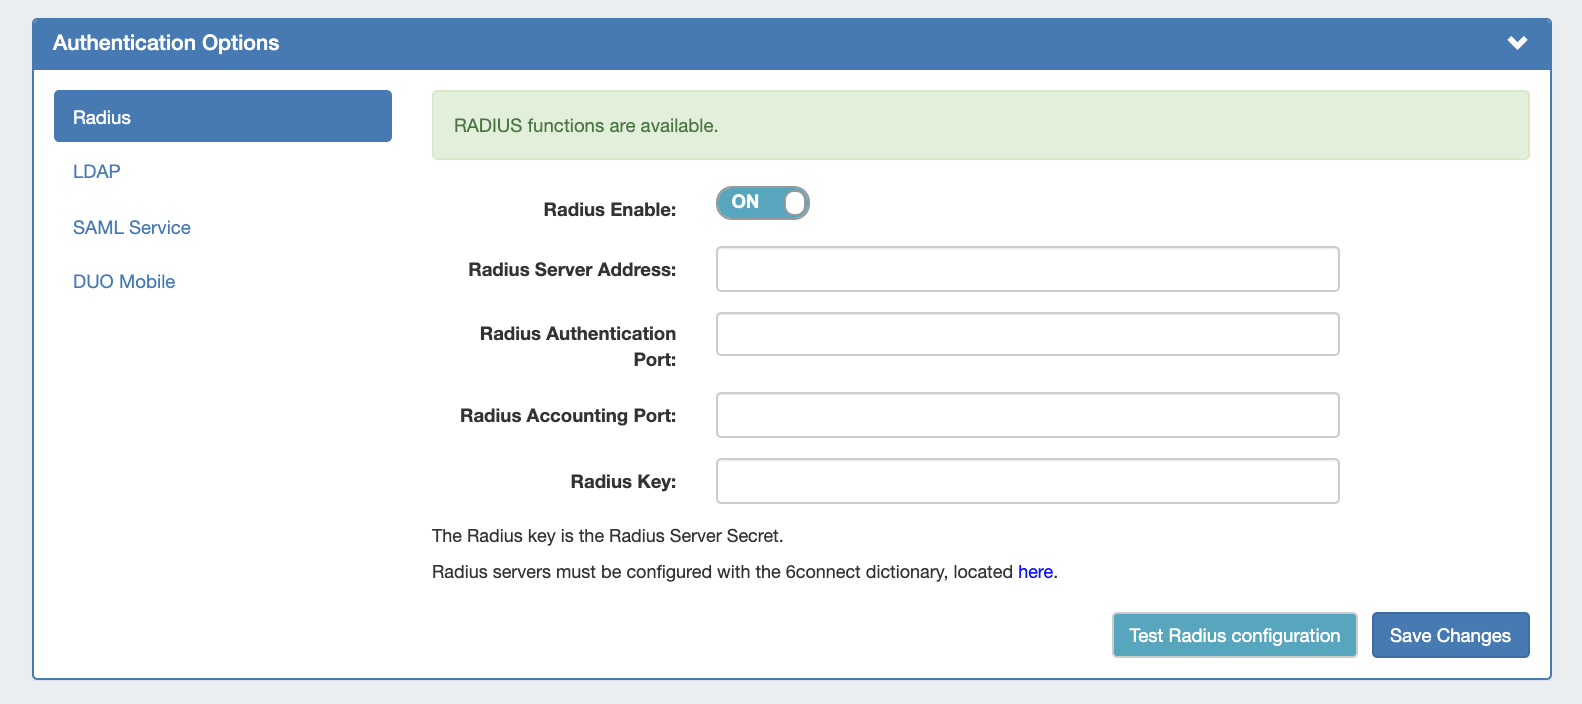
- Click the Radius Enable checkbox.
- Fill in the hostname or ip address, authentication ports, accounting port, and shared Radius key as specified.
Setting default login options
In the login screen, you would select the authentication method from the dropdown. If you like, you can set the default login option in the following way:
Go to the /data/globals.php and open in vi (or other editor). Add in the following text as the last line of the file (before the closing ?>)
define('DEFAULT_LOGIN_TYPE', 'radius');
Acceptable values are "local", "radius" and "ldap". If this line is not present in globals.php, the default option is "local".