...
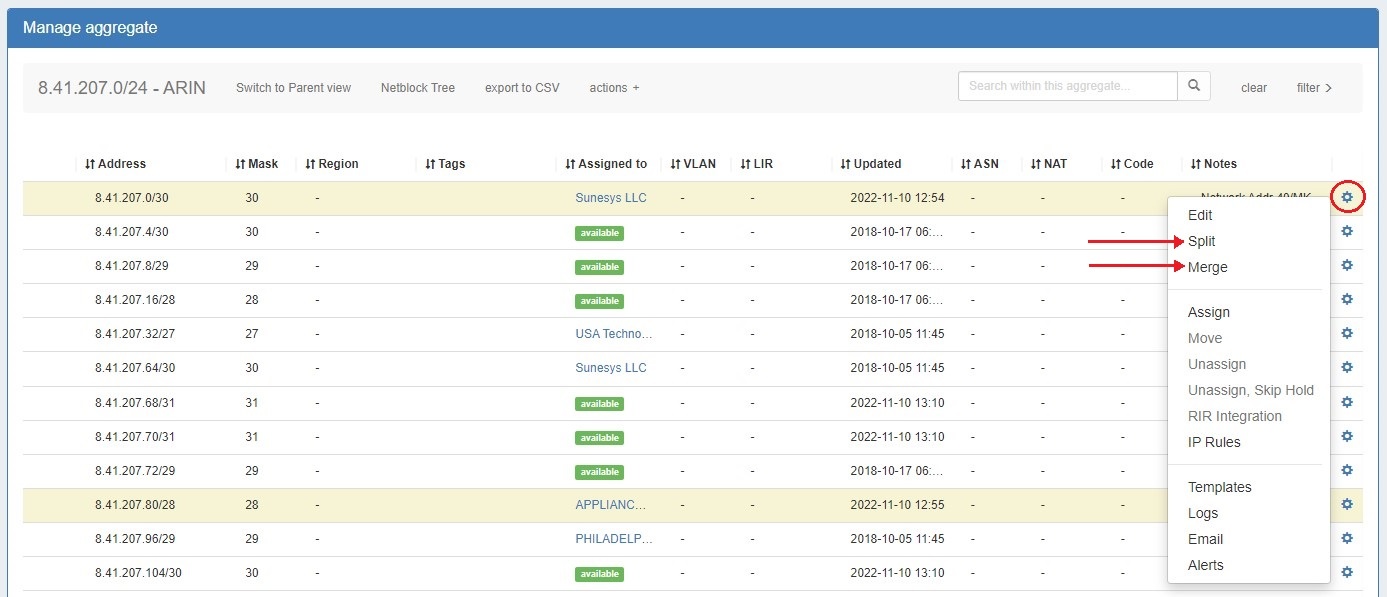
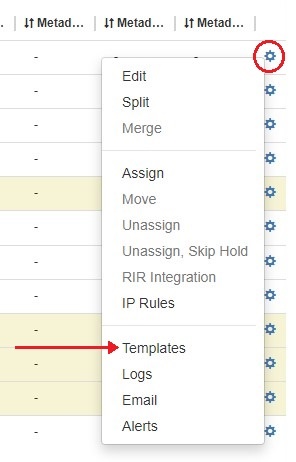
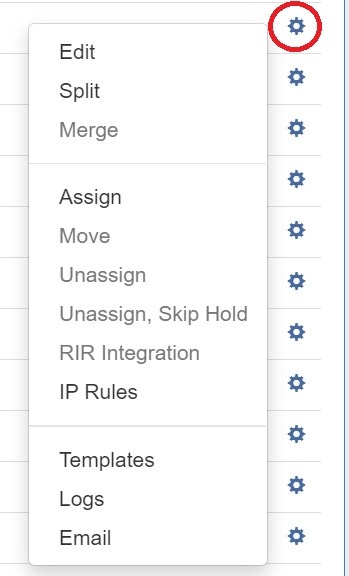
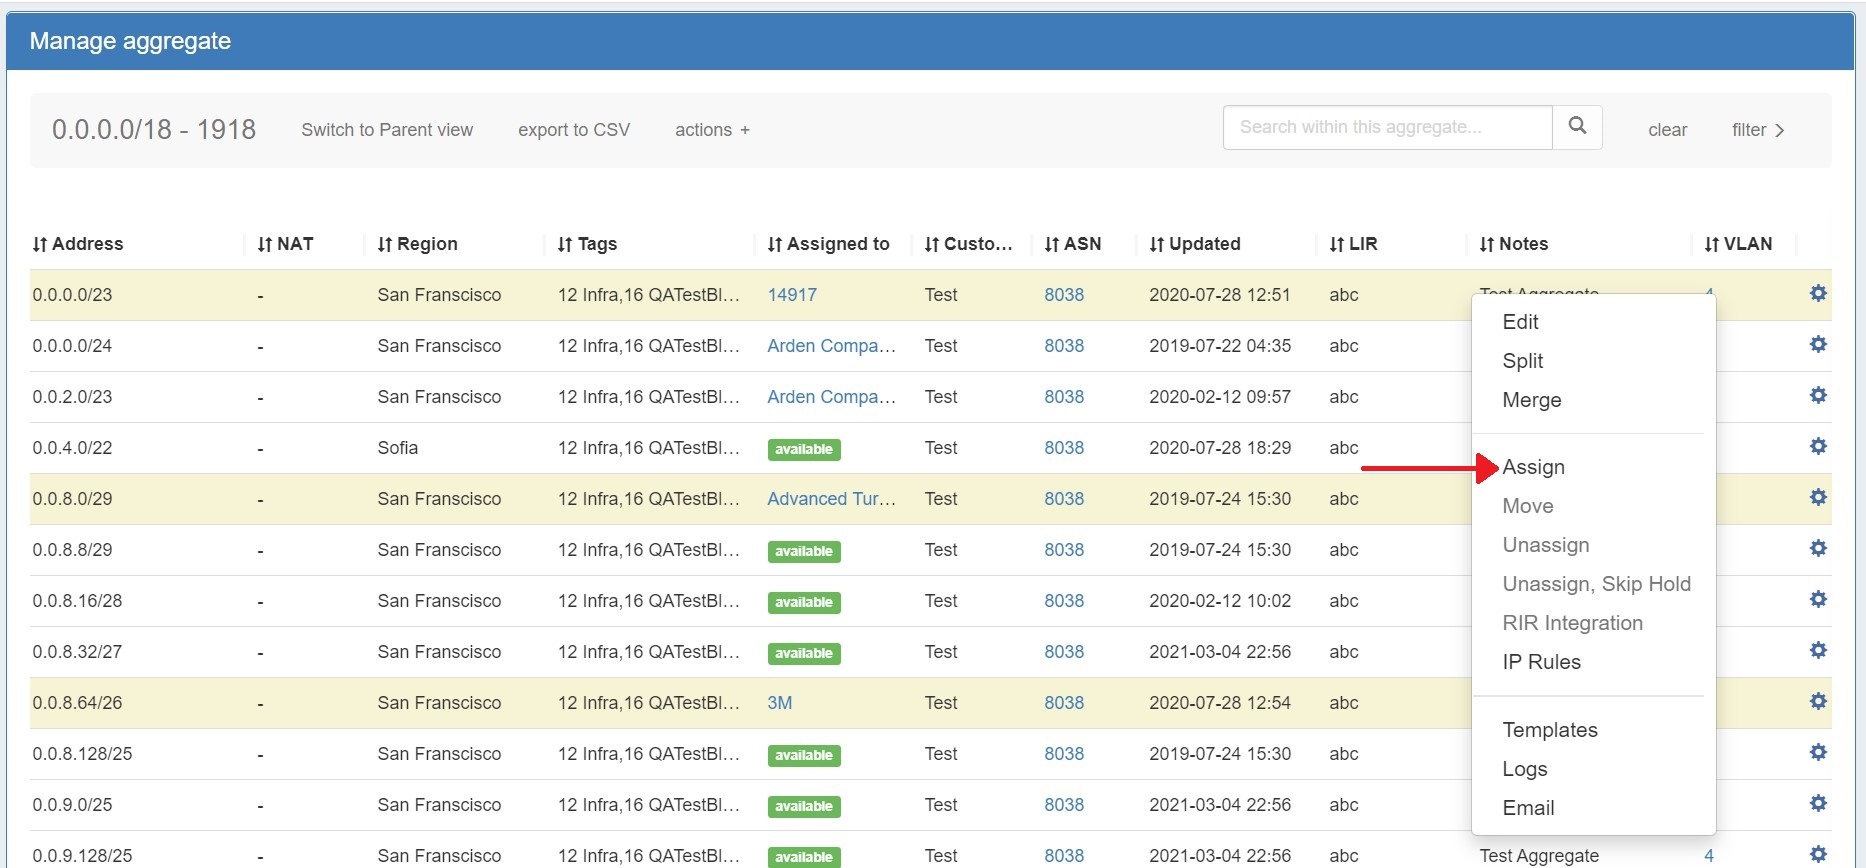
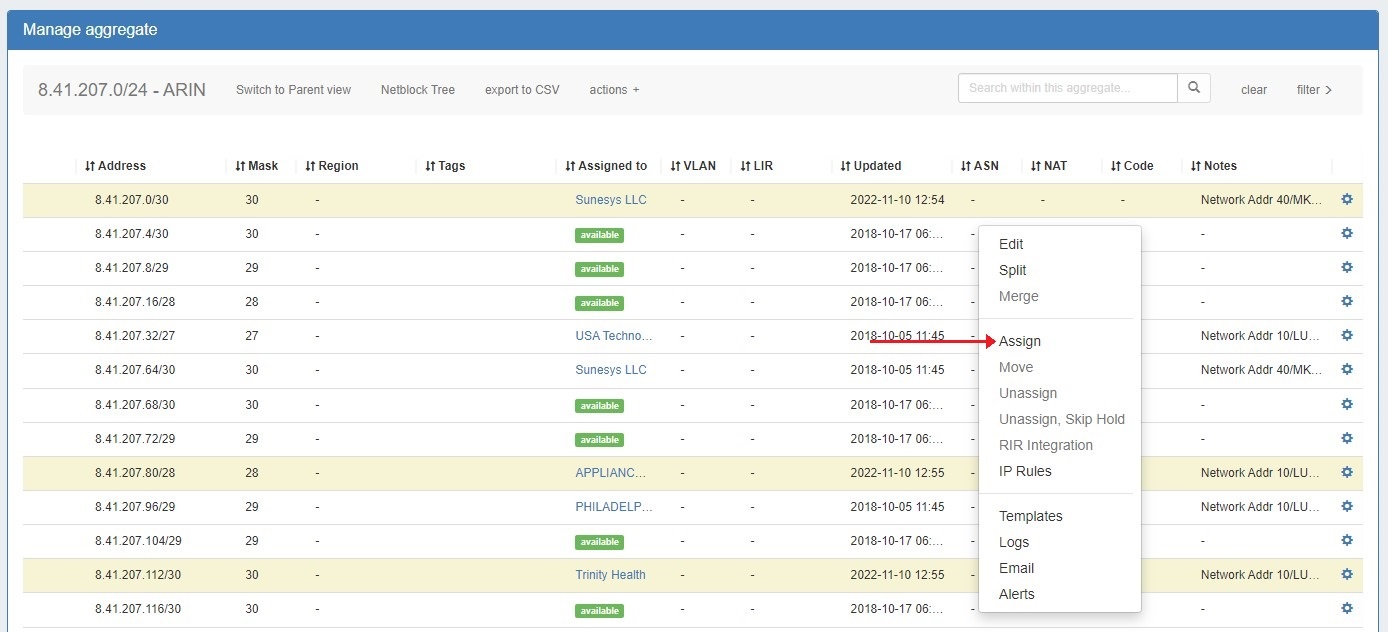
Most actions performed with block managed are contained under the IPAM Manage - Action Menu. Open the Action Menu by left clicking on the Gear Icon, or right clicking anywhere on the block's row. The same Action Menu is also available to manage blocks via the IPAM Gadget.
| Column | ||
|---|---|---|
| ||
|
| Column | ||
|---|---|---|
| ||
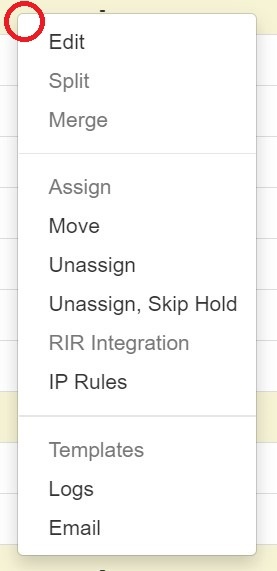
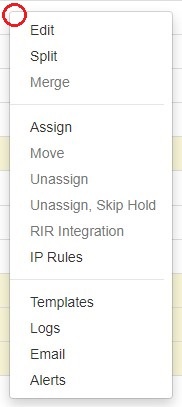
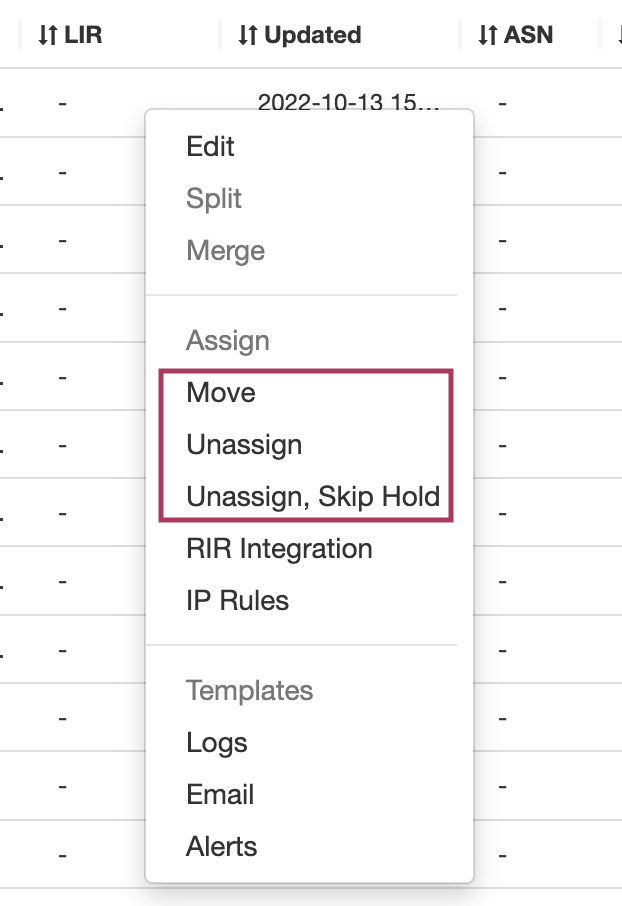
The Action Menu contains the following options:
|
Split or Merge Blocks Manually
...
To aggregate blocks, select "Merge" from the same menu.

The Split option is not available for blocks that are already of the smallest available size ( IPv4 /32s or IPv6 /128s), for blocks in "Holding", or for blocks that are already assigned and do not have subassignments enabled. If more than one level of splitting is needed, use "Templates - Auto Split" instead.
Merge is only available for adjacent blocks of the same size that are "Available", in "Holding", or is are subassignable.
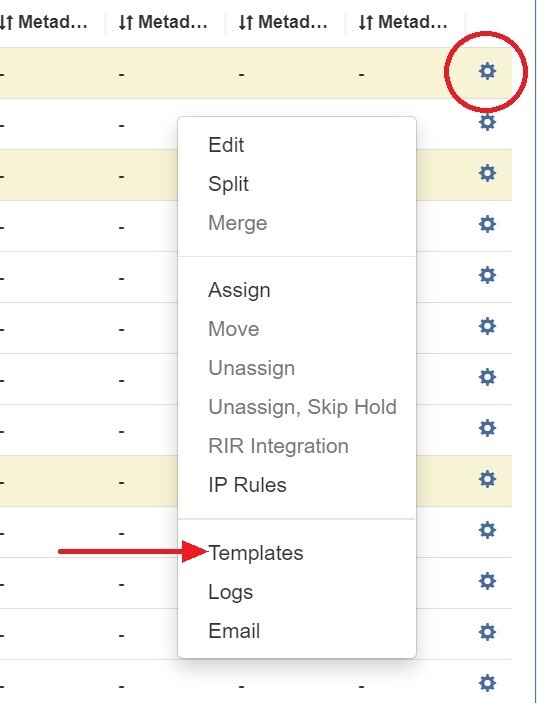
Split or Merge Blocks Using Templates
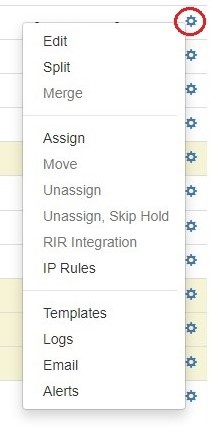
Templates for a block are available under the Action Menu (wrench gear icon or right-click) for that block. Templates are only usable from IPAM Manage.
There are two templates available: Cleanup (Only available for parent blocks) which auto-aggregates the block, and Auto-split.
...
Select the "Edit" option from the Action Menu (or double click on the block row) for a given block to get the Edit Attributes menu.
To edit multiple blocks at a time, shift-click each block you wish to edit - they will highlight in blue. Once selected, right-click on any highlighted block to open the multi-edit attributes screen.
...
| Expand | |||||
|---|---|---|---|---|---|
| |||||
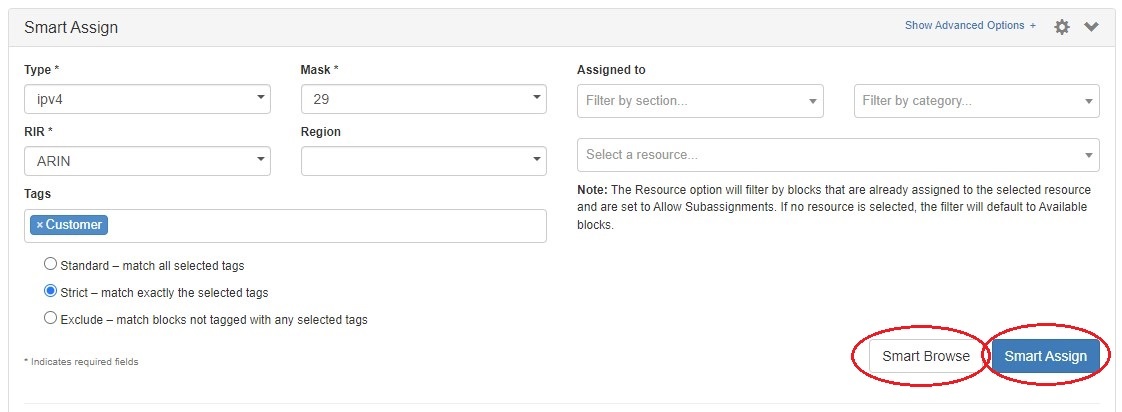
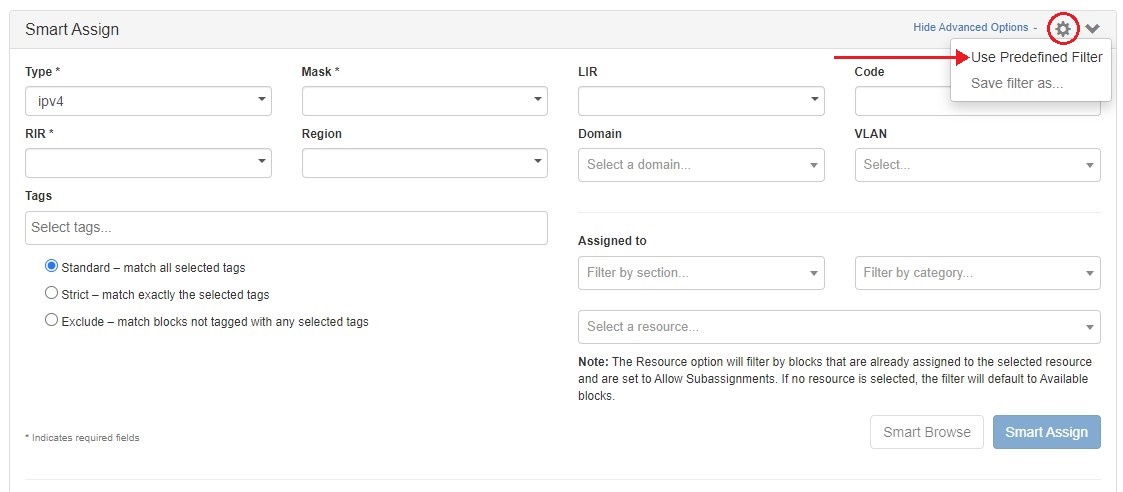
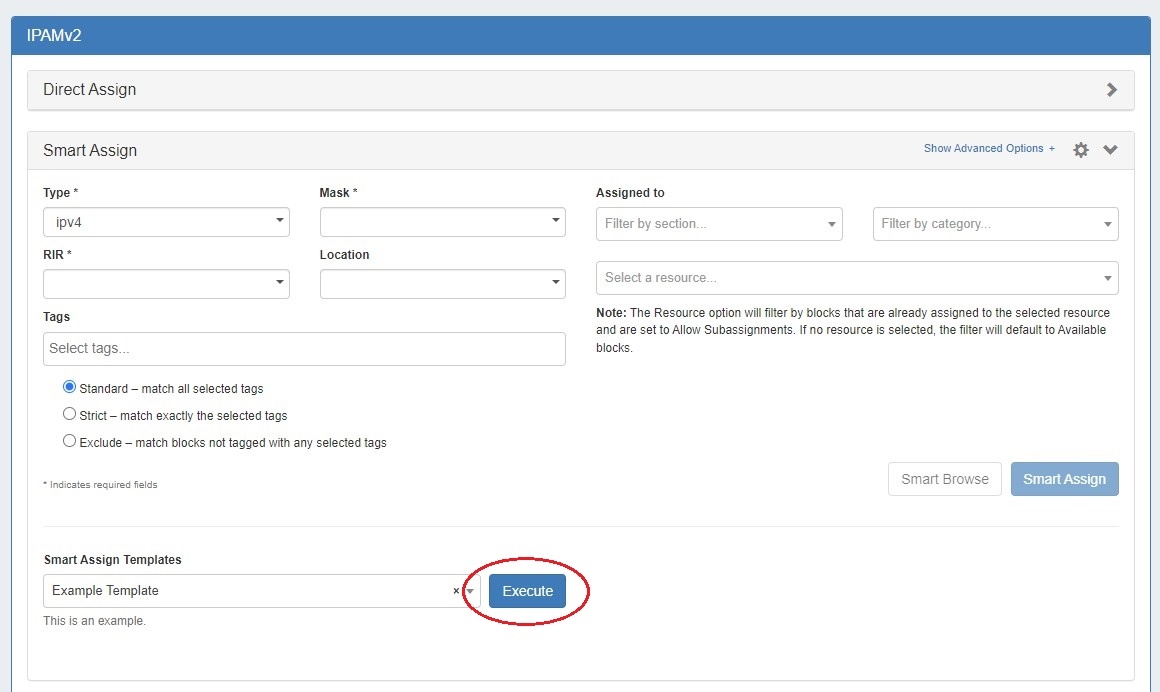
Expand the "Smart Assign" module in the IPAMv2 by clicking the expansion arrow in the right side of the Smart Assign header. For a basic assignment, enter at least the IP type, RIR, and block size. To assign a sub-assignable block, select the resource under which the block is allocated. Section and category options are available to filter the resource selector.
IP Tag filters are optional. IP Tag filters exist in three modes:
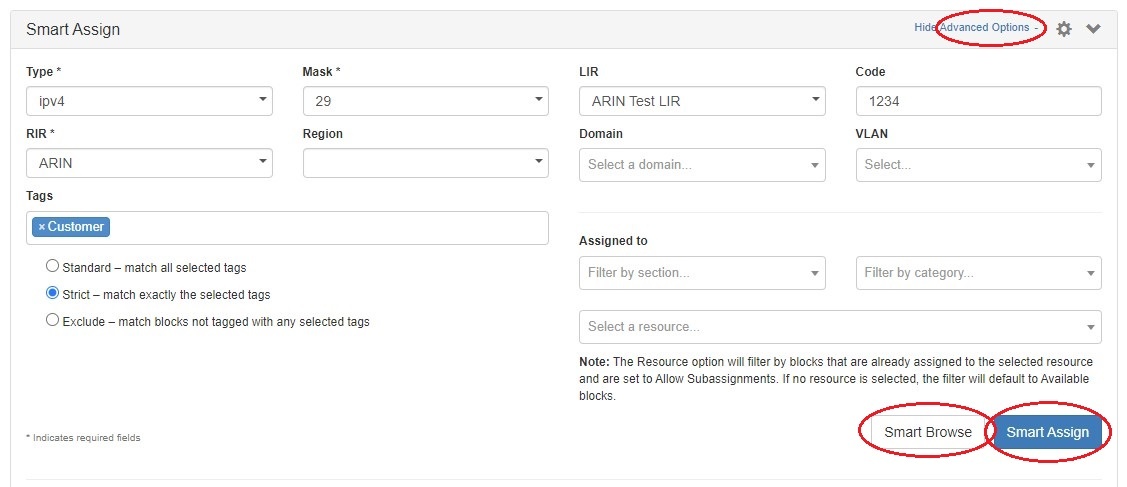
For Advanced Options, Click the "Show Advanced Options +" expansion link in the top right of the header. Additional filter criteria will be available to apply to both Smart Browse and Smart Assign.
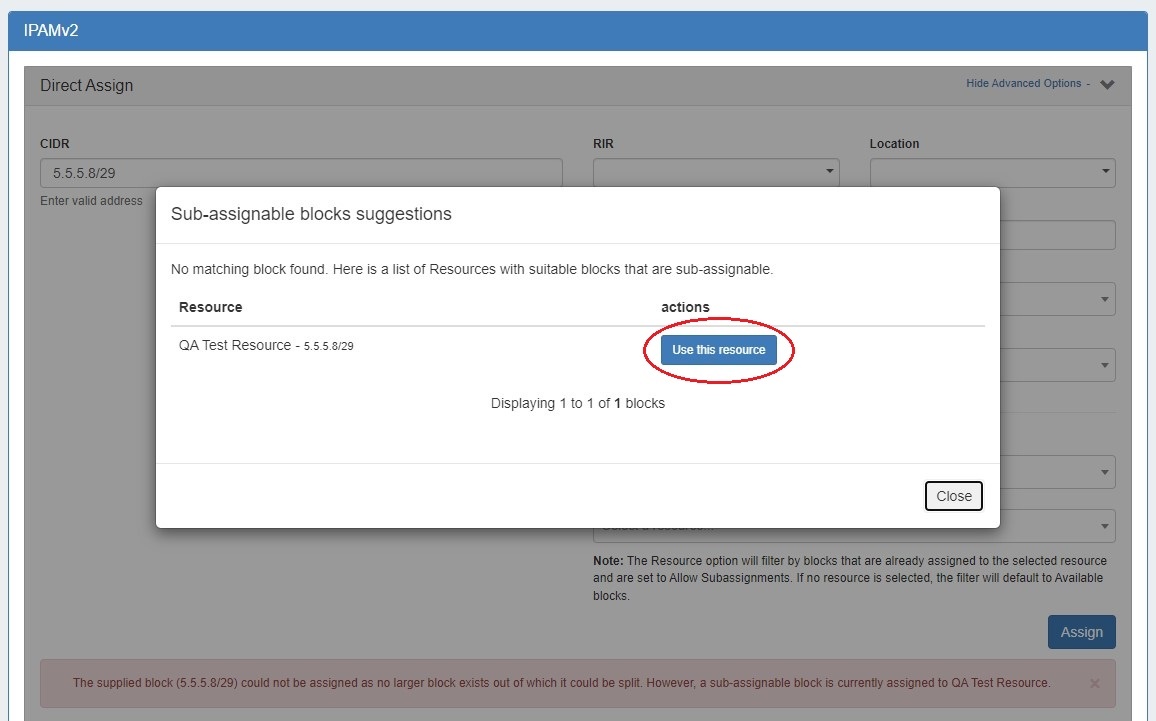
Then click "Smart Browse" or "Smart Assign". For Smart Assign, you will receive a message indicating a successful assignment, or information regarding an error. If no blocks are available meeting the criteria, the message will say so. In this case, try removing one or more of your filter criteria and try again. As with Direct Assign, a newly assigned block may be edited immediately by clicking "Edit assigned block" in the success message bubble. For Smart Browse, a screen will pop up showing blocks meeting your criteria. Browse to the block you want to assign, and click either "Assign this block", or "Assign from this block"(splits a larger block down). 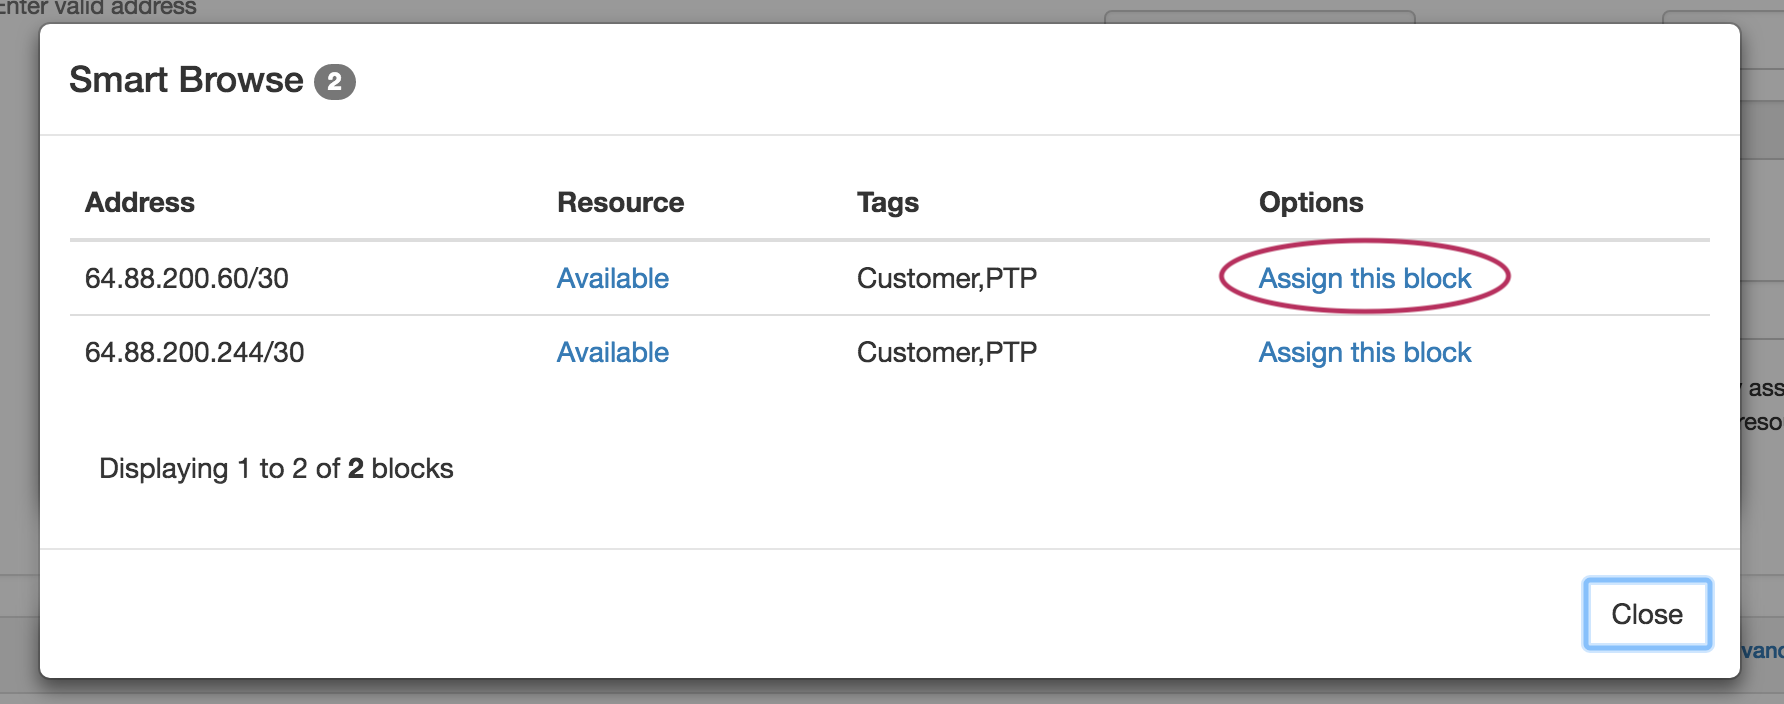 Successful assignments will be added to the "IP Blocks" list in the IPAMv2 Gadget, and are able to be managed in the IPAM Gadget, IPAMv2 Gadget, or IPAM Manage Screen. If no available blocks are found meeting the Smart Assign or Smart Browse filter conditions, but one or more subassignable blocks are found, a modal will inform the user and suggest resources with allocations that meet that criteria. To assign the suggested block, simply click "Use this resource".
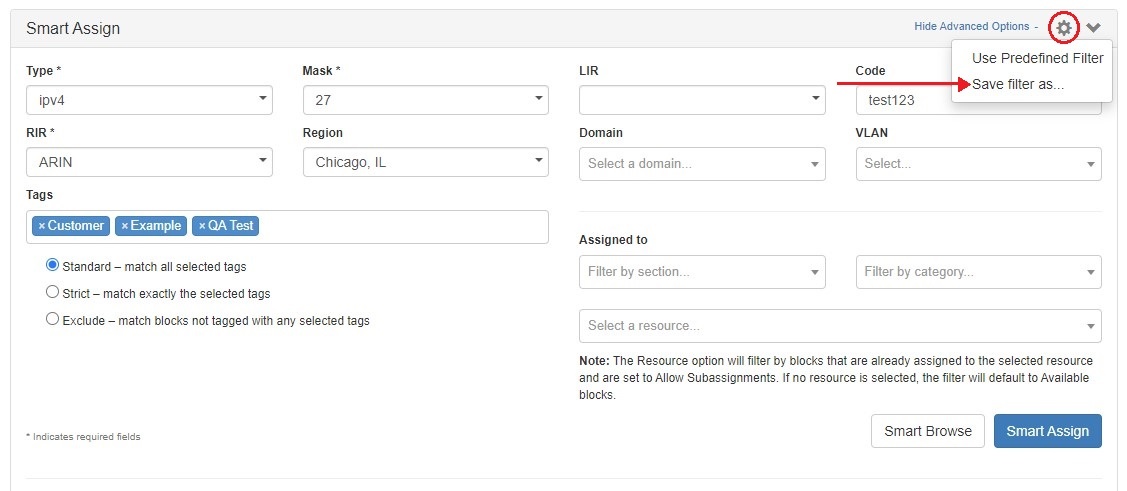
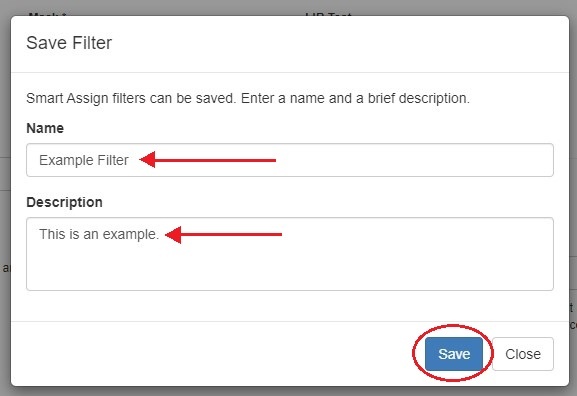
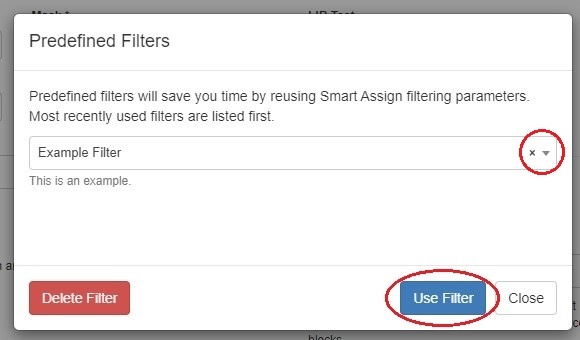
Predefined FiltersUsers can save Smart Assign filter criteria for repeat use by saving them as Predefined Filters, accessible through the gear menu at upper right of the Smart Assign section.
|
Manually Assign Space from IPAM Manage
You can also assign blocks manually using the "Assign" function from the IPAM Manager screen (accessible from the IPAM Tab). Open the Action Menu for a block, then select "Assign".
Assignments may also be performed for multiple blocks at a time, by shift-clicking the desired blocks, and right-clicking on any highlighted row to open the multi-block menu (choose "Assign Selected Blocks") :
...
Subassignable blocks will be offered as suggestions when assigning from Direct Assign / Smart Assign / Smart Browse, if they meet the filter criteria but no available blocks are suitable.
You may also specifically select the resource allocated the block when entering Direct Assign / Smart Assign criteria, to specifically assign blocks under that allocation.
Set IP Block Alerts
Enable or clear alert emails for an IP block by setting an email address and utilization percentage level. When the block is utilized to the set percent, an email alert will be sent to the provided address.
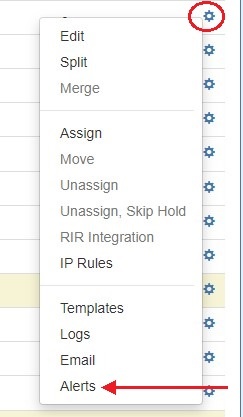
To set an alert, select the "Alerts" option from the Action Menu.
Enter an email address and utilization level for the alert.
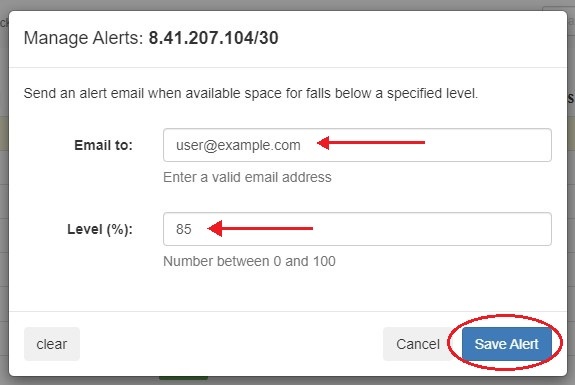
When done, click "Save Alert". To clear an existing alert, hit "Clear Alert", and the alert information will be removed and status saved.

An alert icon will be visible in IPAM Manage next to any block that has an active alert set.
| Info |
|---|
Note: the "IPAM Alerts" task is enabled by default when an alert is set. You can set the task to the desired notification frequency and review history in the Admin Scheduler Tab. For more information on setting an IPAM alert at the aggregate level see Working with IP Aggregates. For more information on managing alerts at the Admin level see Alerts Management in the ProVision Admin Guide. |
Unassign IP Unassign IP Space
When a block is assigned, you will have the option of unassigning the block from the resource and returning it to the Holding Tank:
...
Another option is "Move", which moves the block from one resource directly to another without passing it through either available or holding status. Enabling the checkbox "Propagate to children" in the dialog will move all the child blocks to the selected resource as well.
After unassigning blocks / skipping holding, newly available blocks will be merged upon next page refresh. Blocks which had been subassigned will revet revert back to the parent resource.
...