Overview
ProVision supports updating SWIP/RPSL functions for ARIN and RIPE blocks through simple reassigns using the RIR Integration action.
RIR Integration
When do I use RIR Integration and Why?
From ARIN.net:
Organizations that receive space allocations from ARIN, either directly or as a downstream customer, must provide reassignment information back to ARIN. This information must be sent within seven days of the reassignment so that the WHOIS database may be maintained. ARIN also uses utilization history, projected requirements, and other information in order to make future space allocations.
From RIPE.net:
All RIPE assignments and allocations must be registered in the RIPE Database. This is necessary to ensure uniqueness and to support network operations.
Only allocations and assignments registered in the RIPE Database are considered valid. Registration of objects in the database is the final step in making an allocation or assignment. Registration data (range, contact information, status etc.) must be correct at all times (i.e. they have to be maintained).The RIPE community's policies require LIRs to register an inetnum object in the RIPE Database for their own infrastructure and customers' networks. LIRs must ensure registration information is correct and up to date at all times.
RIPE Integration
You must be using an MD5 password to update RIPE objects from ProVision! Please refer to RIPE's authentication page for additional details:
What is Simple Re-assign?
From ARIN.net:
Used to subdelegate IP addresses to a customer that does not need to:
- subdelegate the addresses to their own customers
- maintain their own in-addr.arpa delegation
- display their own point of contact (POC) information.
It can also be used to change the customer name and address information (but not the range) on an existing simple reassignment and to remove simple reassignments. It is submitted by an ARIN Online user account linked to the parent organization's Admin or Tech POC, or the Tech POC for the resource.
Workflow
1) LIR Setup
ProVision supports multiple LIRs (Local Internet Registries) in a single instance. This means that you have the ability to update SWIP/RPSL functions for a given allocation with the LIR information that you wish. LIRs are set up and managed from the IPAM Admin area, and thus require Admin level permissions to set up.
While setting up the LIR, the POCs / Contact fields that are filled in will later be used for the RIR Integration.
For detailed step by step instructions, see:
2) Assign IP blocks to the ARIN or RIPE RIRs
Assign an IP block to a Resource using the IPAM Gadget or the Assign function from the IPAM Manage screen. See Working with IP Blocks for additional detail.
3) RIR Integration
Once LIRs have been configured, and blocks assigned under the applicable RIR, you will be able to use the RIR integration feature from the Action Menu on the IPAM Manage screen or IPAM Gadget.
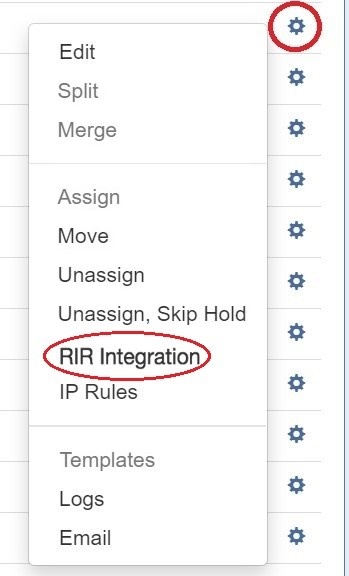
Depending on the RIR associated with the block, either an ARIN or RIPE Integration box will pop up.
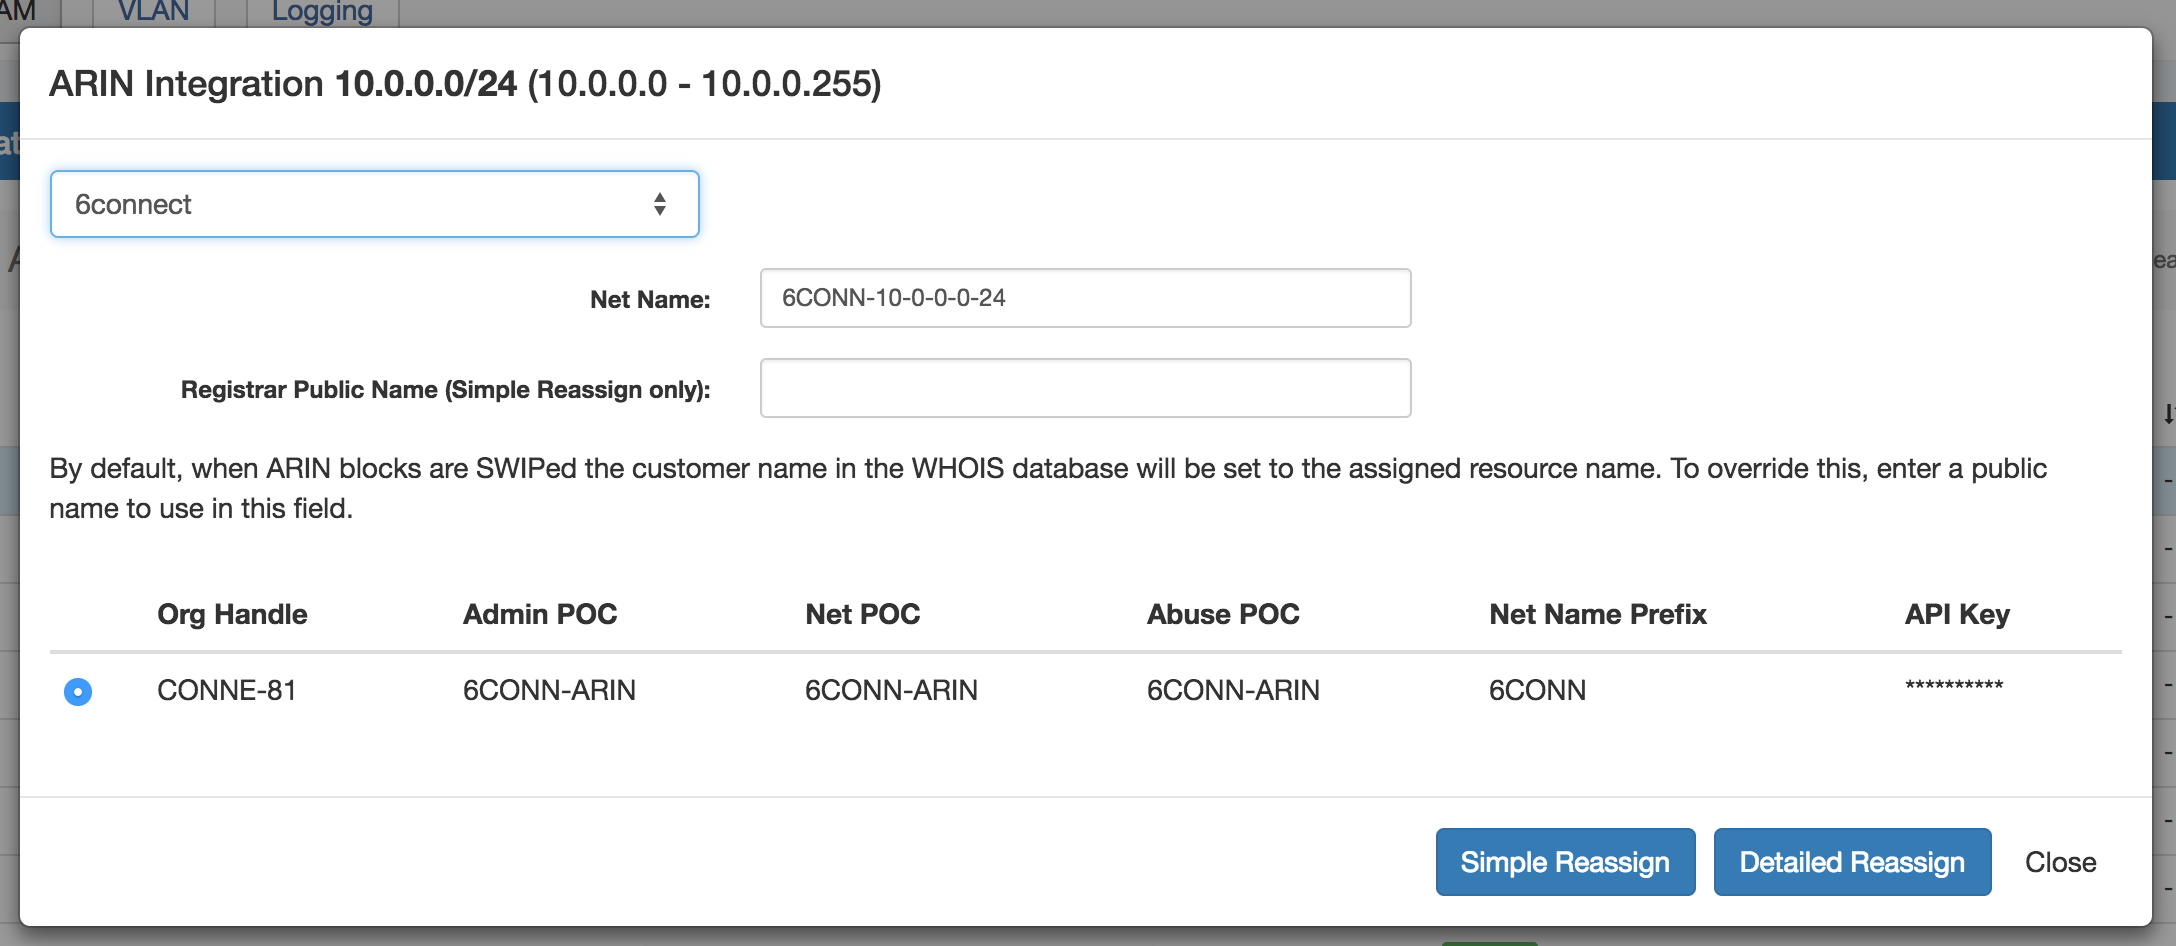
ARIN / Update SWIP
Select LIR:
Select the desired LIR, and verify the Net Name / Public Name if desired.
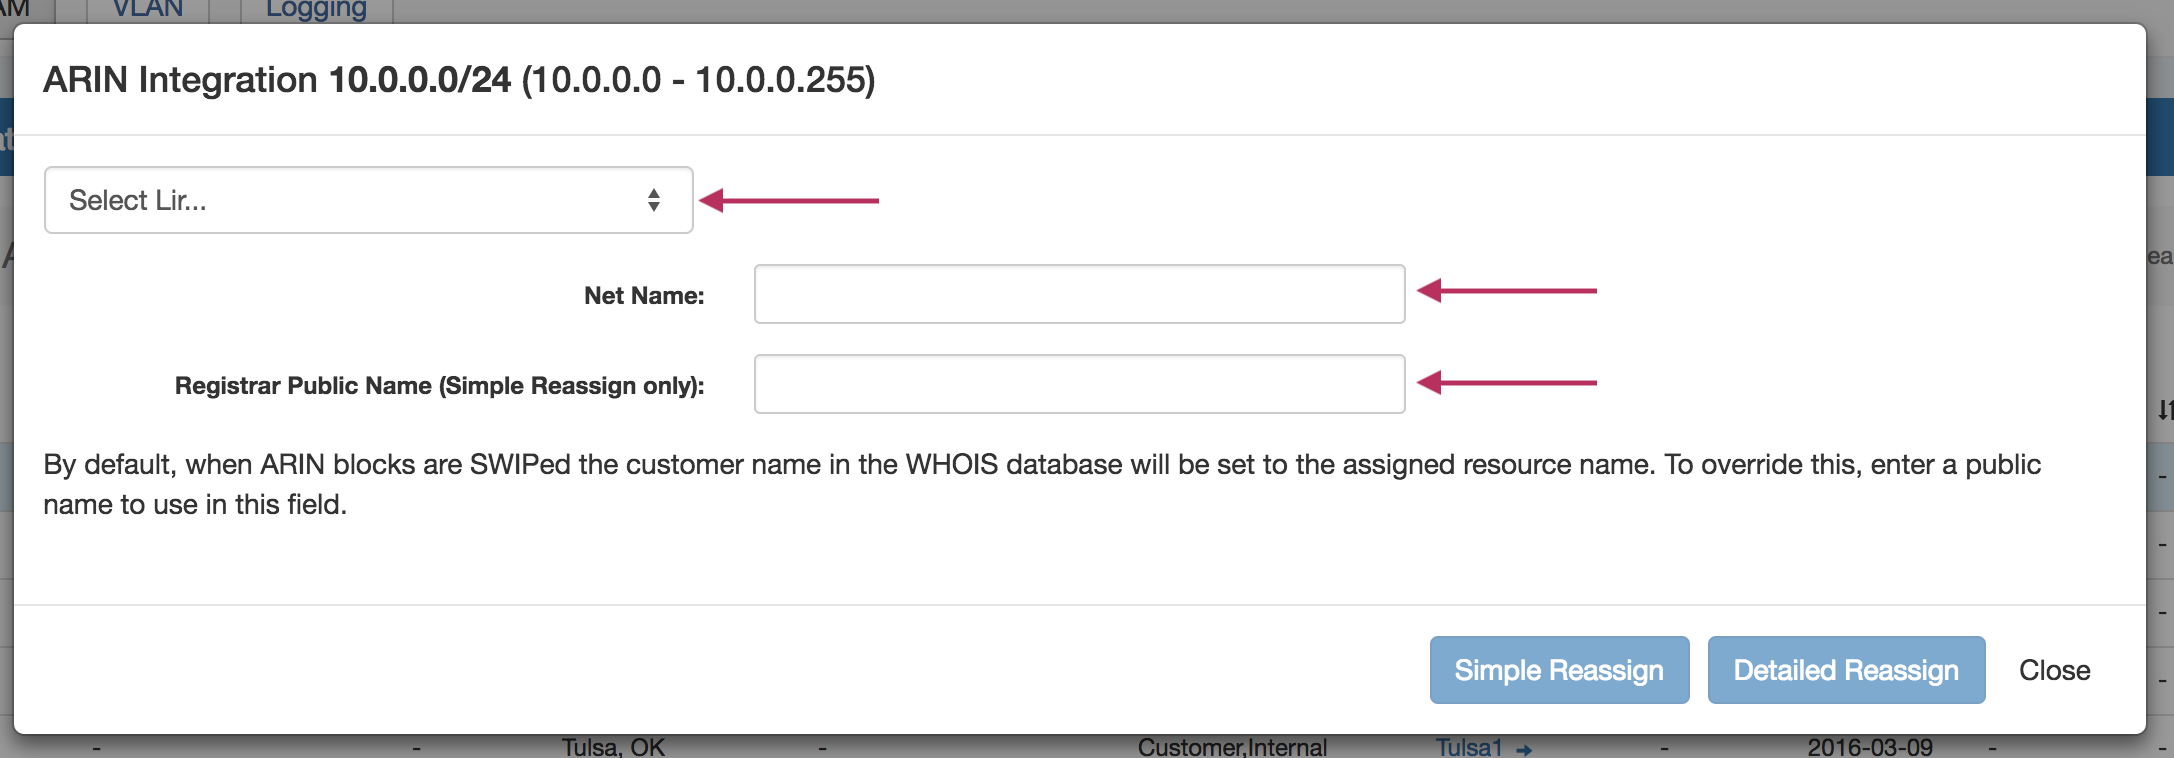
Reassign:
Once the LIR and Handle is selected, you can click either "Simple Reassign", "Detailed Reassign" or "Close" to exit.
For detailed step by step instructions, see:
RIPE / Update RPSL
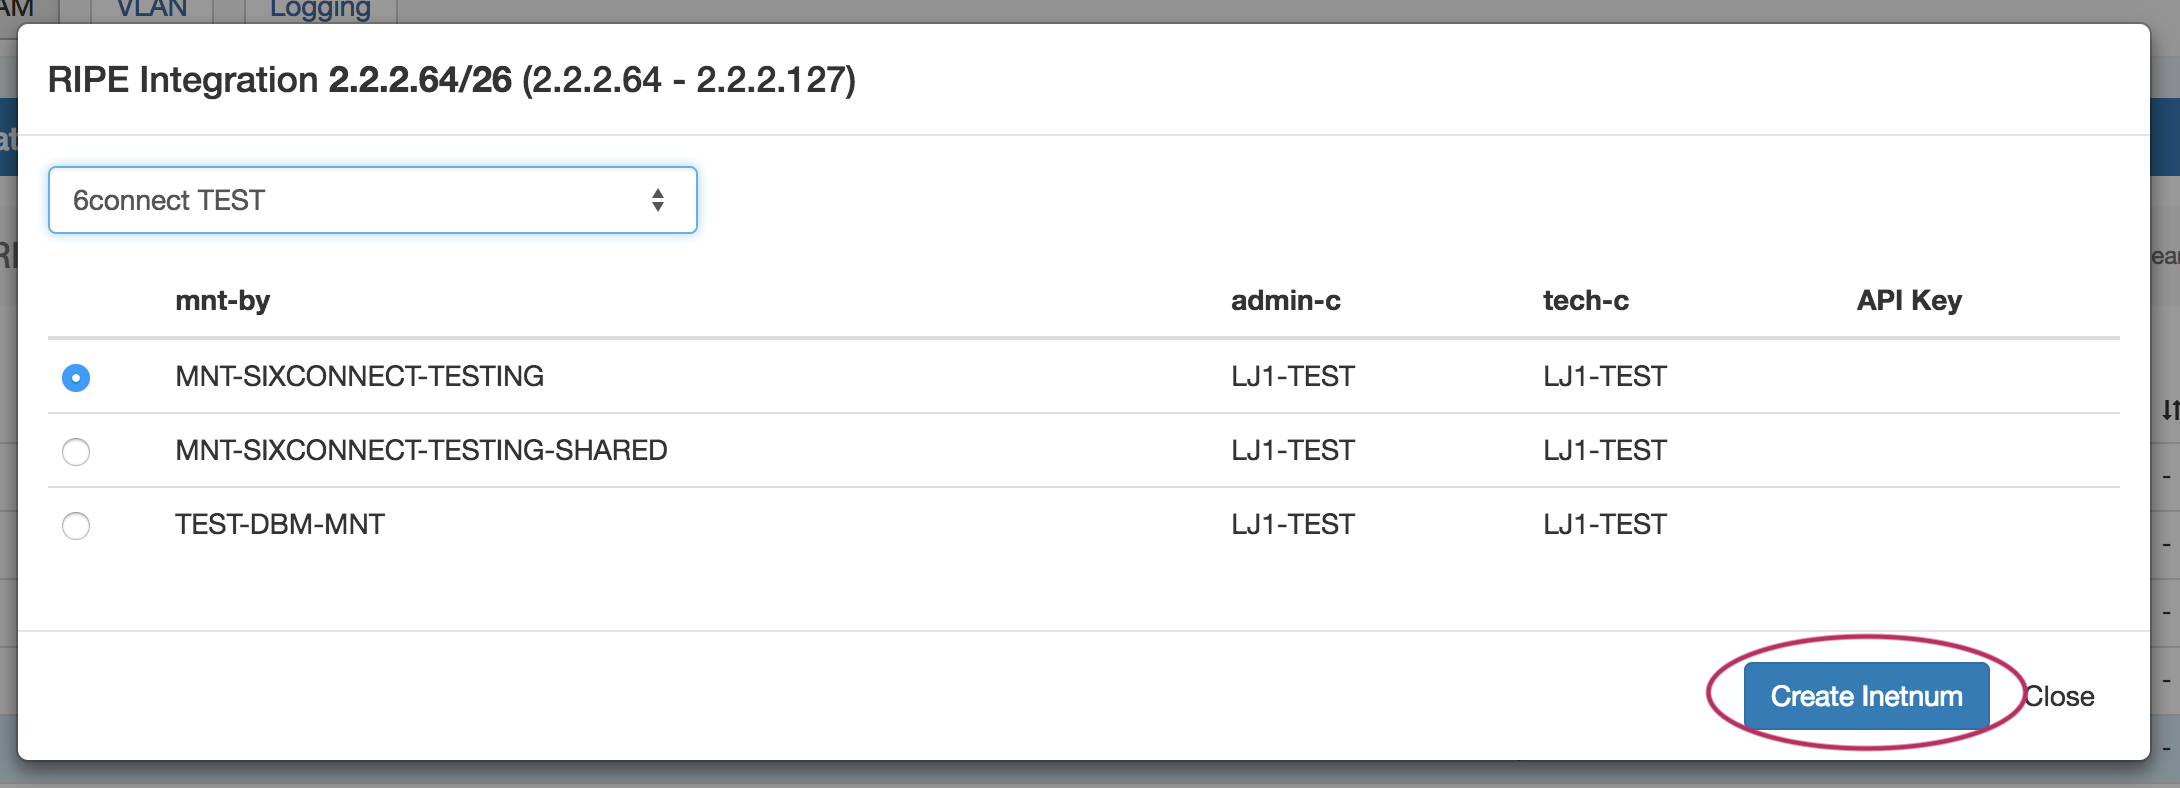
Select LIR:
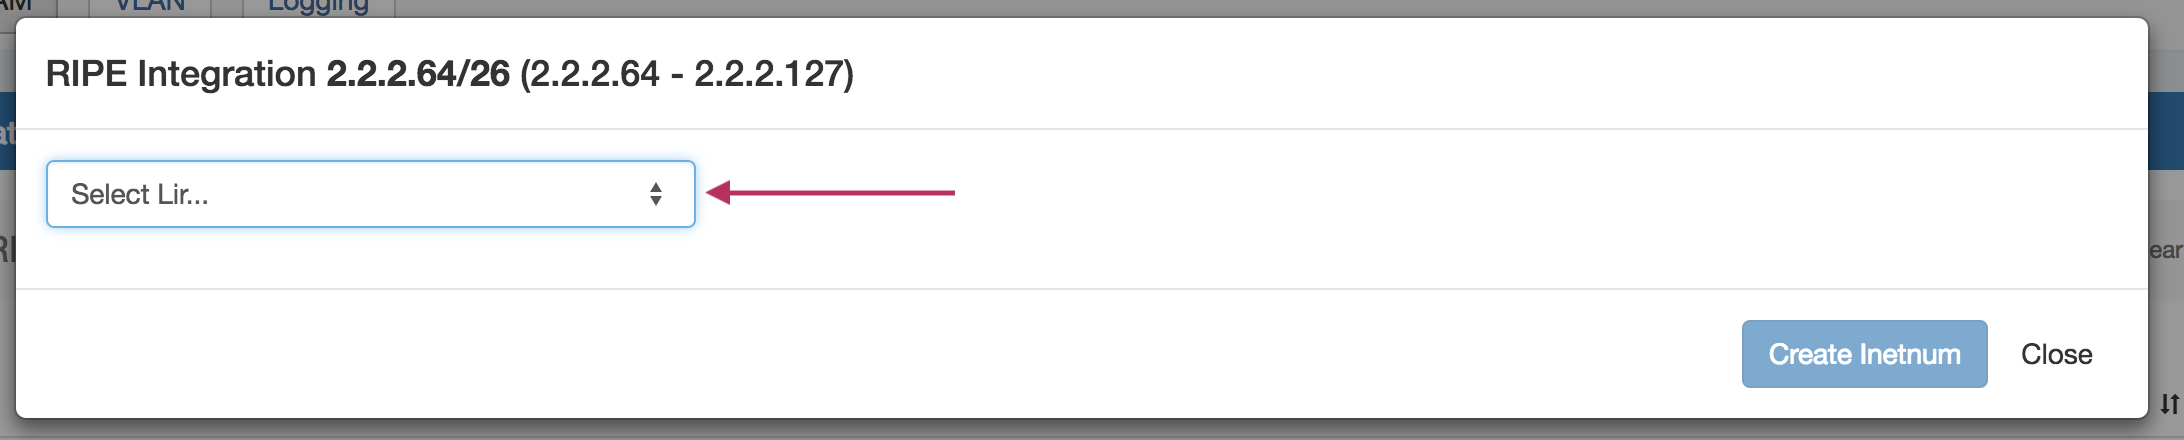
Select Data Set / Create Inetnum
Identify which LIR data you want to use for the netnum update, and select either "Create Inetnum" or "Close" to exit.
For detailed step by step instructions, see:
RIR Audit
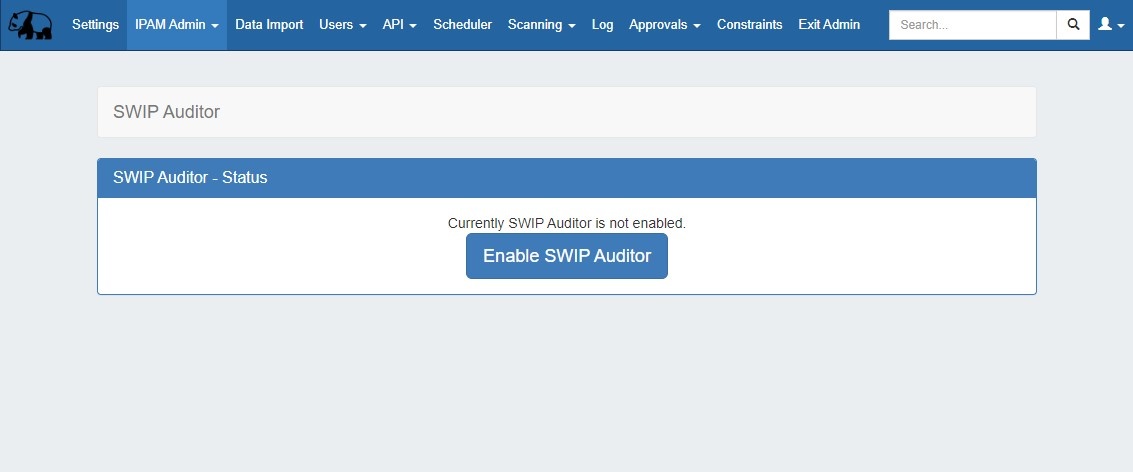
Users often have data in ProVision that does not match the RIR database. SWIP Auditor helps solve this issue by making the user aware of the mismatch. Located in the IPAM Admin section, the Auditor also includes a Scheduler task.
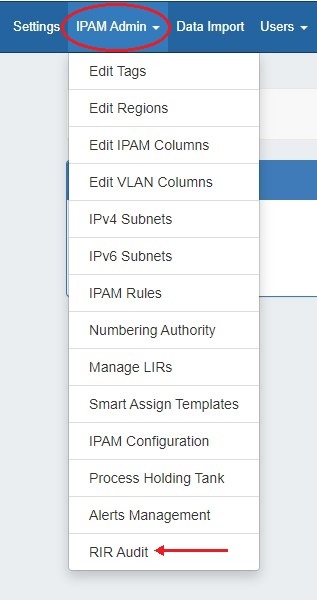
To access, select "RIR Audit" from the Admin → IPAM Admin dropdown menu.
Enable the SWIP Auditor by clicking the enable button.
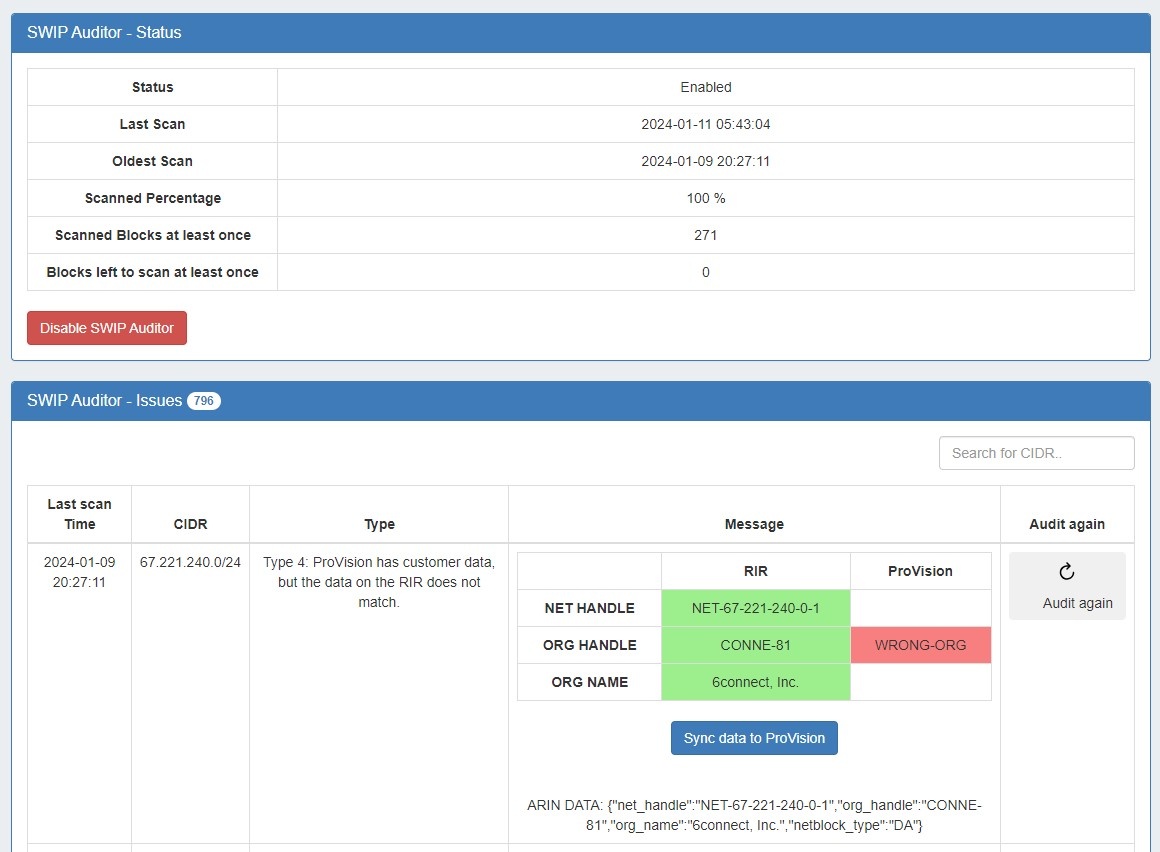
Once enabled the audit results will be visible. Users can choose to audit a CIDR again or sync data to ProVision.
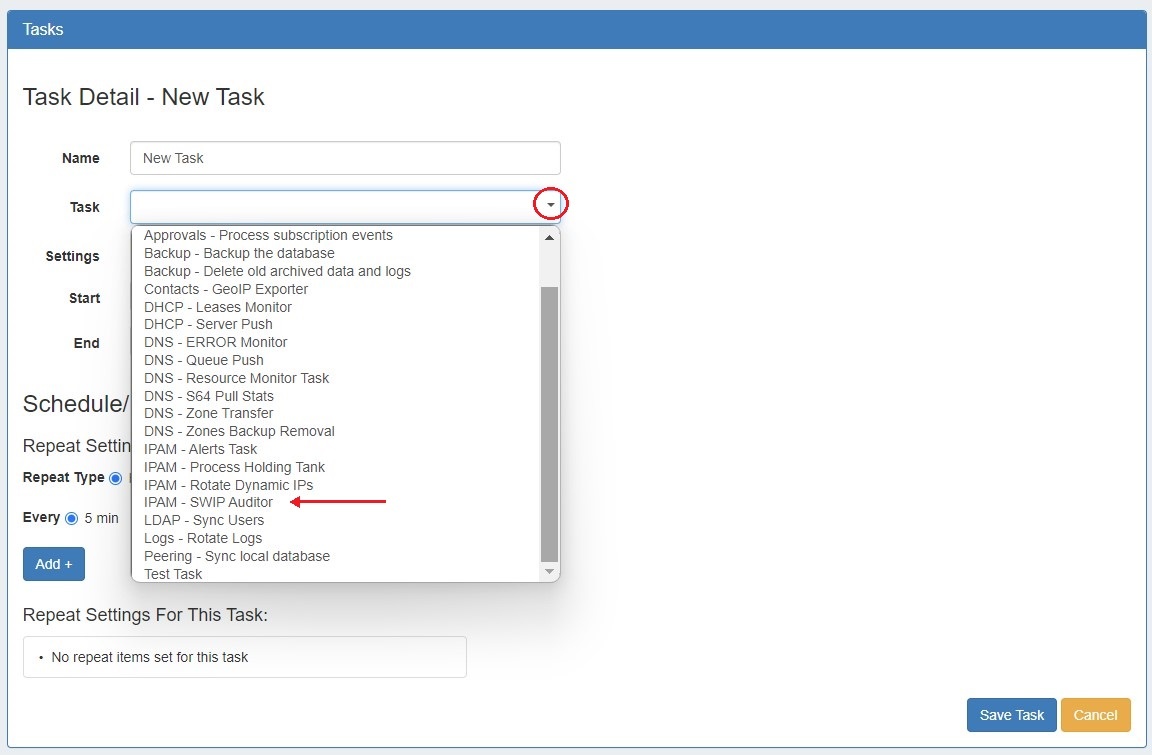
To run the RIR Audit on a schedule, use the Scheduler Tab task in the New Task dropdown.
Additional Information
For additional detail, continue on to: