Quick-Start Tutorial 1
Here are the steps needed to set up a complete, working ACP workflow. This tutorial assumes you have access to a working 6connect ProVision instance, but if not any other supported service can be used with minor conceptual tweaks.
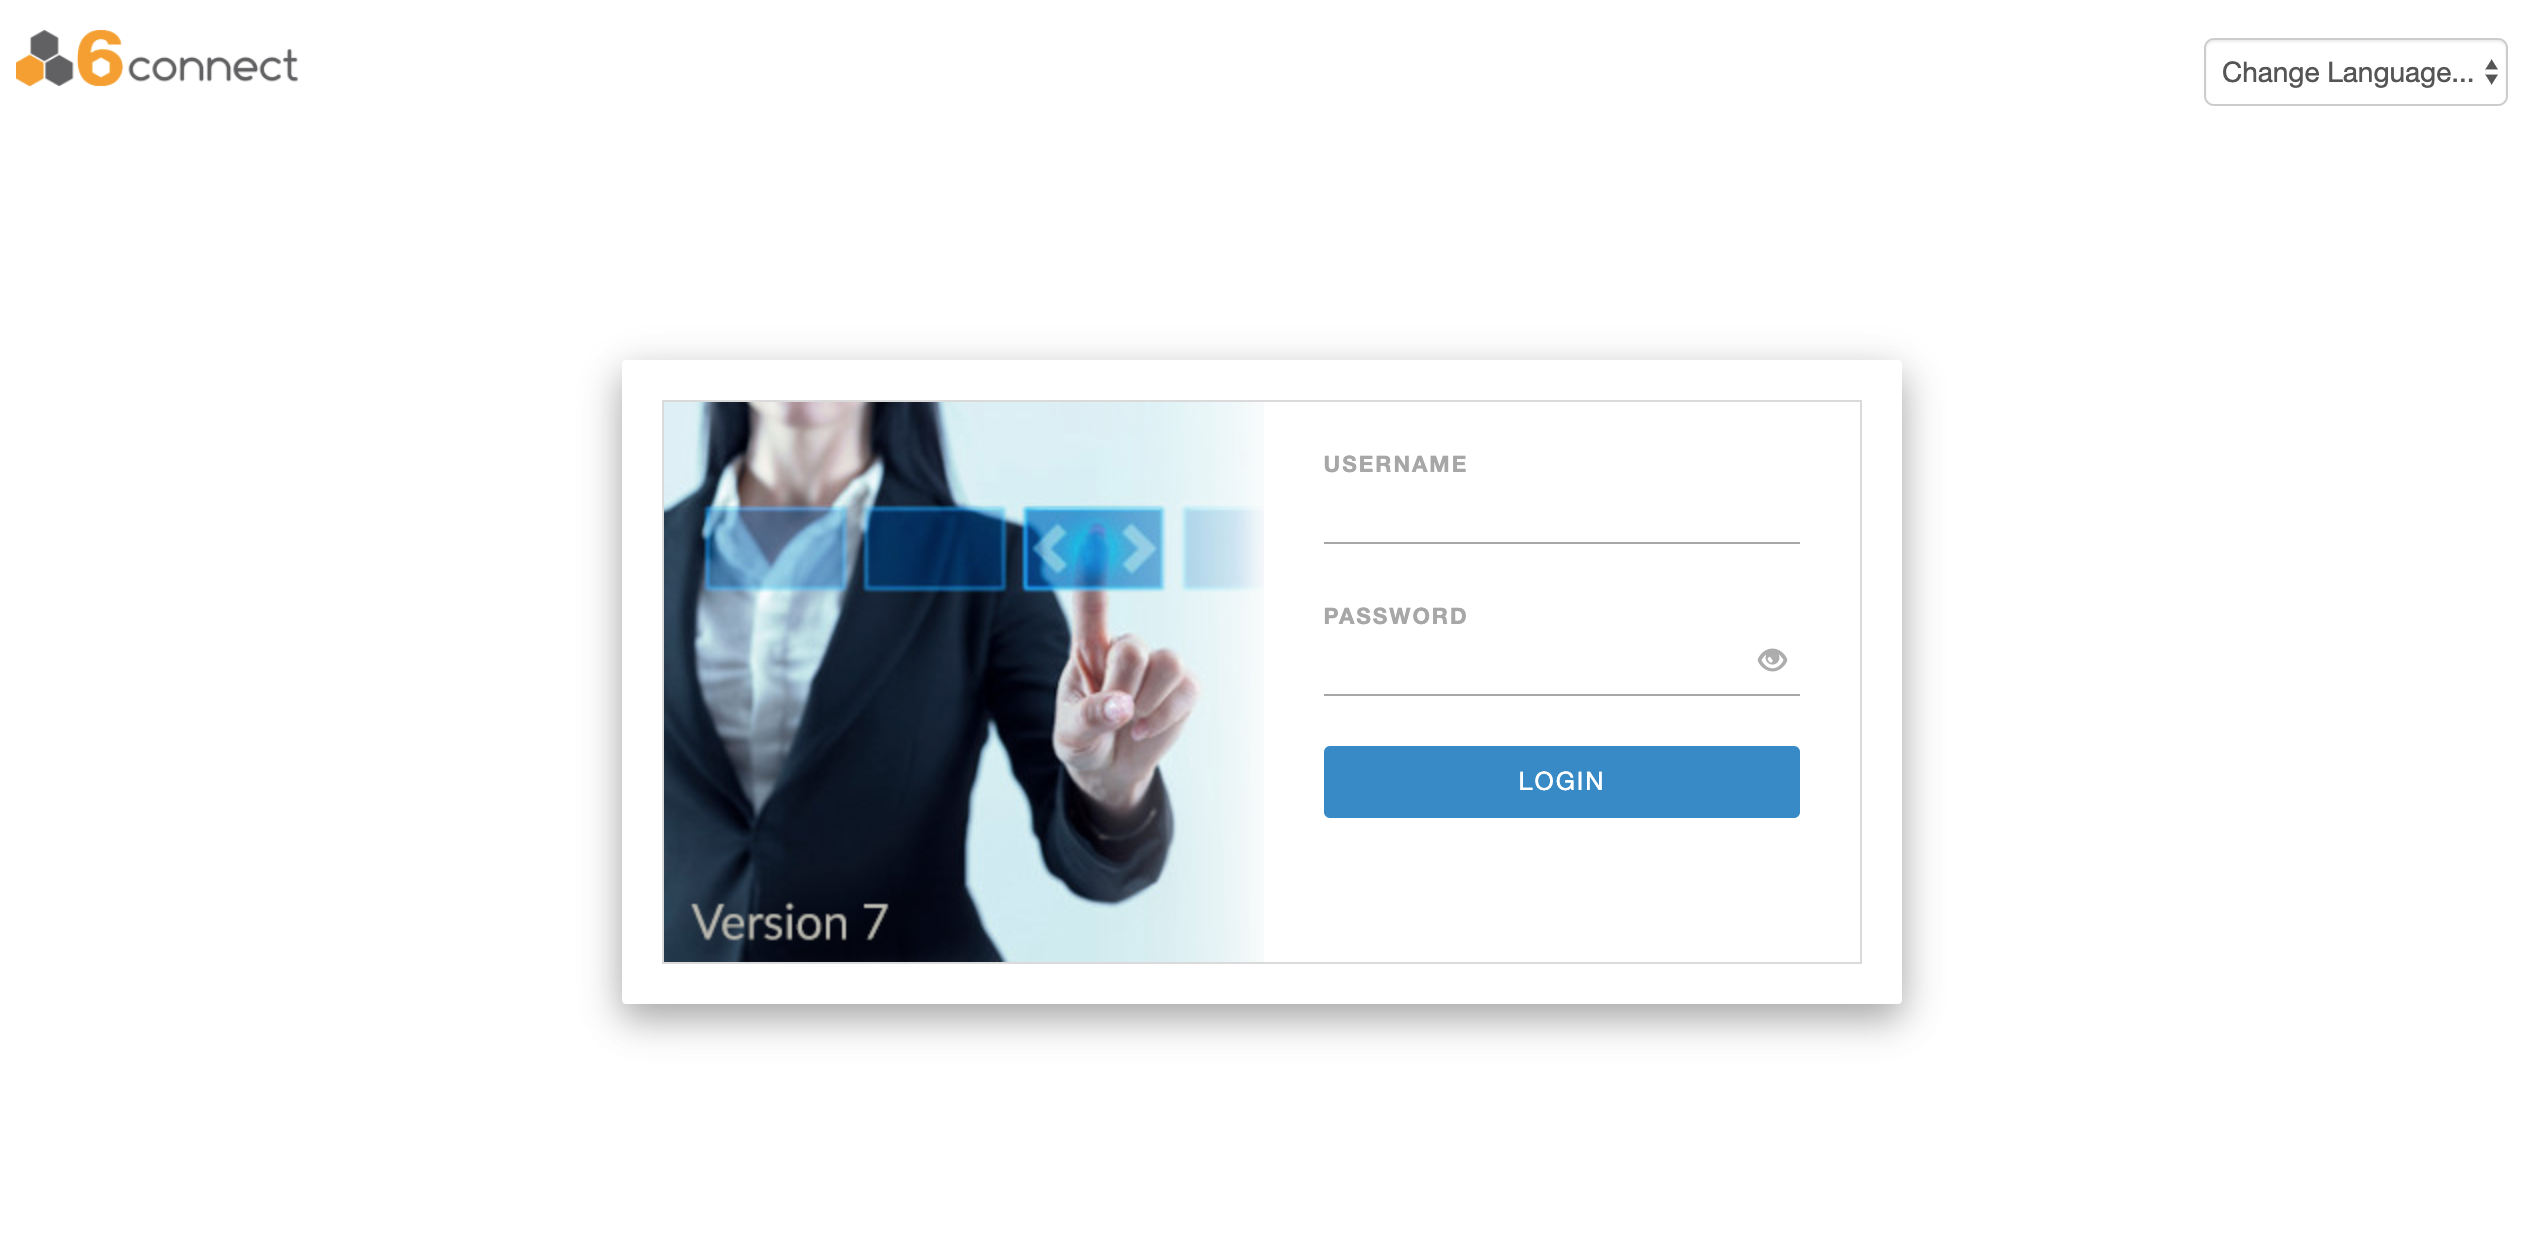
Step 1: Login to ACP
Open up a web browser and navigate to the login screen of the ACP installation. Your username and password will have been provided with your license information, or sent to you by your network administrator. Log in.
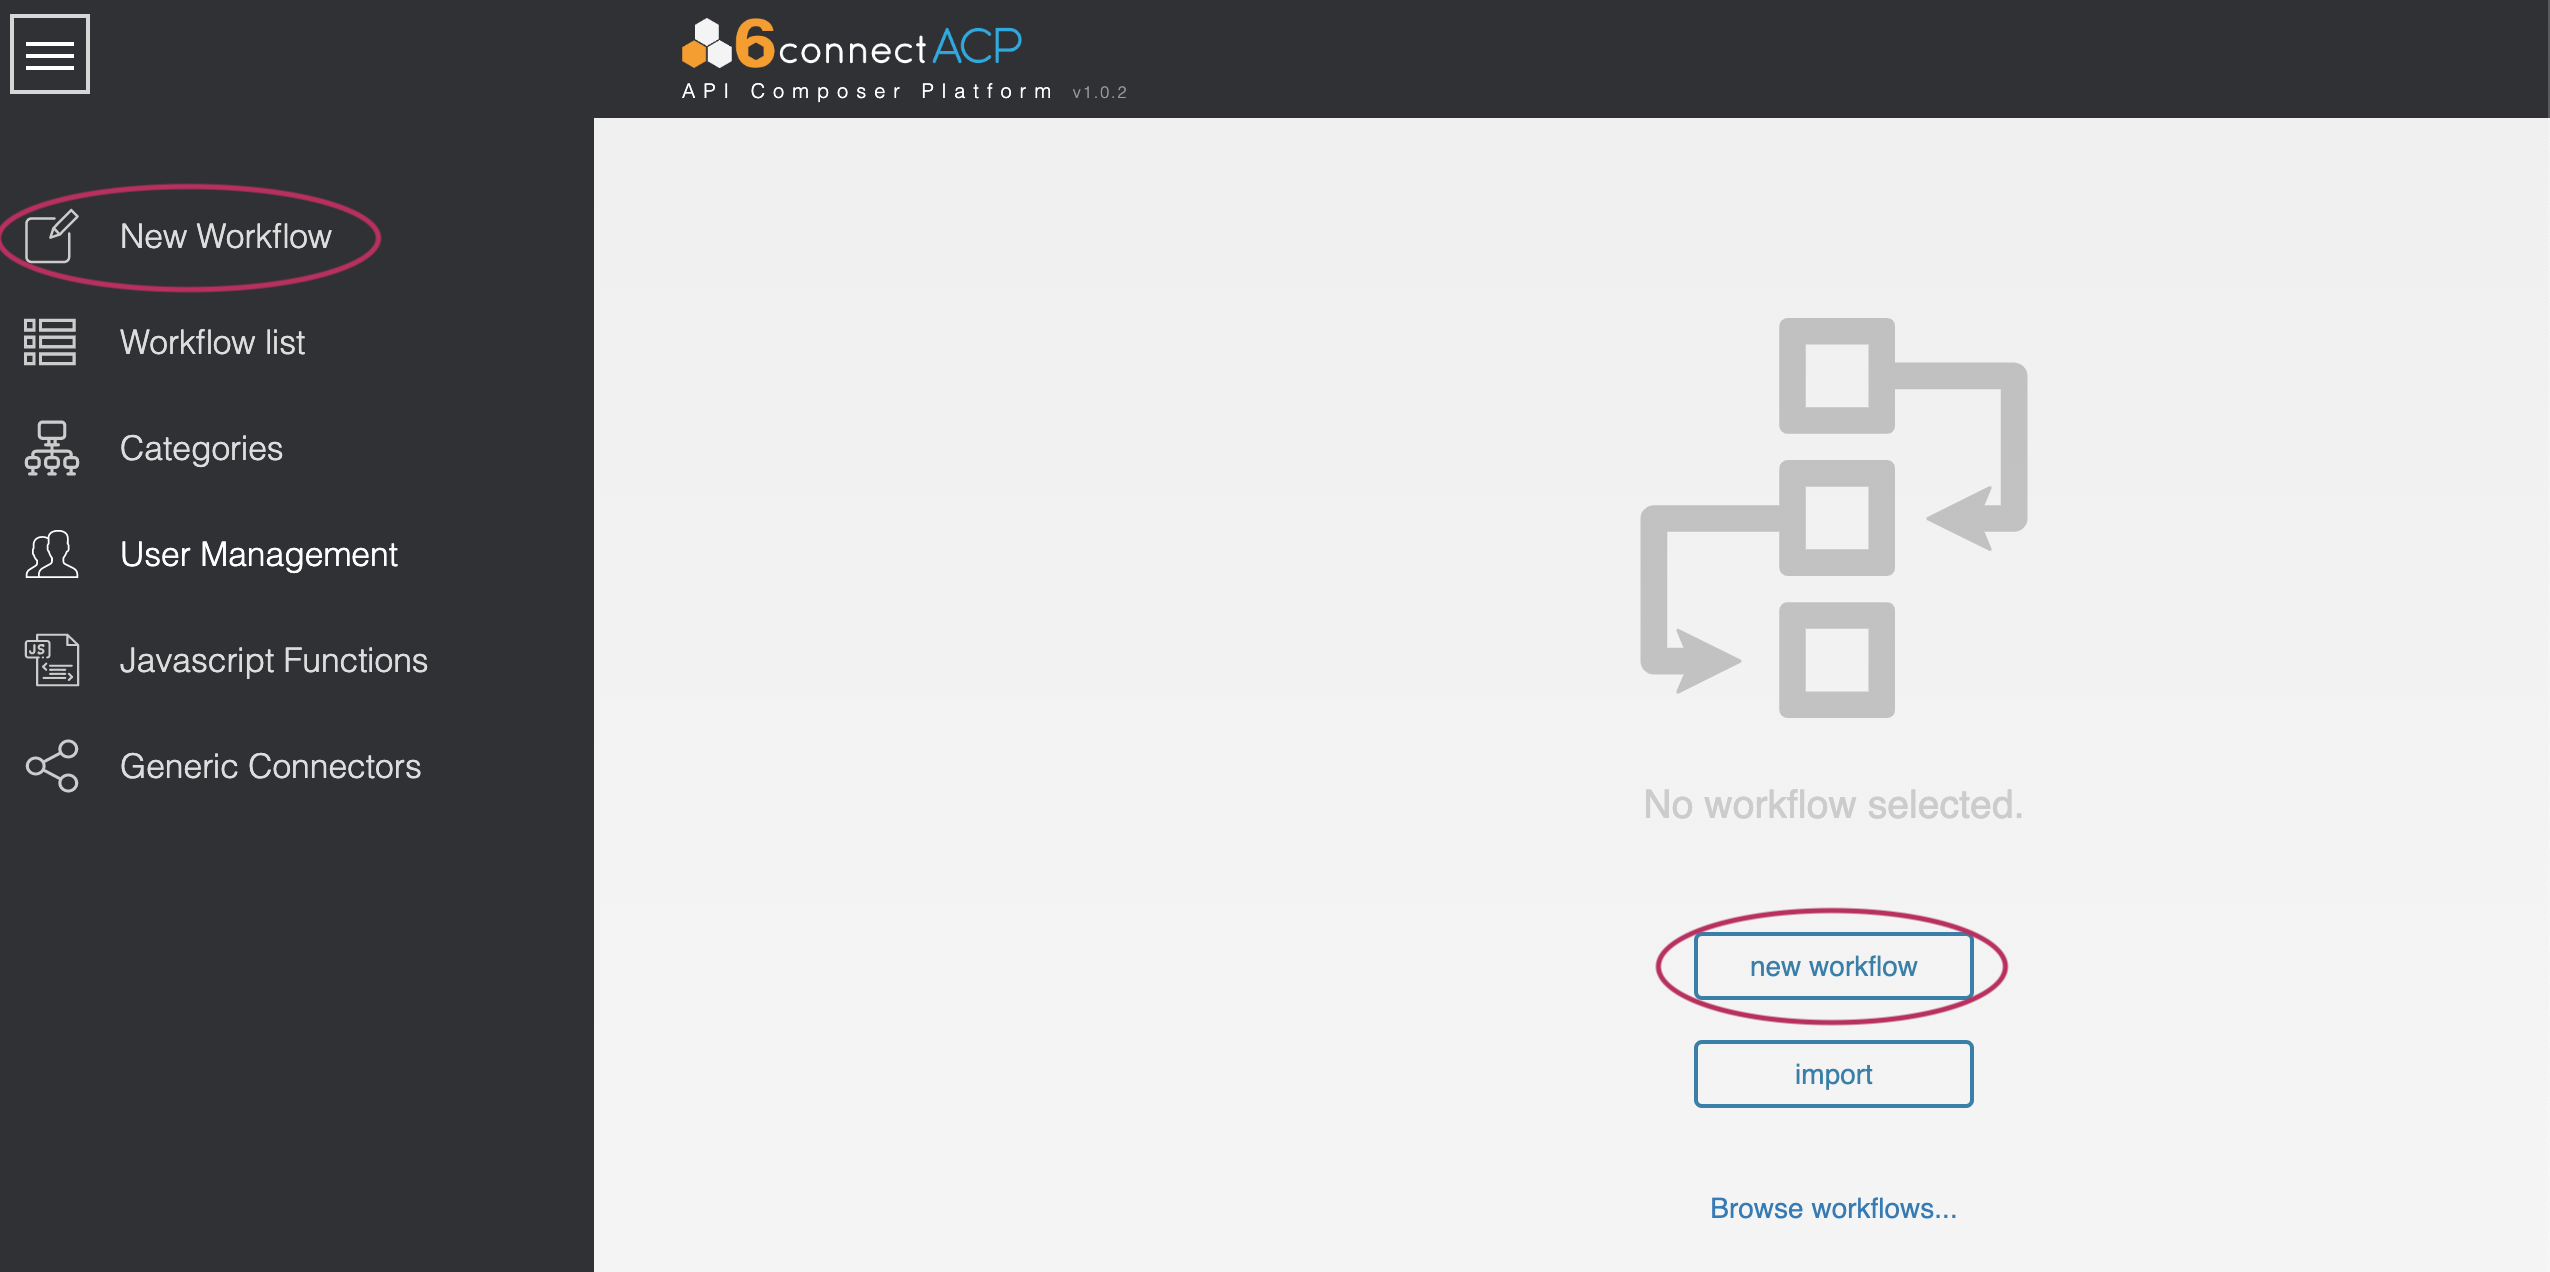
Step 2: Start a New Workflow
Once you are logged in, select the “New Workflow” button from the center of the screen, or from the sidebar menu.
Step 3: Edit Workflow Information
Name
Give your workflow a new name. New workflows are initially named “untitled”, and this name appears in the upper-left.
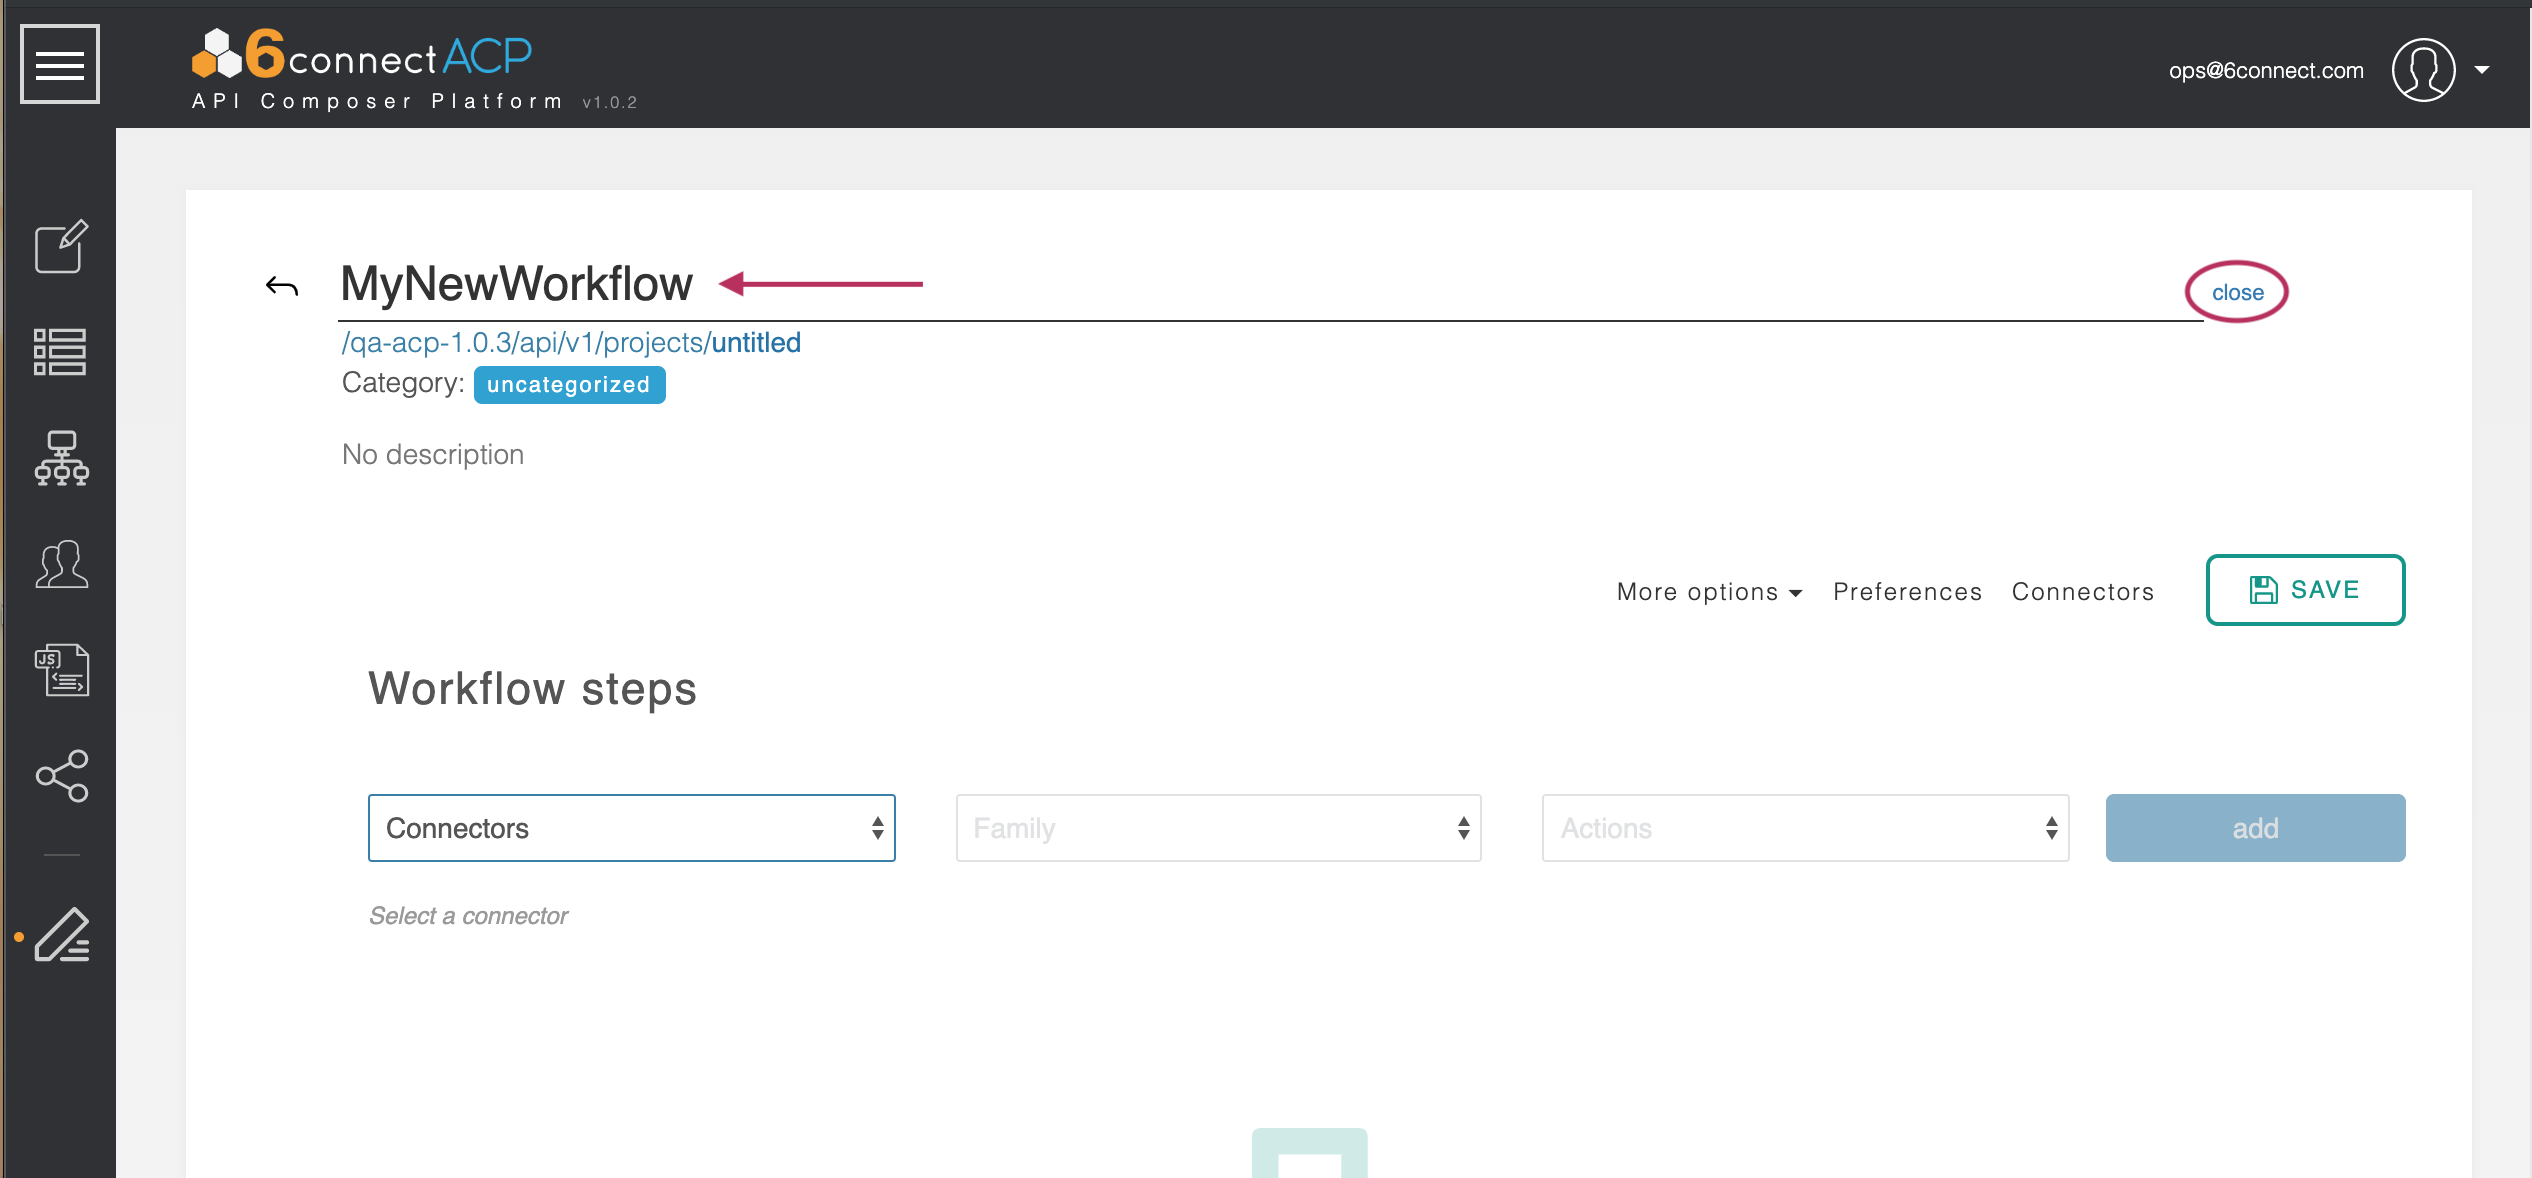
Give your Workflow a new name by clicking “edit” next to the current workflow name. Rename it as desired, then hit "close". Click “edit” and rename the Workflow “Tutorial Workflow.” Hit “close.”
Category
If desired, you can edit the category for your new workflow. Click on the current category ("uncategorized", for a new Workflow) to open the Select Category screen.
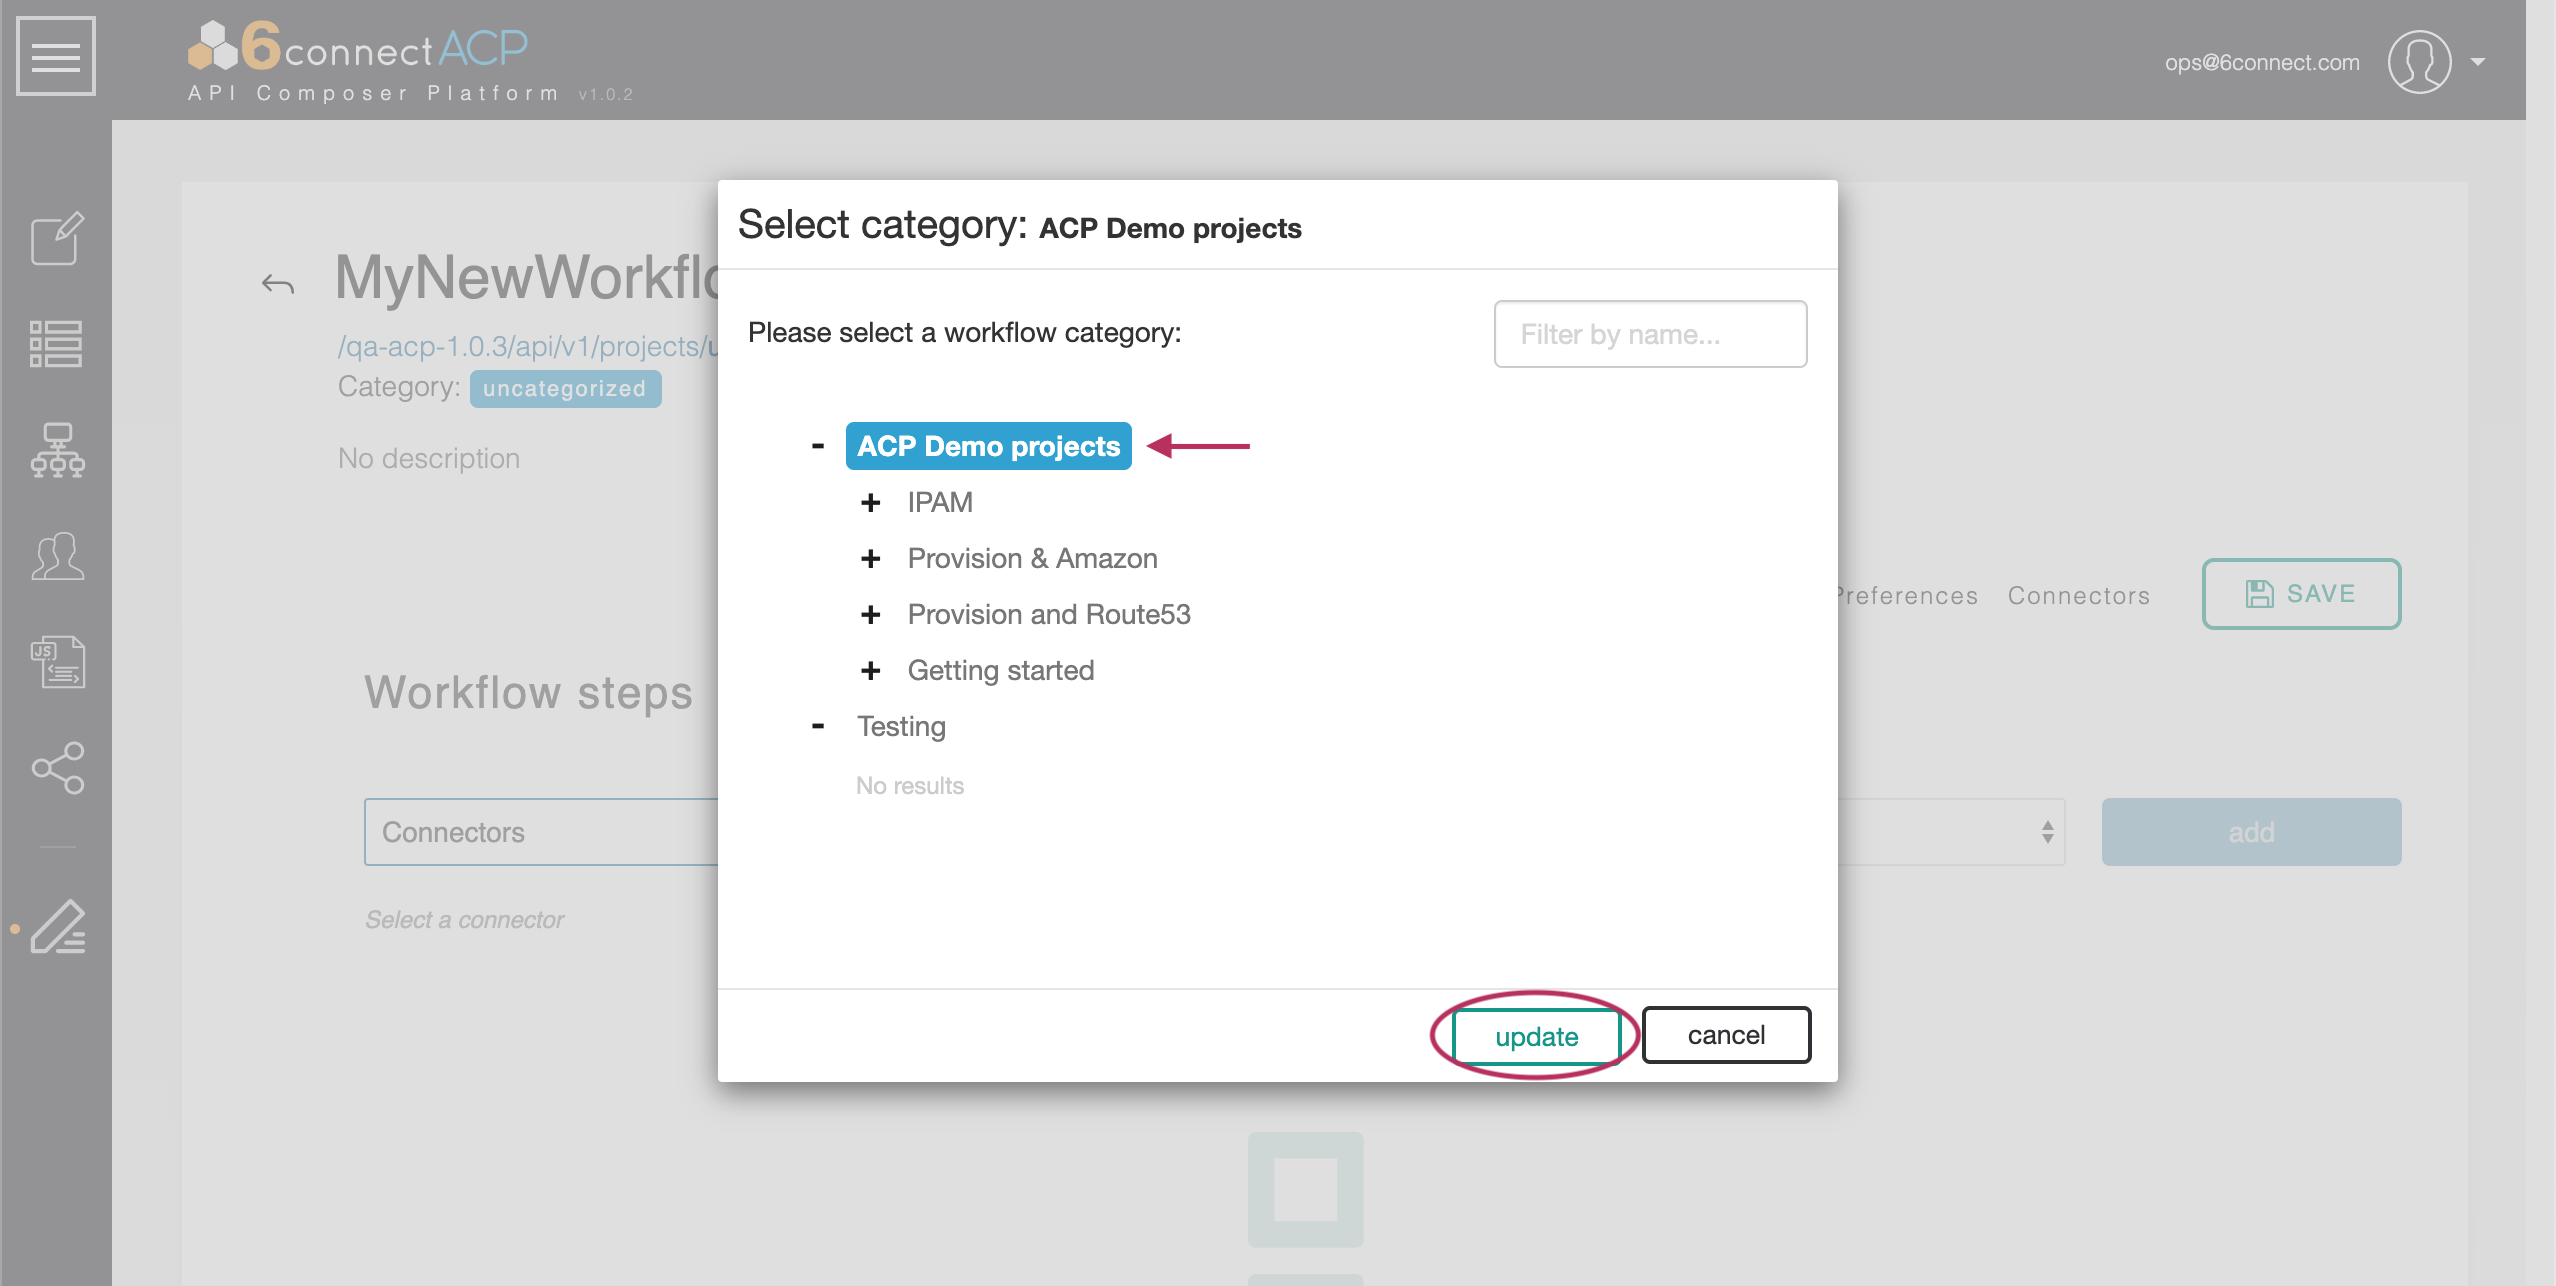
Click on the expand icons ![]() to browse the category lists, or filter from the search box. Click on the desired category to select it, then click "update" to apply the category to your Workflow.
to browse the category lists, or filter from the search box. Click on the desired category to select it, then click "update" to apply the category to your Workflow.
Description
You may also add a description to your Workflow.

Double-Click inside the description field to edit the description, when complete click "Close" or click anywhere outside of the description field to exit out.
Save!
Be sure to click the "Save" button for your Workflow after making one or more changes, or else the new Workflow will not be saved to the workflow list.
Step 4: Configure a connector to your 6connect ProVision service. Click the “Connectors” button to the left of the “Save” button in the upper-right corner to bring up the Edit Connectors screen.
...