...
Step 3: Edit Workflow Information
Name
New workflows are initially named “untitled”, and this name appears in the upper-left.
...
Give your Workflow a new name by clicking “edit” next to the current workflow name. Rename it as desired, then hit "close".
Category
If desired, you can edit the category for your new workflow. Click on the current category ("uncategorized", for a new Workflow) to open the Select Category screen.
...
Click on the expand icons ![]() to browse the category lists, or filter from the search box. Click on the desired category to select it, then click "update" to apply the category to your Workflow.
to browse the category lists, or filter from the search box. Click on the desired category to select it, then click "update" to apply the category to your Workflow.
Description
You may also add a description to your Workflow.
...
Step 4: Configure Connector
Configure The next step is to configure a connector to your 6connect ProVision (or other supported connector) service. Connectors are associated per-Workflow, so a new Workflow will need to either have a new connector instance created or one imported from an existing Workflow.
For this example, we will configure a new connector to a ProVision instance.
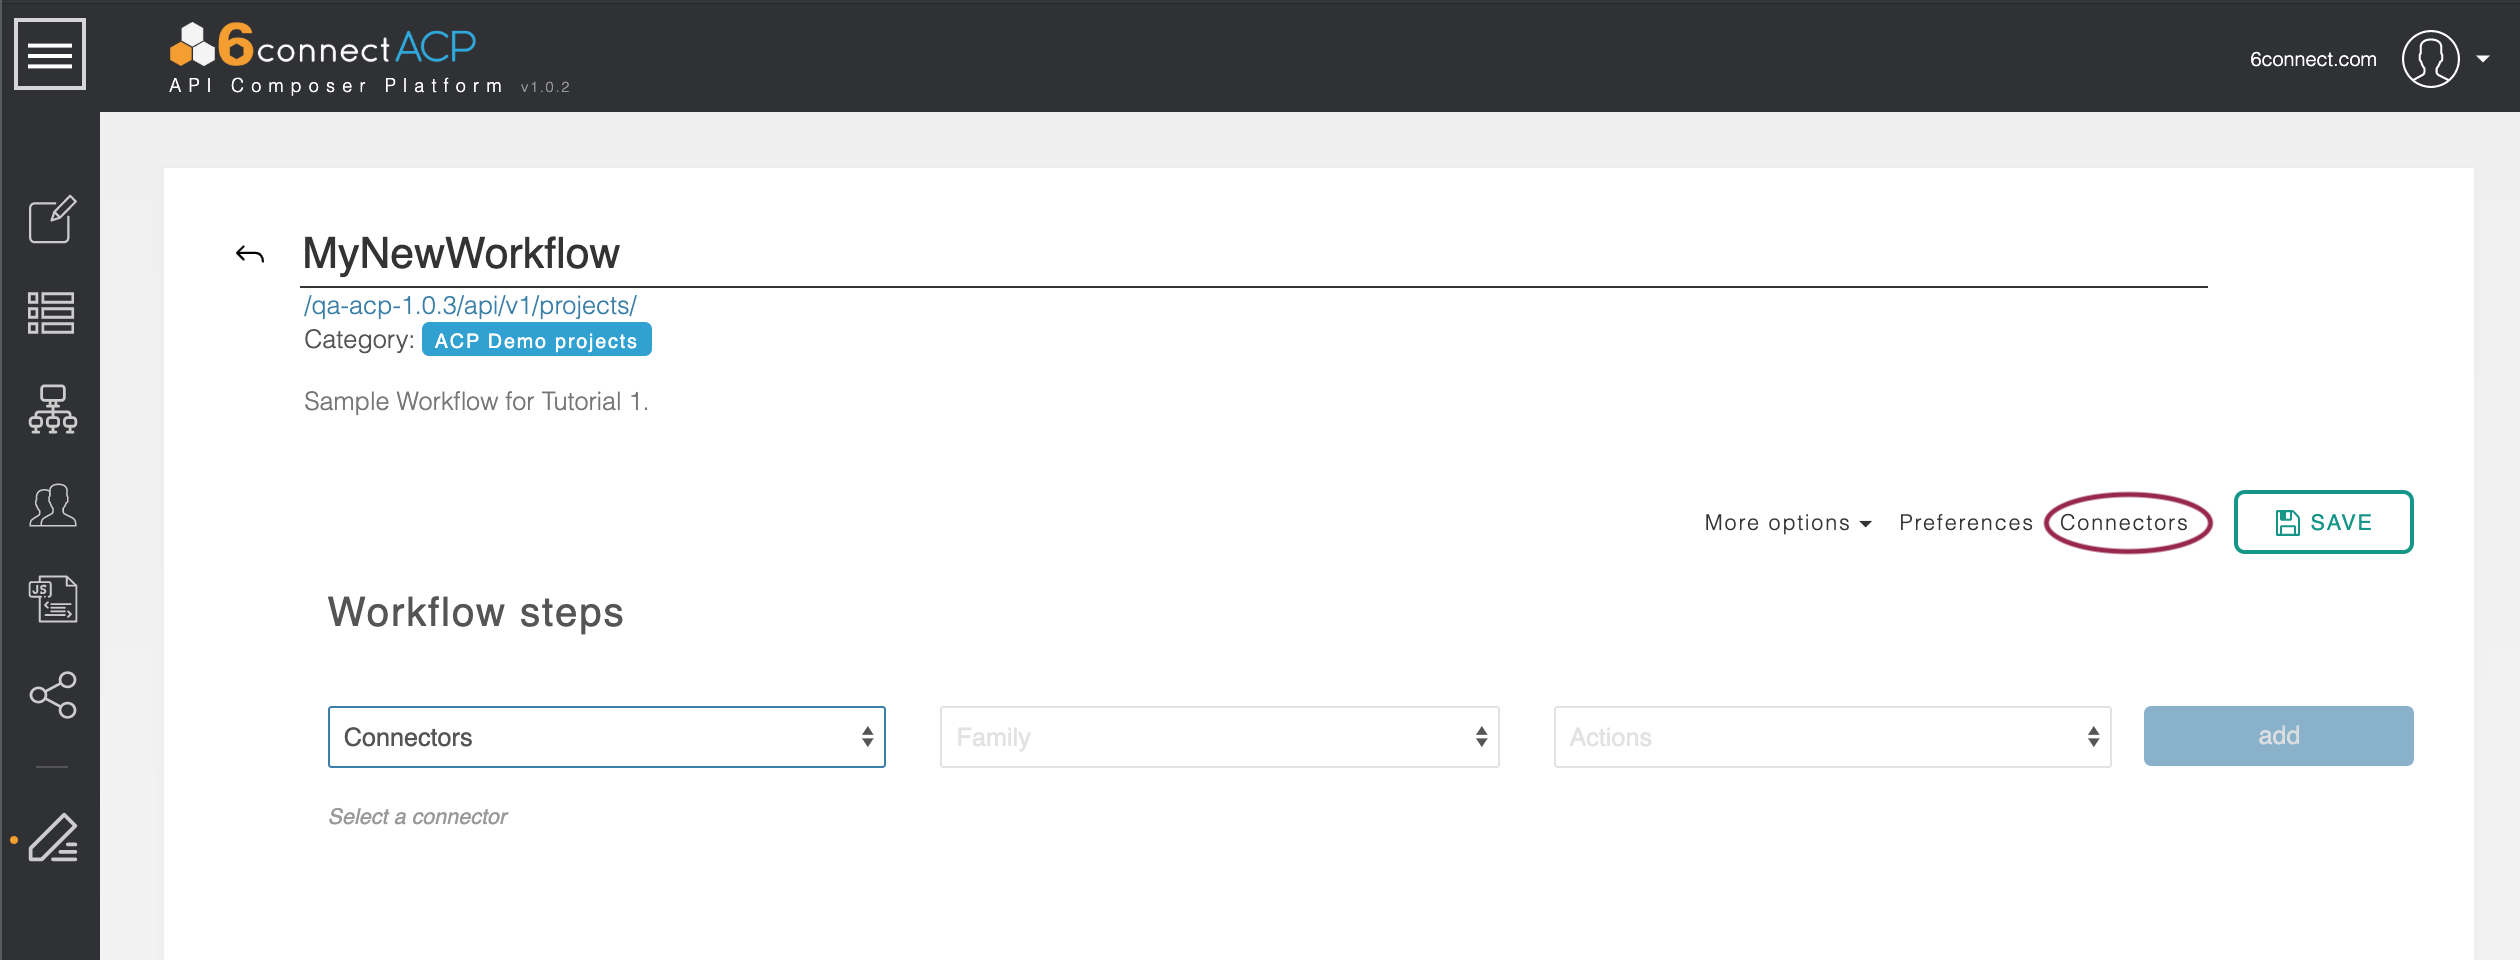
Click the “Connectors” button to the left of the “Save” button in the upper-right corner to bring up the Edit Connectors screen.
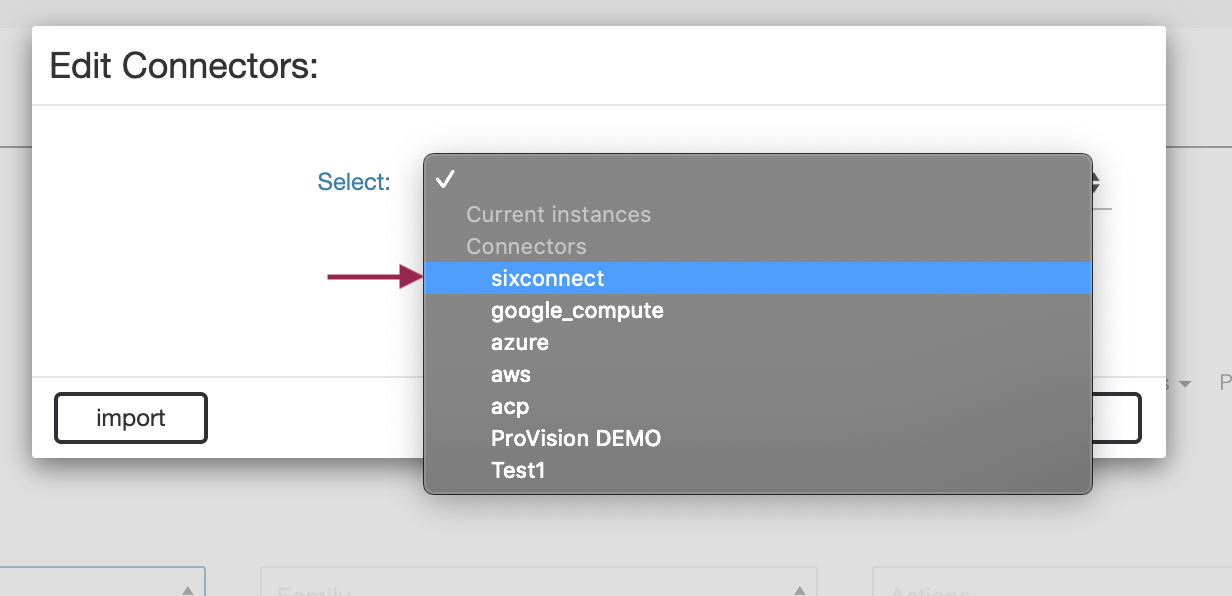
From the select box, pick “sixconnect.”
Name this connector “ProVision 1” and supply the URL for your ProVision instance and a valid username and password for that instance. Ue
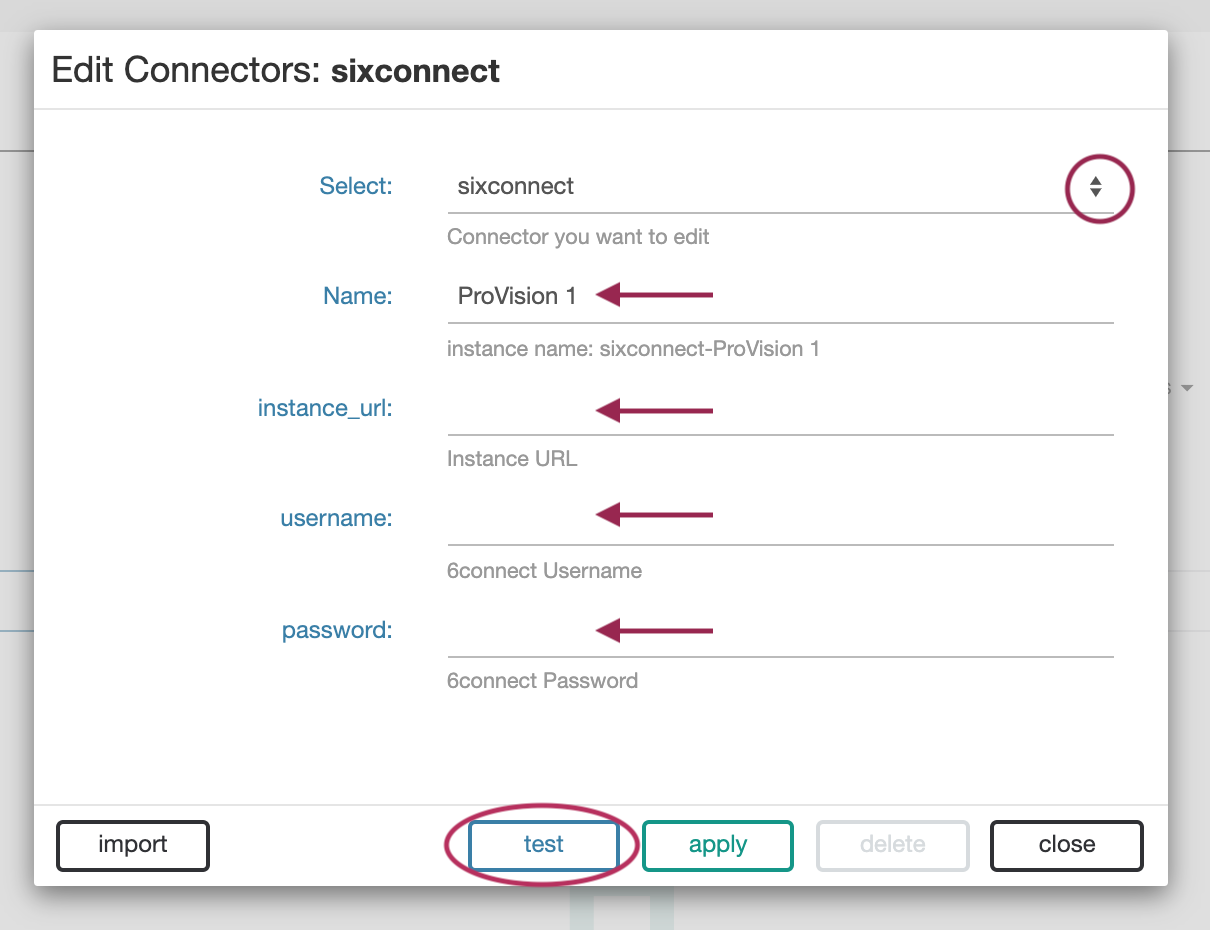
Use the ‘Test’ button to make sure the information is correct. Hit ‘Apply’ and then ‘Close.’. If successful, a "Connector test success." message appears to confirm a valid connection.
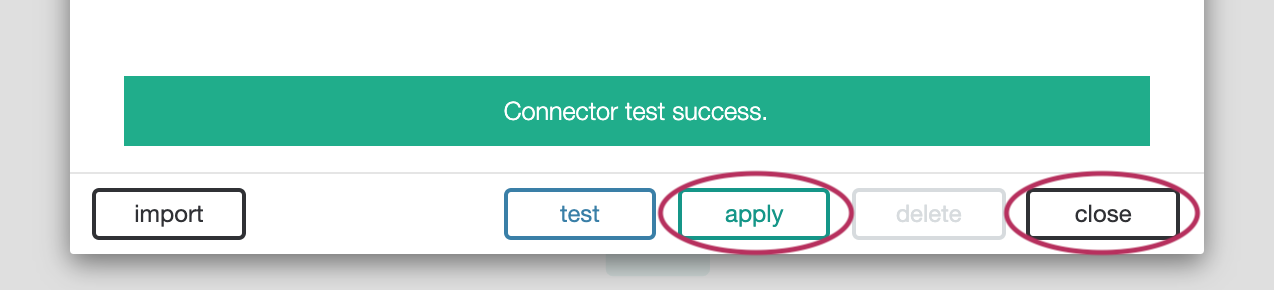
After confirming the test succeeds, save the connector by clicking ‘Apply’, then ‘Close' to exit out of the connector screen and return to the Workflow page.
Step 4: Add Workflow Steps
Step 5: Now it is time to add the first step of the Worfklow.
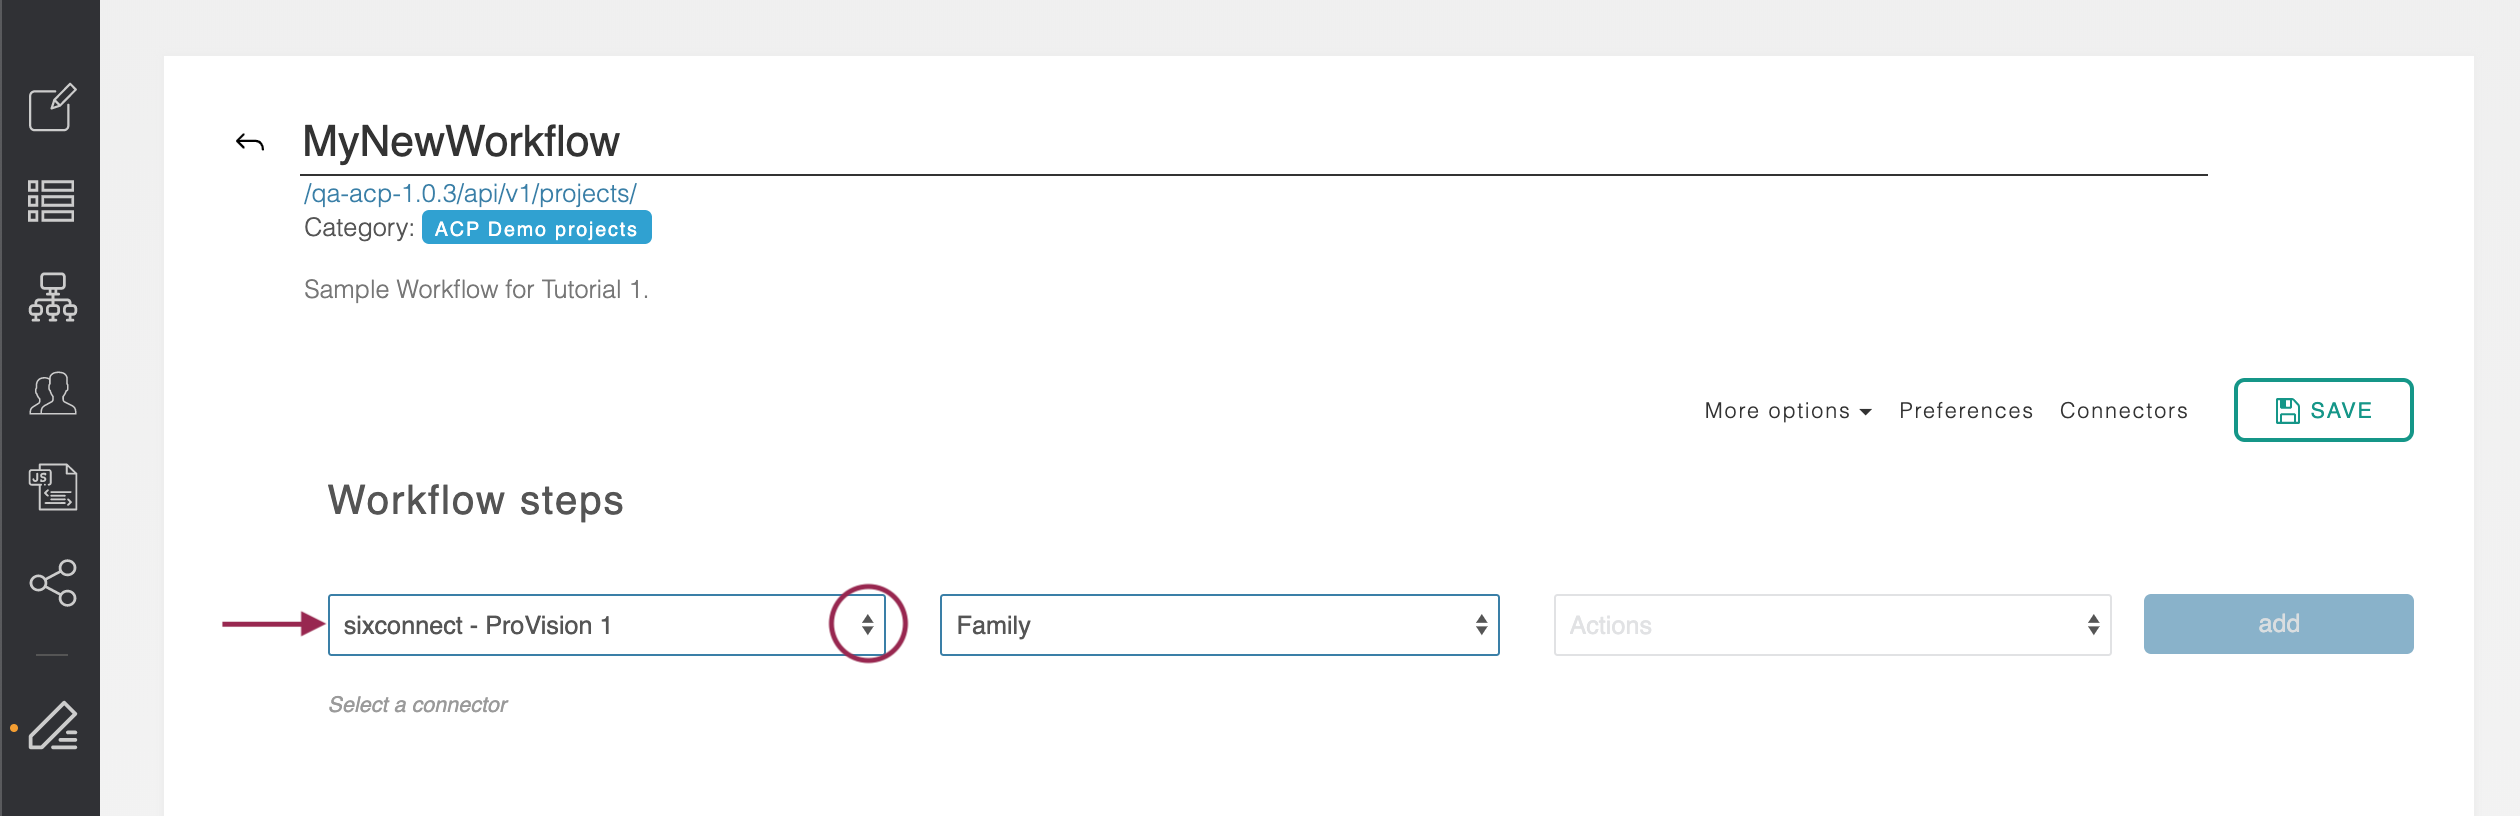
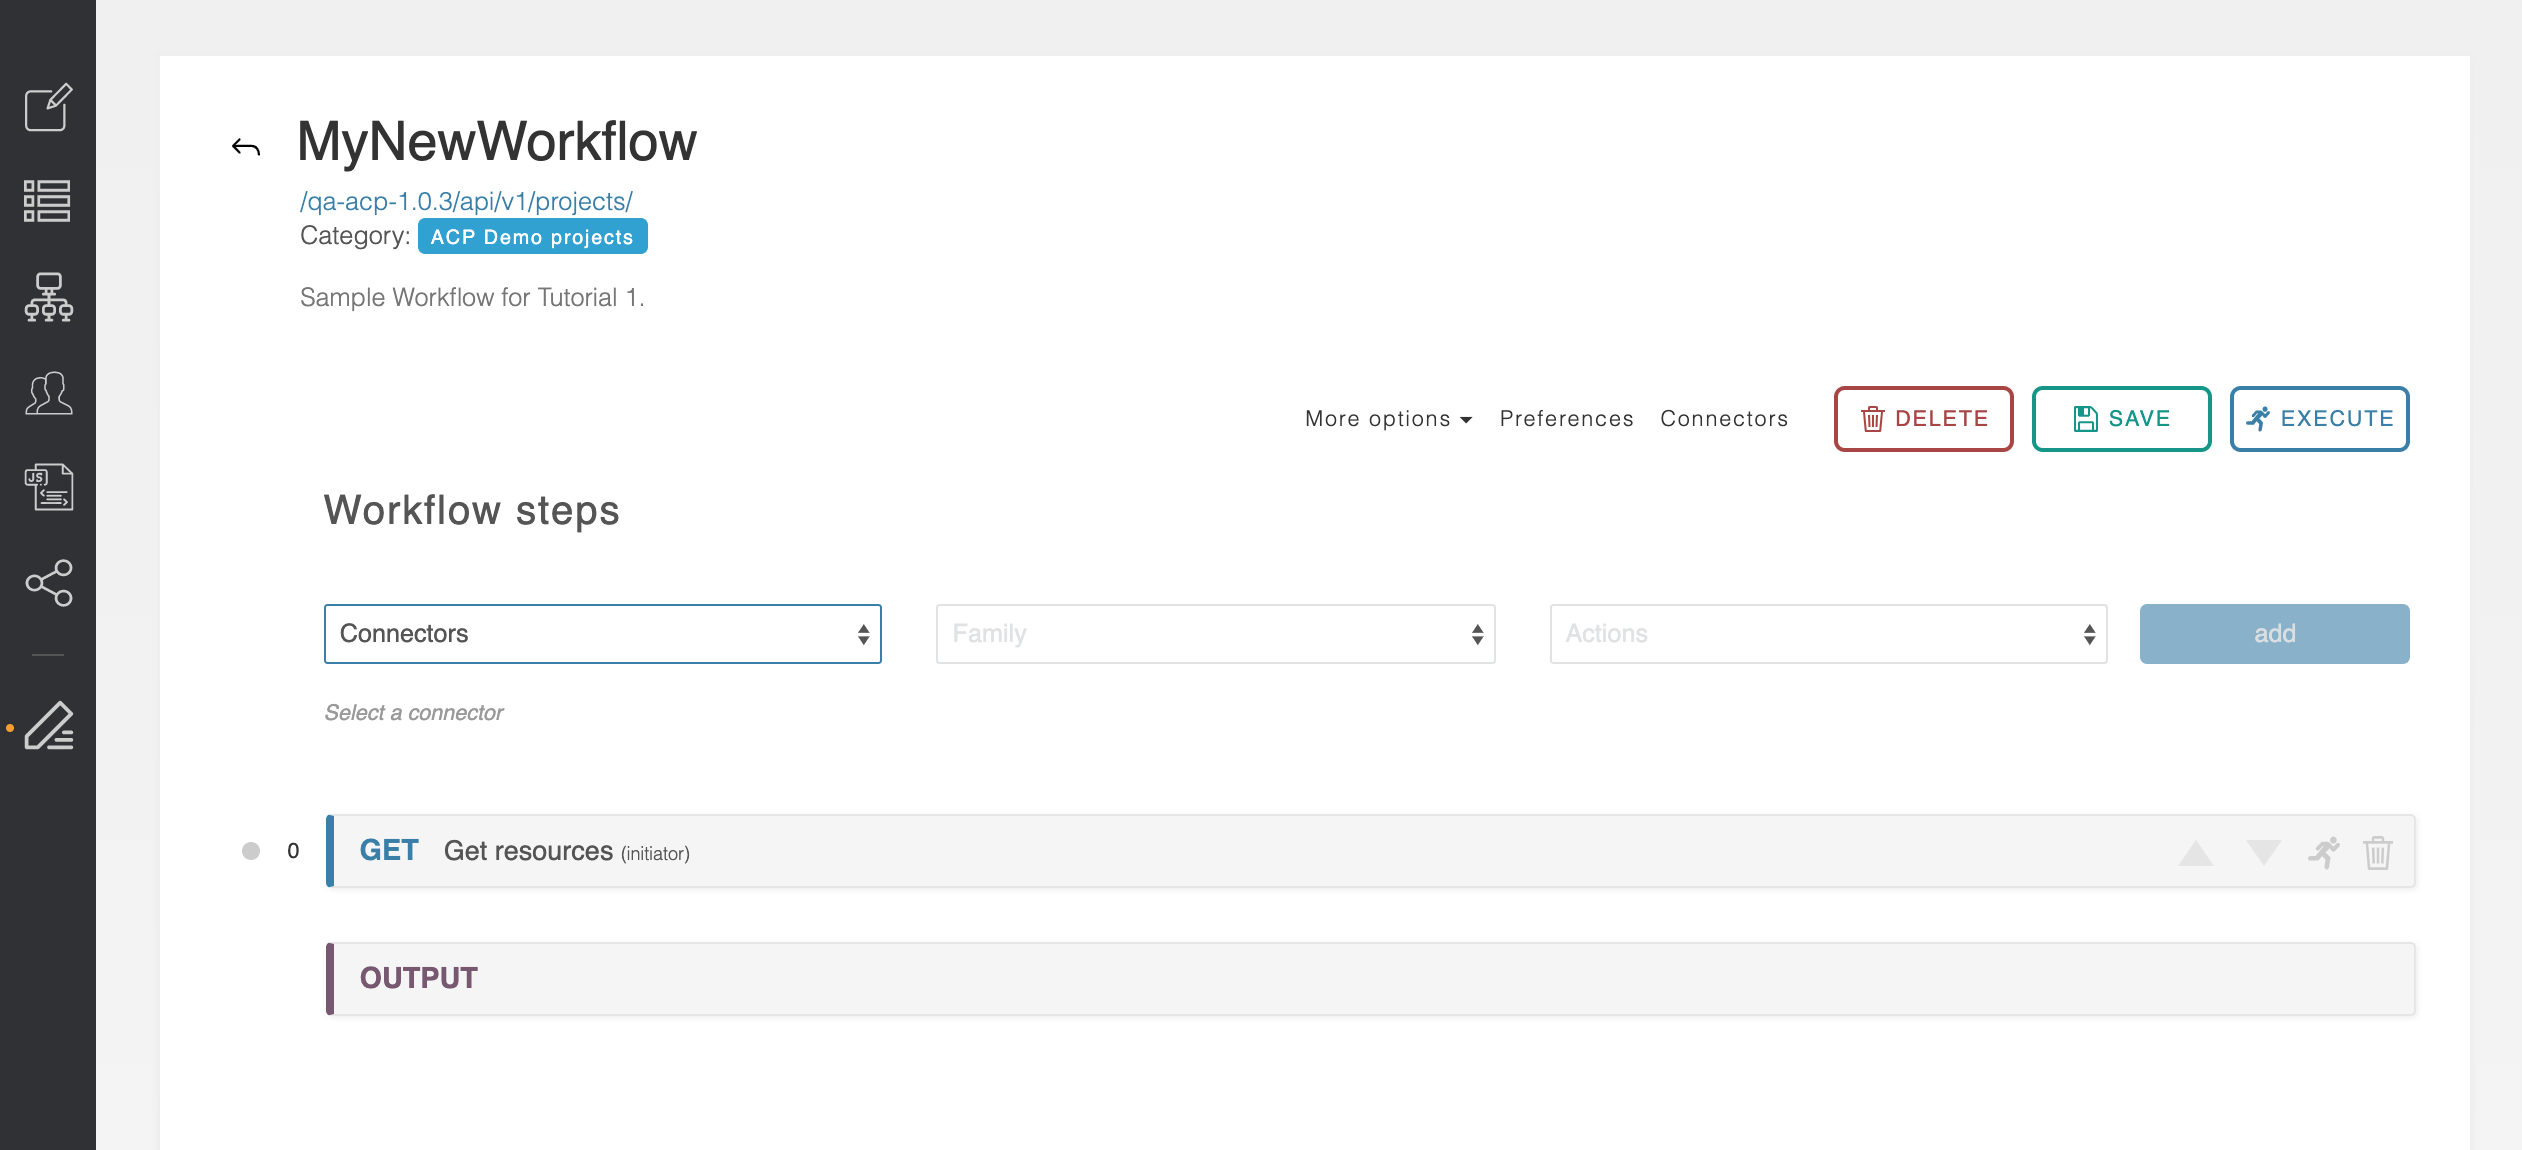
From the “Add New Step” form in the main ACP area “Workflow Steps” area on the Workflow page, select the connector we have just made: “sixconnect - ProVision 1”.
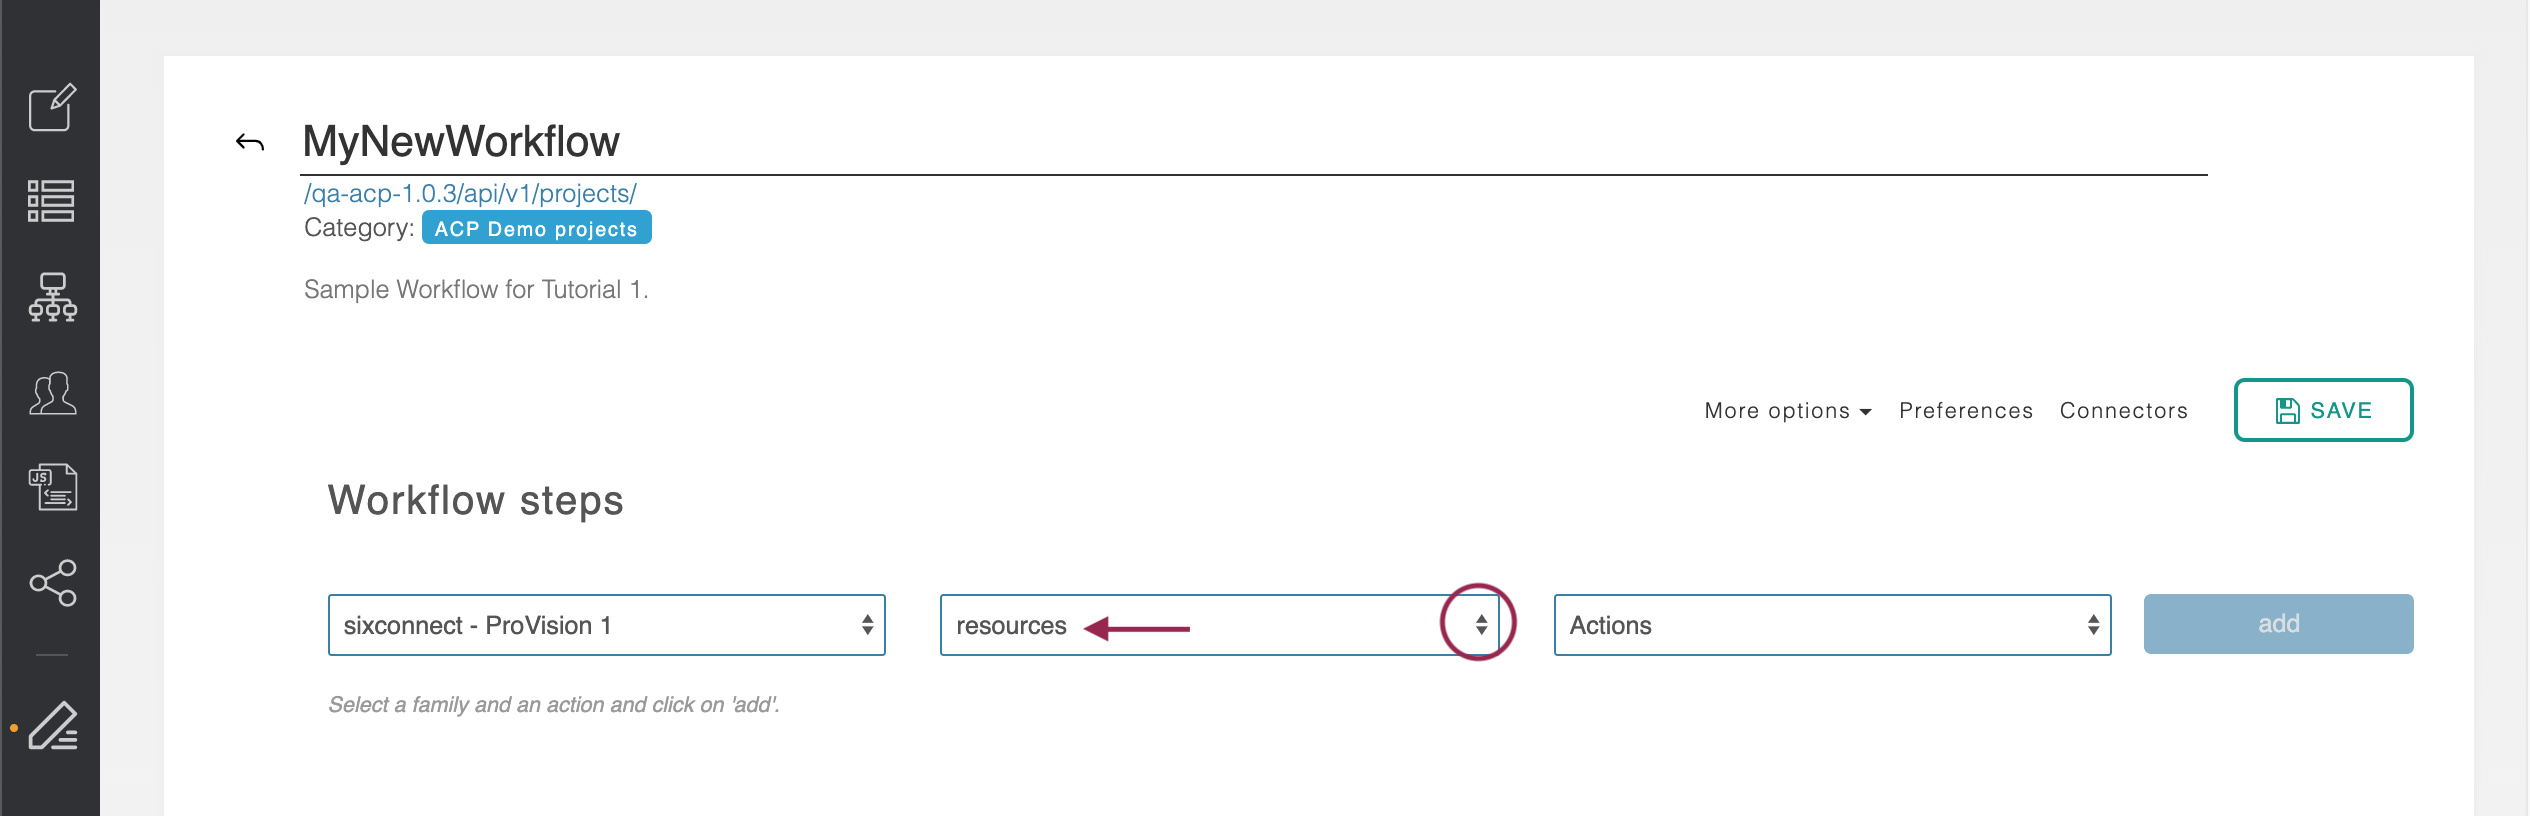
The middle box of the form will pull in all the API Endpoint Families for this product. Pick ‘resources.’
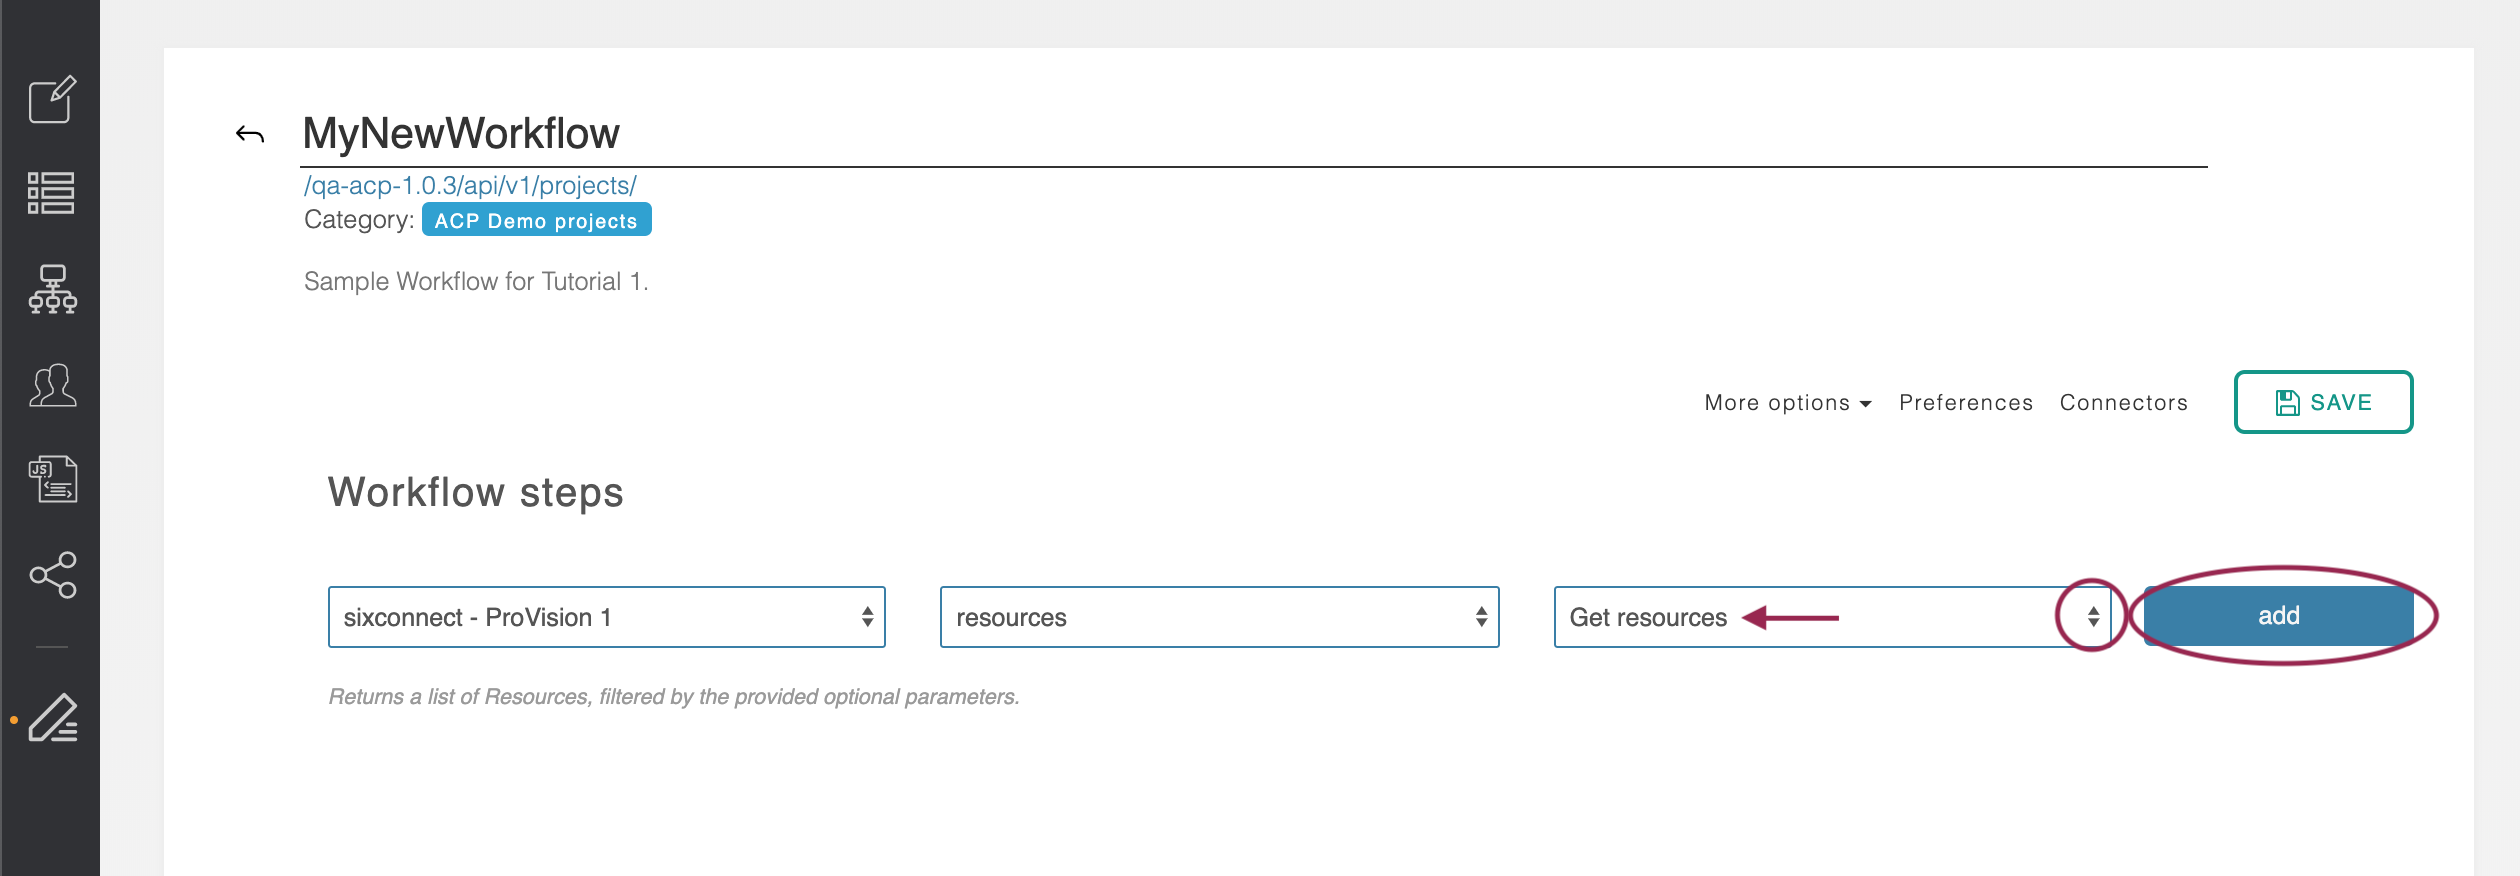
The final box will pull in all of the specific endpoints belonging to that family. Pick “Get resources” and click the ‘+’ ‘Add’ button to the right of the form.
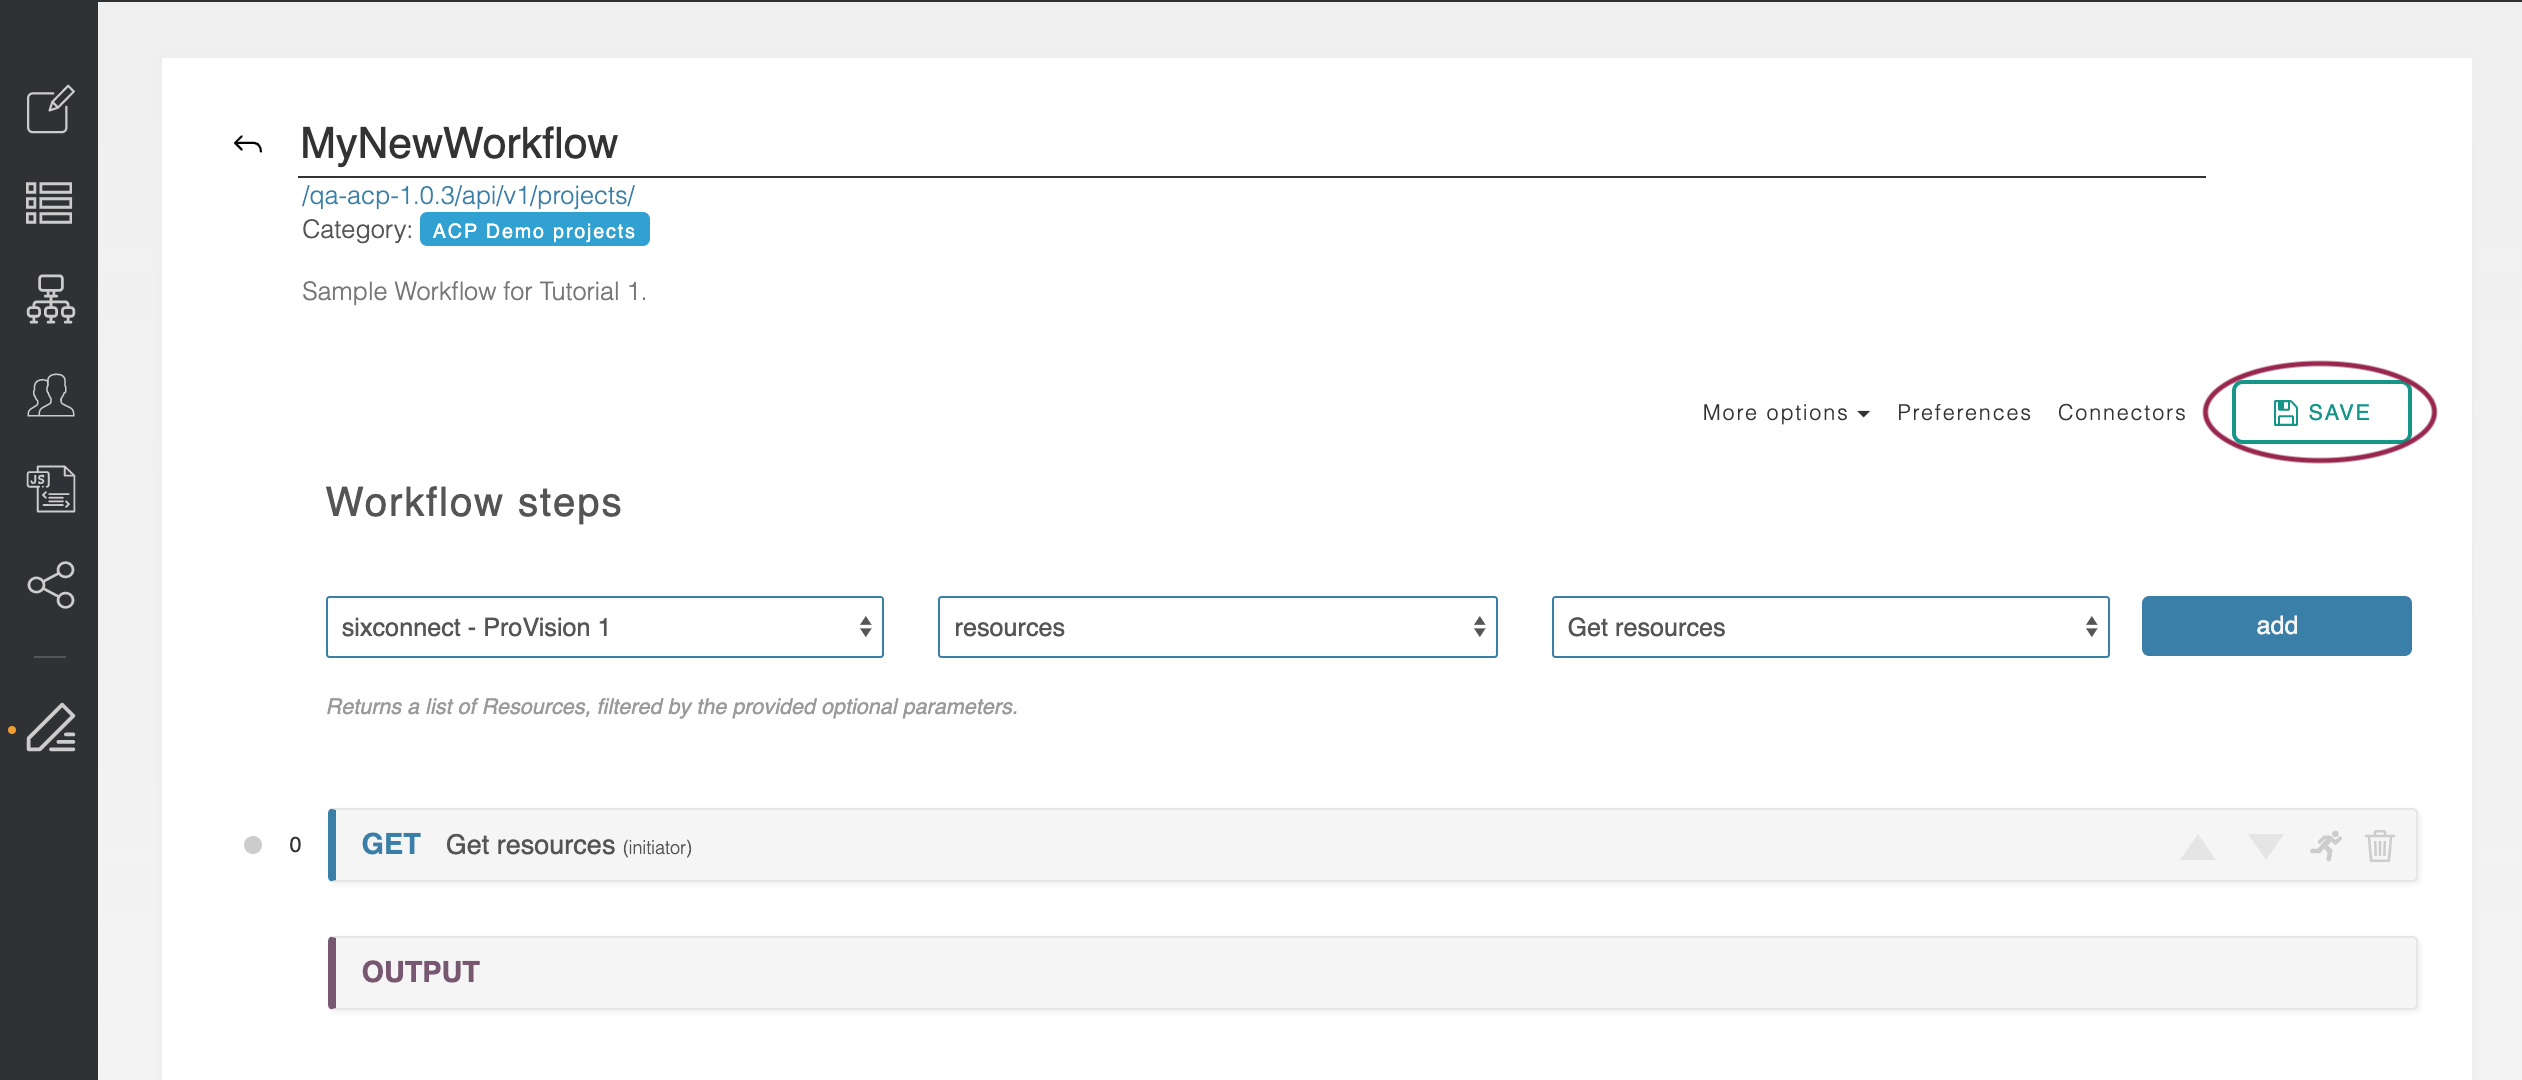
The new step is added to the main ACP work area. An ‘Output’ step is automatically created below it.

At this point - being that a valid step has been added - you can save your new workflow by clicking "Save" near the top right of the Workflow page.
After the first successful save of a new Workflow, the "Delete" and "Execute" buttons will be available.
Step 6: Click the blue ‘Get Resources’ step we just created. ACP has read in the API specification for this endpoint and will display forms for required and optional parameters. The ‘Get resource’ API call does not have any required parameters, so none are shown here. All optional parameters are initially set to ‘omitted,’ meaning they will not be included with the API call on this step.
...