...
Once you find your Tutorial 1 Workflow, click on the ‘Clone’ icon.

and enter Enter “Tutorial Workflow 2” as the new name. Click , then click ‘clone.’

The new Workflow will be created and added to the Workflow List.
Step 3: Open Tutorial 2 Workflow
From the Workflow list, find and click on the name Click “Tutorial Workflow 2” to open your new workflow.
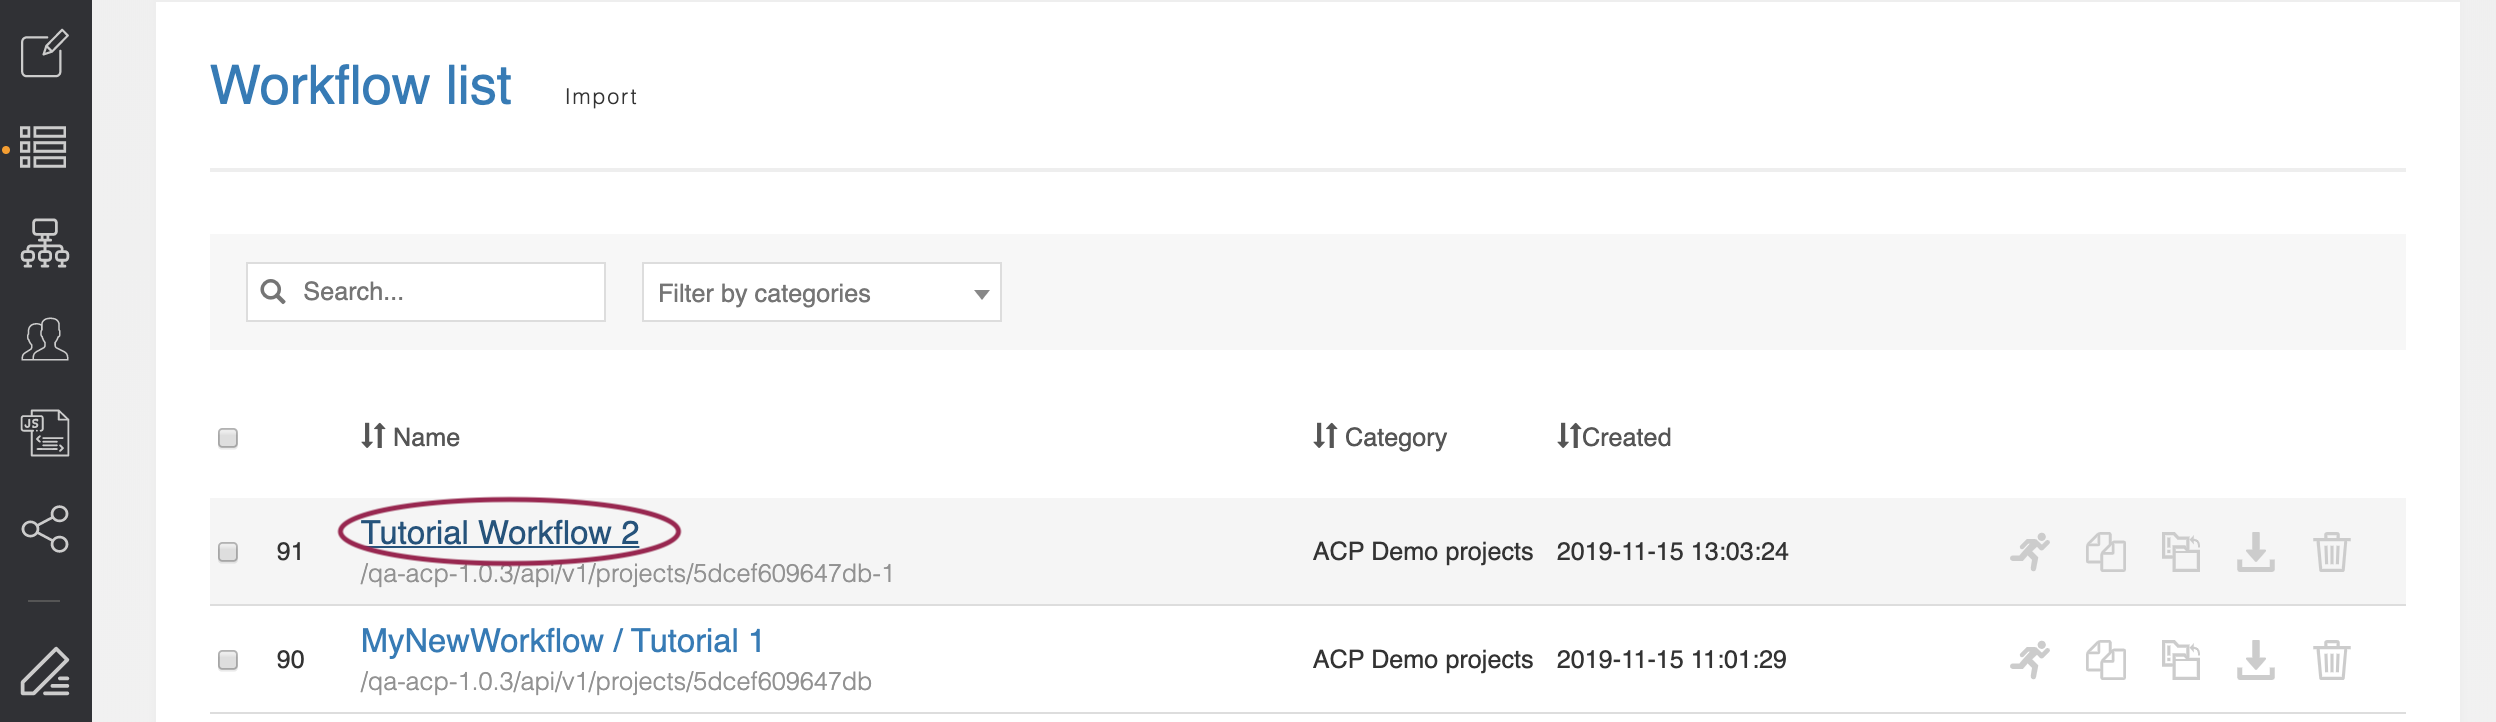
This workflow is an exact copy of the previous tutorial, complete with all steps, settings, and connectors.
| Info |
|---|
If another Workflow is still open (such as Tutorial 1 Workflow), a warning may appear confirming that you wish to close the previous workflow. If any unsaved changes exist in the previous workflow, select 'Cancel', save the Workflow, close, and then re-open the Tutorial 2 Workflow. Otherwise, select "Close" and continue to the next step of Tutorial 2. |
Step 4: Edit Tutorial 2 Inputs
Step 4: Click the ‘Get Resources’ step we created previously and scroll down to the ‘name’ field we assigned to ‘Default Value: TLR’. Change this field to ‘user given.’
...