...
Once enabled, the DHCP Management Gadget will show sections for "Group Management", "Connection Configuration", "Server Details", "Scan Server", "DHCP Pools", and "Create a New DHCP Pool, and Current Pushed Configuration". Once pushes or unpushed configuration changes occur, a "Current Pushed Configuration" or "Unpushed Configuration" section will be available for review.

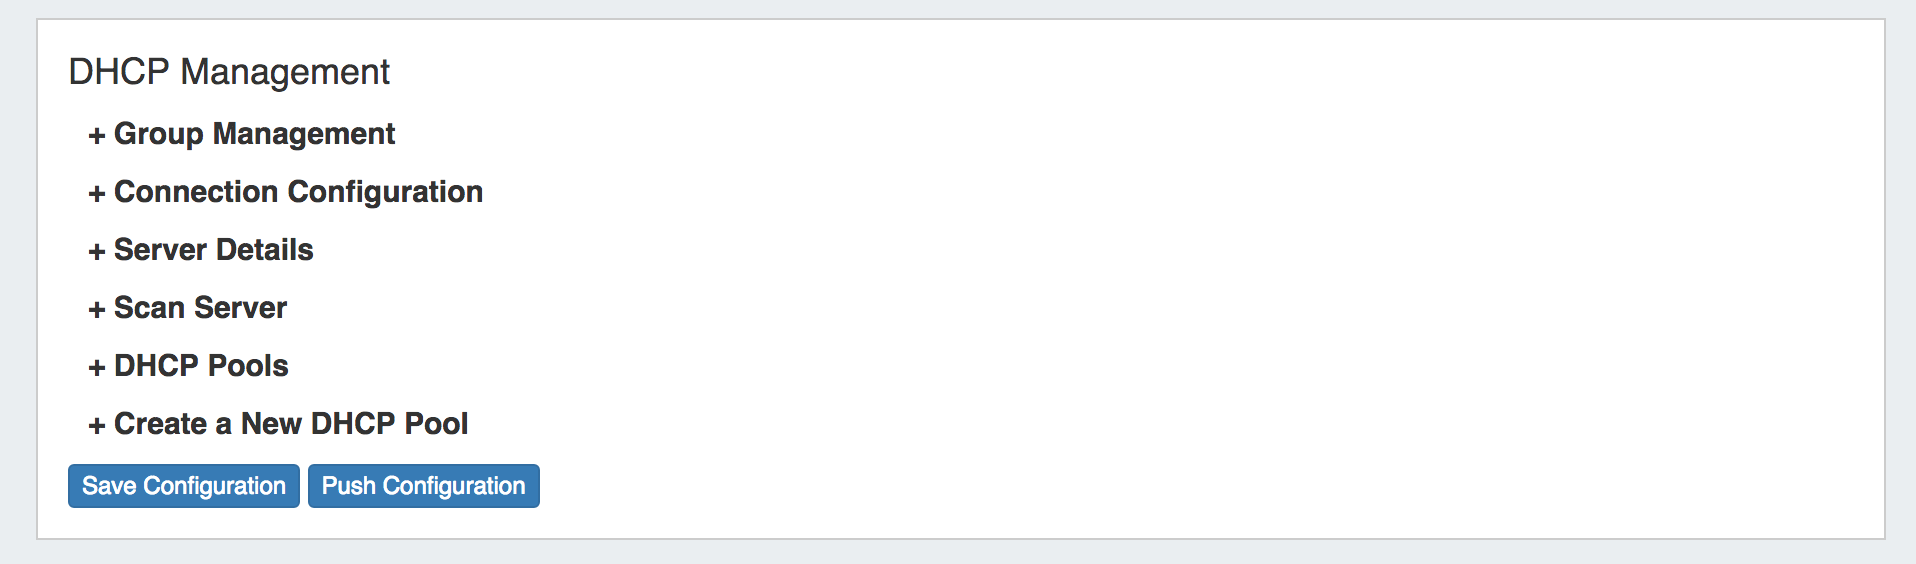
These sections will be reviewed in detail further on in this section.
...
Once DHCP functions are enabled for a Resource Section, you will be able to manage configurations per Resource by expanding the relevant areas on the Resource's Entry page.
Group Management (BETA)
This section of the DHCP Management Gadget allows you to create and manage DHCP Groups. DHCP groups help you to organize all of your Pools and Servers together into a single place, and push pools linked to a DHCP Group to all of the servers attached to that Group. It also allows for the designation of a DHCP Failover Peer for ISC BIND servers.
Working with DHCP Groups
Step 1: Create DHCP Servers
| Expand |
|---|
| Ensure that all necessary DHCP servers are created via the DHCP Tab Add DHCP Server button, ensuring that Connection Configuration is set. |
...
| All DHCP servers listed under the DHCP tab will be available to select to attach to DHCP Groups (in the format of "ResourceID - DHCP Module"). |
Step 2: Create DHCP Groups
| Expand |
|---|
Select a DHCP server page with the DHCP Management Gadget from, and expand the Group Management section. Note: Any DHCP server page with the Manangement Gadget is fine to use, as the Group Management section will globally update to be the same in any DHCP Management Gadget.
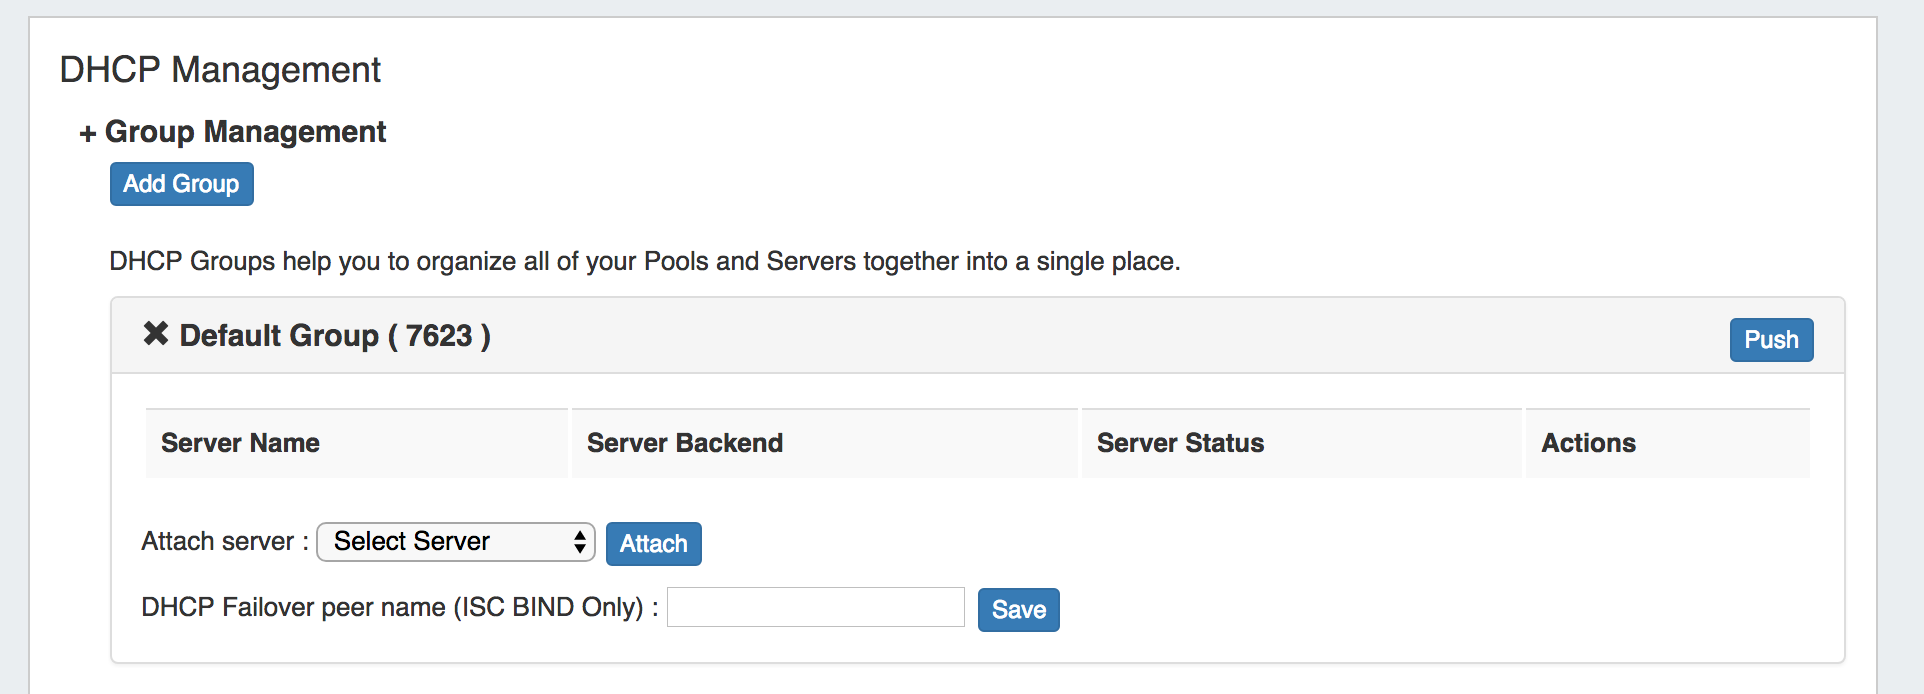
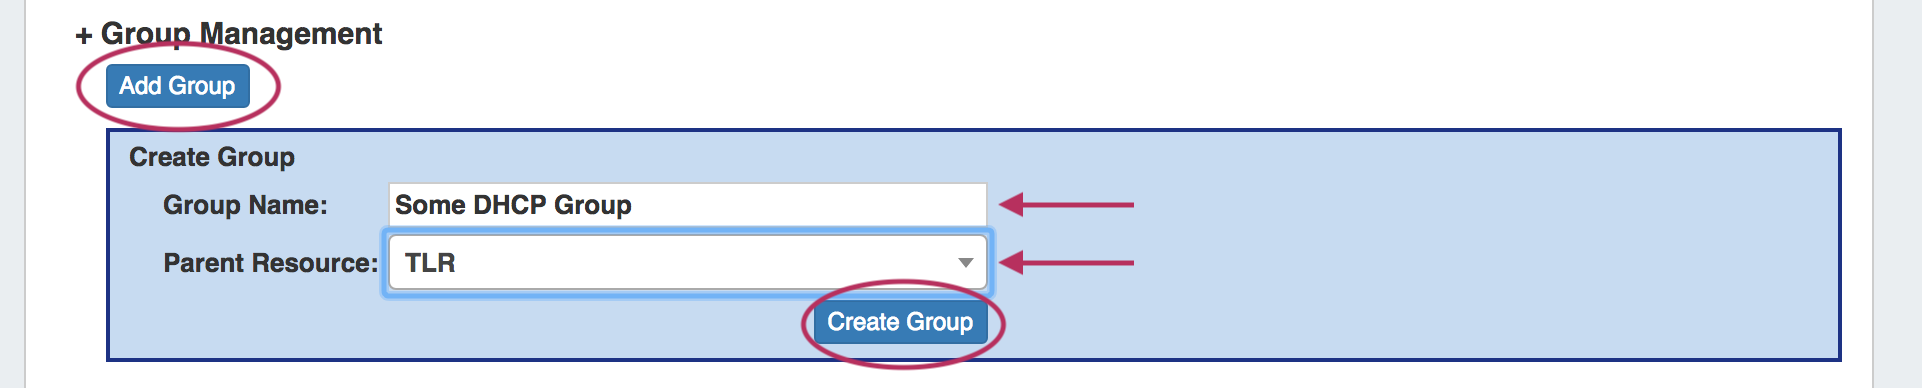
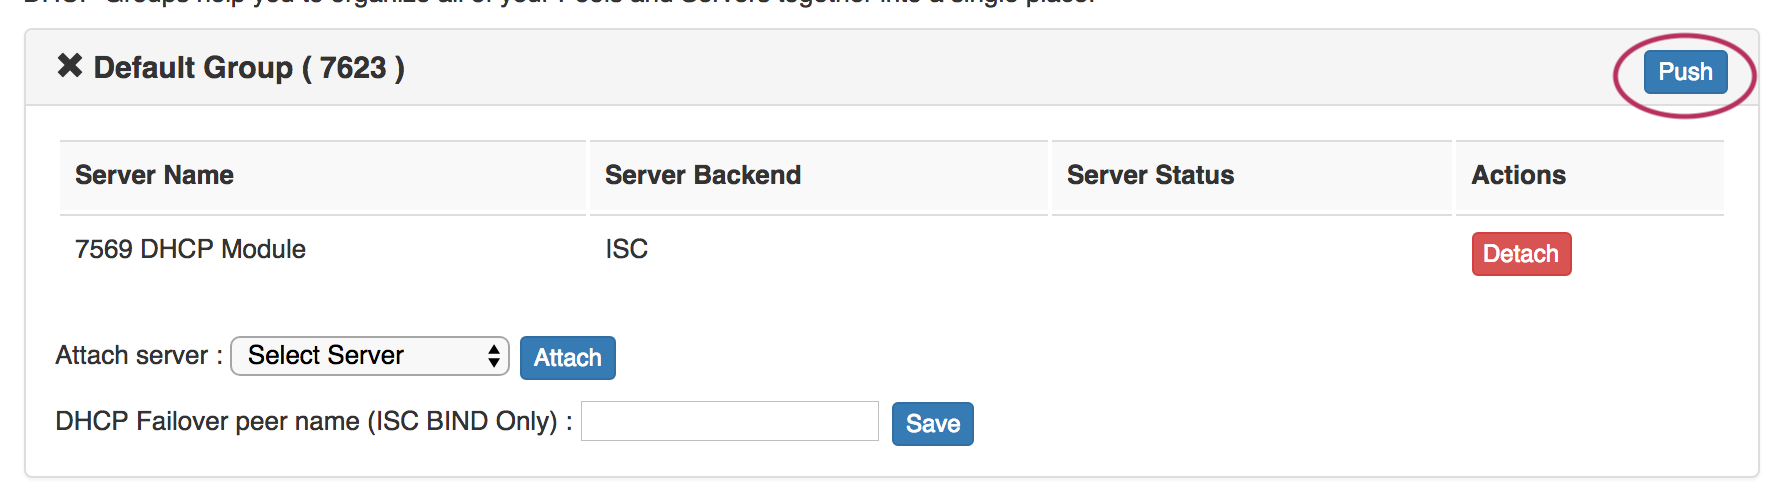
A "Default Group" should be available immediately, or you can click the "Add Group" button to create a new DHCP Group. Type in the desired Group Name and select a Parent Resource for the Group, then click "Create Group".
Your new Group will be available in the DHCP Management Gadget. To delete the DHCP Group, click the "X" next to the Group name. |
Step 3: Attach DHCP Servers to Groups
| Expand |
|---|
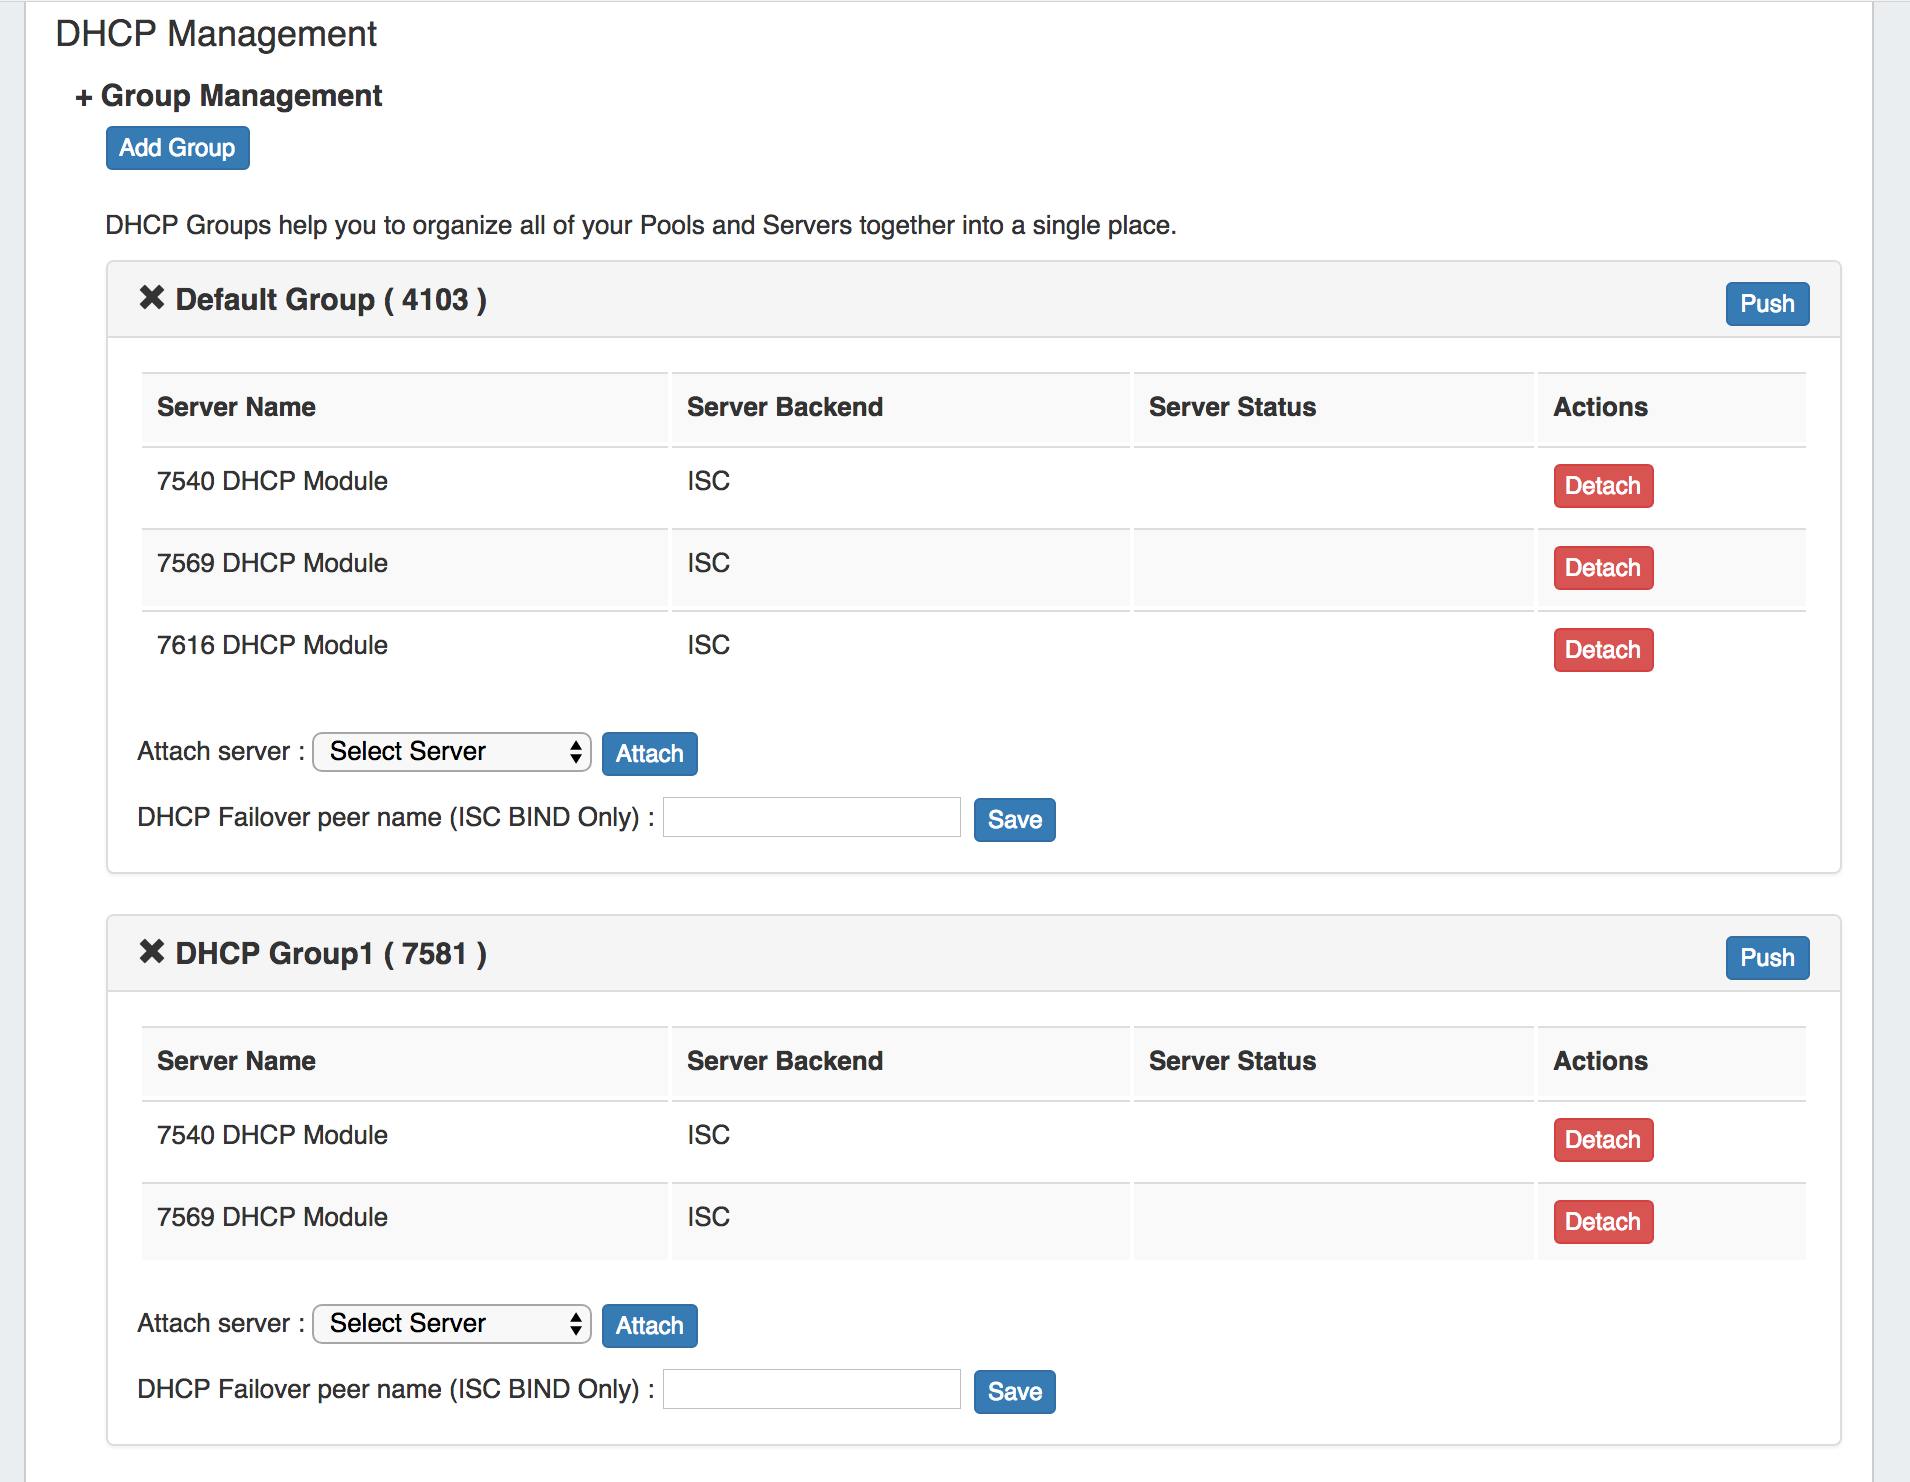
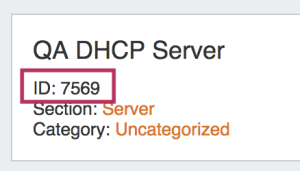
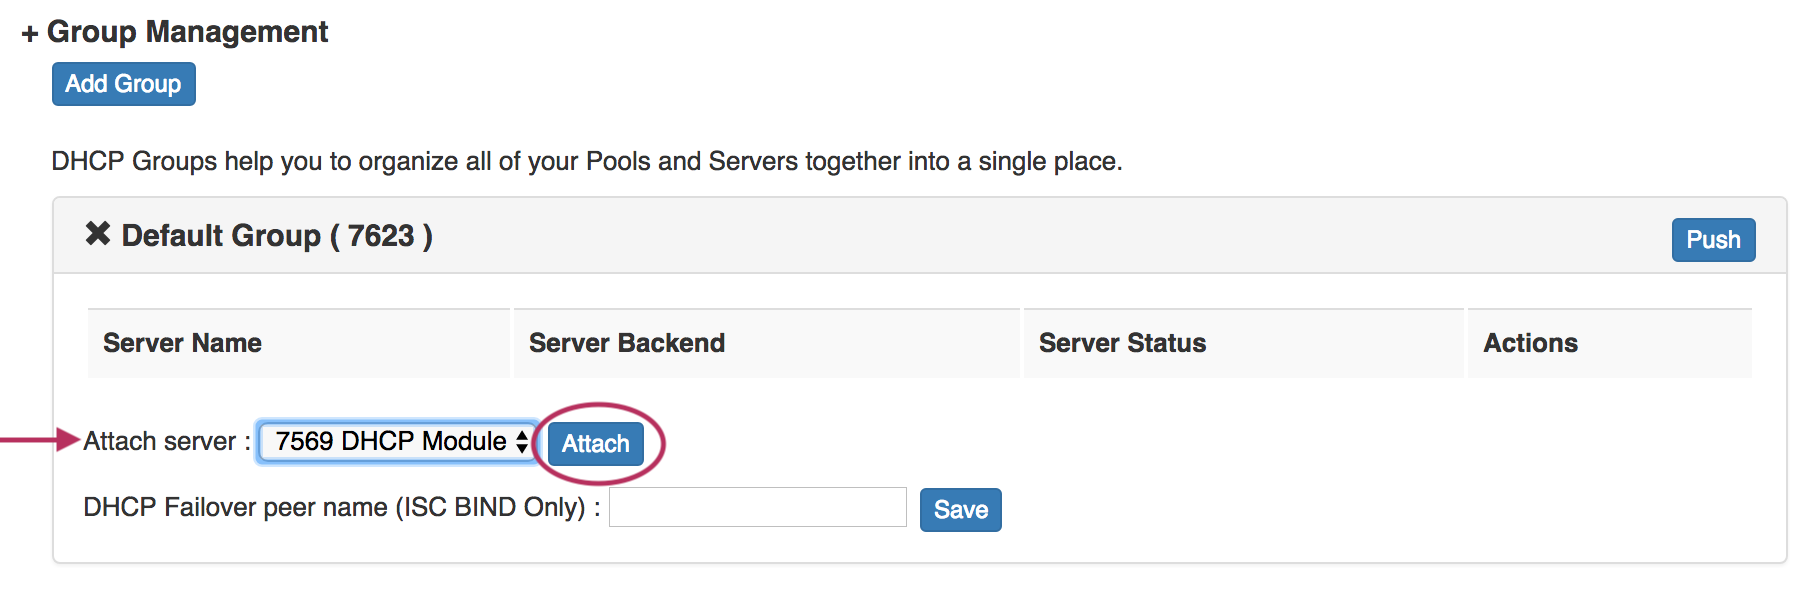
All DHCP servers listed under the ProVision DHCP Tab will be available to select and attach to the Group. They are identified by their resource ID number, so if necessary, check the server's resource ID number in the resource information Gadget.
Select the desired server from the "Attach Server" selector, then click "Attach". The server is now attached to the group and available for pushes.
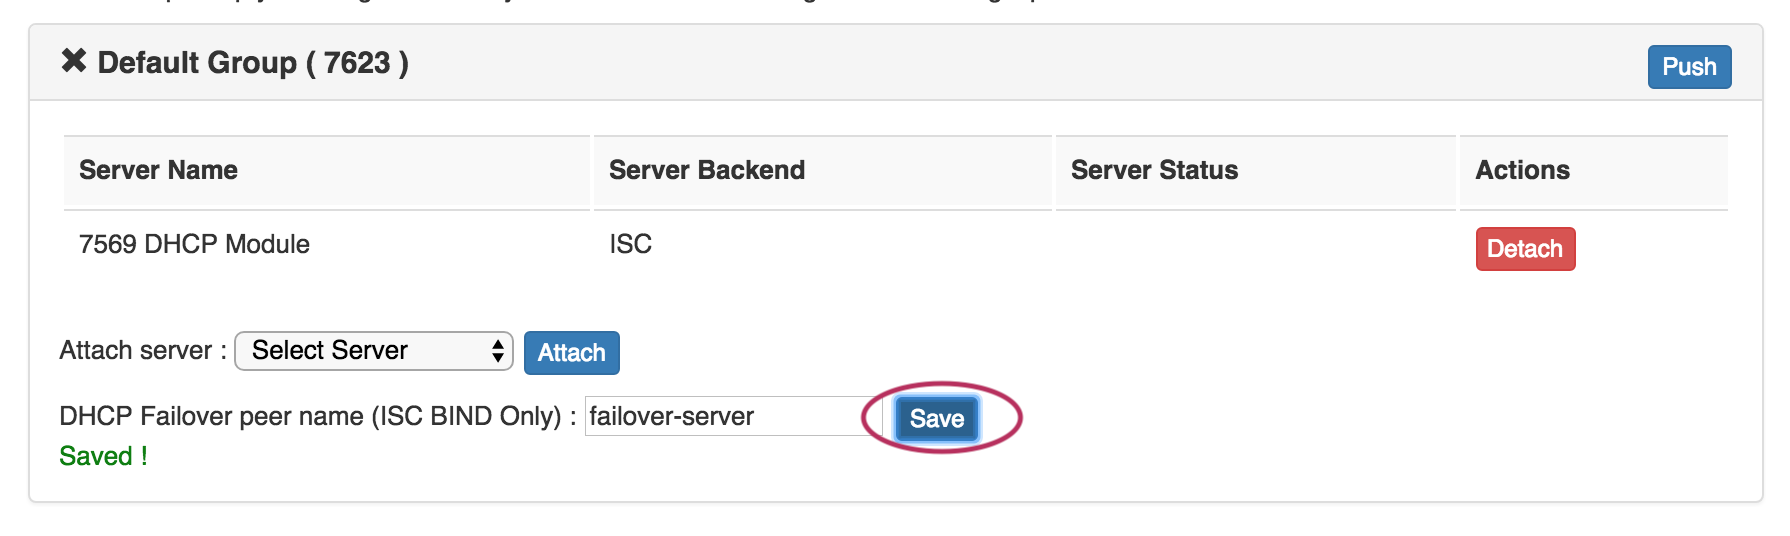
If needed, a server may be removed from a DHCP Group by clicking the "Detach" button. |
Step 4: Identify Failover Peer (Optional - ISC Bind Only)
| Expand |
|---|
If a DHCP failover peer is configured for the server, enter the server name and click the "Save" button. In the event that the primary server fails to push, the push will be sent to the failover peer instead.
|
Step 5: Link Pools to DHCP Groups
| Expand |
|---|
From the Existing Pools list under the DHCP Pools section, click the Action Menu for the pool you wish to link to a DHCP Group. From there, click "Link to Group".
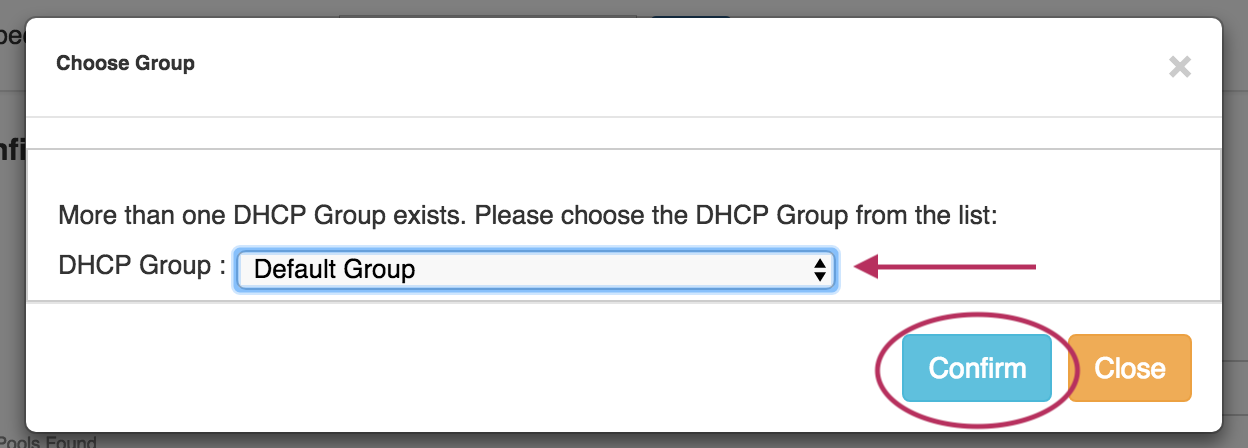
If multiple DHCP Groups exist, a dialog will pop up for you to select the desired Group to link the pool to. Select the DHCP Group, then click "Confirm" to add the pool to the Group.
Once linked, the DHCP Pool will show under the "Linked Group Pools" area of the DHCP Pool section. From here, if desired, you may remove the pool from the group by clicking the Action Menu and "Remove Link".
|

Step 6: Push the DHCP Group
| Expand |
|---|
Lastly, click the "Push" button for the DHCP Group to push the linked pool(s) for the Group to the linked DHCP Module, and then push all DHCP servers linked to the Group.
While pushing, a status box will appear to show status and any errors, if applicable.
|
...
Connection Configuration
In this gadget area, you may enter in the information that will be used for ProVision to communicate to the DHCP Server.
...
In this area, the admin can specify what DHCP Pools are linked to the DHCP server or DHCP Groups.
This includes any host reservations as well as DHCP Pools as defined in the next section.
Use the Action menu on Existing Pools to Link to Server, DeleteLink to Group, or Delete Pool
The Action menu for Linked Pools will show the option to Remove Link from Pools.


Additional edits may be made to pools by clicking on the Pool name. This allows the Pool name, assignment, and lines to be changed. Be sure to hit "Save" after making changes.
...