DNS Groups
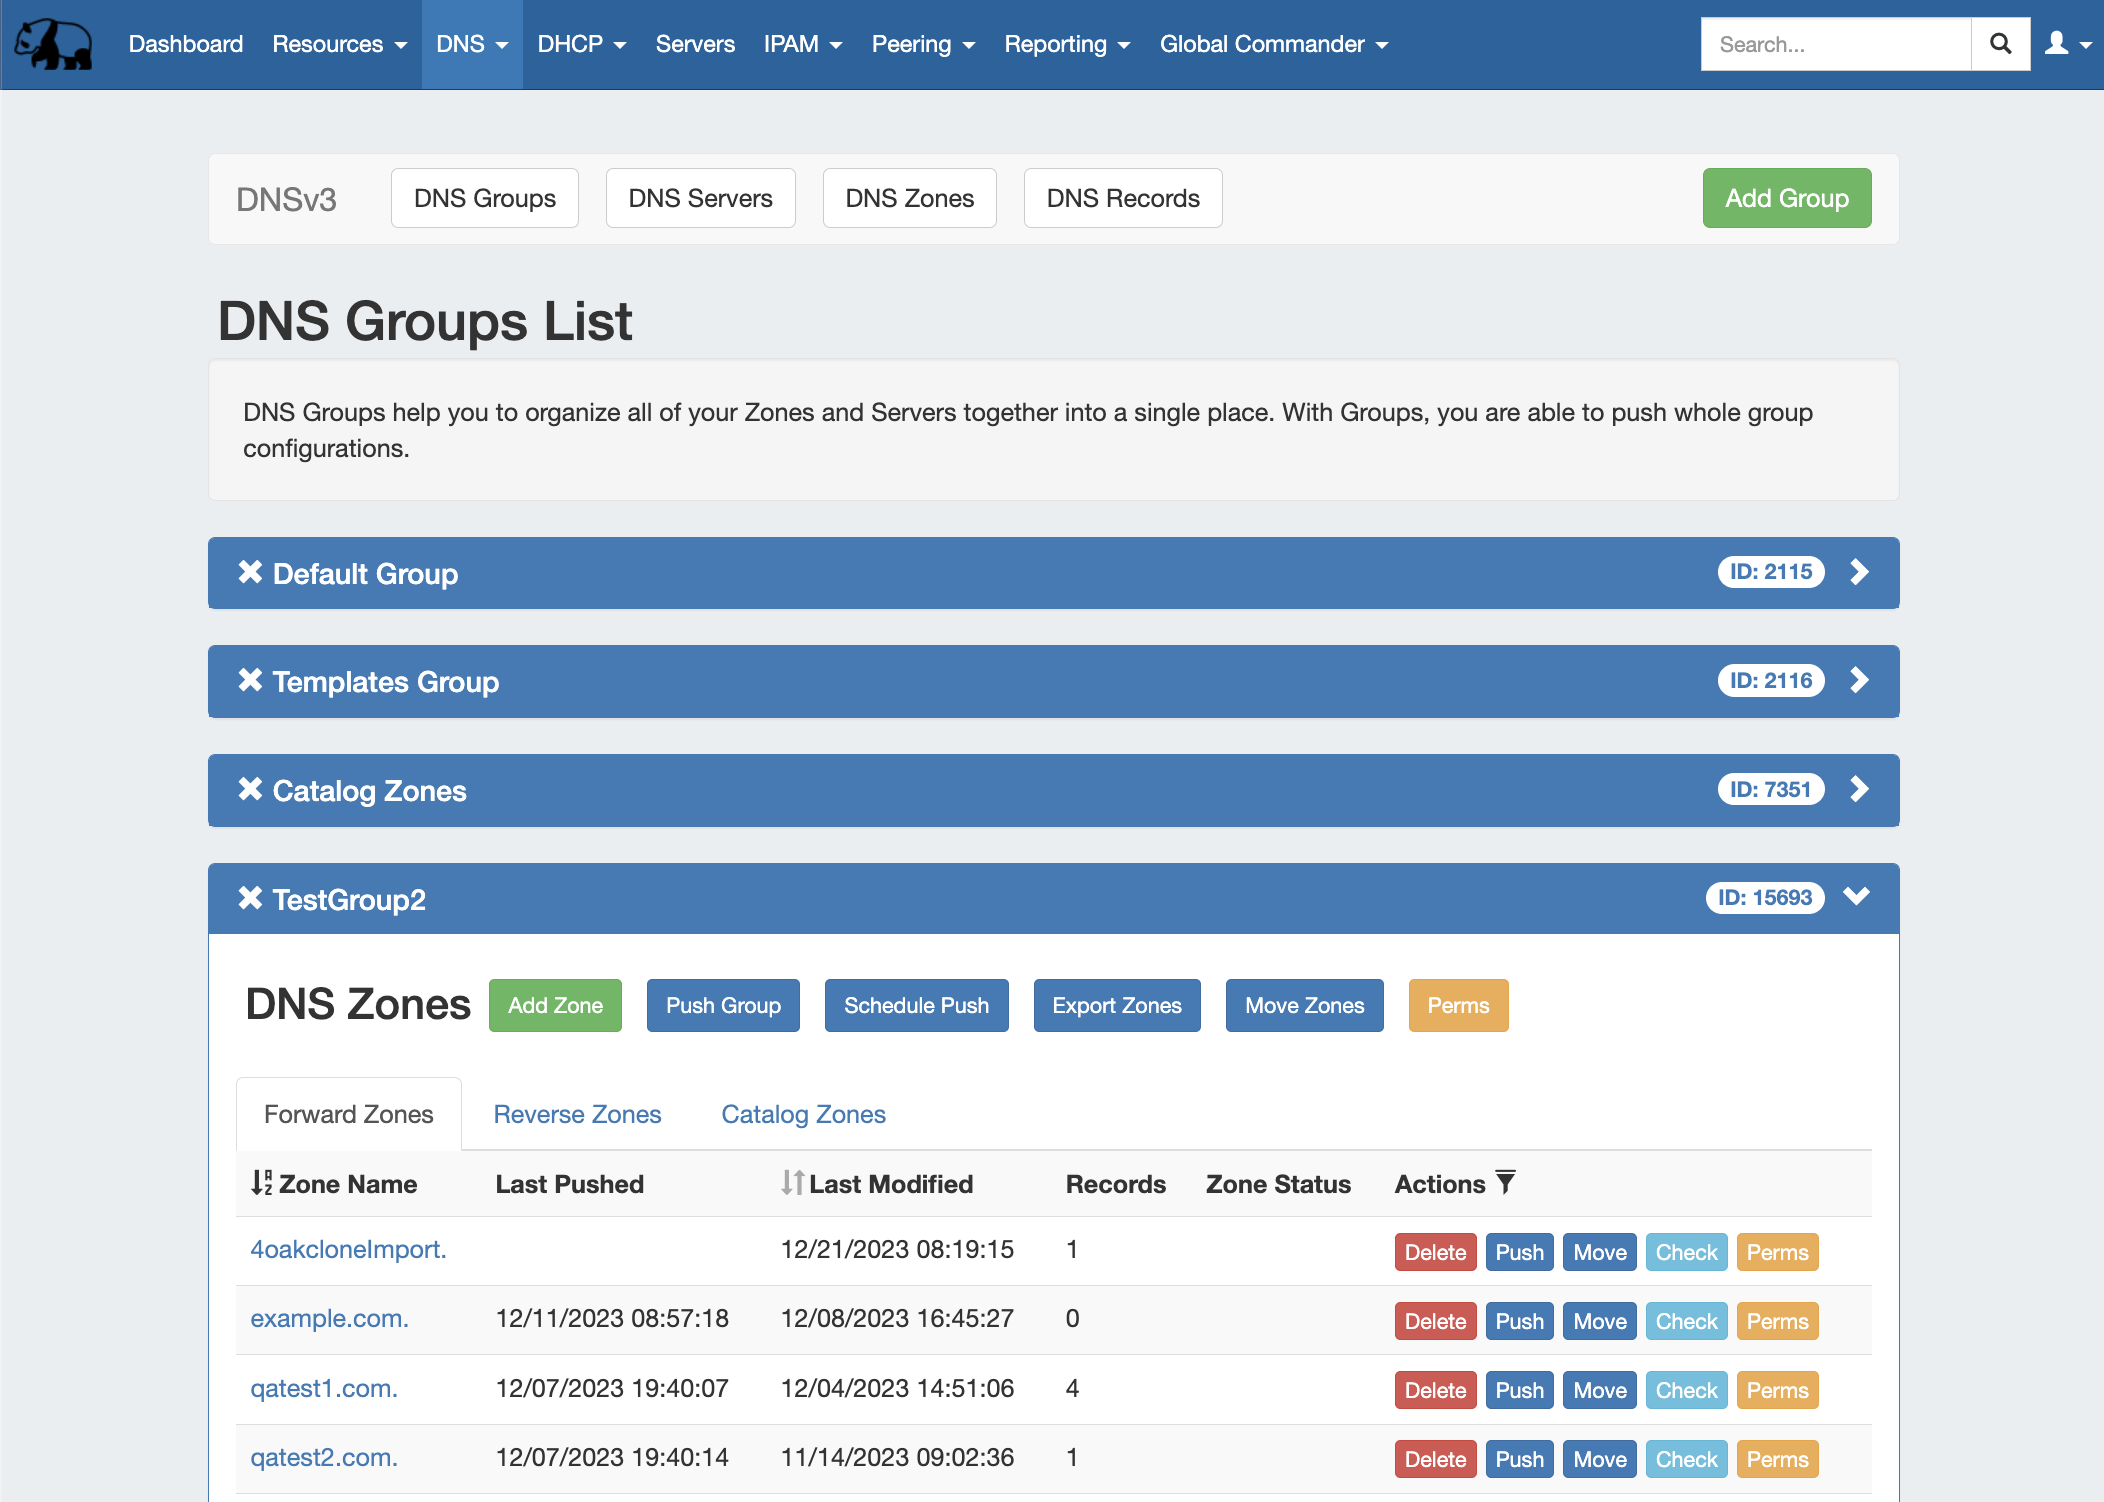
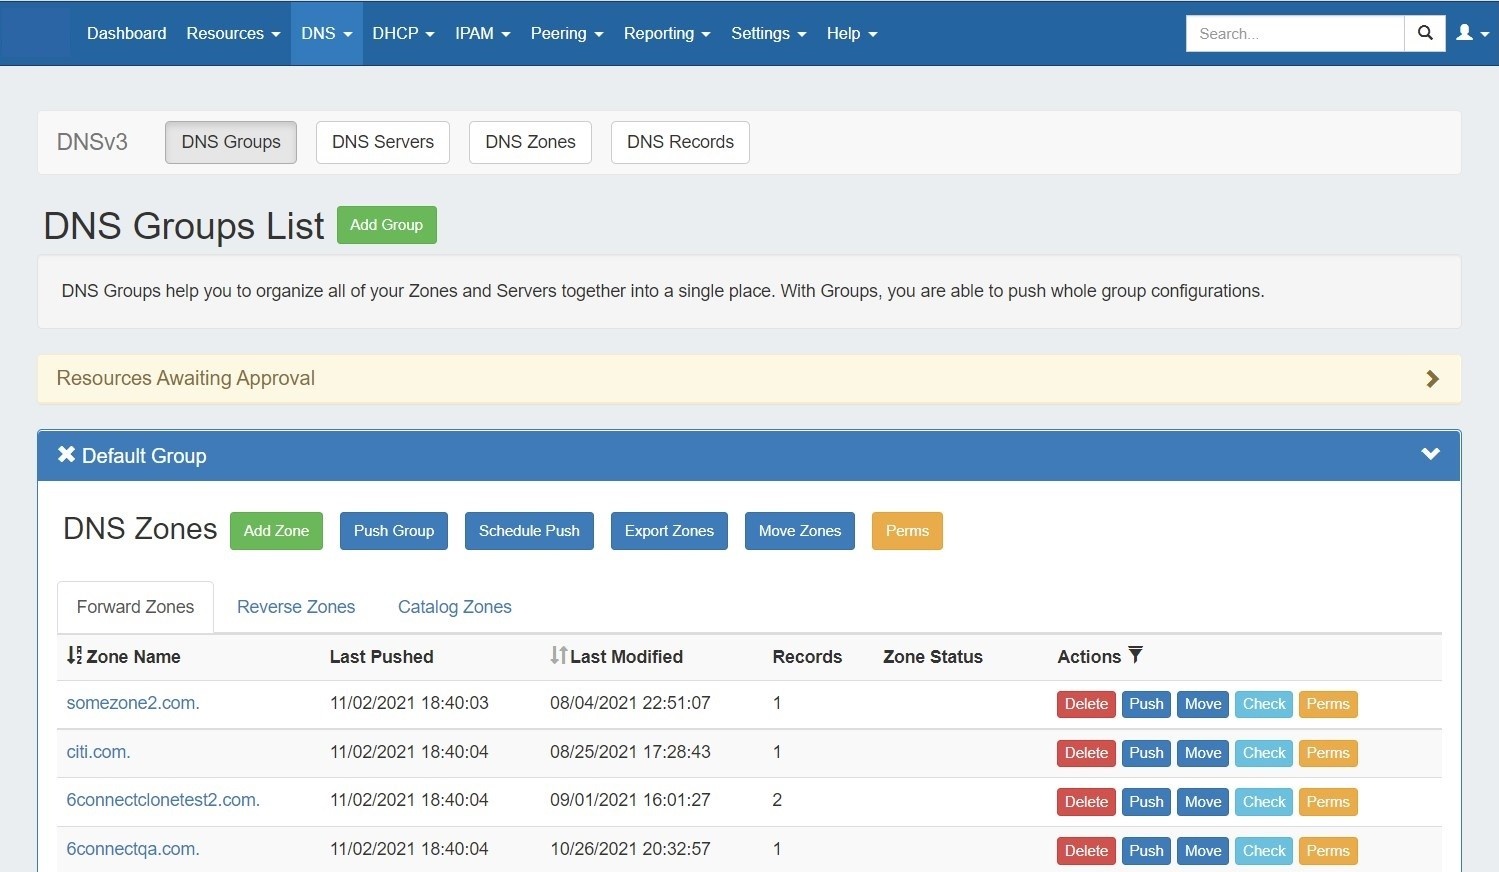
The DNS tab Groups List allows you to create, view, and manage groups of DNS servers and zones. Using groups, you can configure and push selected combinations of zones at one time.
...
DNS Groups List Interface
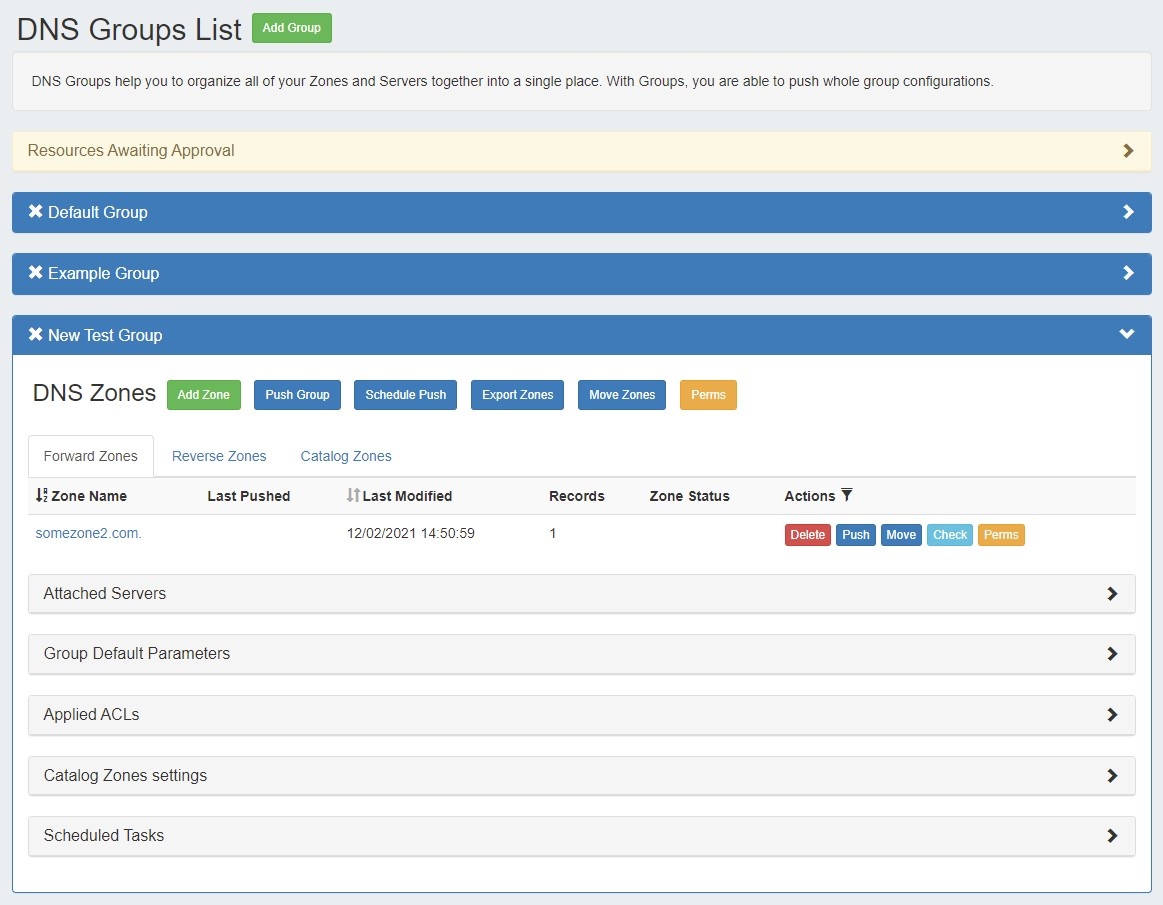
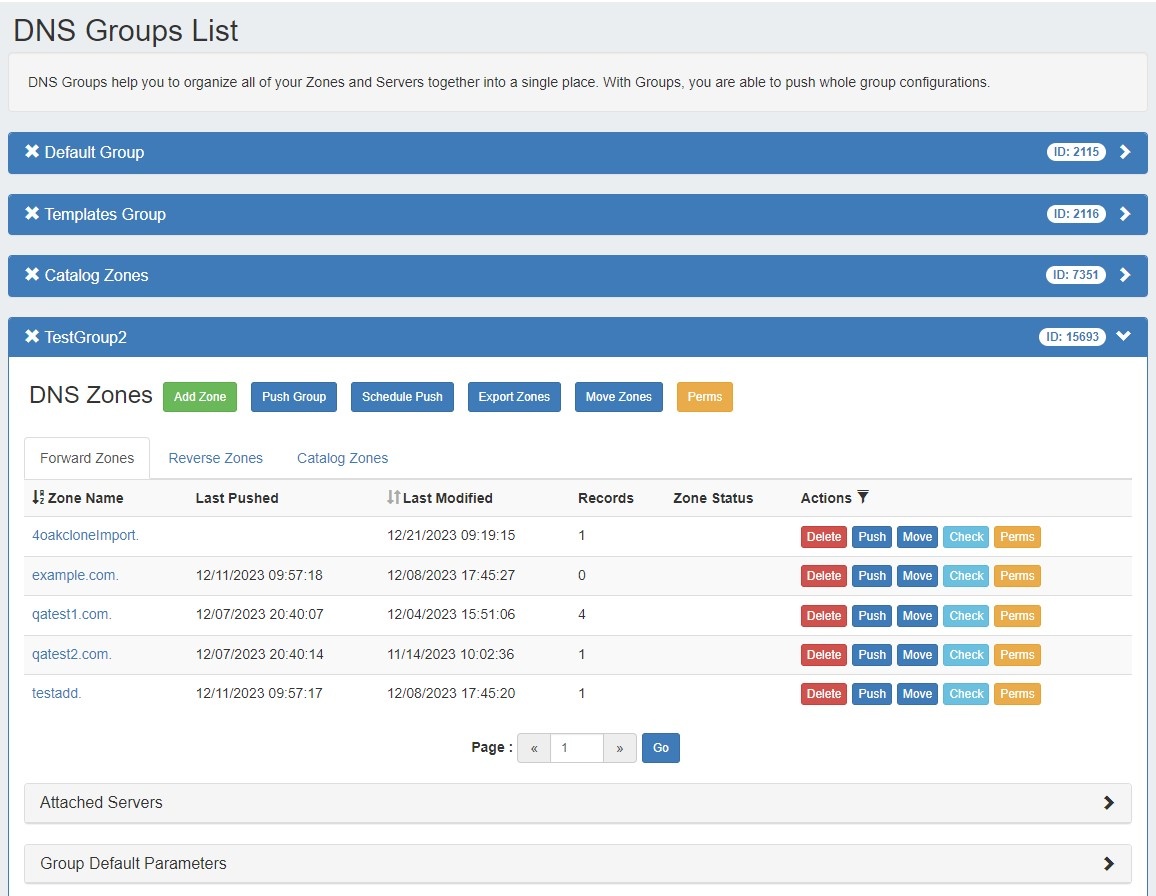
1) Add Group Button: Opens a dialog for creating a DNS group
...
To create a new Group, from the DNS Tab, select the DNS Groups sub menu. Then, click the "Add Group" button next to "DNS Groups List"at the top of the page.


This will open the "Create New Group" dialog.
...
| Expand | ||
|---|---|---|
| ||
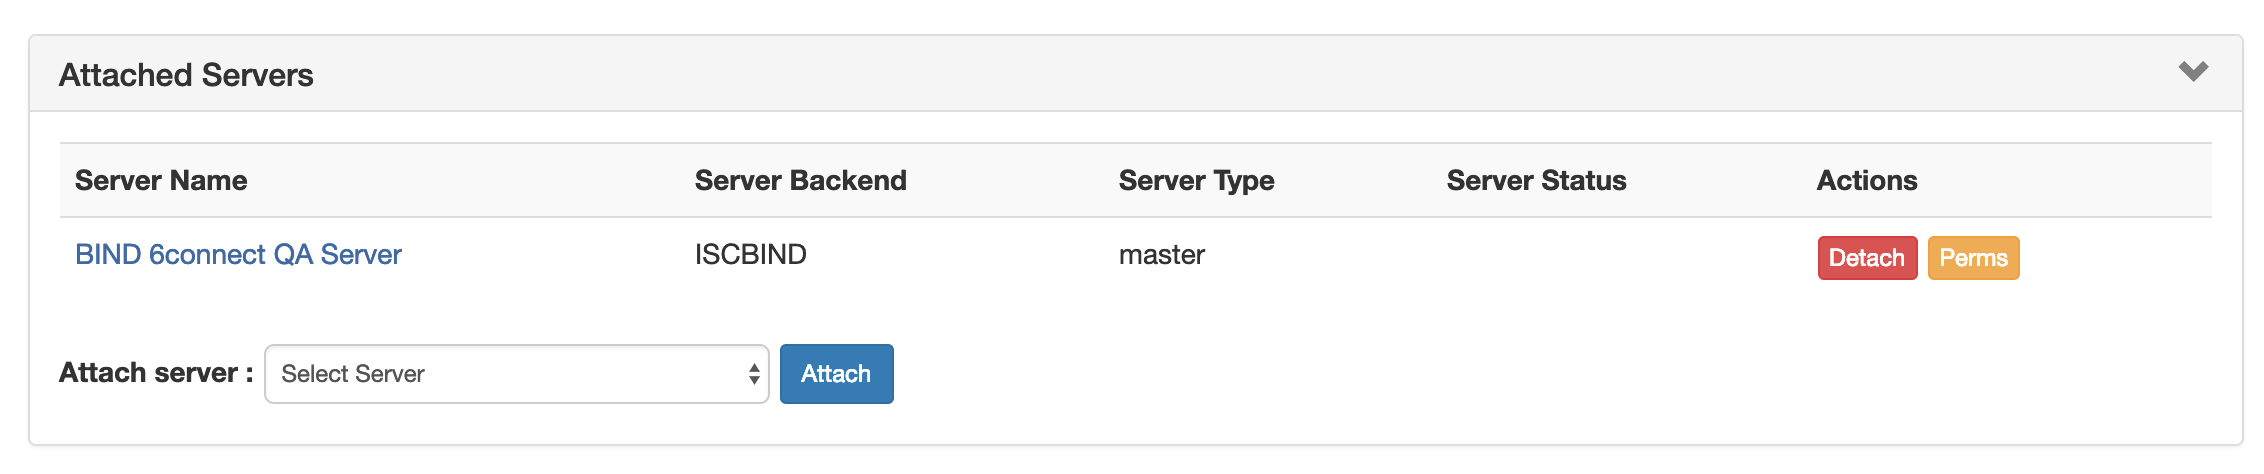
To attach a server, expand the "Attached Server" module, and click on the Attach Server list.
Select the desired server, then click "Attach".
The server is now attached to the group, and future zone and group pushes will be sent to the attached server.
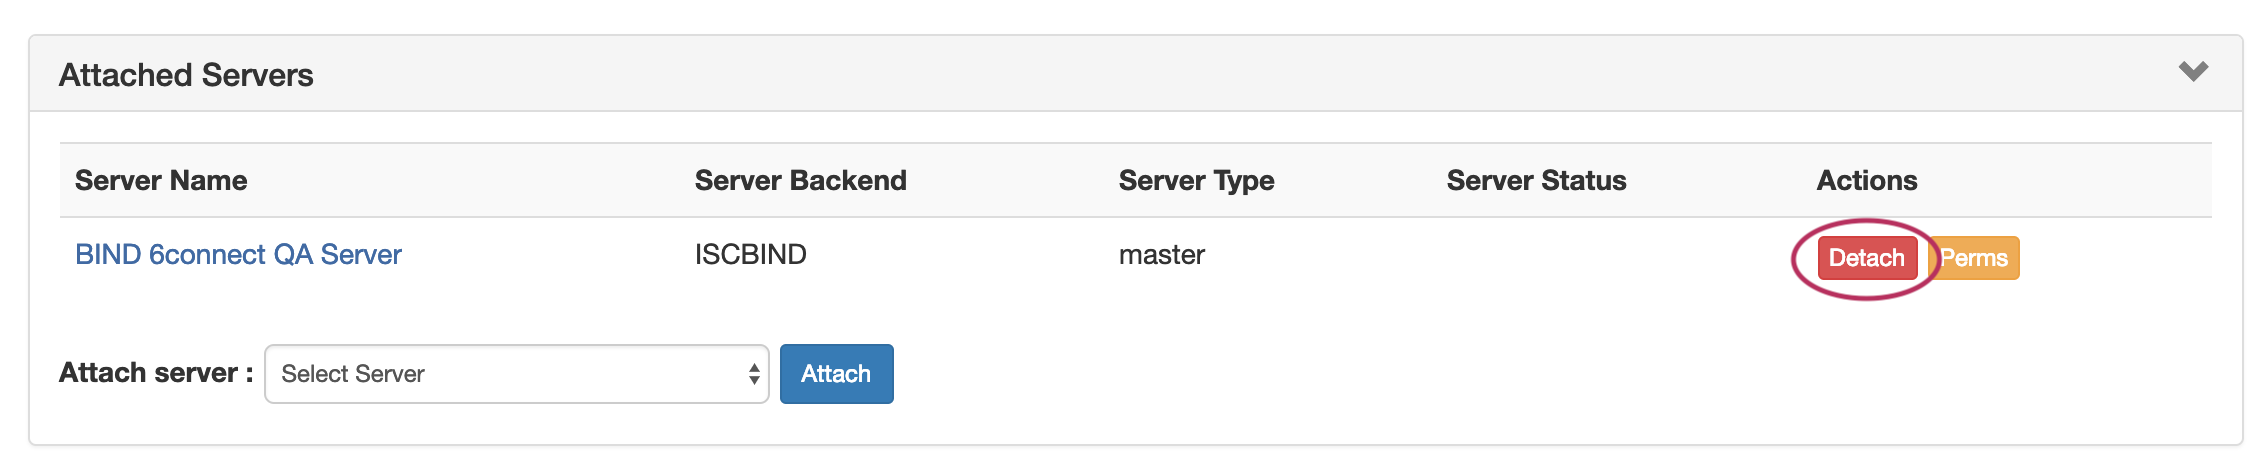
From here, users have the option to detach the server if desired, by clicking the "Detach" button. Admin users may edit permissions for the server using the "Perms" button, if desired (see: DNS Tab DNSv3 Permissions for additional information).
|


Edit a Group's Default Parameter Values
...
| Note | ||
|---|---|---|
| ||
Important - to ensure that your changes are saved while working in Group Default Parameter, click the "Save Group DefaultsSettings" button under the Default SOA Values section - this save button will save any changes made to Advanced Settings, Default Nameservers, or Default SOA Settings. Push Policy changes can be saved by clicking "Save Push Policy". |
...
| Expand | |||||
|---|---|---|---|---|---|
| |||||
|
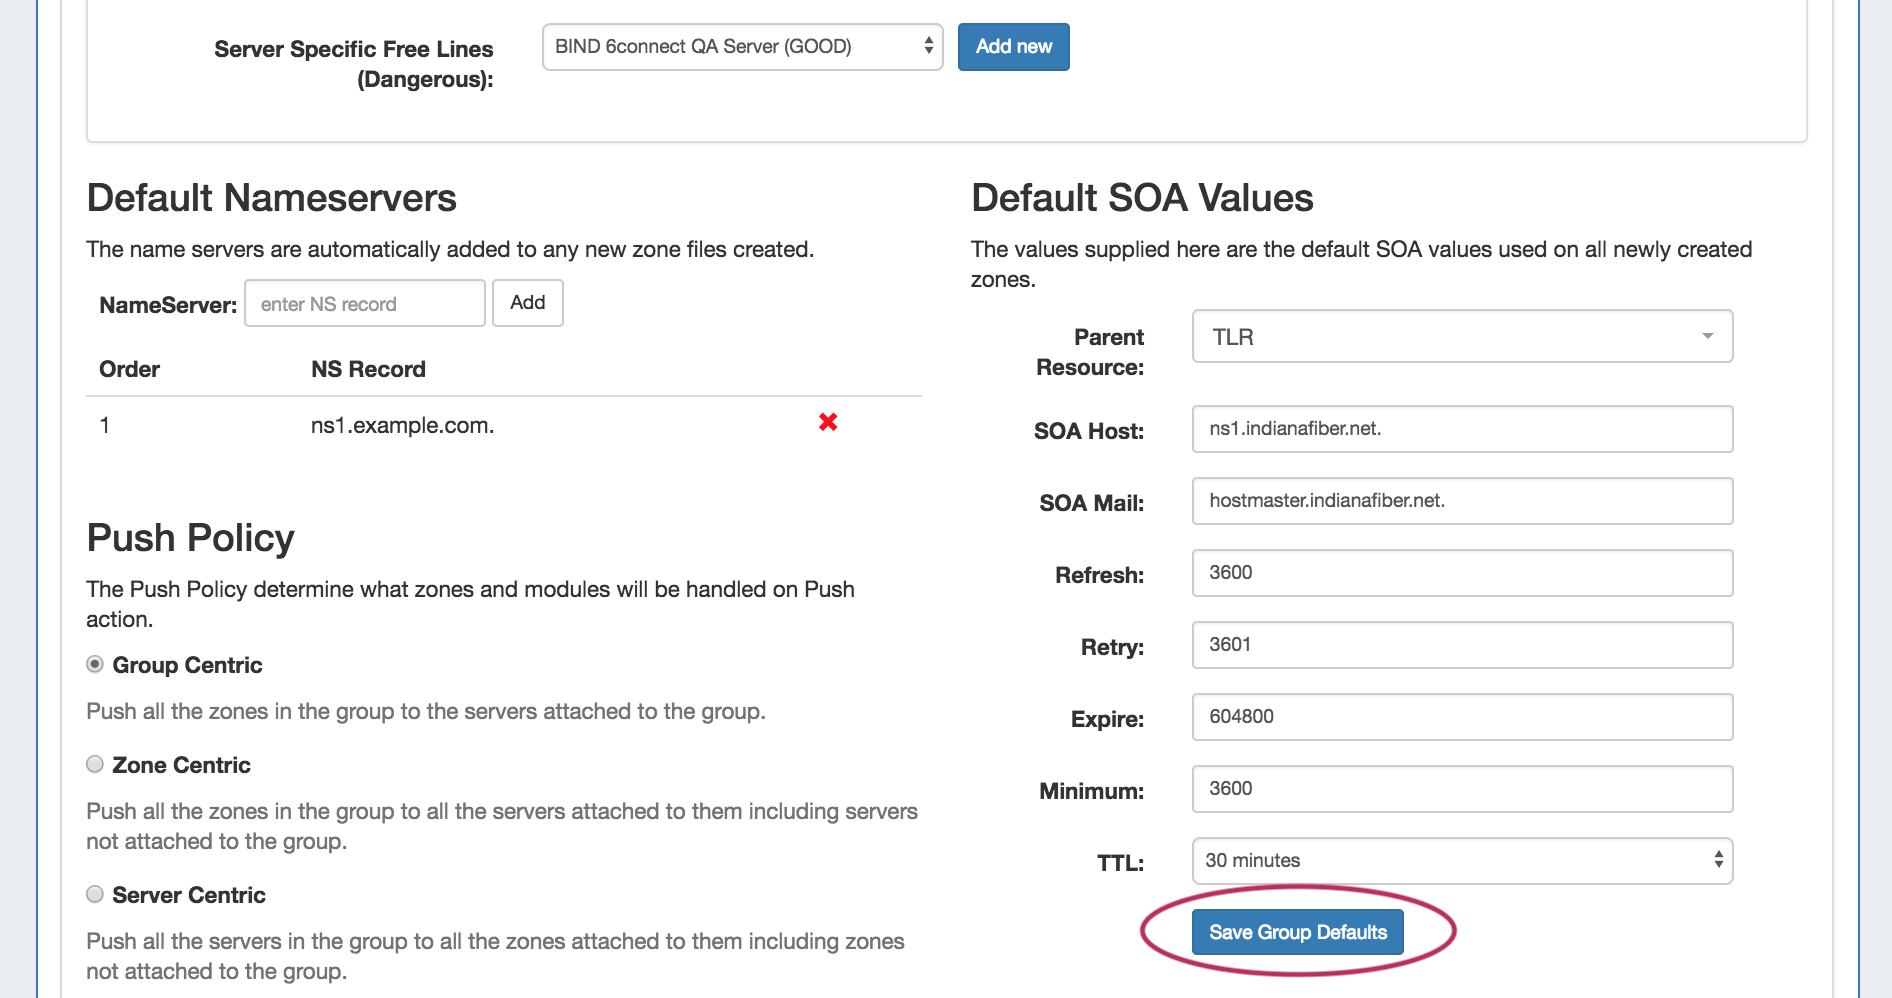
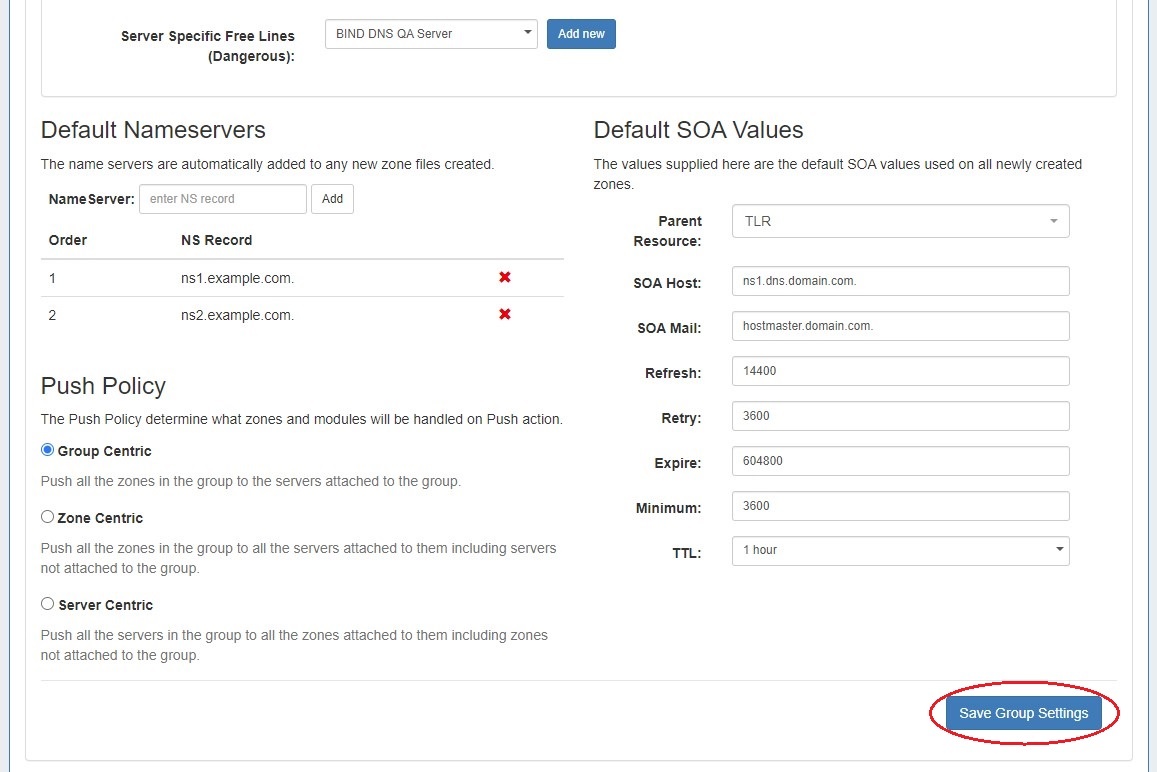
Edit Nameservers
...
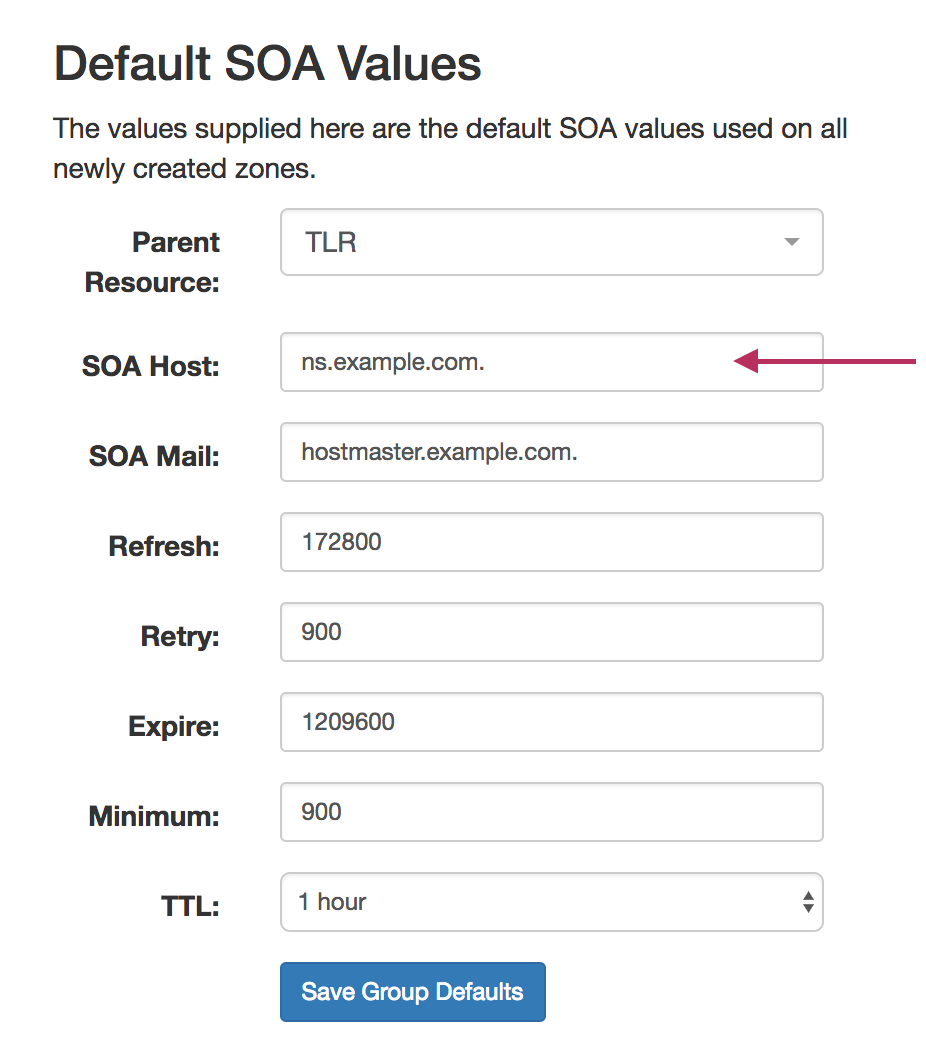
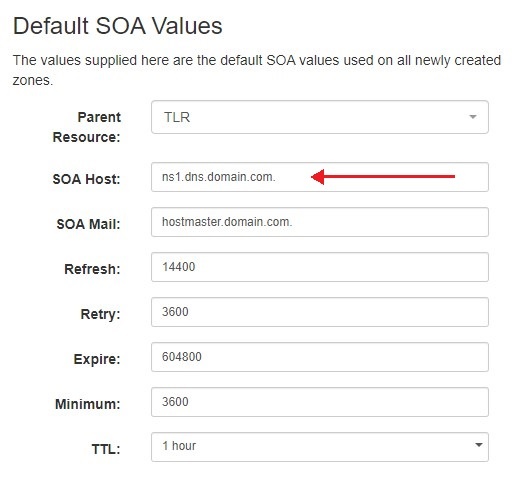
To edit the Default SOA values, simply click inside the value to be changed and type or select your new value. Be sure to also verify the desired parent resource for the group, as the resource selected determines the group's permissions.
Save Changes
Save all Nameserver, Advanced Settings, and SOA value changes by clicking on the "Save Group Defaults" button at the bottom of the section.
Closing without saving will cause all changes to be lost.
Add Zones to a Group
...
After verifying the attached server and group settings, manually push the group by clicking the "Push Group" button under the desired group.

Users can customize a push by choosing an option from the push options modal and clicking "Execute Push". To push normally, click "Execute Push" without selecting any options.
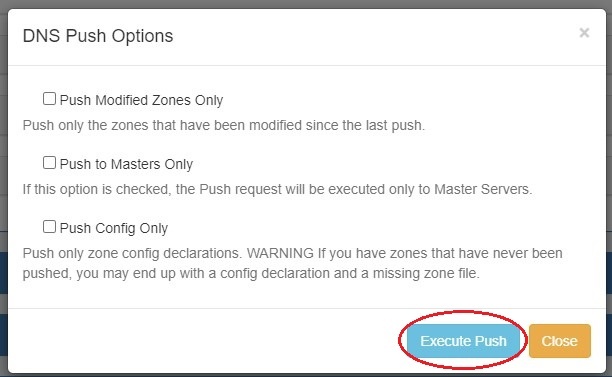
A DNS Push Status window appears, showing each zone in the group as it is pushed to the attached server. If successful, a green "Finished DNS Pushing Request" will appear as the final message. If errors occur, an error message will show with details on the issue. When complete, hit the "Close" button.
...
Delete a non-Default Group by clicking on the "X" to the left of the group's name in the DNS Groups List.


A confirmation message will appear, click "Confirm" to save your changes, or "Close" to exit without saving.
...
All zones under a DNS group may be exported to a .zip file by clicking the "Export Zones" button at the top of the group module.
The exported .zip file may be used with ProVision's the BIND DNS Zone Upload / Import tool.

...