...
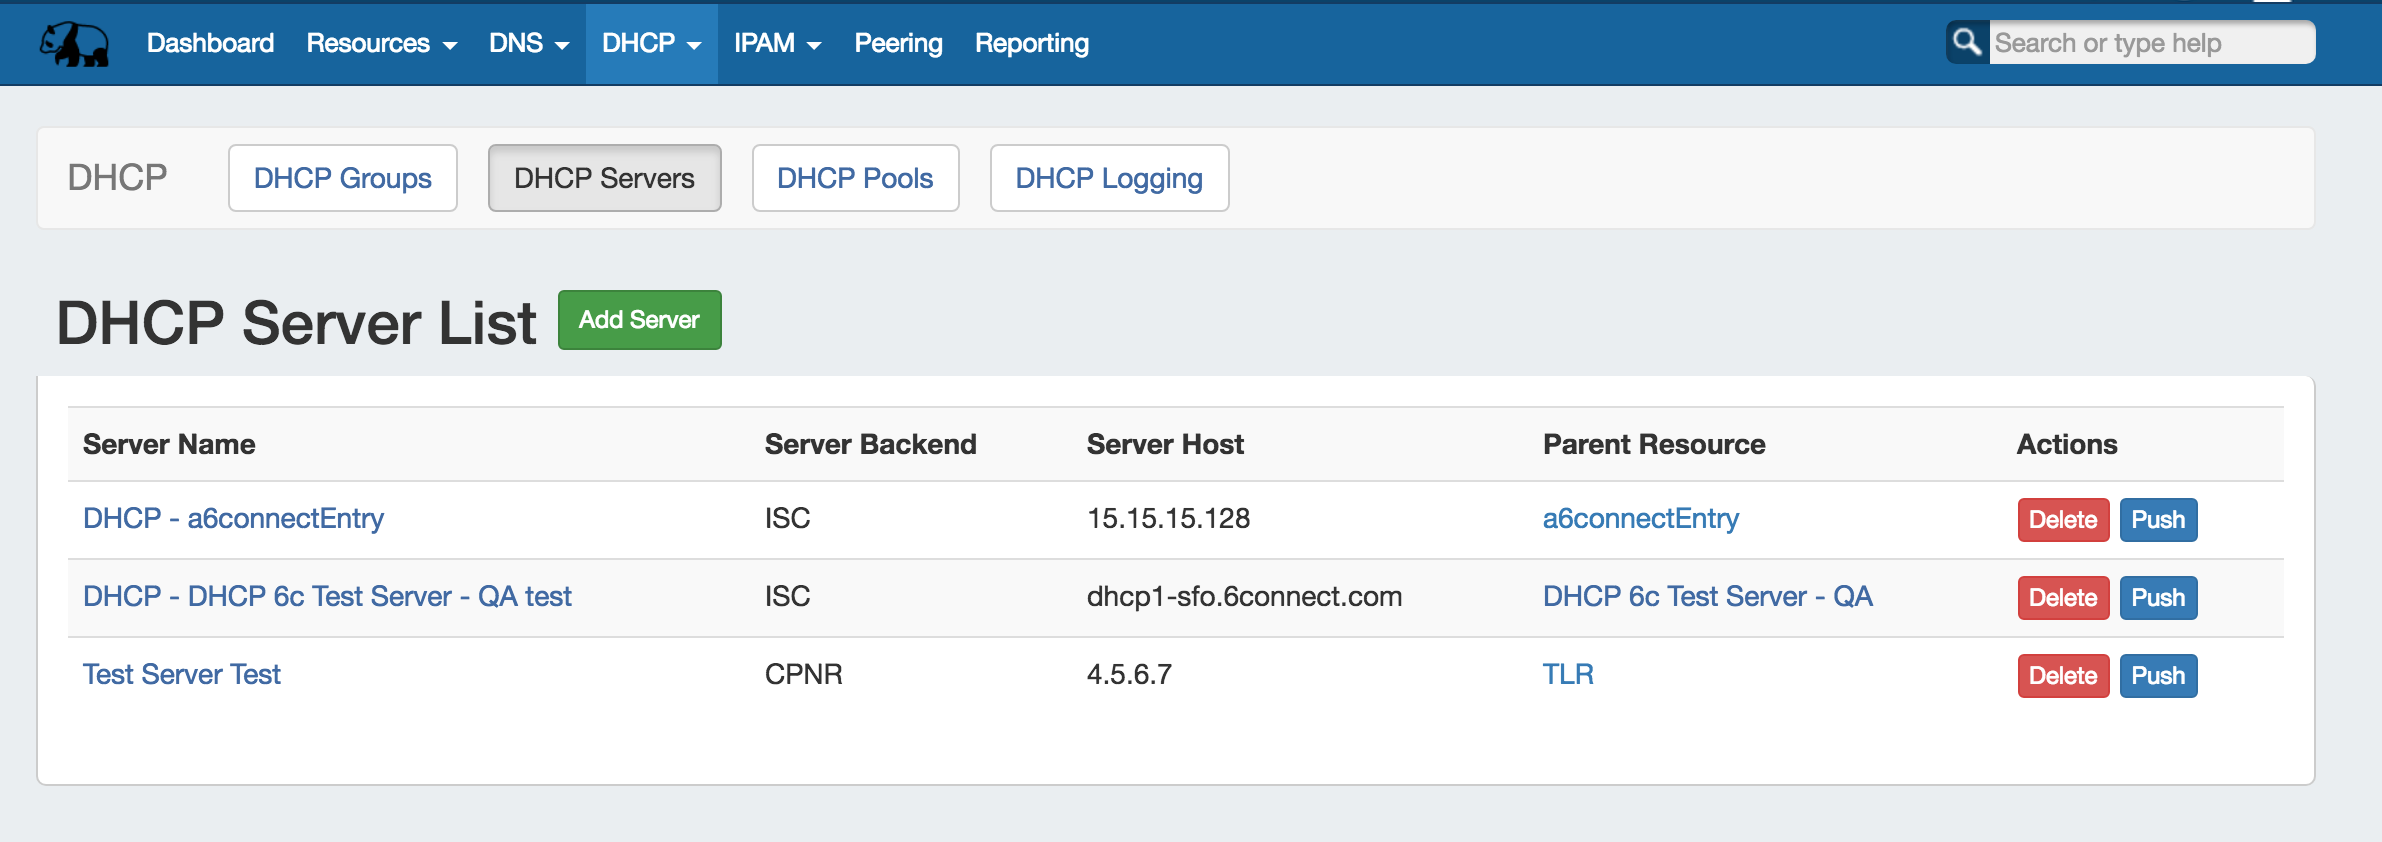
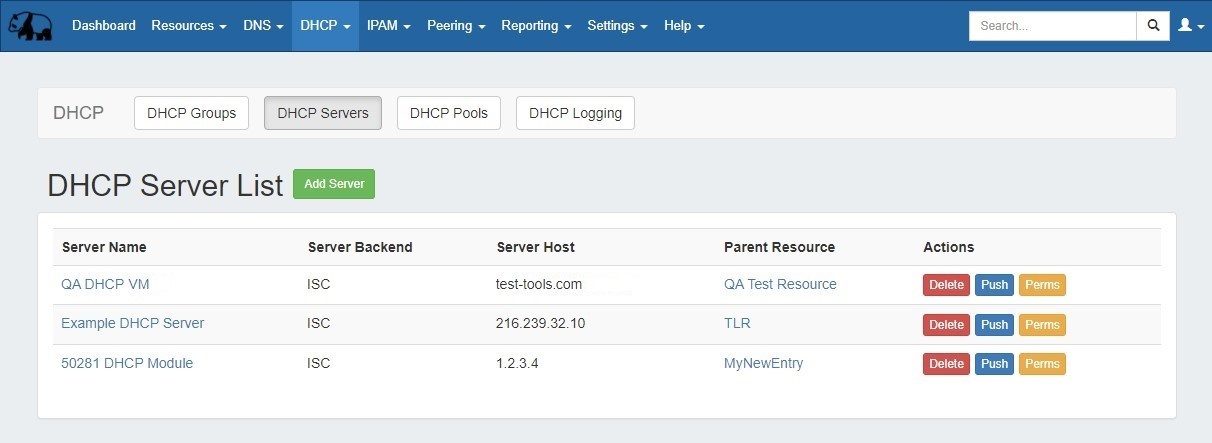
ProVision's DHCPv2 combines server management, group organization, and pool management under the DHCP tab.
The DHCP Servers tab is only accessible to Admin users, and tab contains functions for adding, updating, and managing DHCP servers as well as scheduling server tasks.
Users with resource "read" permissions may view DHCP Server information, however only those with either Admin permissions or granted group-level server permissions can manage DHCP server creation, edits, and deletion.
| Table of Contents |
|---|
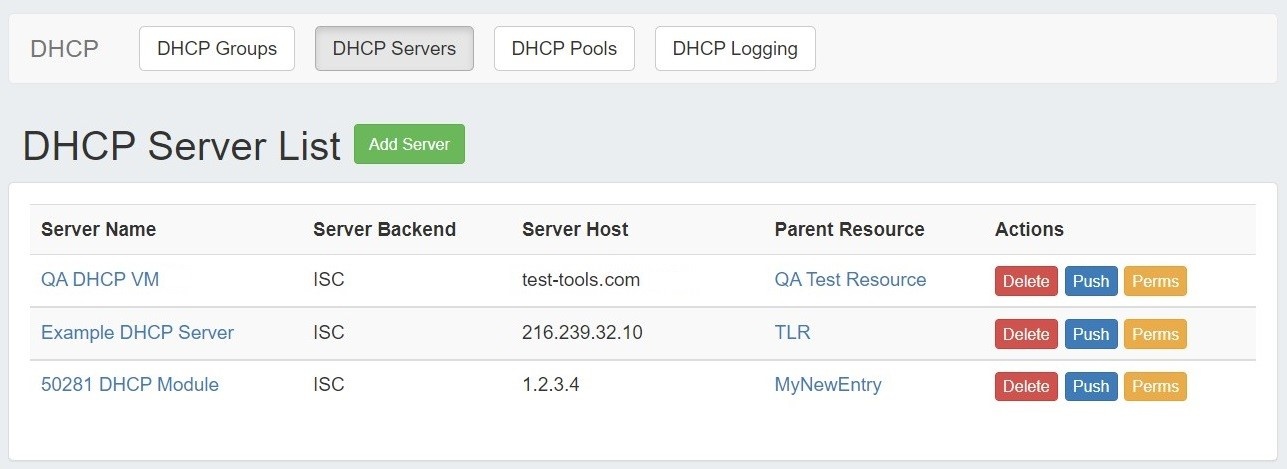
DHCP Server List Interface
1) Add Server Button: Opens a dialog for creating a DHCP server.
...
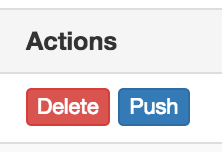
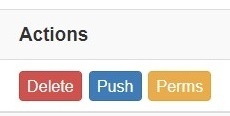
7) Actions: The actions that may be performed on each server:
8) Delete: Deletes the server from ProVision.
9 Push9) Push: Pushes all pools associated with the selected server.
10) Perms: Opens a shortcut to edit permissions for the selected server (Admin only).
Working with DHCP Servers
...
Parent Resource: Select the ProVision resource to be the "parent" of the server - typically TLR (Top Level Resource), but may be a lower level resource such as a Customer or Location. The parent resource selection is the basis of access permissions for the server.
2) Set Server Specific Settings
...
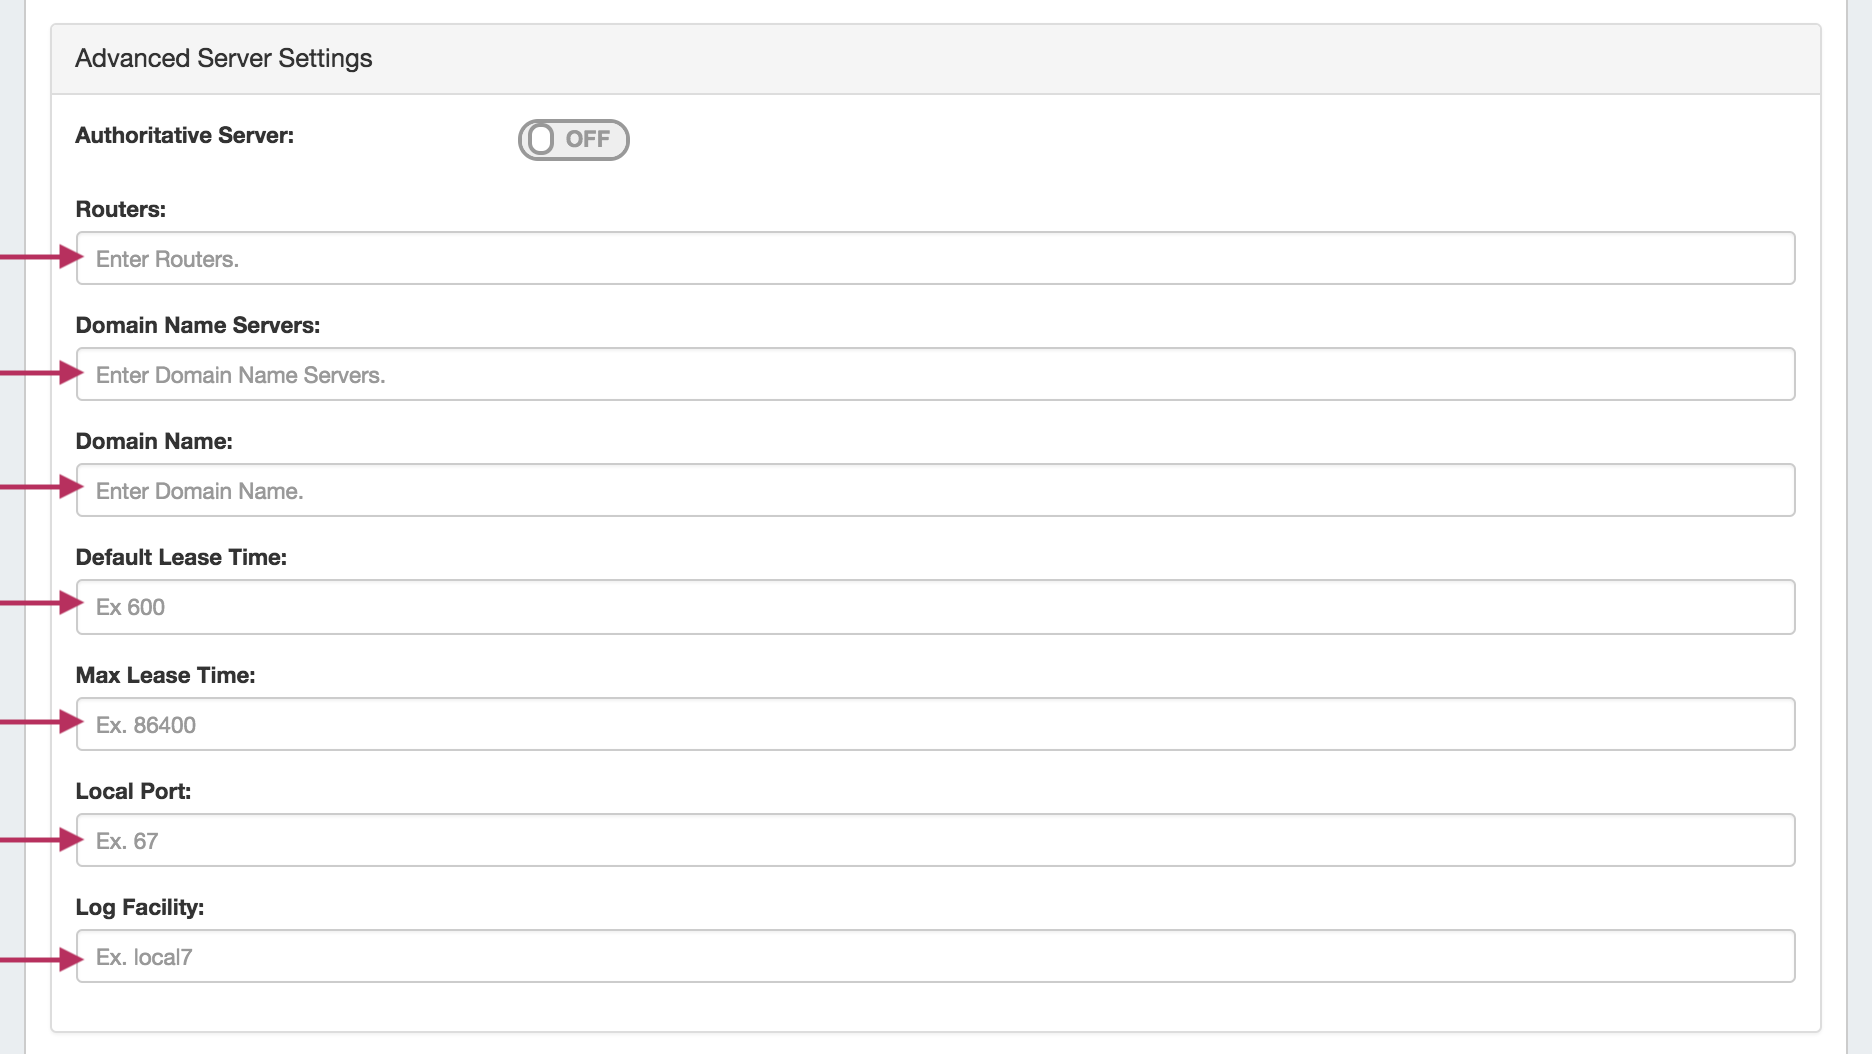
If desired, Advanced Settings for the DHCP Server may be entered. Toggle "Authorative Server" to "On" or "Off", and fill in the fields for Routers, Domain Name Servers, Domain Name, Default Lease Time, Max Lease Time, Local Port, or Log Facility.
After entering the server-specific settings in this section, you can click the "Test Connection" button at the bottom right of the page to test the server connection and authentication.
A success or failure response will pop up.
4) Set DHCP Group Settings for Server
In the last section, select whether to attach the server to an existing DHCP Group. Pools assigned to the selected Group will automatically be attached to the server.
5) Save Changes
Save your changes when done! Just click the "Save Changes" button at the bottom right of the page.
The new server will now be added to the DHCP Servers list. These settings may be changed at any time by selecting the server from the server list and editing the information.
...
Edit an existing server by clicking once on the server name in the DHCP Servers list.
The "Server Settings" page will open.
Click inside the field that you want to change, type your changes, and then click "Save Changes" at the bottom of the page.
Review Pools Connected to a Server
...
Edit an existing server by clicking once on the server name in the DHCP Servers list.
The "Server Settings" page will open.
...
Manually pushing all pools on a server may be done directly from the DHCP Server list. Under the "Actions" section of the Server List, click the "Push" button for the desired server.
Pushing may also be done while in the Server Settings page. While in the Server Settings page, click the "Push Pool" button at the top right of the page.
...
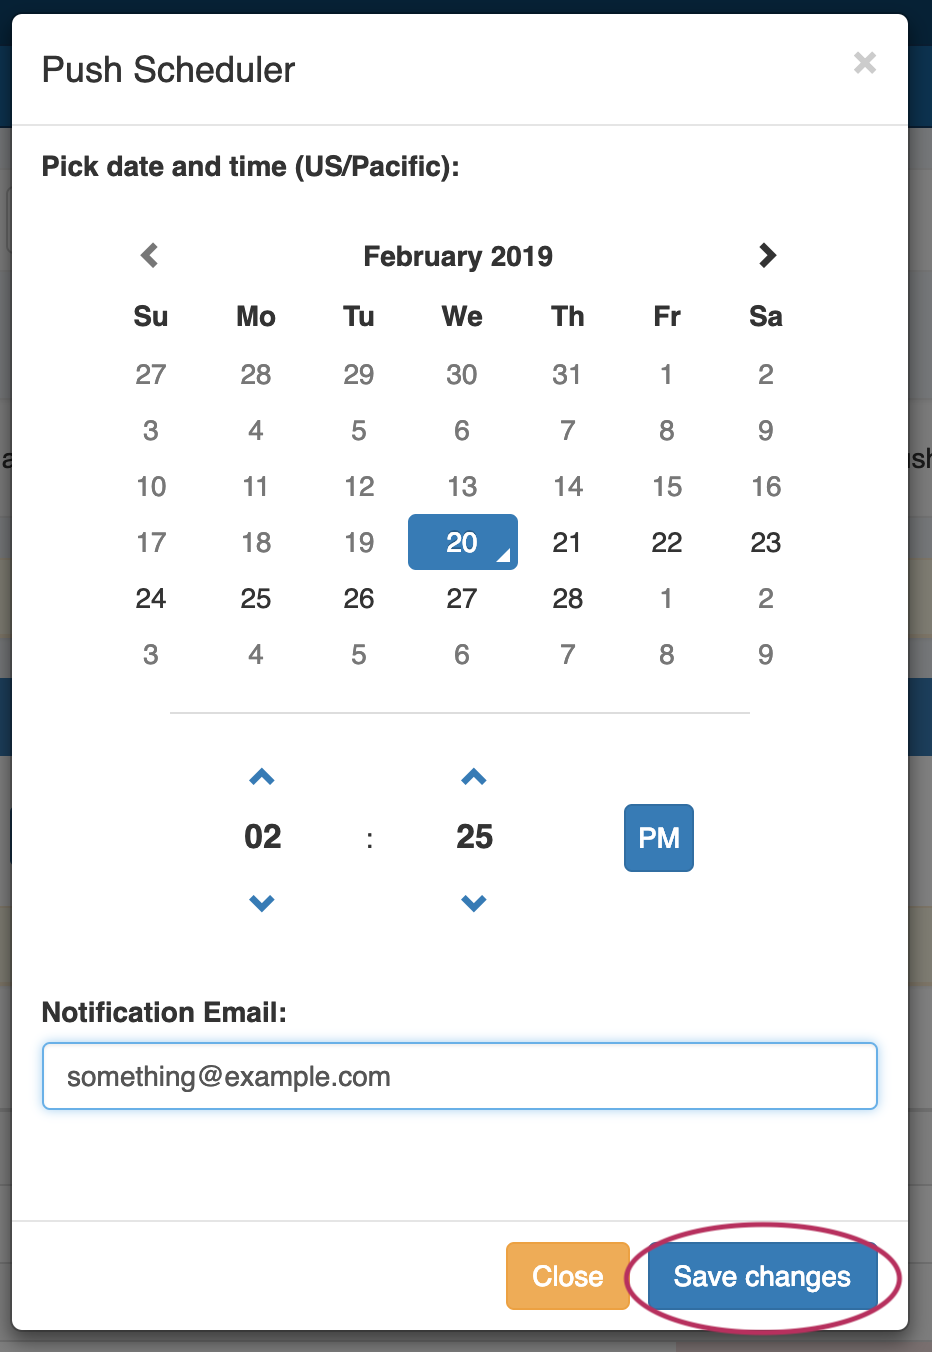
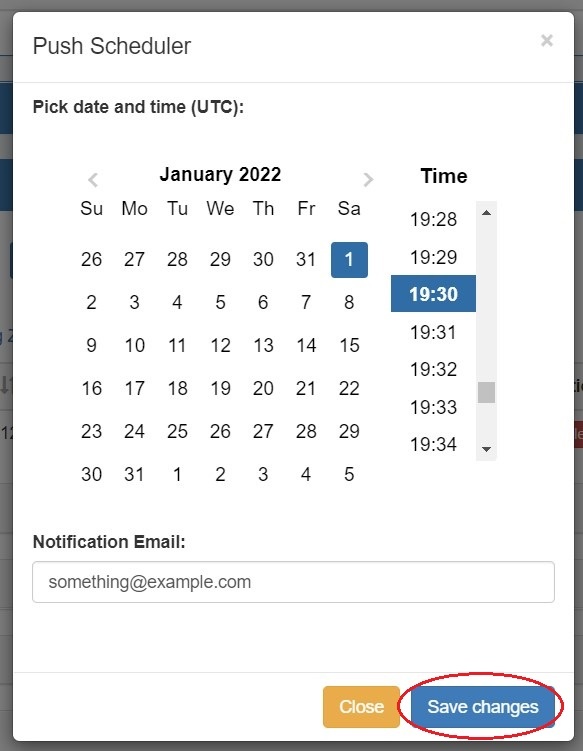
The Push Scheduler dialog will open. Click on the calendar on the left to select a date for the push, set the desired push time on the right, enter a notification email address, and then click "Save Changes".
Once a schedule push has been created, a "Scheduled Tasks" module will appear at the top of the Server Settings page.
...
Delete a server by clicking the "Delete" button under the "Actions" section of the Server List for the desired server.
Additional Information
For more information on working with DHCP in ProVision, see the following areas:
...
