...
There are three components for the upload process:
1) The named.conf configuration file tied to the zones you are uploading (required)
...
For a sample Simple Config: conf.conf
2) A ZIP or TAR file of the DNS zones themselves (required)
...
For a sample simple ZIP: zones.zip
3) Match CSV for assigning DNS Zones to Resources (optional)
...
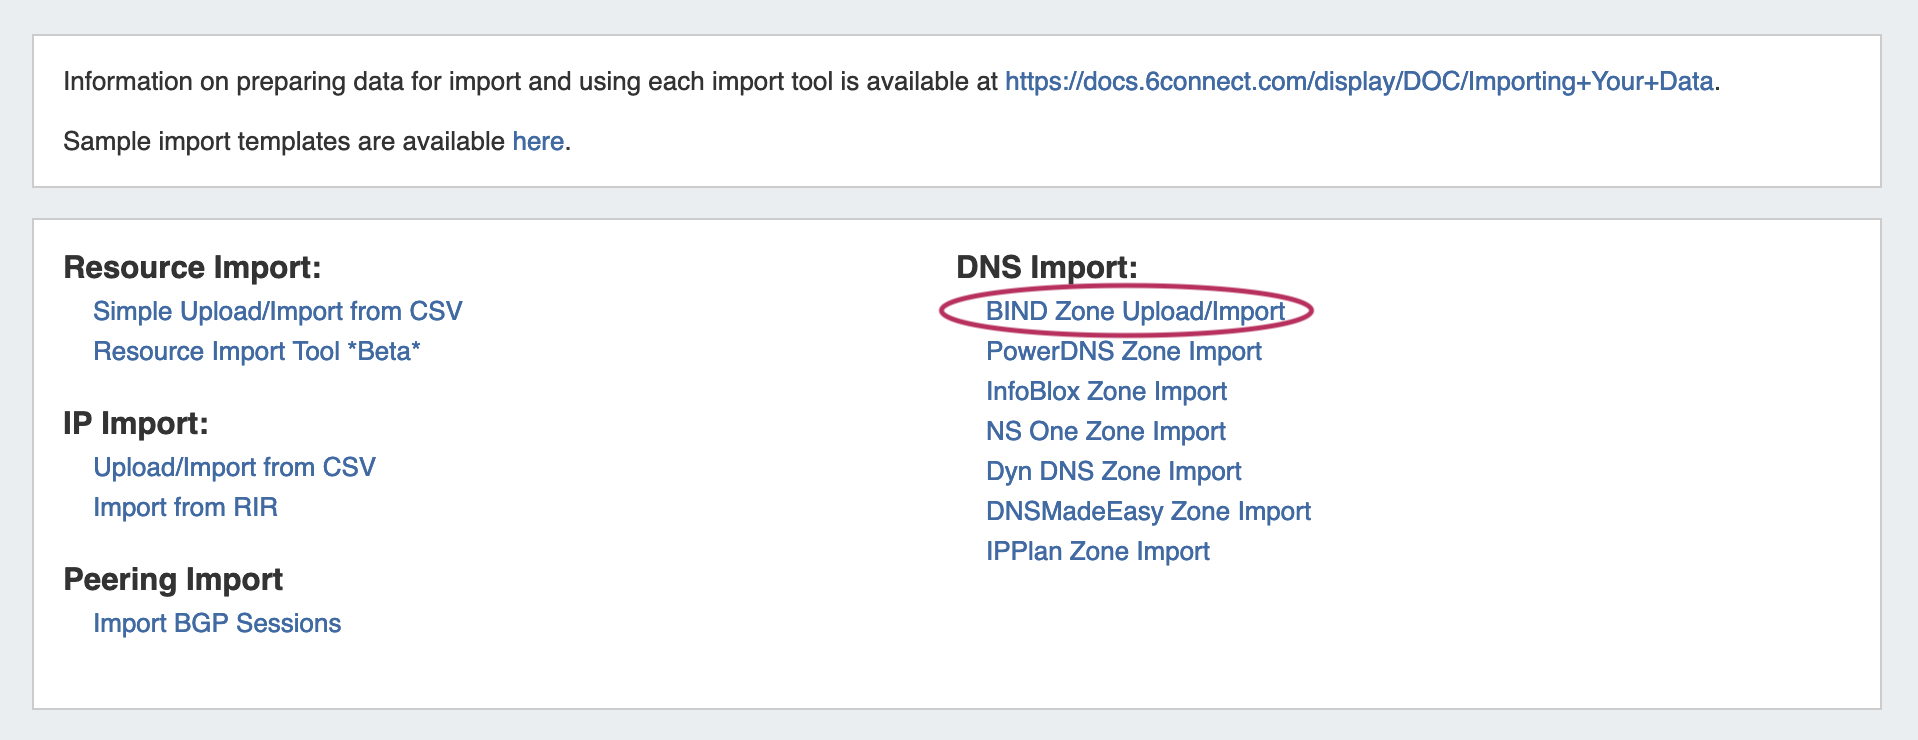
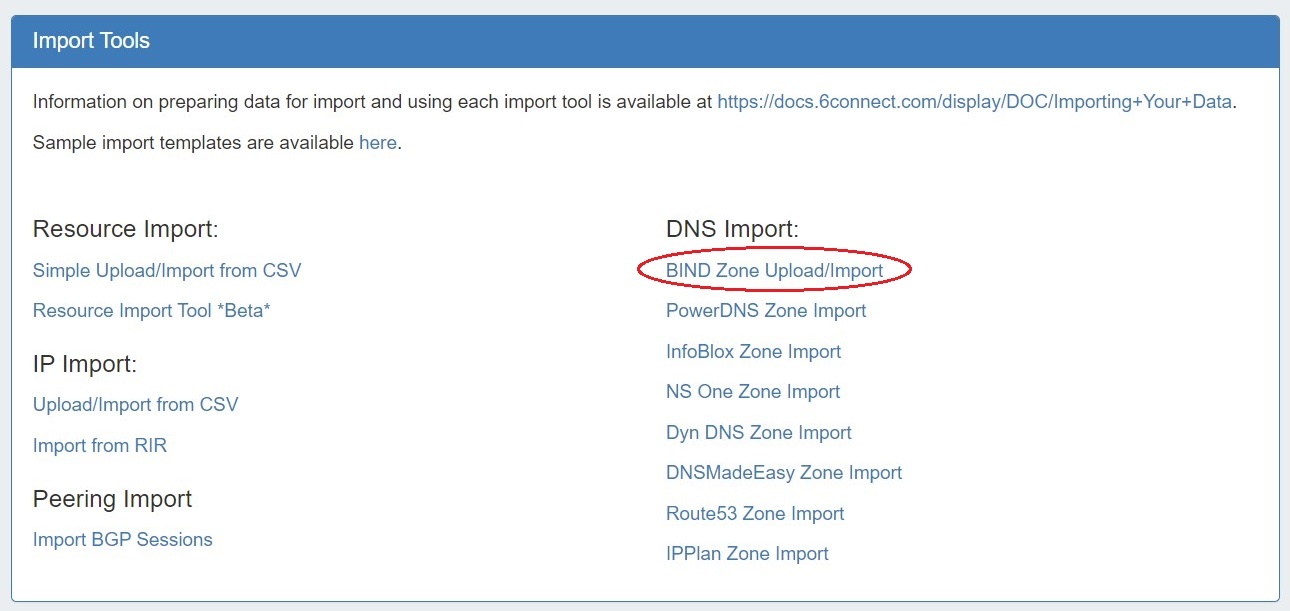
Navigate to the Data Import Tab from the Admin button to import your data. Select "BIND Zone Upload/Import" under "DNS Import".
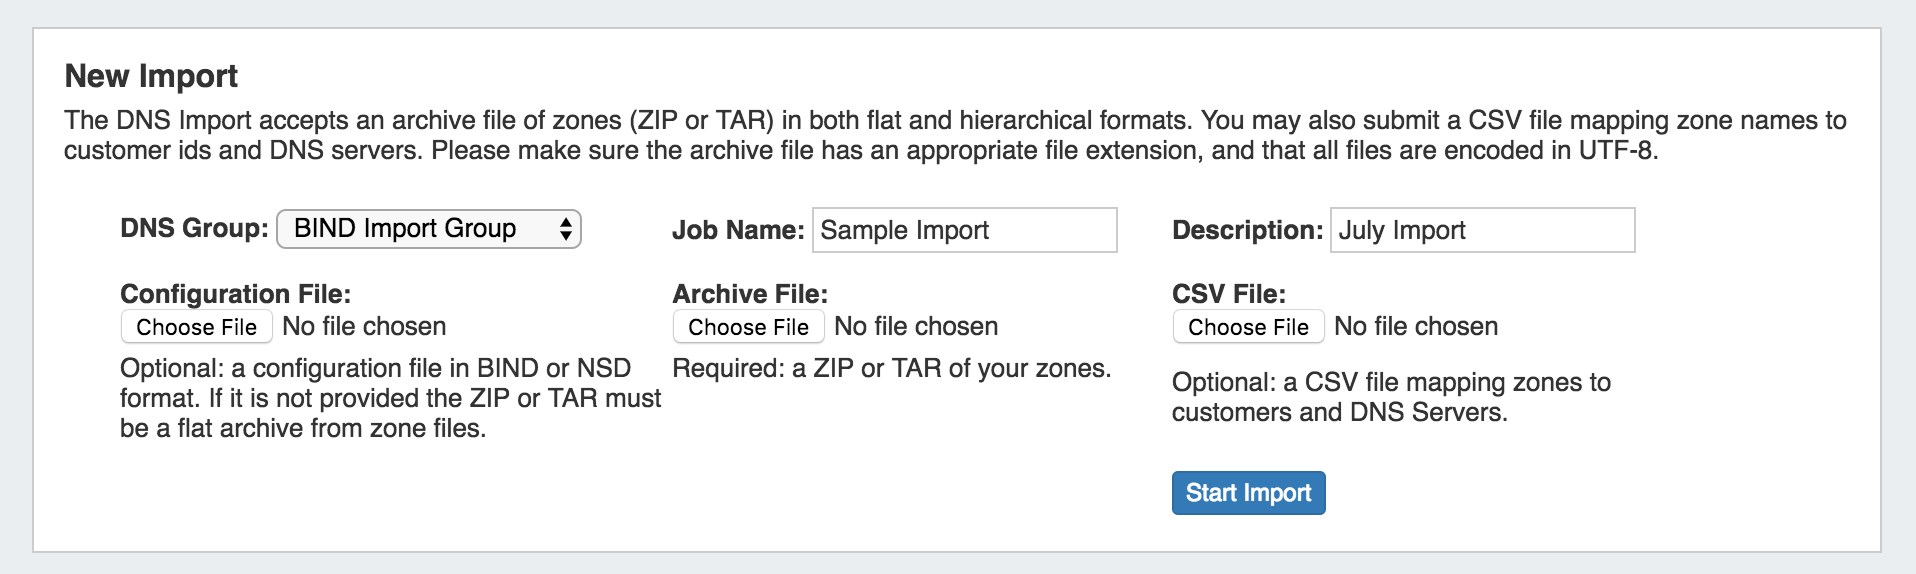
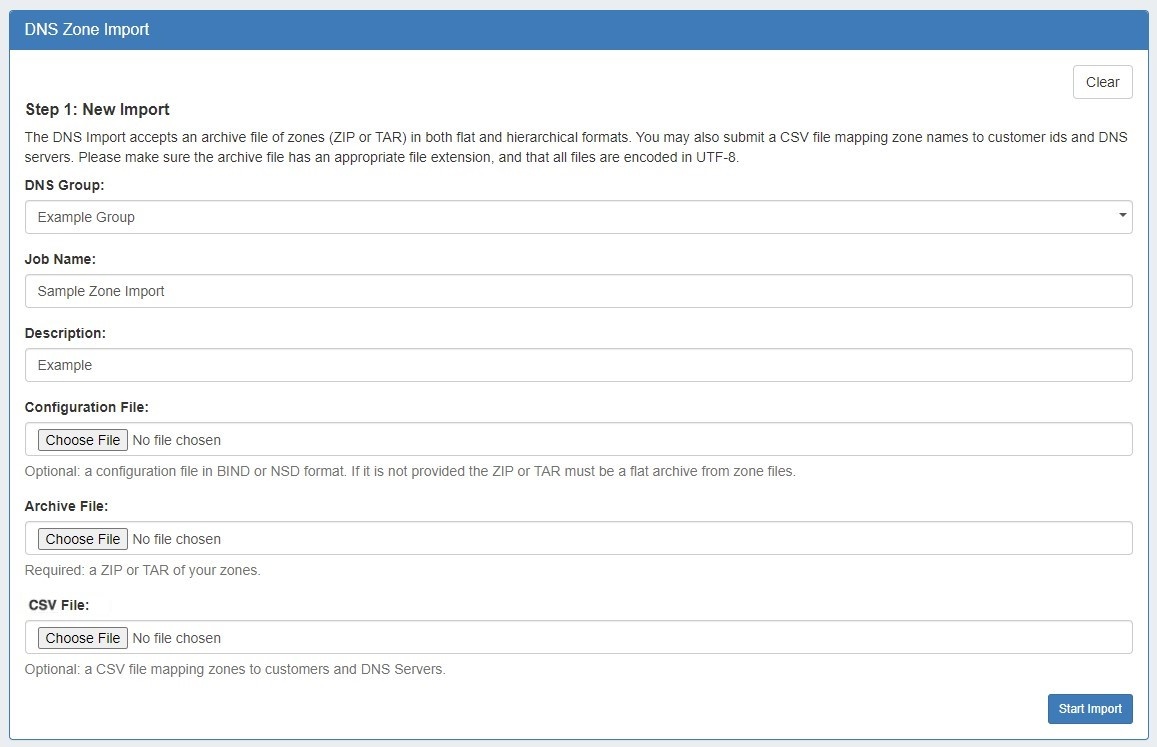
Under the "New Import" section, select the DNS Group under which you want the zones to be imported, then create a Job Name and Description for the import. This is especially useful to keep track of progress in cases the data arrives from multiple sources, or will require multiple stages of manual review.
Select the appropriate Configuration File (required if the .zip is not a flat archive file), Archive File (required), and CSV File (optional) that you prepared above by selecting the "Choose File" button(s) under each section, and browsing to the correct file location. Then hit "Start Import".
| Note | ||
|---|---|---|
| ||
Although you cannot add new files to an existing job, for jobs with multiple sources for data (which may have different formatting), you can simply create separate jobs and descriptions for each source - no need to manually combine the data into one file before importing. The Import tool's mapping and editing functions will allow for the data to be reconciled in ProVision. For large data sets where multiple stages of manual review might be needed, you can create a new job using the same set of data files in order to work in parallel on a different portion of the data. |
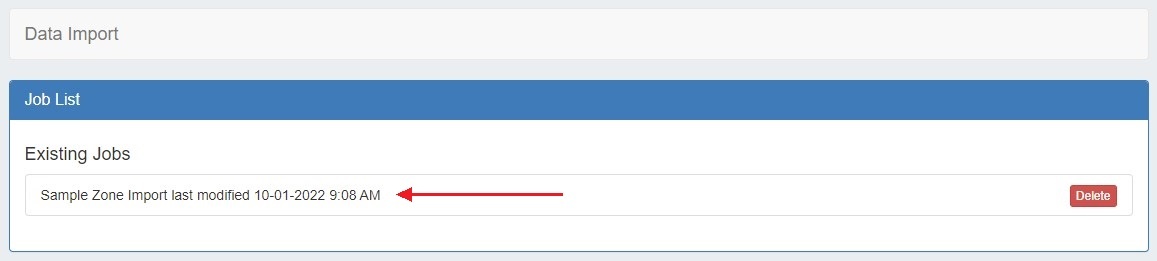
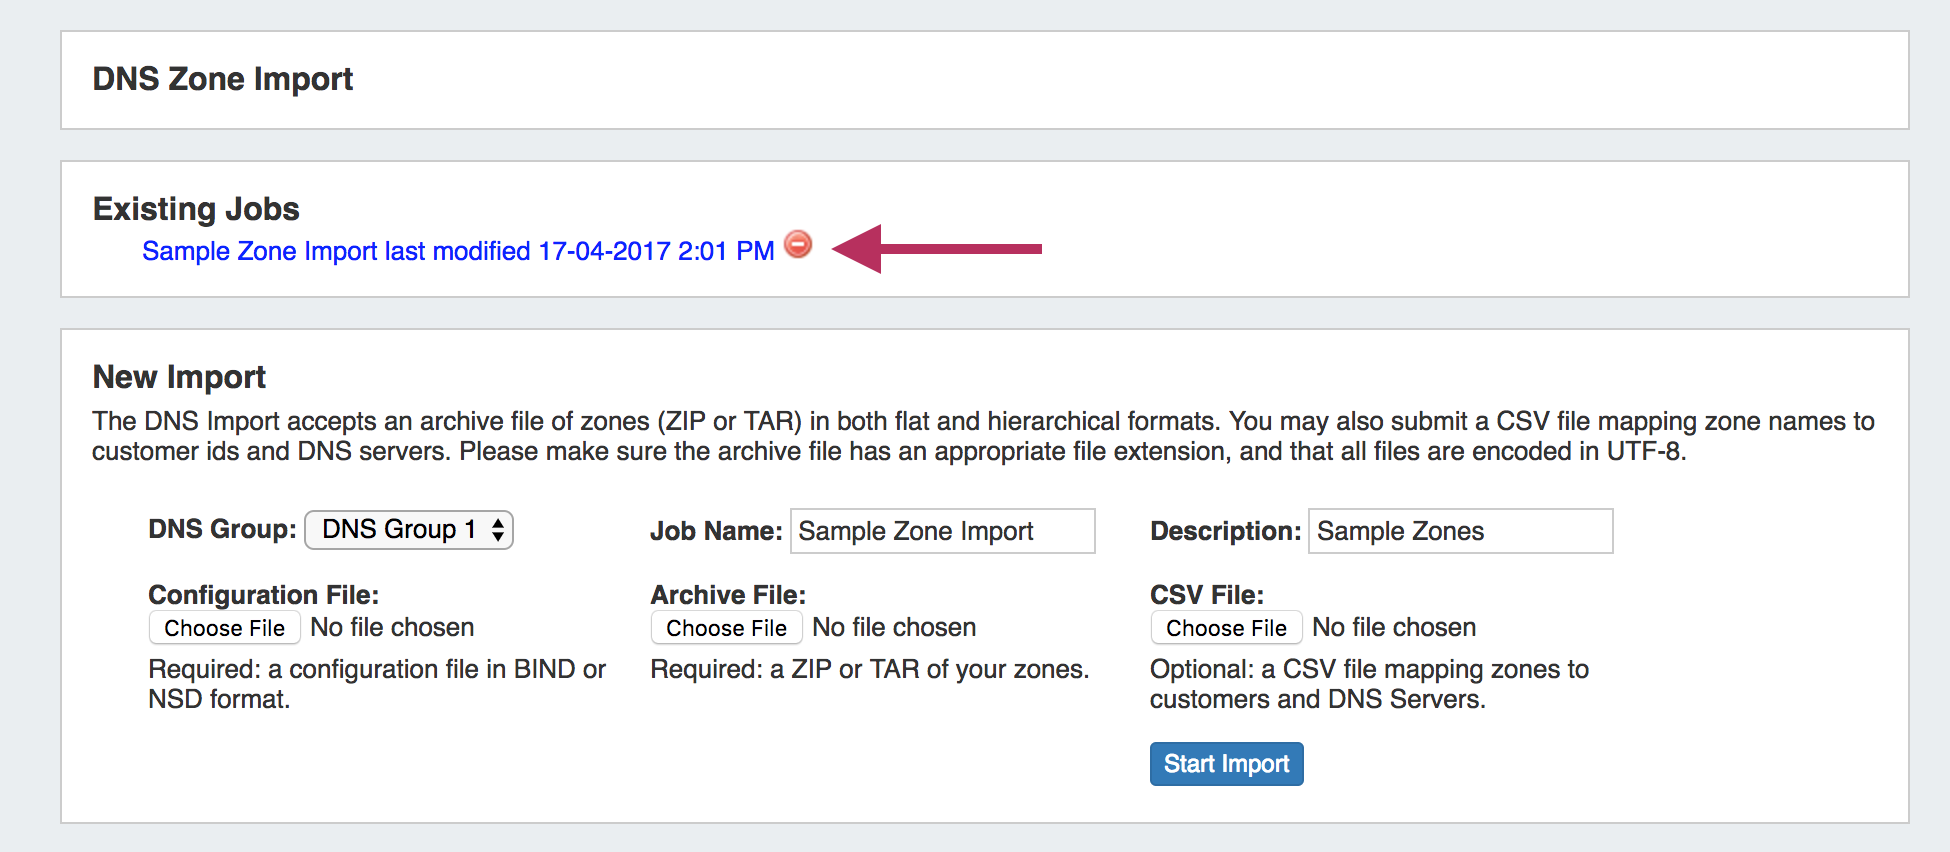
After importing, the new job will appear under the "Existing Jobs" section. To continue working with this job, select it from the list and the next step will appear on the page.
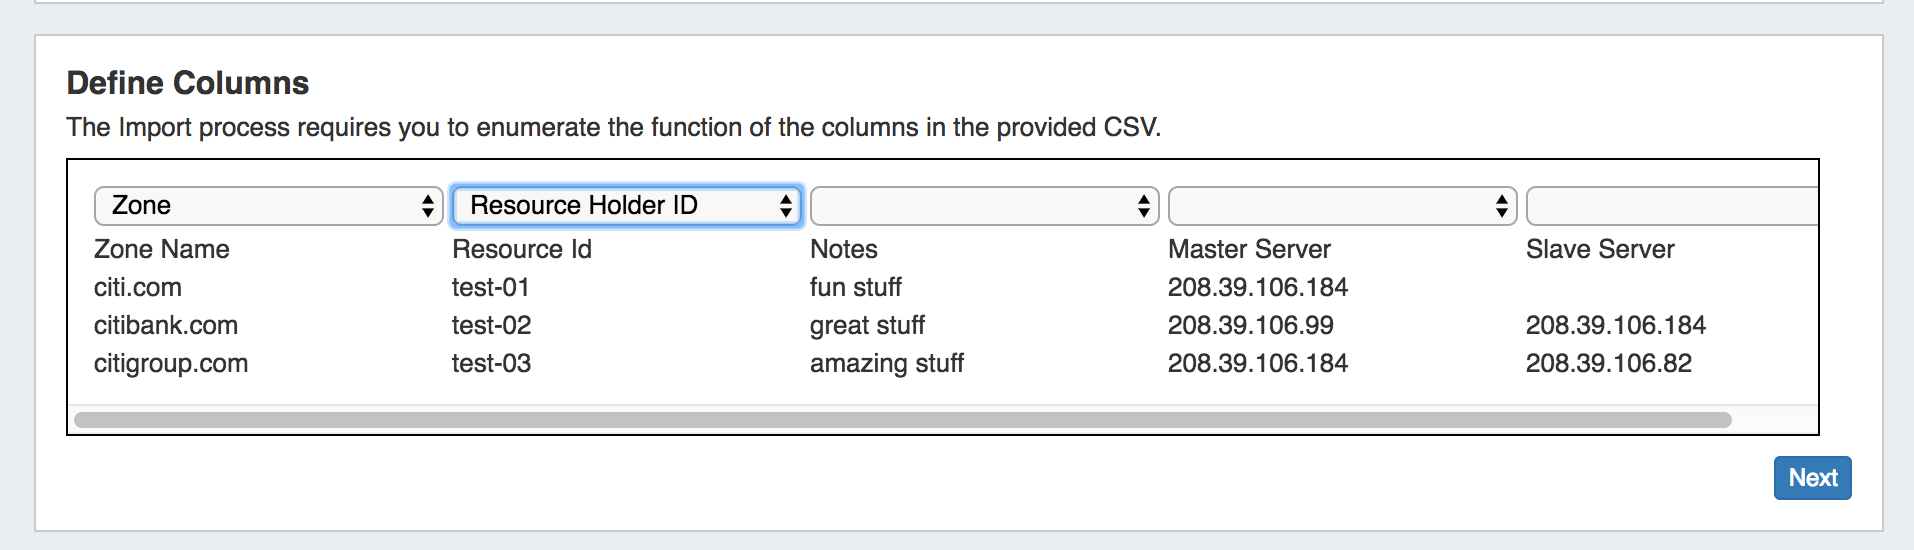
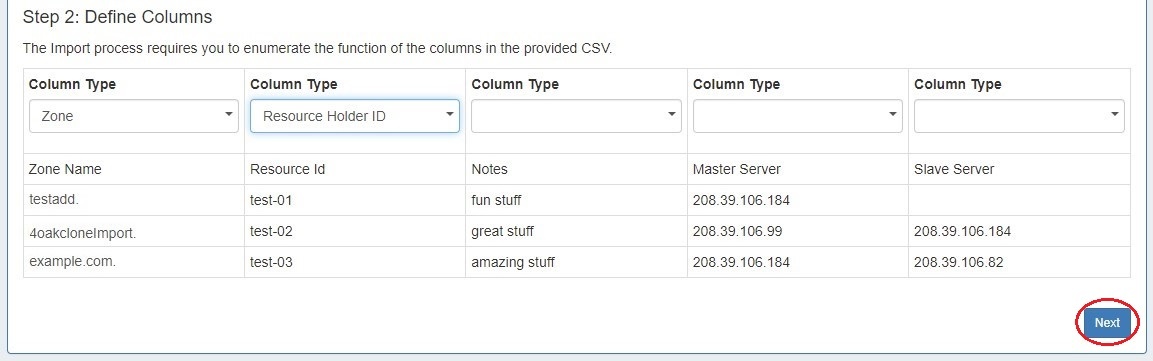
Step 2: Map Data Columns (Optional)
...
When completed, hit "Next".
Step 3: Reviewing Data
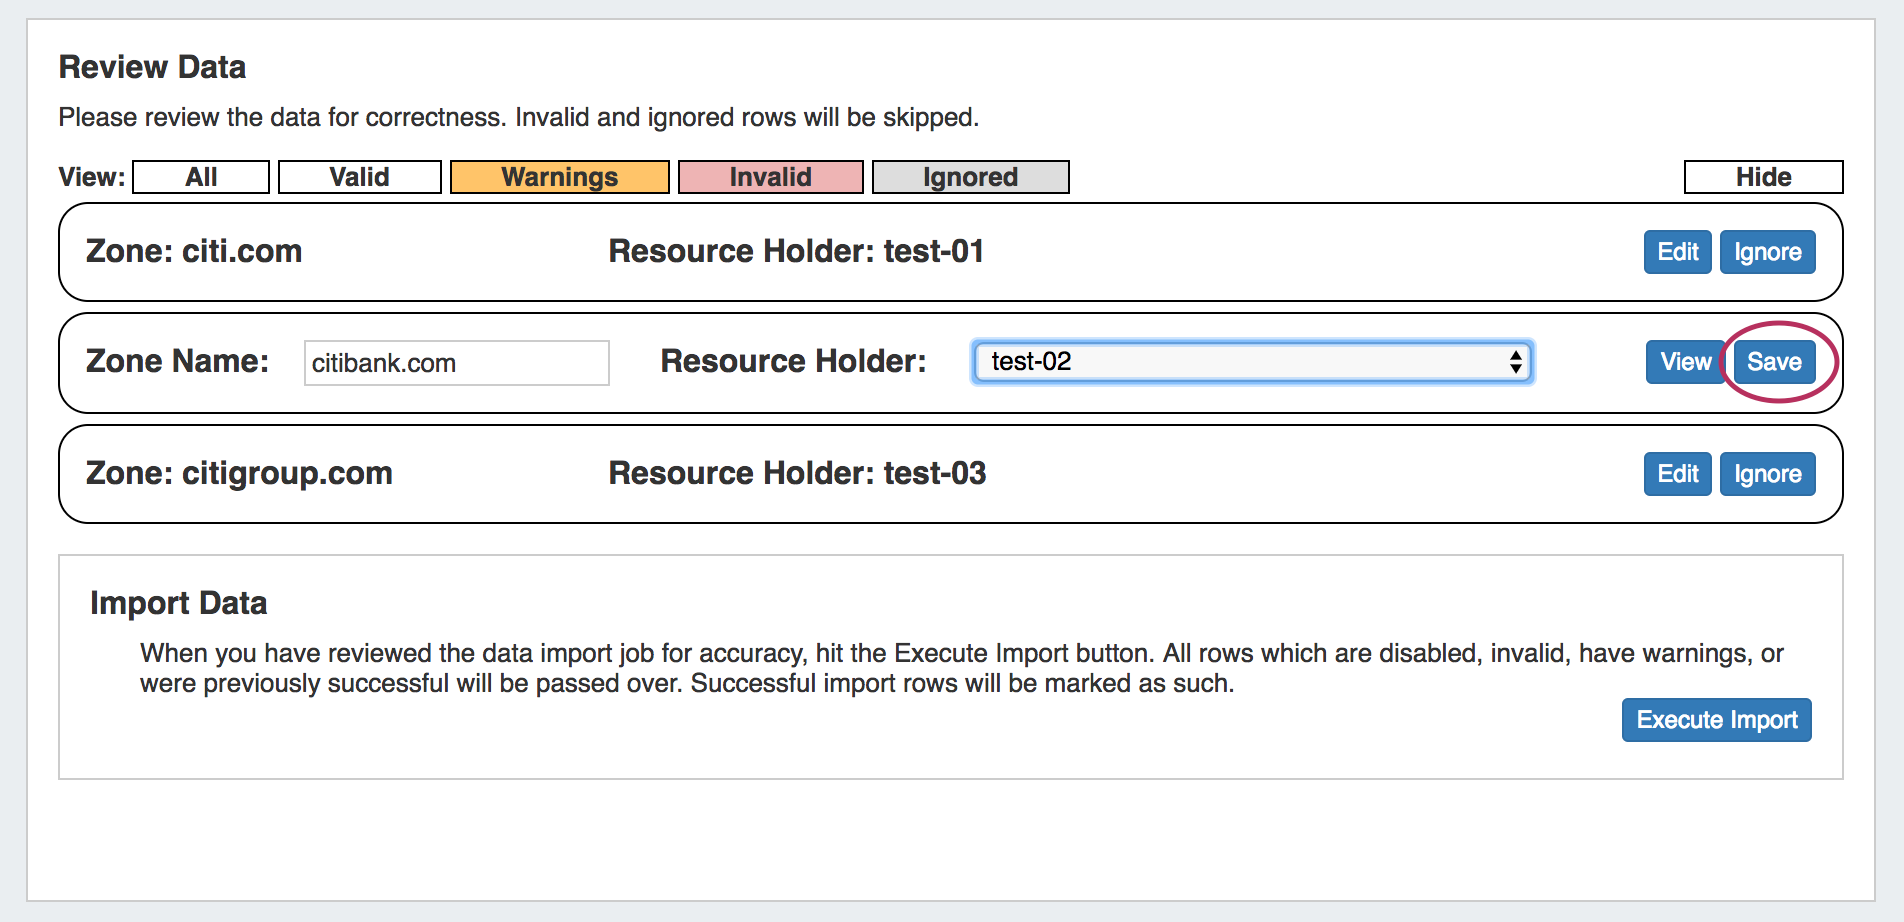
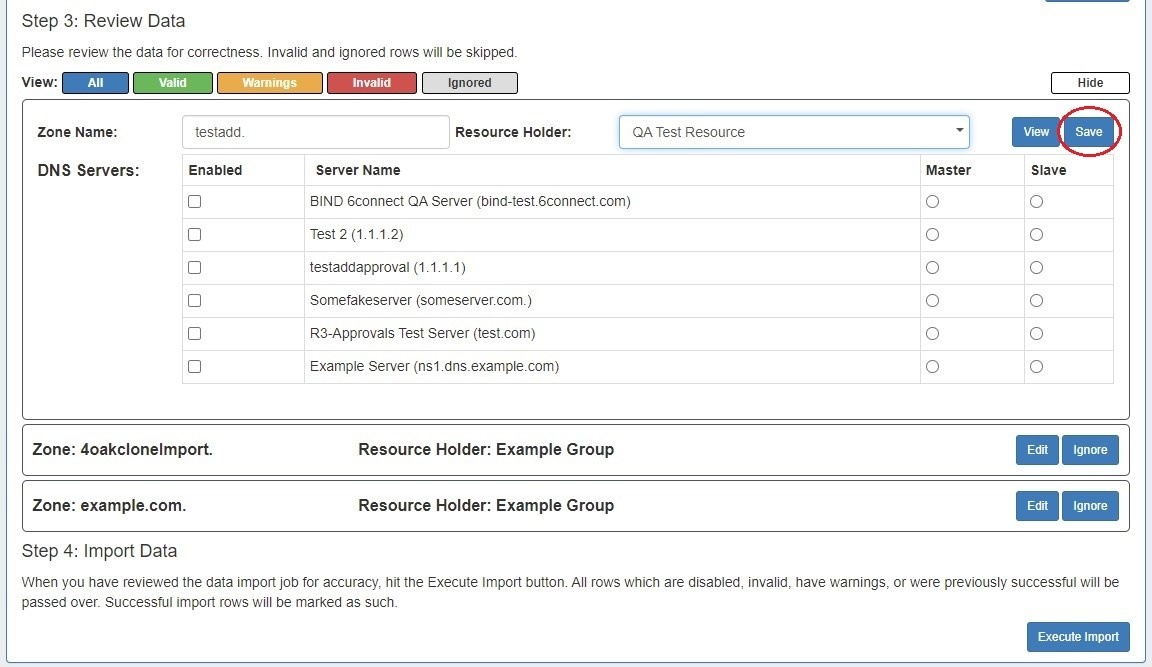
After supplying the file set and defining columns (if applicable), a review step is provided. The configuration file is broken into individual jobs, scanned for errors, and shown by row (in batches of 100) to be reviewed. Zones with errors will show as color coded. and can be filtered to be viewed by All, Valid, Warnings, Invalid, or Ignored. From here, the zone can be edited or ignored.
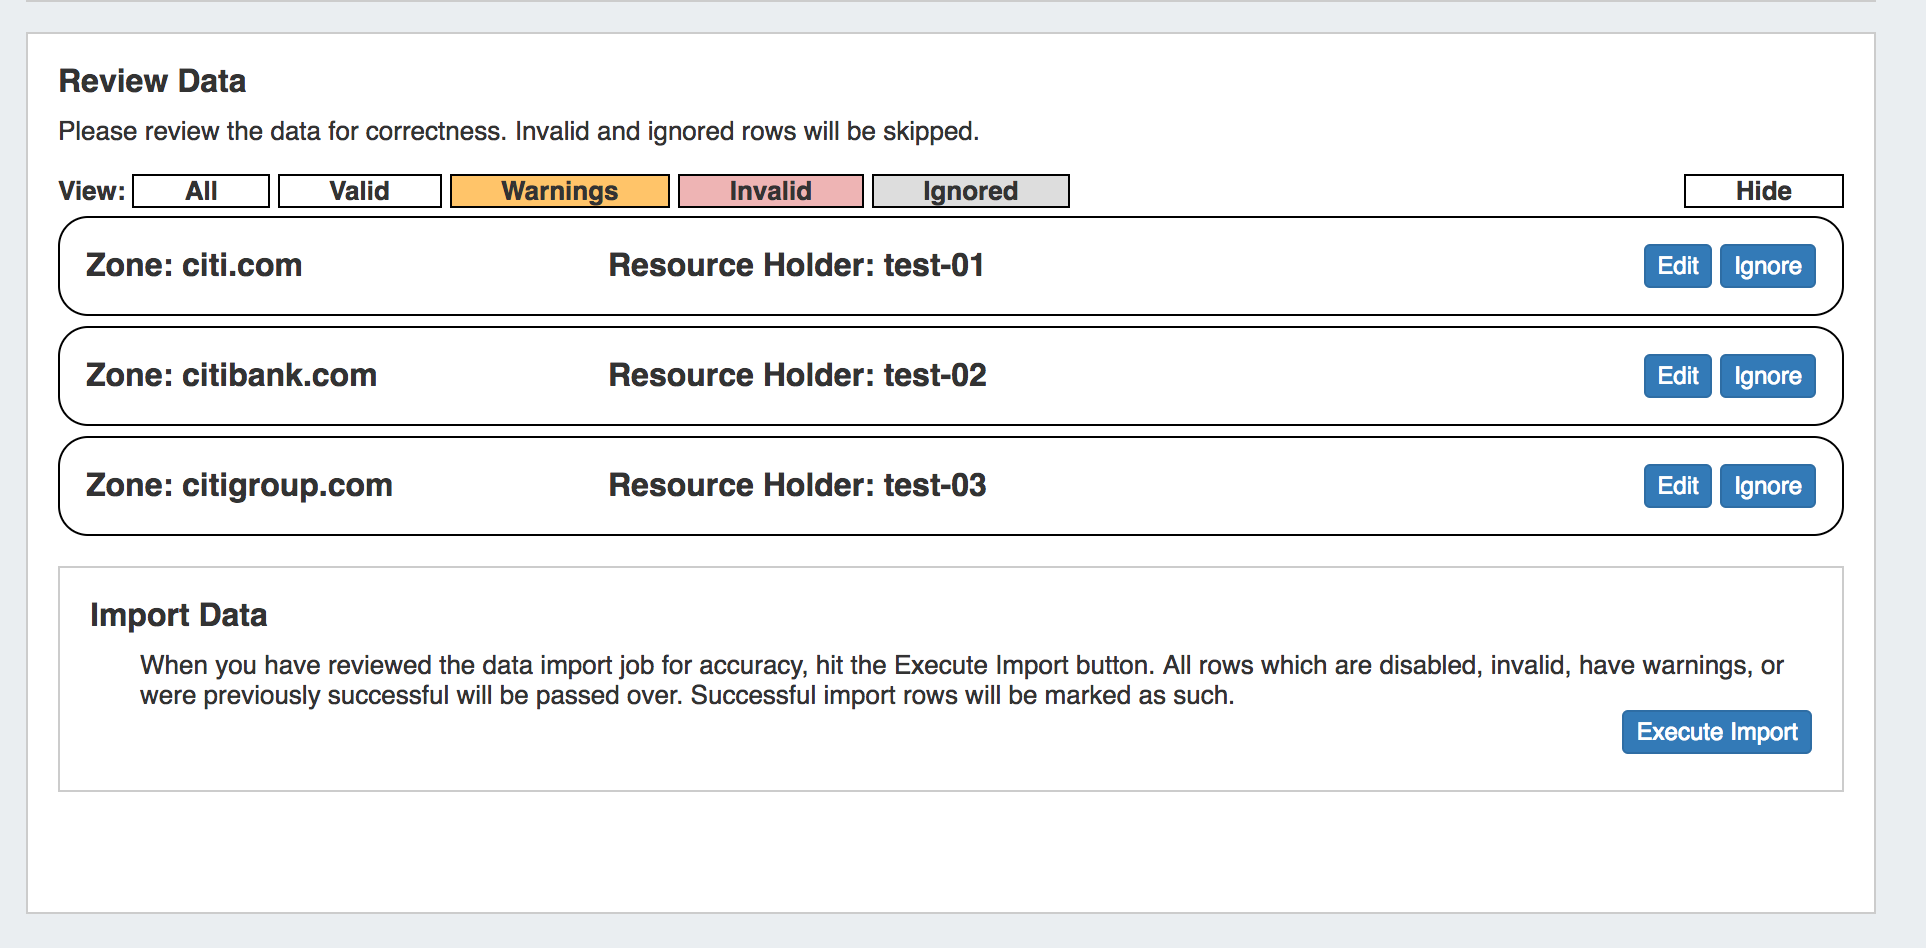
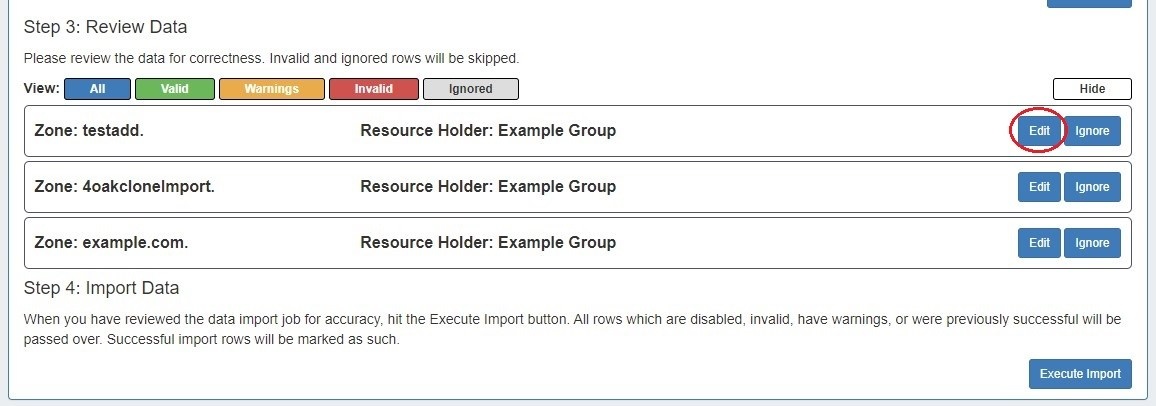
To edit the zone name or select a different Resource Holder, hit "Edit" on the zone record.
After editing, hit "Save", and continue reviewing / editing data as desired.
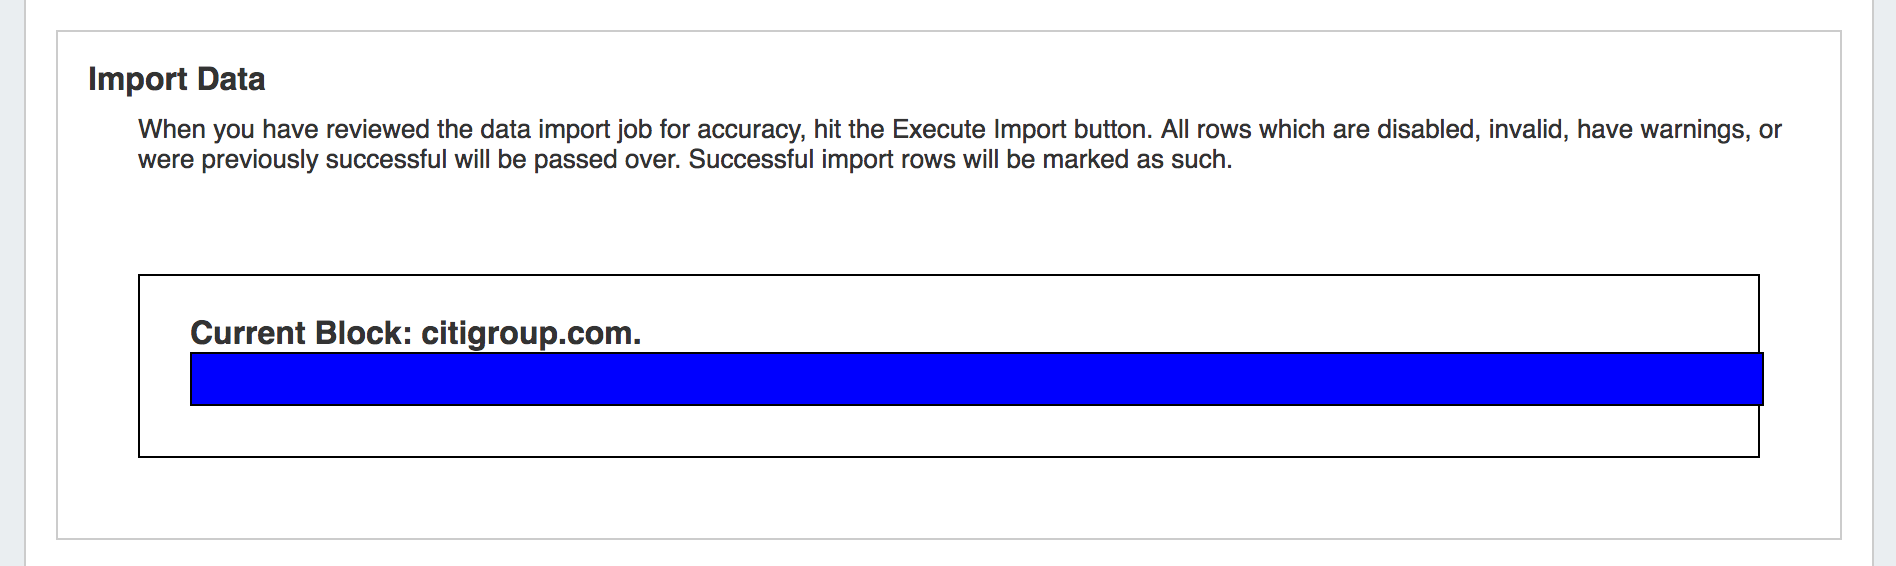
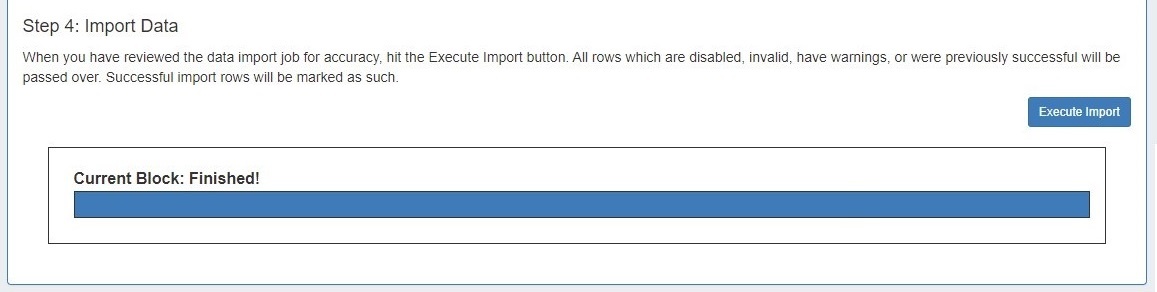
Step 4: Execute Import
When the review step is completed, hit the "Execute Import" button. A progress bar will appear to show progress and note errors if they occur.
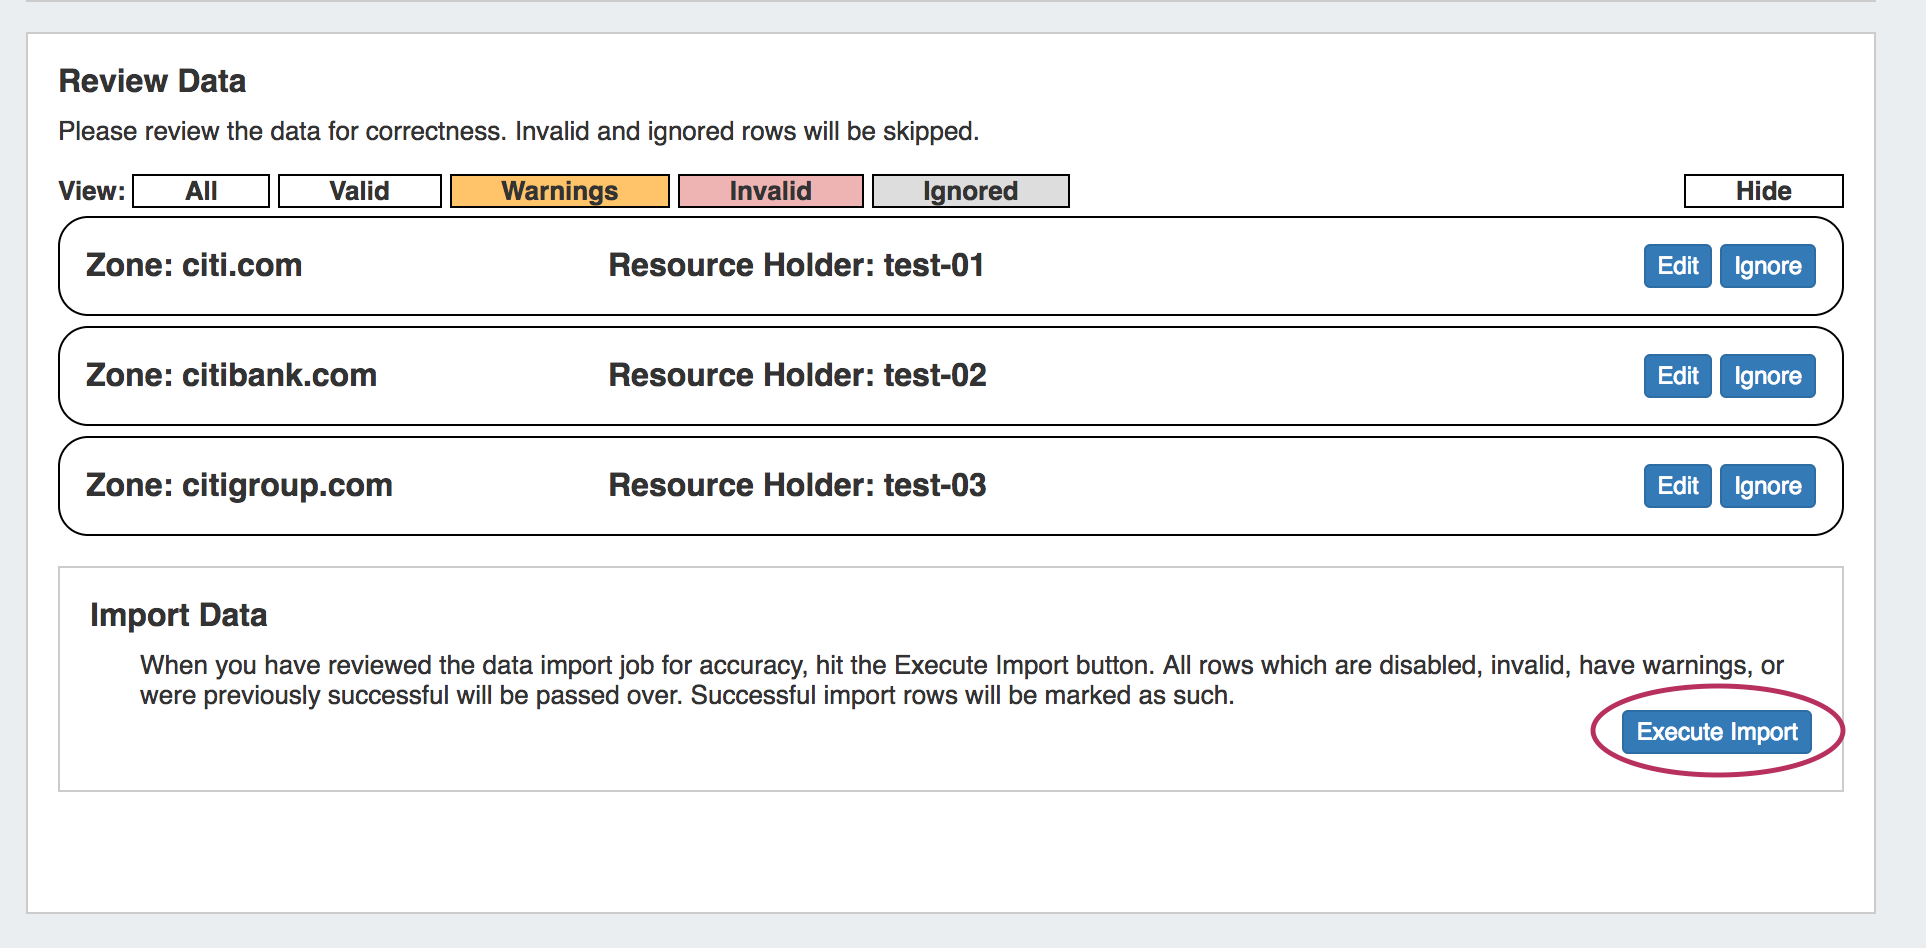
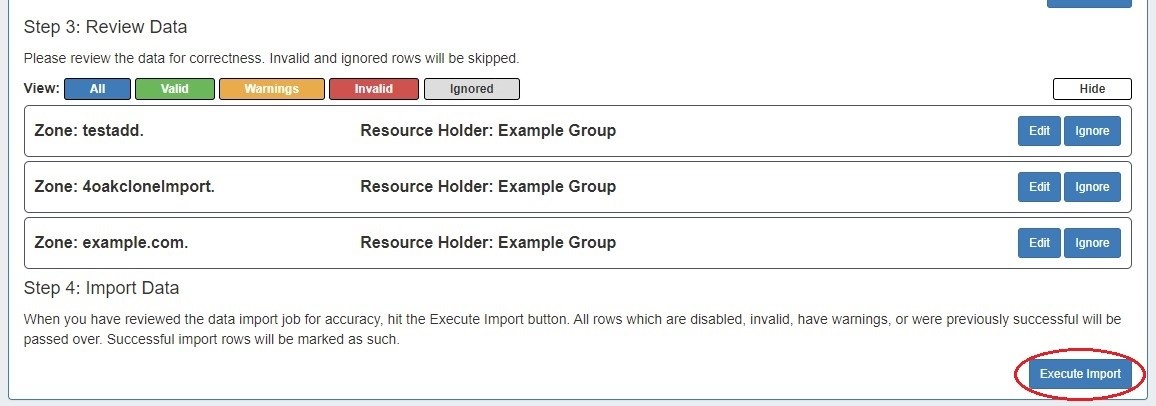
When the bar reaches 100%, the import is complete.