Quick-Start Tutorial 2
This tutorial expands upon the concepts introduced in Quick-Start Tutorial 1. It is recommended to complete Quick-Start Tutorial 1 prior to starting this walkthrough, as you will be cloning the previous Workflow.
| Table of Contents | ||
|---|---|---|
|
| Note | ||
|---|---|---|
| ||
ACP Workflows may only be saved once they have at least a single working step, in order to ensure that data transmitted is valid for the connector and system. Before starting this tutorial, or any other workflow creation, ensure that you:
|
Step 1: Open the Workflow List
Now let's Now lets expand a bit on the previous Tutorial and introduce some more advanced ACP concepts.
Step 1: Navigate to your ACP instance and open the Actions Menu by clicking on the Menu icon in the upper-left. Find the ‘My Workflows’ area and click the ‘more…’ link.
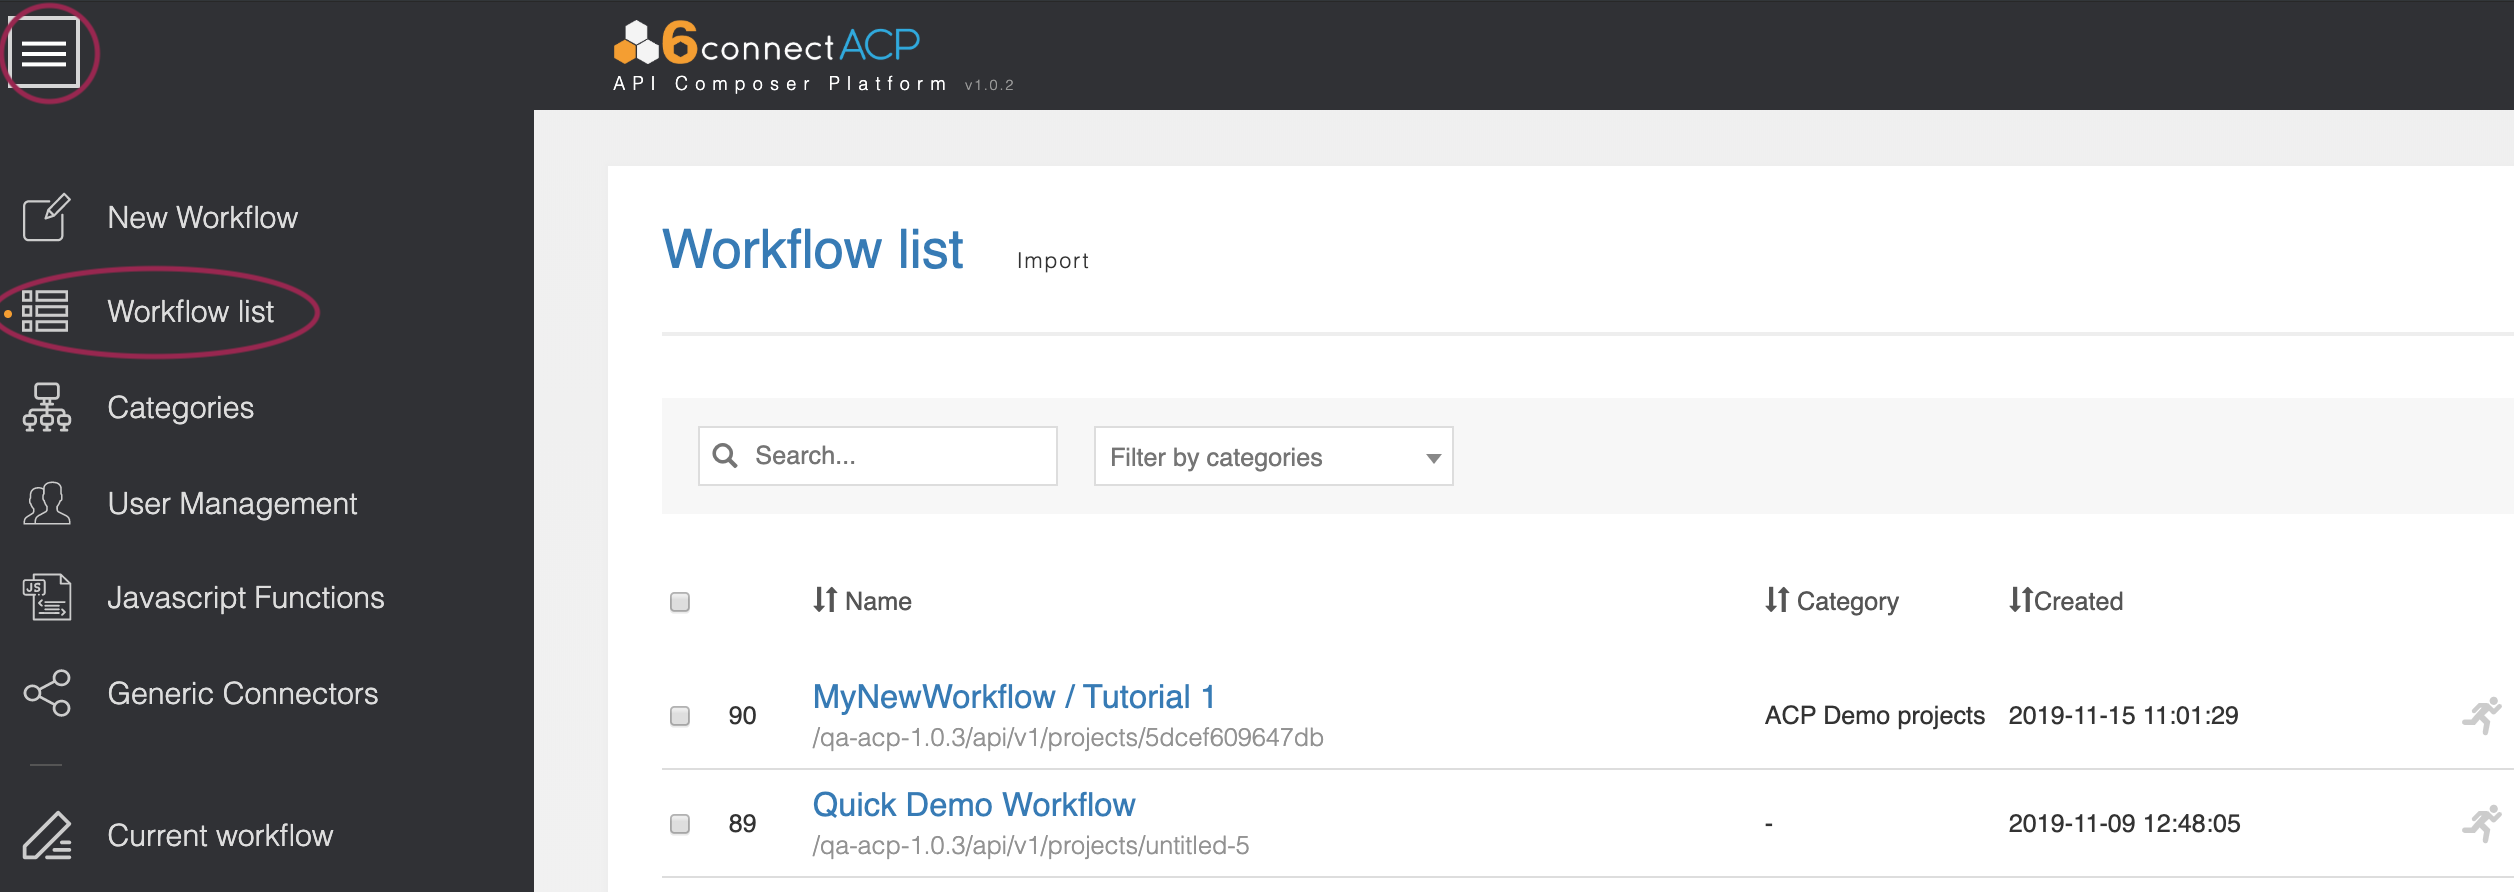
Then click on the "Workflow list" option to view all Workflows.
Step 2: Clone Workflow from Tutorial 1
Find the “Tutorial Workflow” tutorial Workflow that you created by following the Quick-Start Tutorial 1. You can search by Name, filter by category, or sort the workflow list by Name, Category, or Created date.
Once you find your Tutorial 1 Workflow, click on the ‘Clone’ icon.

Click on the blue ‘Clone’ button and enter “Tutorial Workflow 2” as the new name. Click ‘clone.’
...