Configuring ISC BIND Support
| Table of Contents |
|---|
Getting Started
You will need a user who can log in to the DNS server and make changes to the directory in which the zones are being stored. Additionally, it is often useful for this user to have the ability to restart the DNS server. The login and password for this user will be required to configure this server on the DNS Admin page.
...
It is also important to note that if your existing named.conf file contains zones within Split Horizon views, then the 6connect-managed zones must also be view-enabled. Likewise, if existing zones are not grouped into views, then views must be disabled on ProVision.
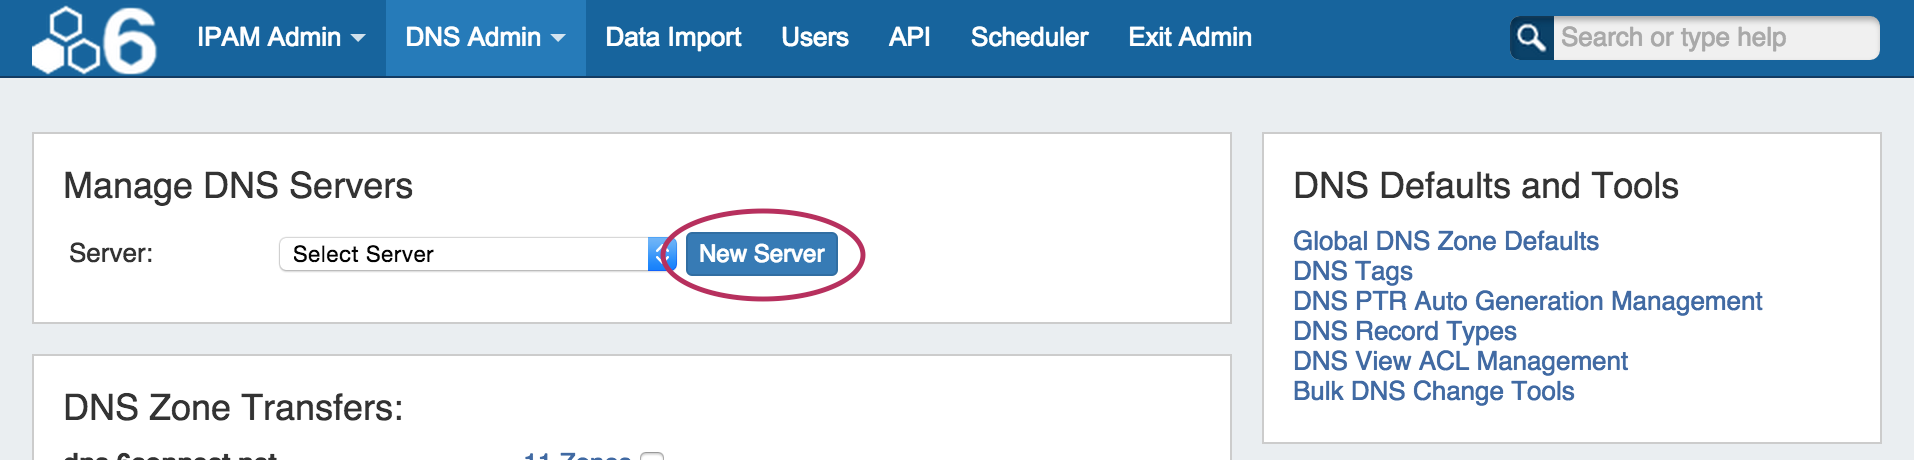
Adding a BIND Server to ProVision
Go to the DNS Admin tab and under Manage DNS Server, click "New Server"
Select "ISC BIND" as the Transfer Type, and fill in the server information fields. For detailed descriptions of the fields, see New Server dialogue section on the DNS Admin page.
![]()
The "Test Config" button will attempt to login to the target system and write to the target directory. If any failures are encountered, an error will be written with some detail. If the test is successful, the word "Success!" will show verifying that files can be transferred. This does not test if the user can execute pre/post commands. This needs to be checked manually.
When done, click on the "Add Server" button to save your server information.