...
NS One DNS Zone Import
Expand To import zones from a NS One server, navigate to the Admin area Data Import Tab, and click on "NS One Zone Import".
From there, enter the NS One API Key and select the desired DNS Group to add the zones under.
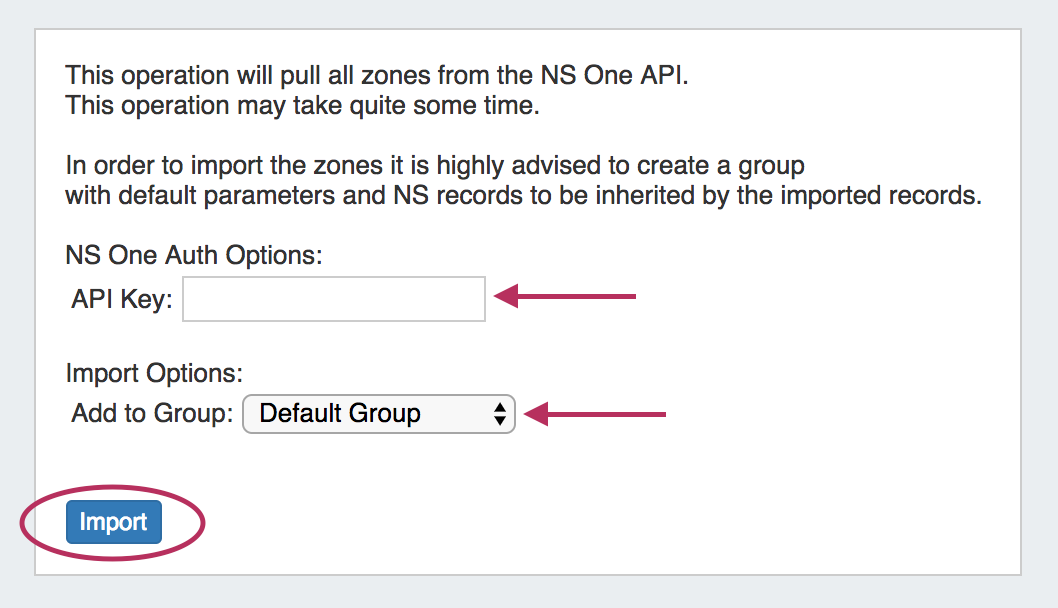
When done, click the "Import" button.
For more information, see NS One Zone Import.
DynDNS Zone Import
Expand To import zones from a Dyn DNS server, navigate to the Admin area Data Import Tab, and click on "Dyn DNS Zone Import".
From there, enter the DynDNS Customer Name, UserName, and Password, then select the desired DNS Group to add the zones under.
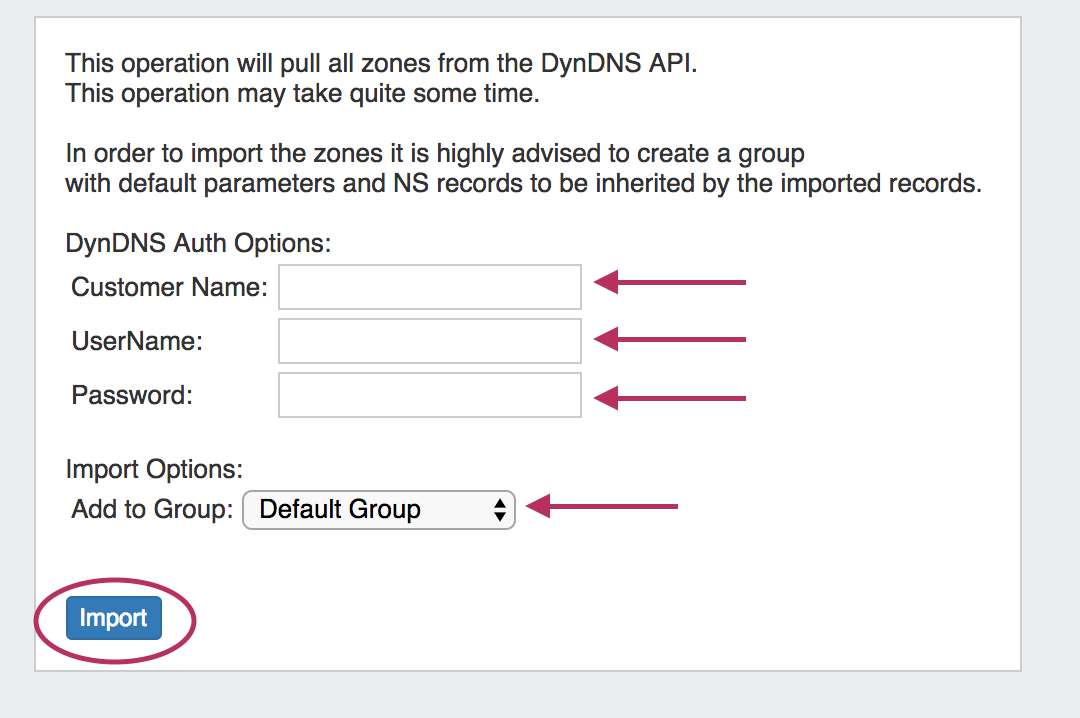
When done, click the "Import" button.
For more information, see Dyn DNS Zone Import.
DNSMadeEasy Zone Import
Expand To import zones from a DNSMadeEasy server, navigate to the Admin area Data Import Tab, and click on "DNSMadeEasy Zone Import".
From there, enter the DNSMadeEasy API Key and API Secret, then select the desired DNS Group to add the zones under.
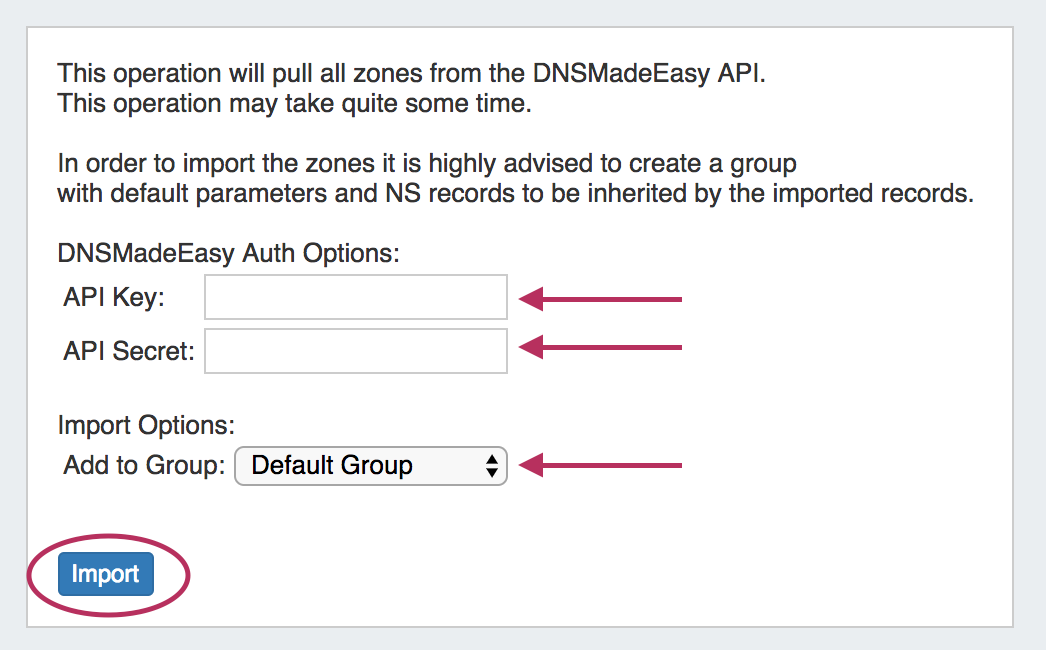
When done, click the "Import" button.
For more information, see DNSMadeEasy Zone Import.
Peering - Configure Sessions for Existing / Approved Peers:
An option has been added to the Peering Communications action menu to "Configure Sessions" for that Peer. With this option, you can view and configure all sessions, from any or all exchanges, for that Peer from one menu. "Configure Sessions" becomes available once a peer has been marked "Existing" or "Approved" in the Communications Action Menu. For more information, see Peering - Common Tasks.
| Expand |
|---|
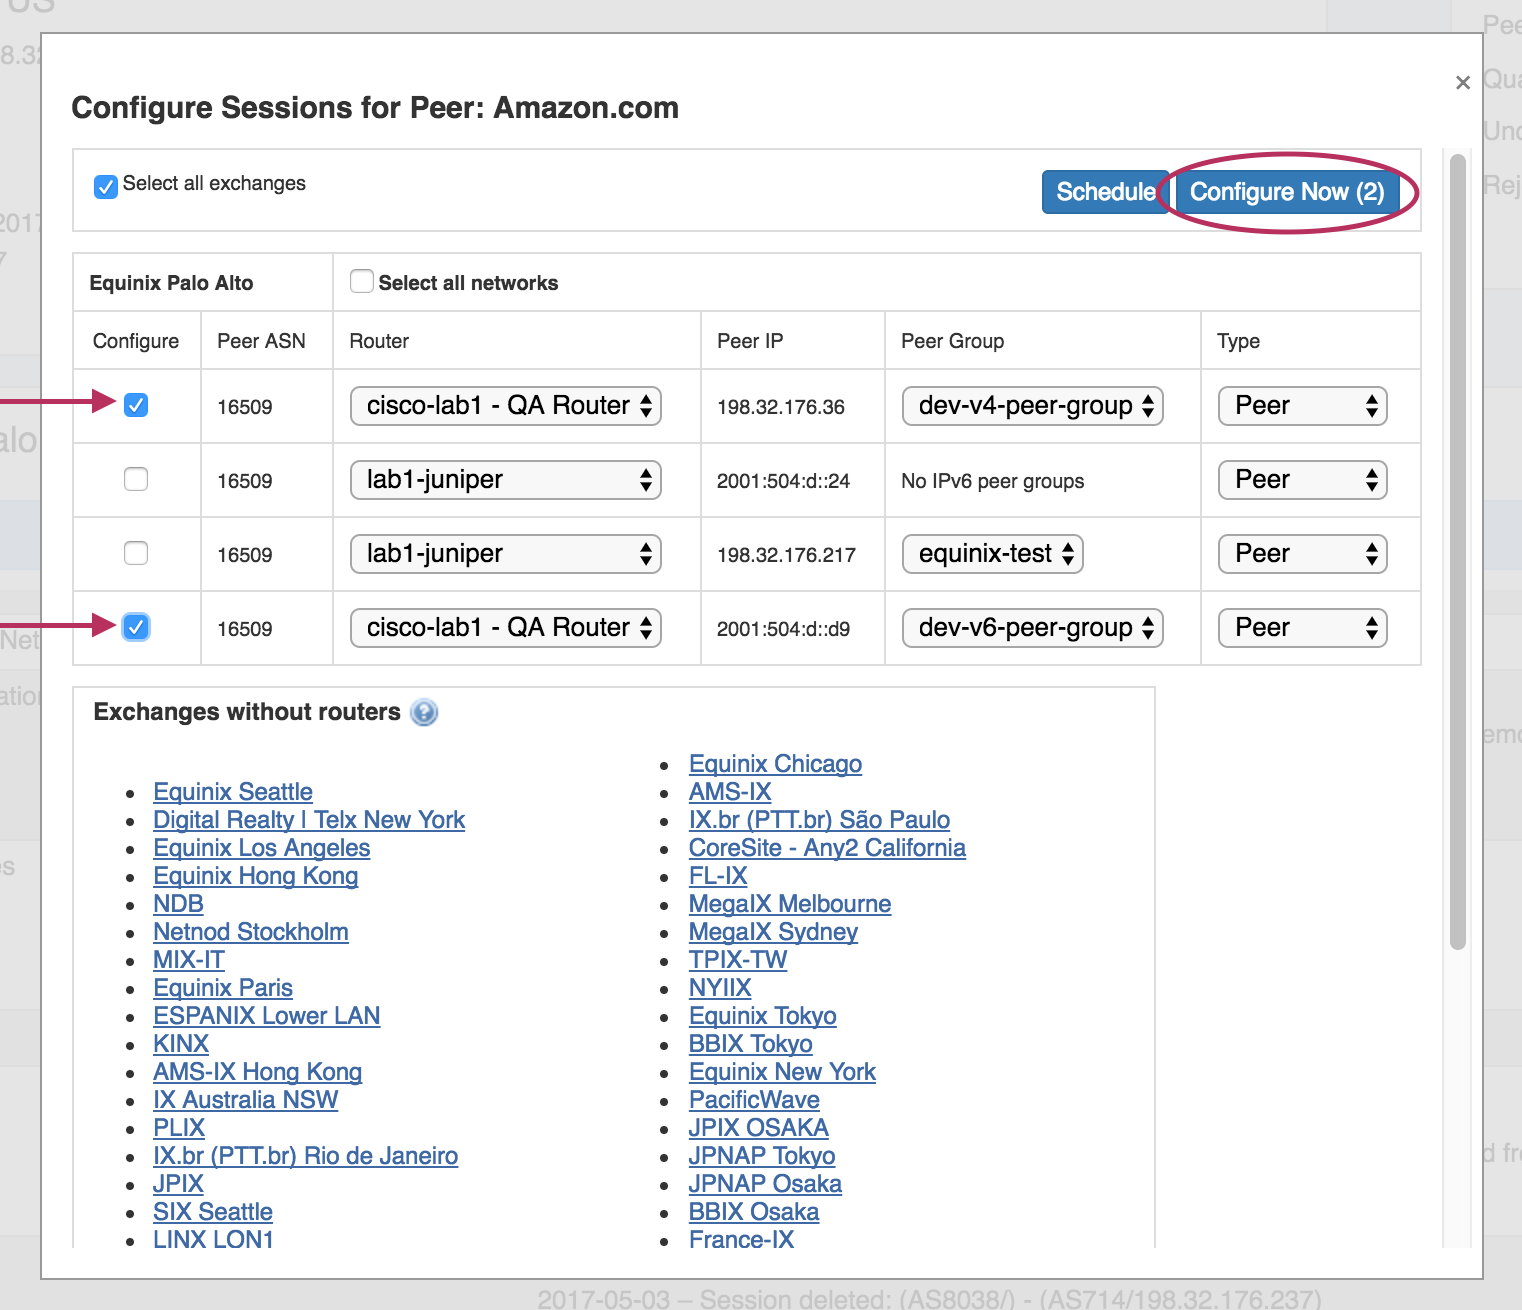
Clicking on "Configure Sessions" opens a modal showing the available exchanges with routers, sessions for that Peer under those exchanges, and options to change the router, peer group, and Peer type. 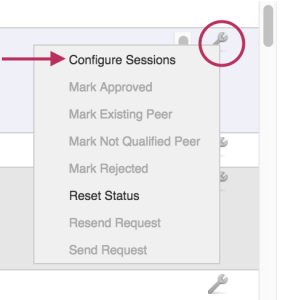 Select the checkmarks for the desired sessions to configure. As a shortcut, you may also check the "Select all exchanges" option to select all sessions under all exchanges, or, check "Select all networks" next to the exchange header to select all sessions in that exchange. From there, deselect items as needed.
When your selections have been made, click "Configure Now" to immediately configure all selected sessions, or you may schedule the configuration through the Scheduler Tab. |
CPNR Updates:
CPNR Updates include:
...