Peering Templates
Peering Templates are accessible to Admin users from the Admin Preferences page, under Peering Settings.
Peering Templates allow users to create their own reusable session configuration files. When the default ProVision session configuration template doesn't do everything required for your specific use case, you can create your own template that does.
Revisions to Peering Templates are tracked, and a template may be reverted to a previous version at any time.
Viewing Templates
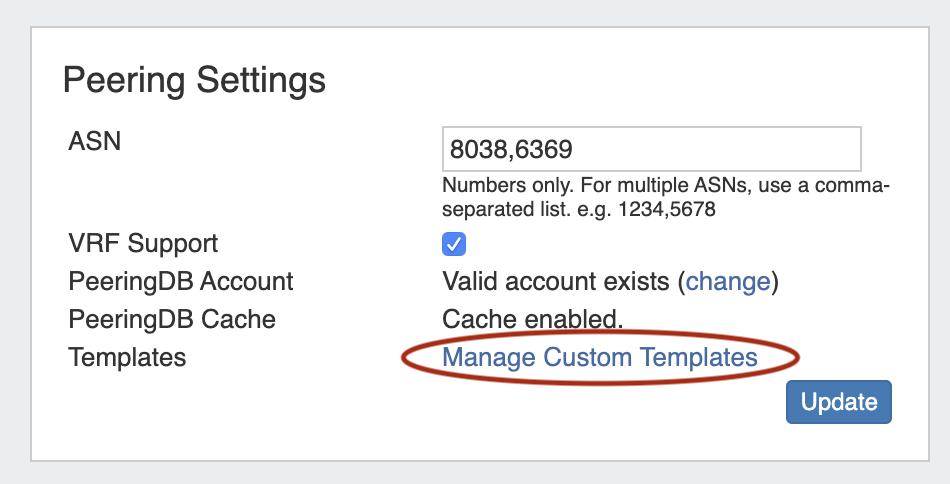
View the Template List by navigating to the Admin Preferences page, in the Admin area of ProVision. From there, scroll to the Peering Settings section. Next to "Templates", click "Manage Custom Templates".
The Template List will open, displaying all existing Peering Templates.
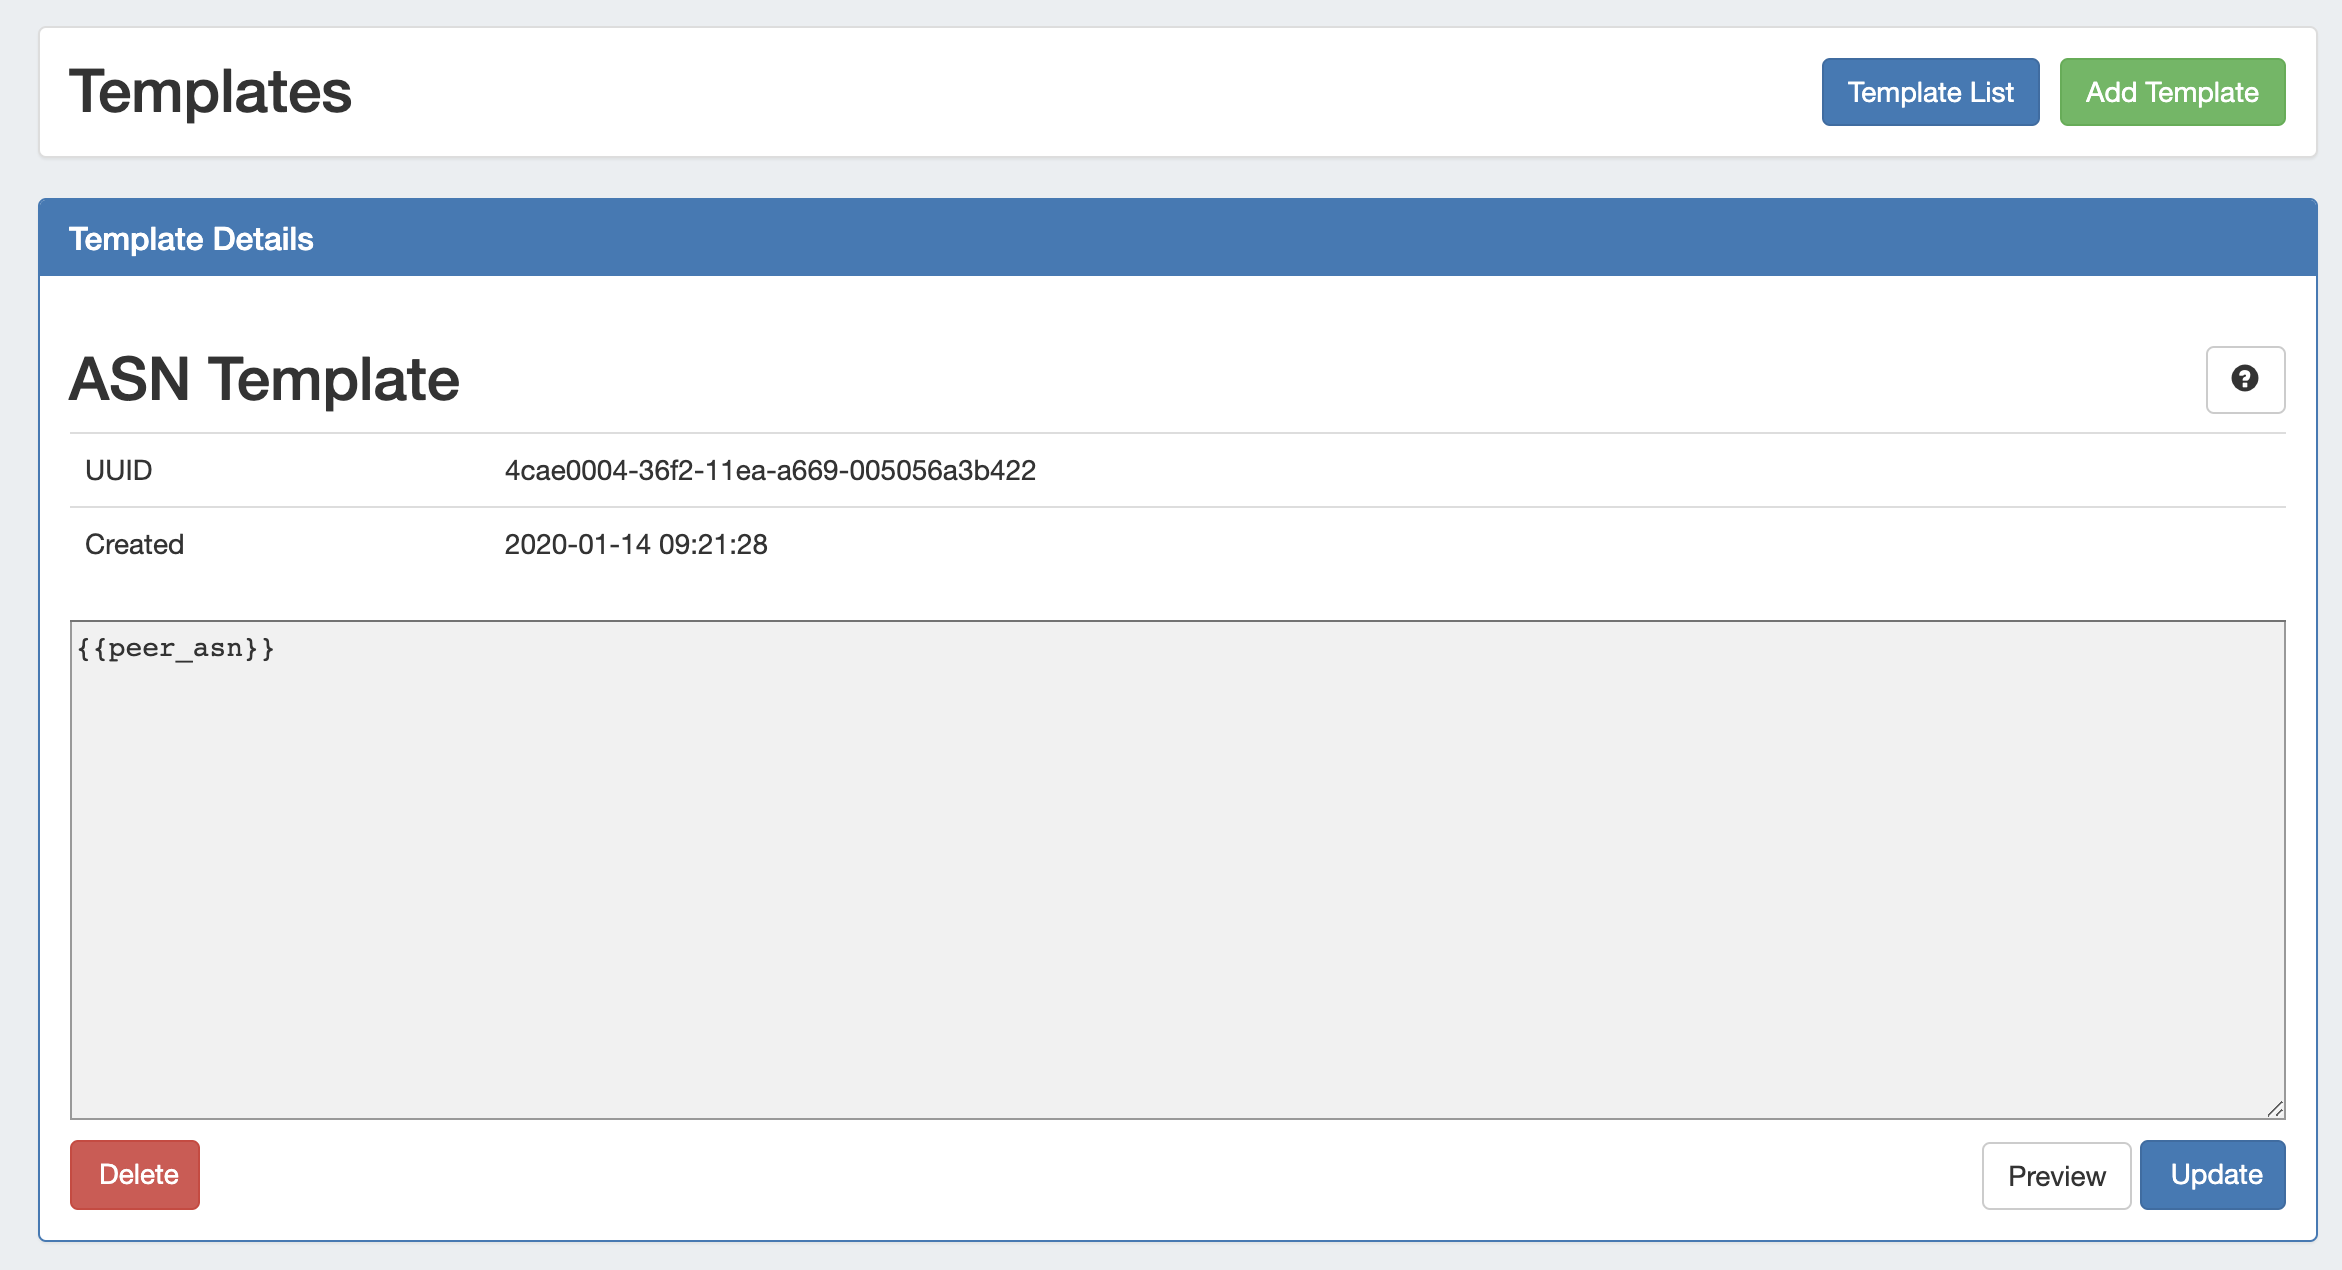
Click on any template to open Template Details, where you can edit, delete, or preview the template.
To return to the Template List, click the "Template List" button at the top right of the page.
Add a Template
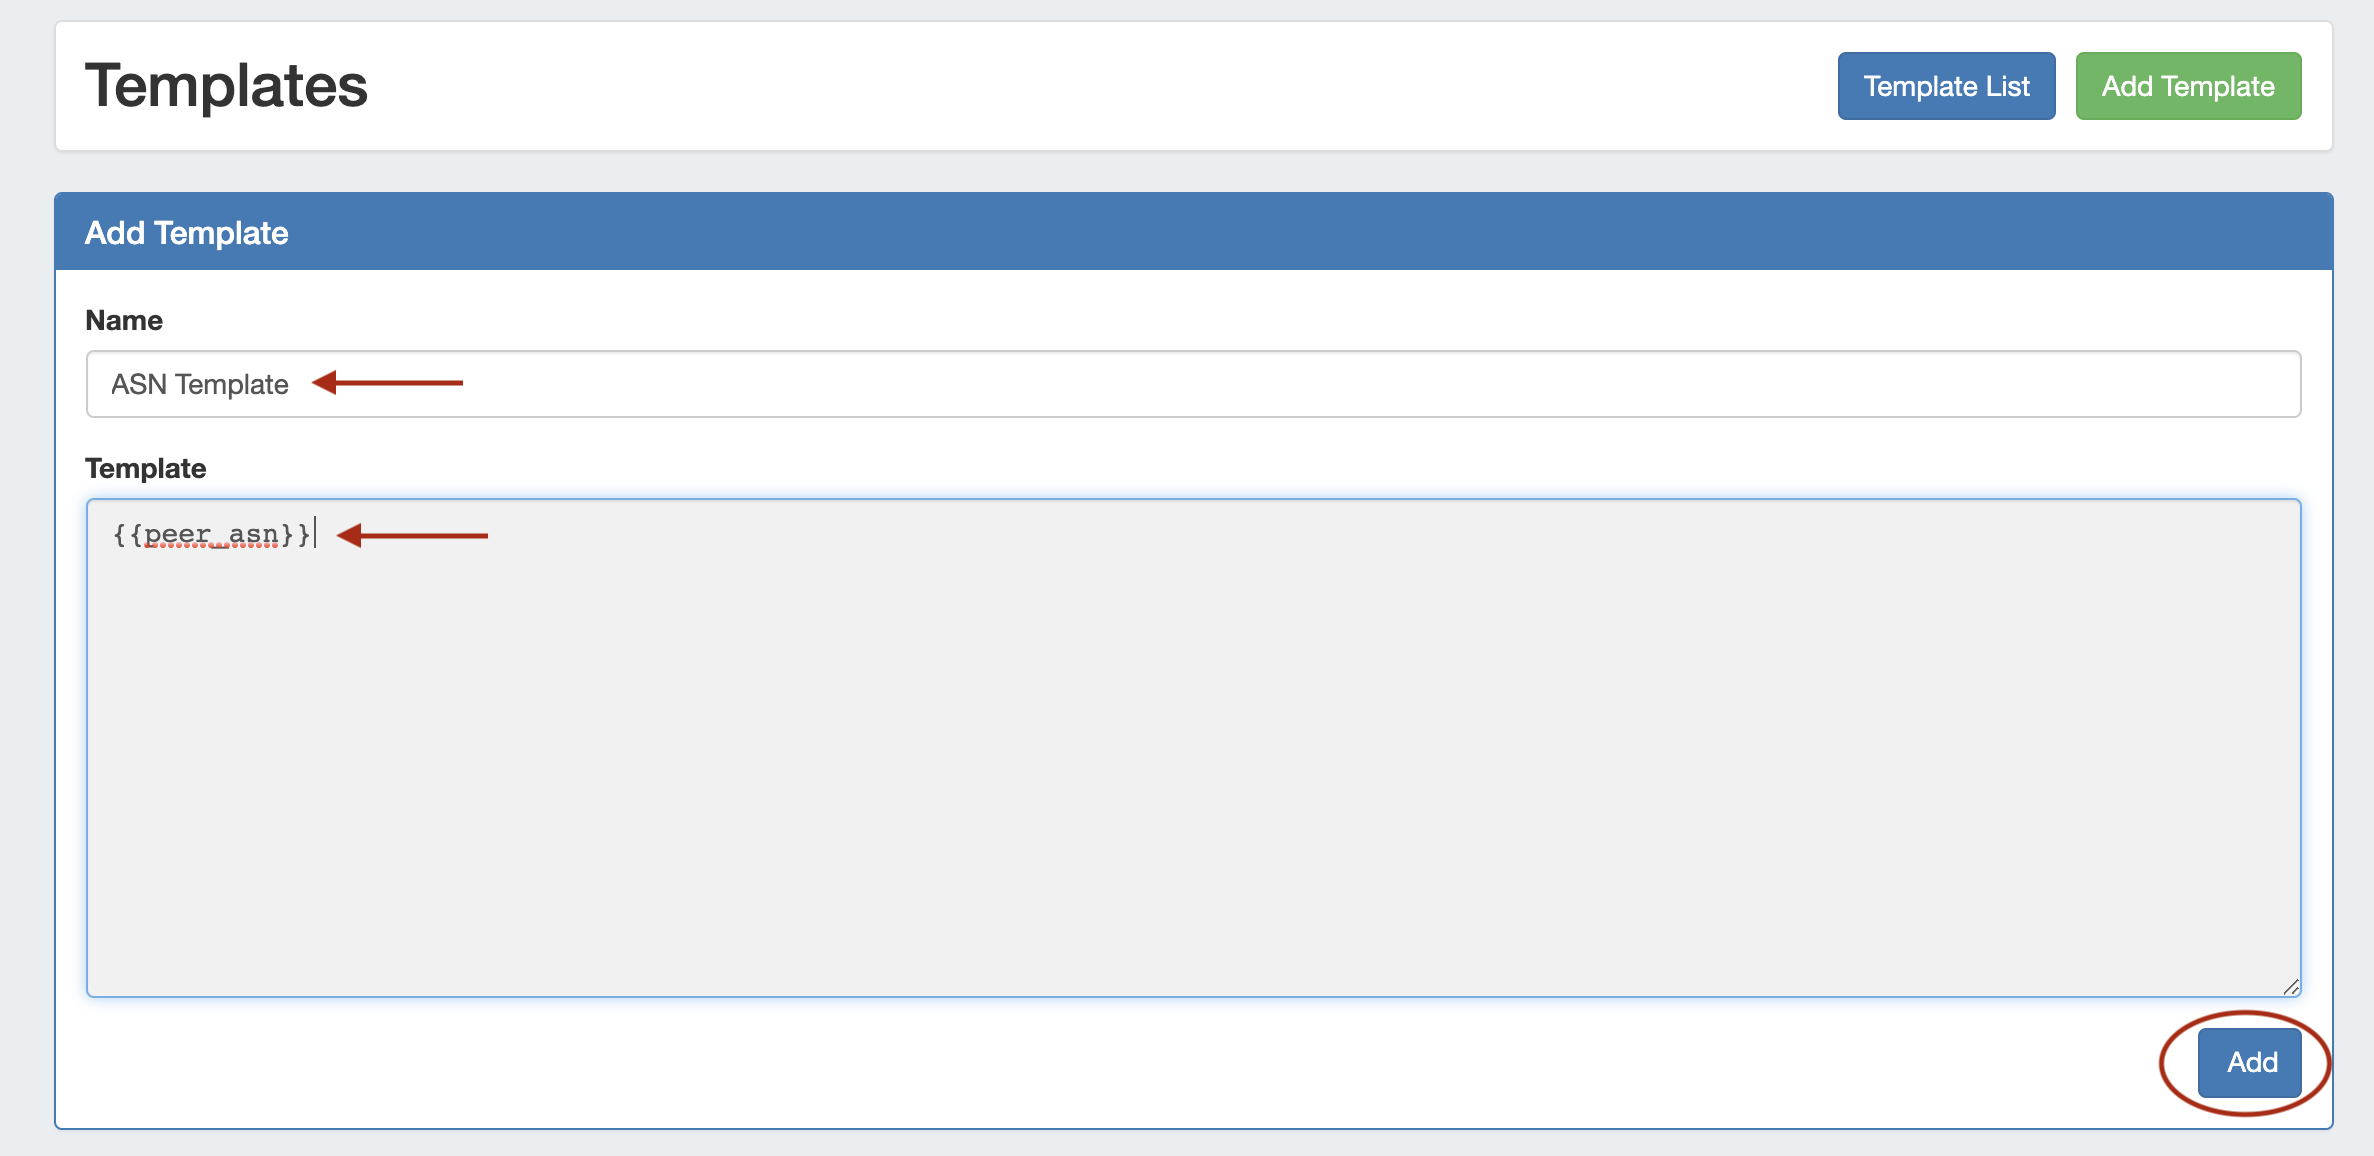
From any page in the Peering Templates area, click the "Add Template" button on the right side of the page header to start a new template.
In the Add Template form, enter a name for the template and the template body. When complete, click "Add".
The "Template Details" view displays for the newly created template, here you can update, preview, or delete the template.
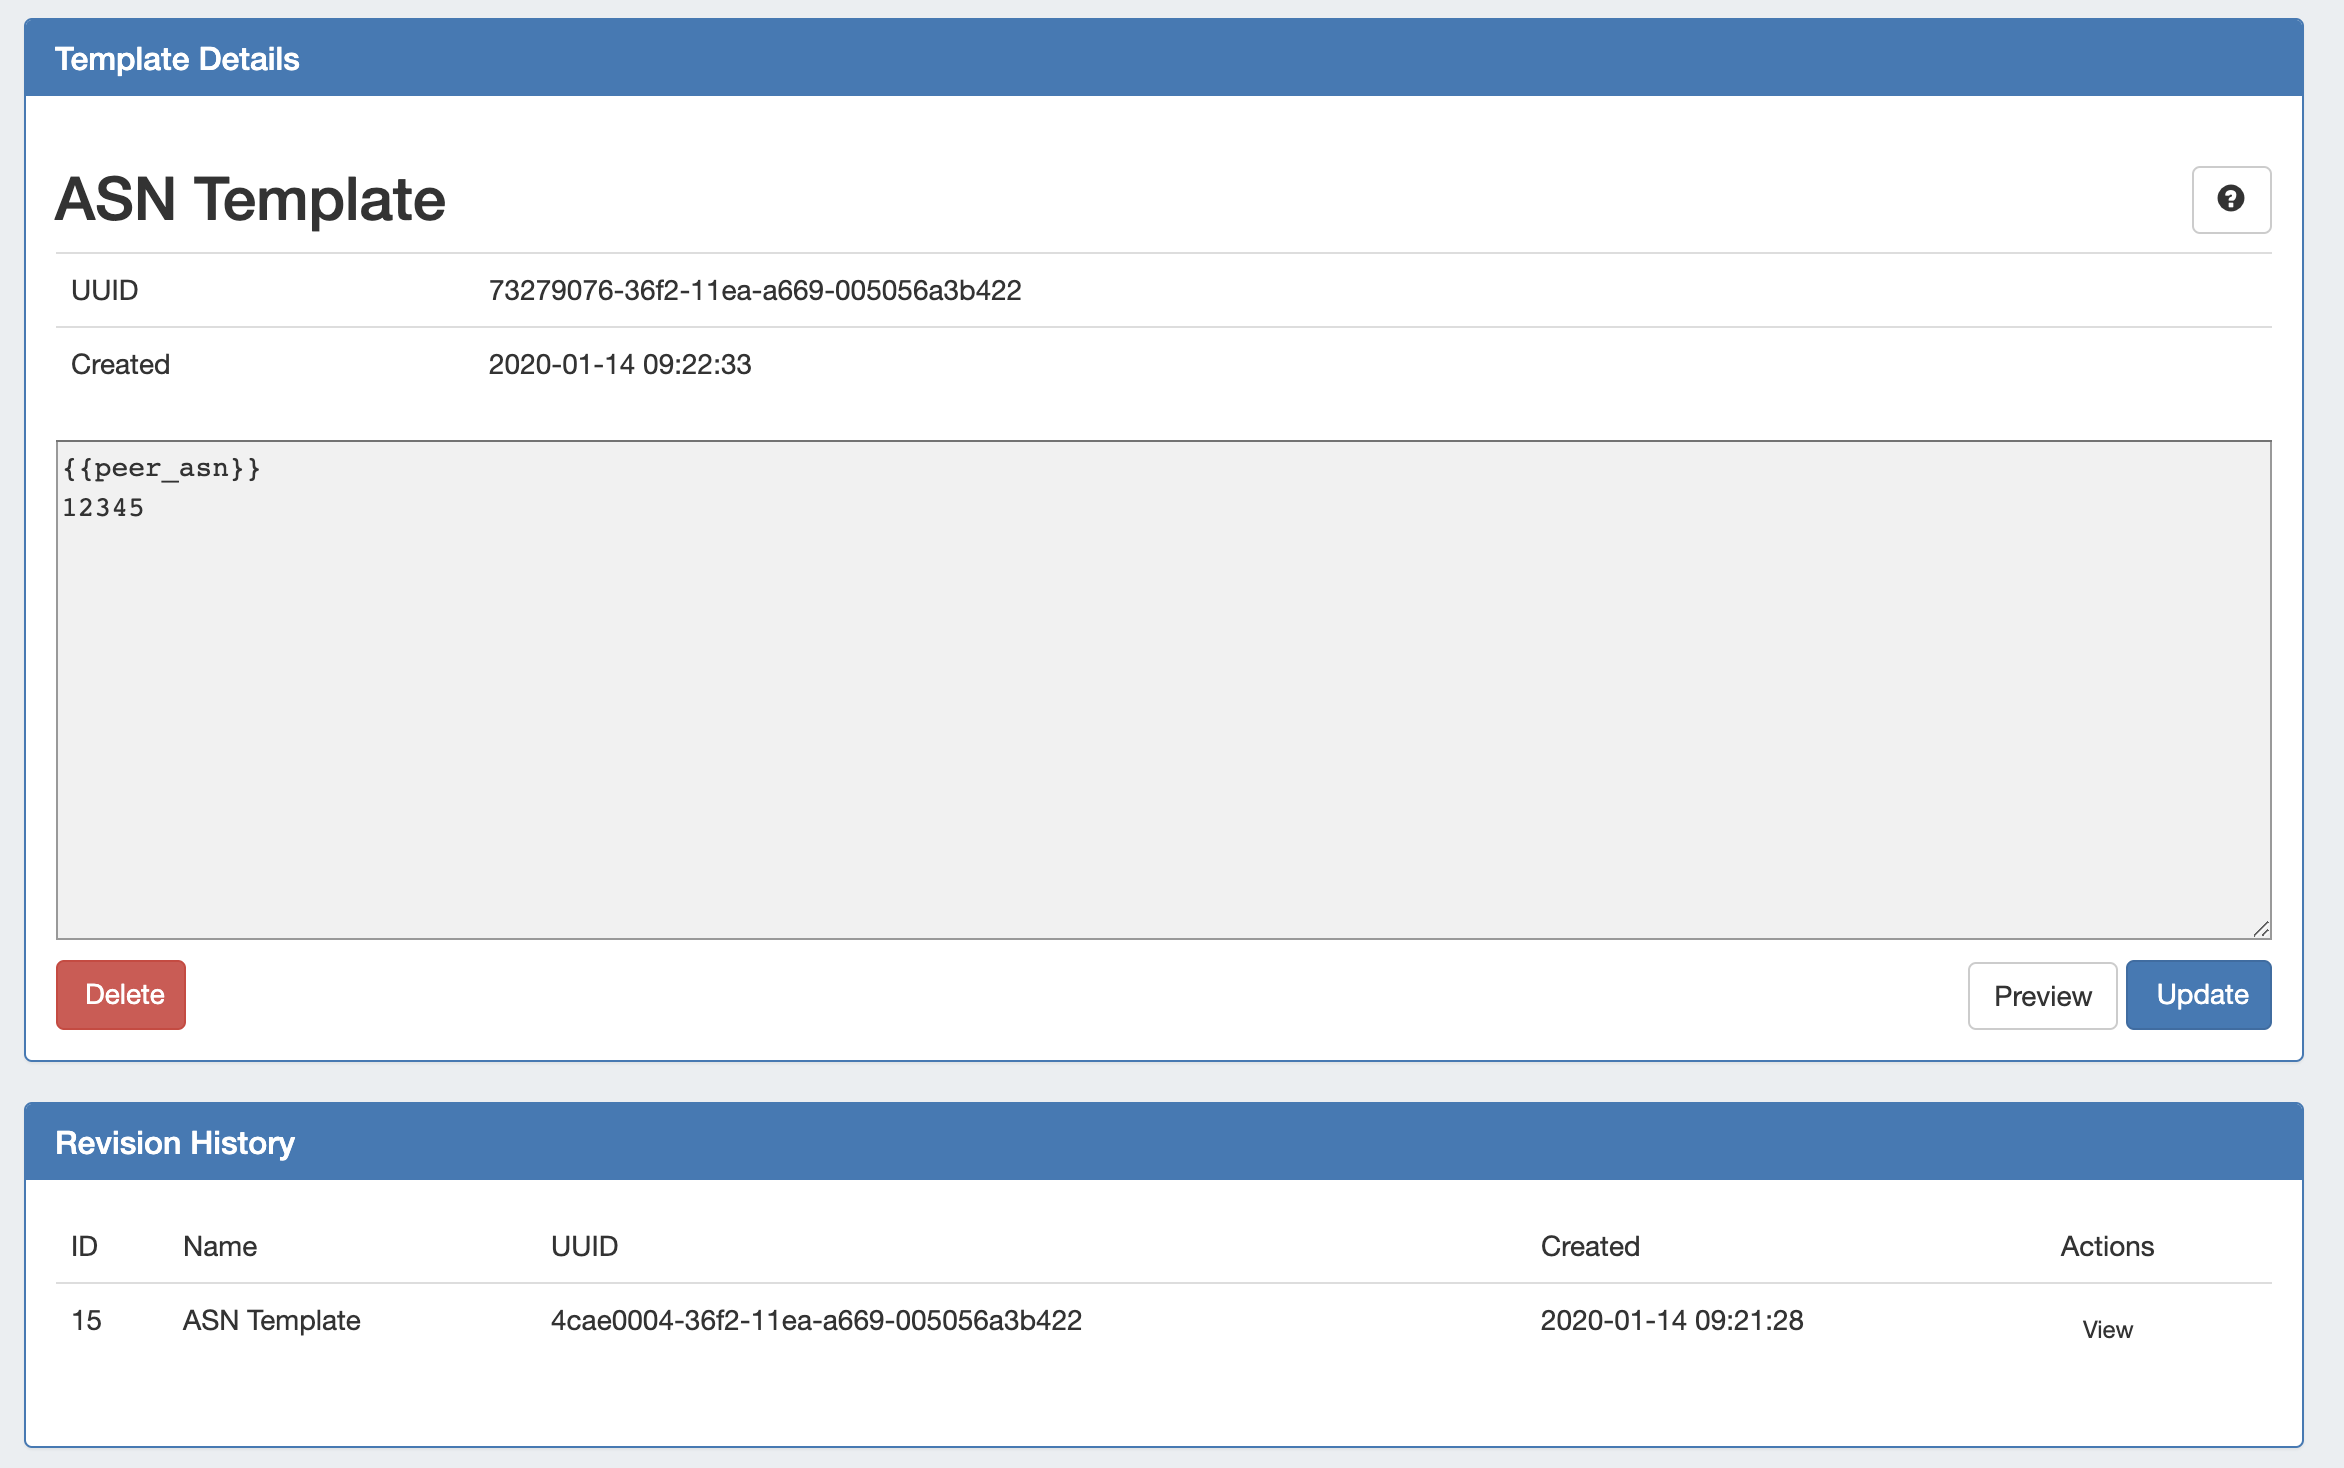
The "Revision History" section is available at the bottom of the page in this view, but will only display data if previous updates have been made to the template.
Delete a Template
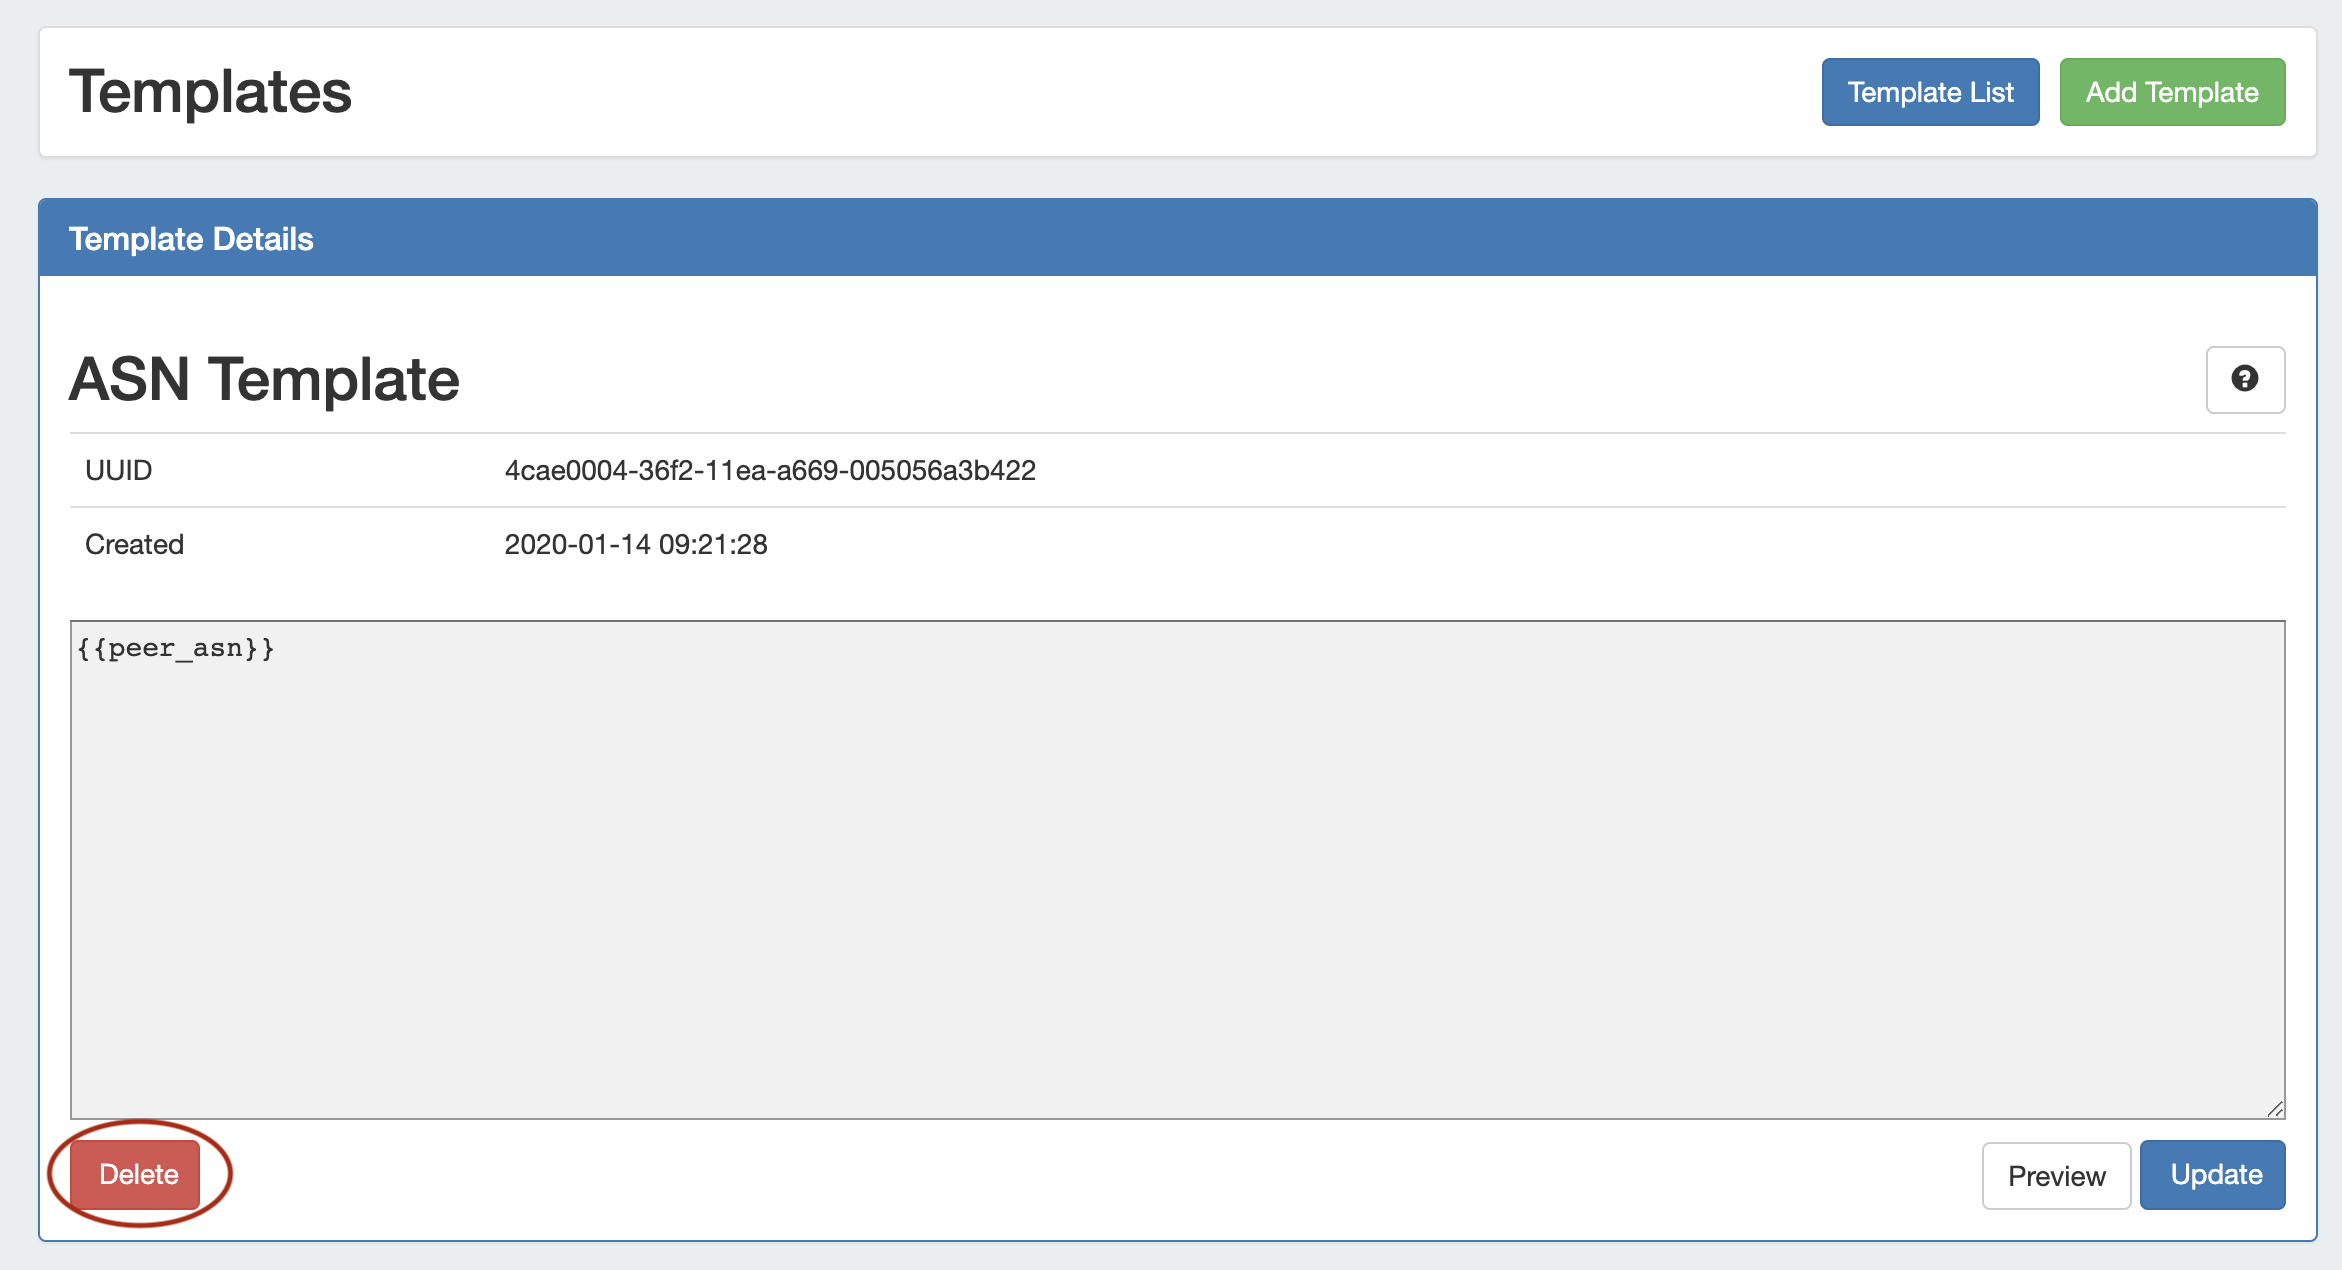
From the Template Details view for the desired template, click the "Delete Button". Note: The deletion is immediate and permanent - use with care!
Edit a Template
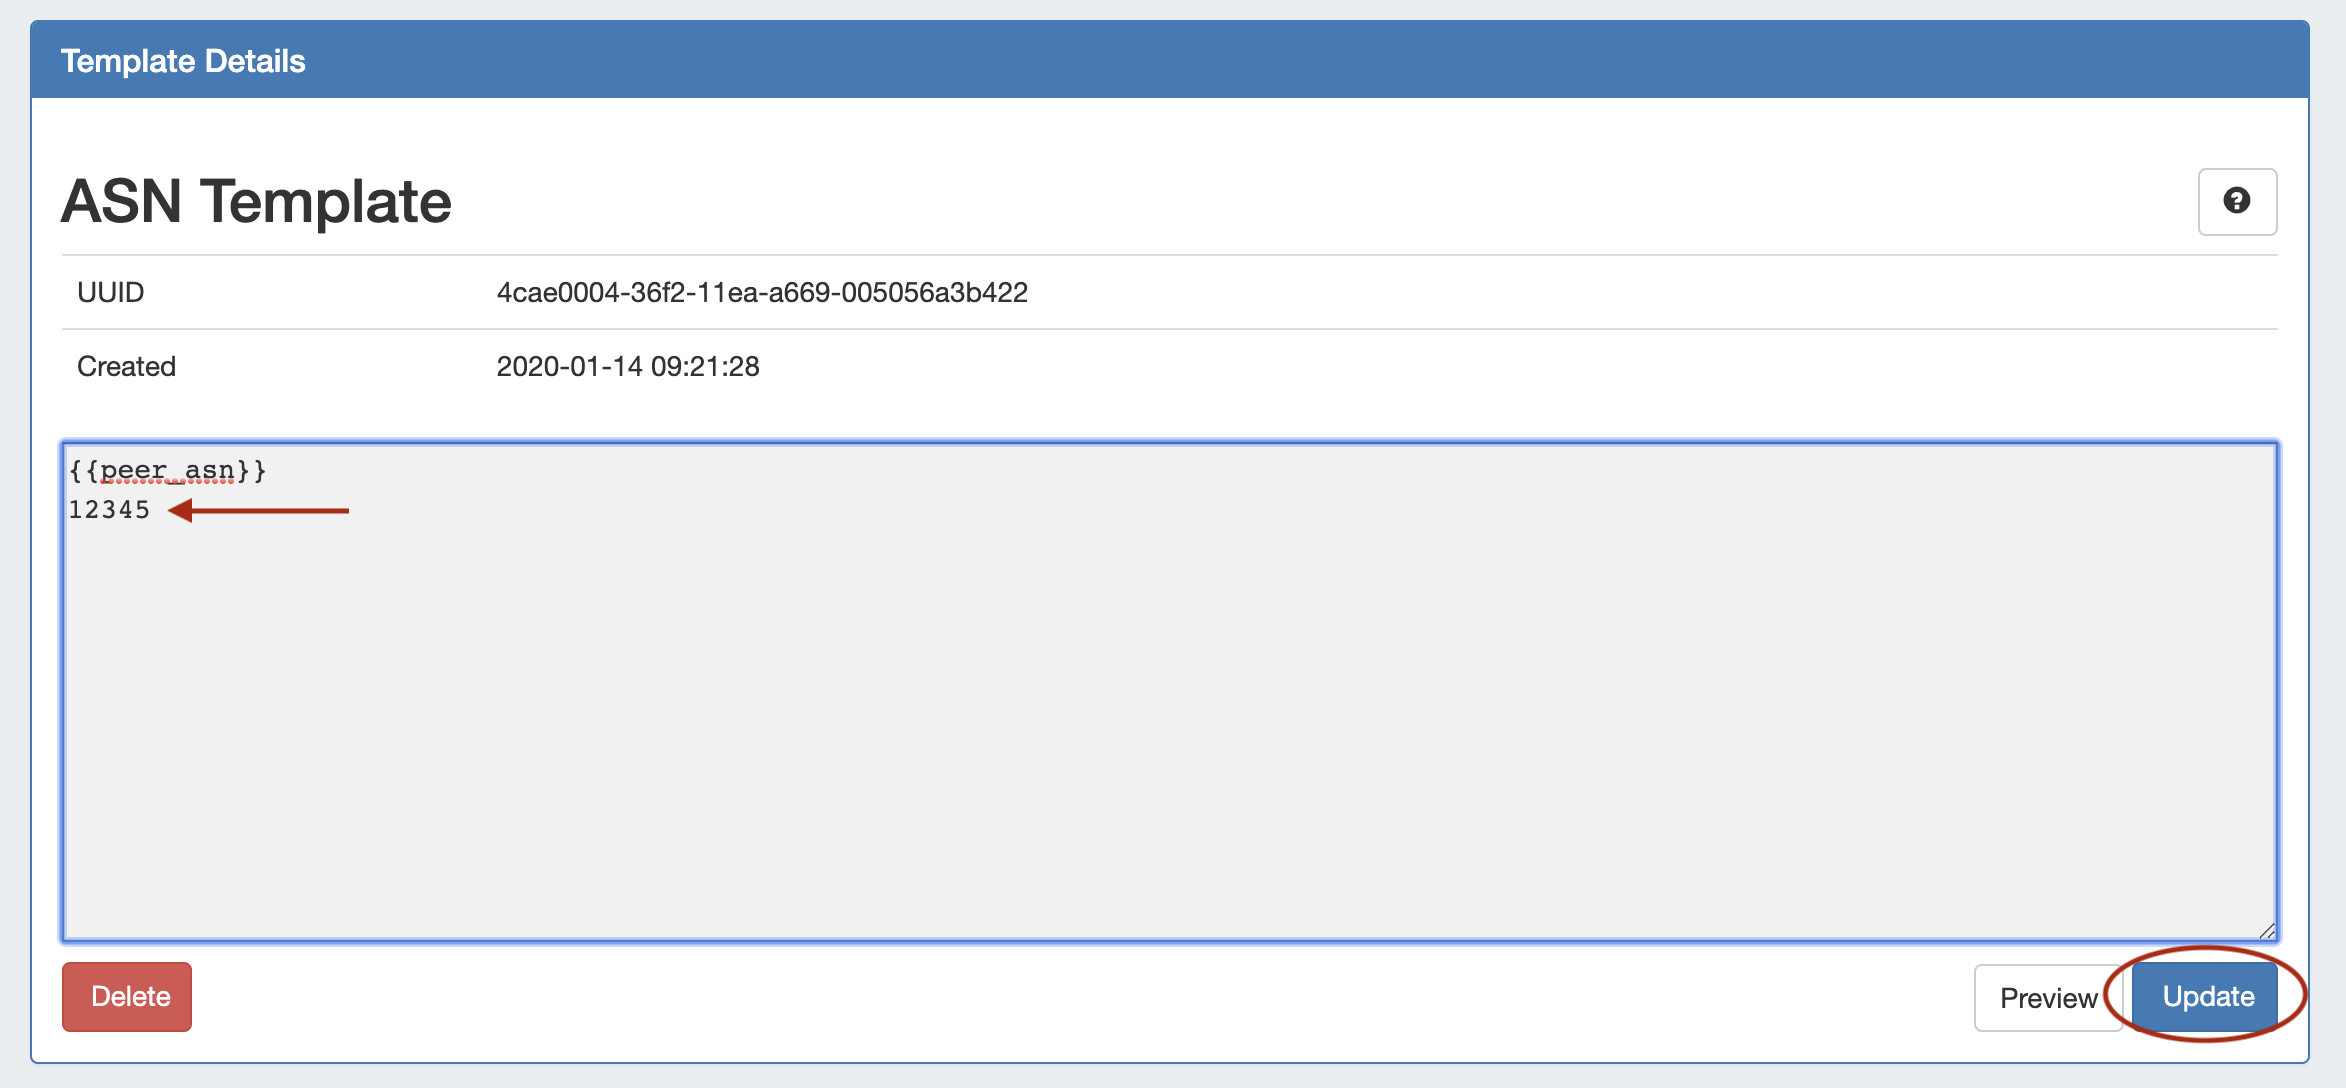
From the Template Details view, edit the template by clicking inside the template body and typing the desired changes - if you need a reminder as to syntax or variables, click the help icon (Question Mark button) at top right to open the template editing guide.
Click "Update" when done.
Syntax
Templates use the Mustache format https://mustache.github.io/mustache.5.html
Preview Template
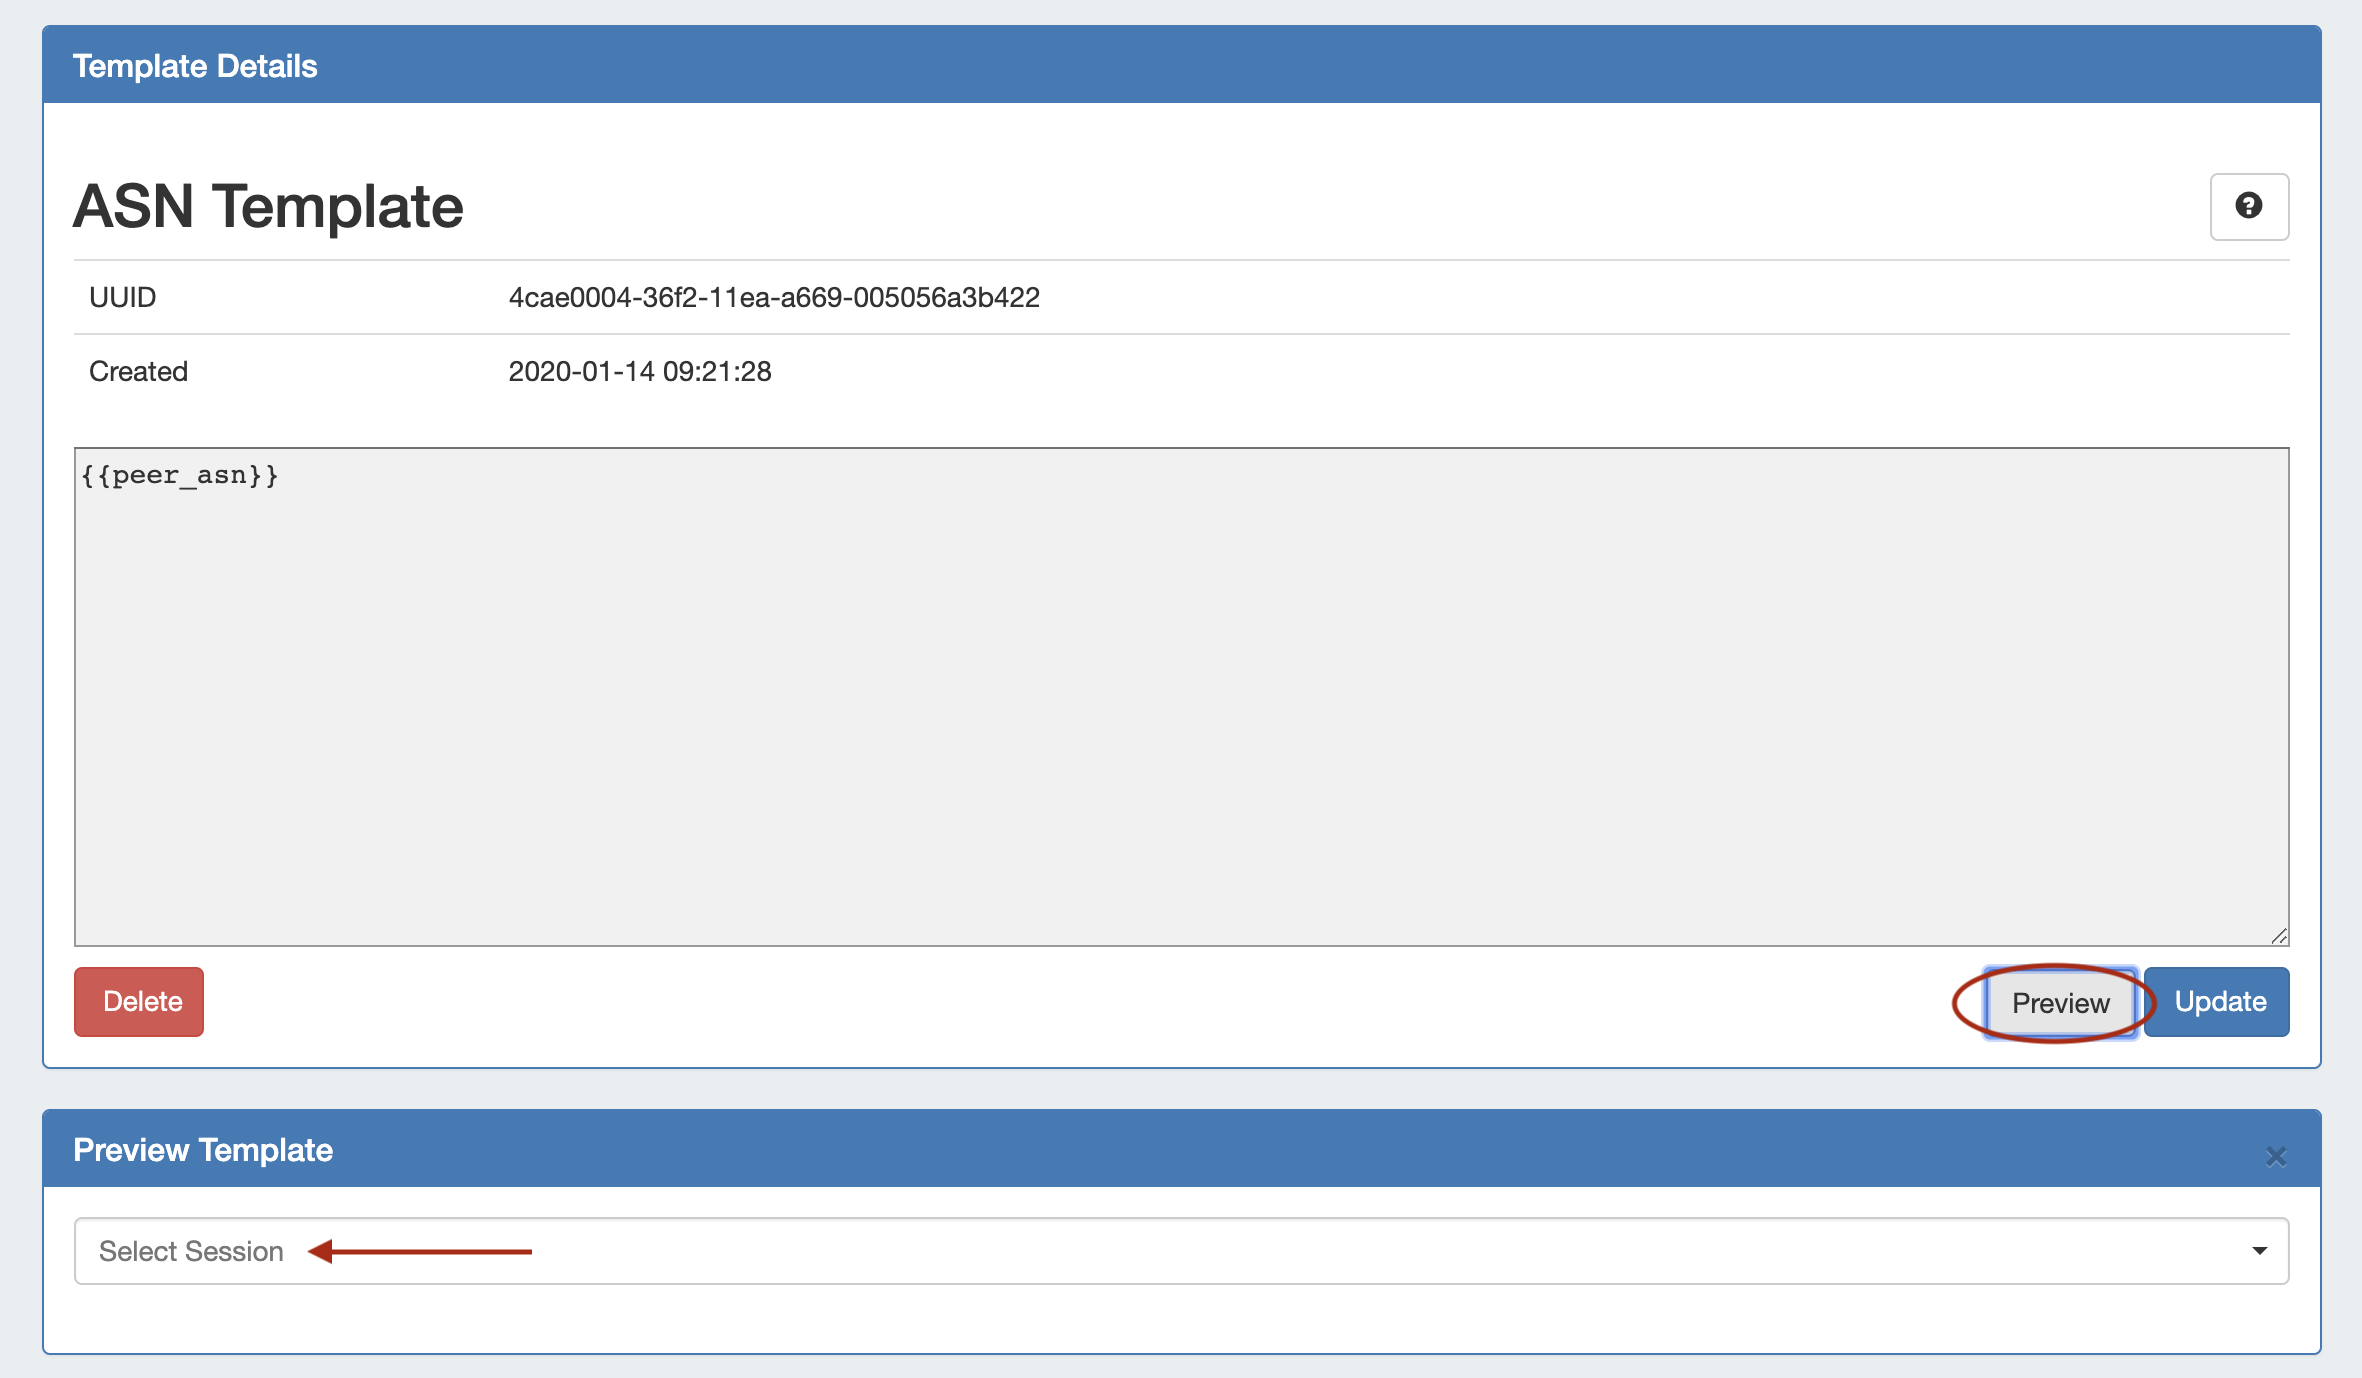
While editing or viewing a template, you may preview the template's output against a specific session by clicking the "Preview" button. A "Preview Template" section appears.
Select an existing Router/Session from the dropdown list to use to generate the preview. Once selected, the template output will display directly underneath the selected session.
Template Revisions
The Revision History area will display on the Template Details page after an update has been made to the template, with each update displaying as a separate revision item.
Click "View" under the "Actions" columns for a revision to see the template contents at that revision snapshot.
To restore the template back to that revision number, click the "Restore" button for the revision preview.
Additional Information:
For additional information on Peering, see the following areas:

