Working with Fields
Fields are individual pieces of data that you can associate with a particular section. For example, you may want to have "Operating System", "Make", and "Model" fields for a server or device. ProVision includes many default fields to choose from, but you may also create custom fields and edit fields to suit your needs.
Once a field is added to a particular section, it will be available to add to the Field Gadget for later to edit, manage, or remove.
Add Existing Field to a Section
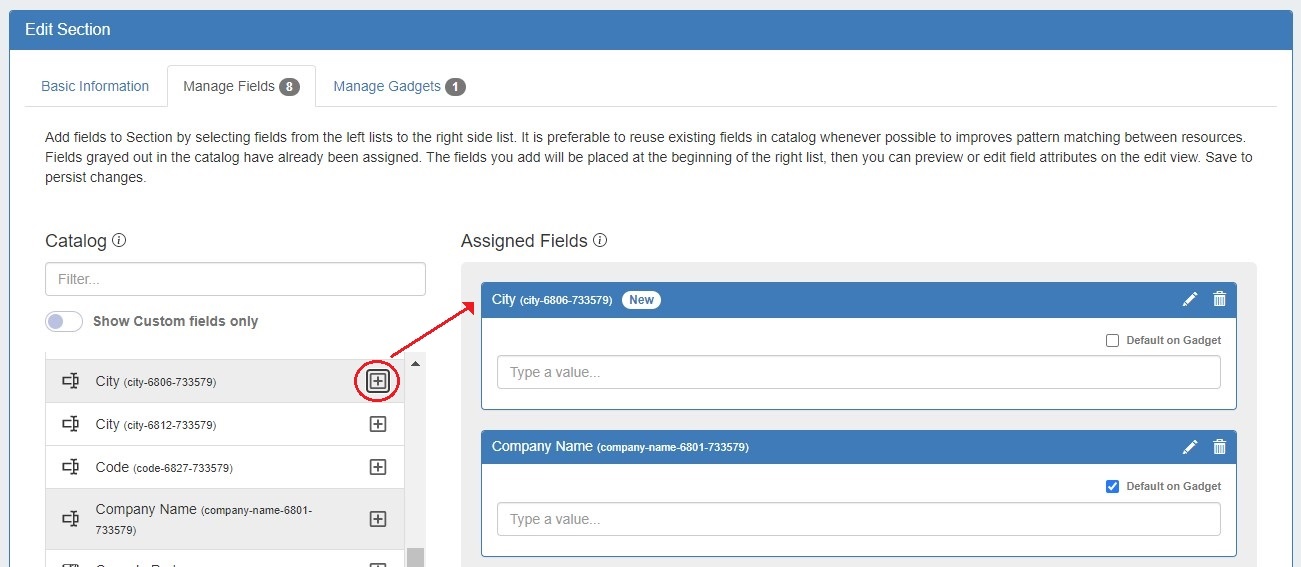
To add a field to a section, click on the + icon of a field in the Field Catalog on the left and it will be added at the top of the "Assigned Fields" section on the right. Fields already added to the section are shaded grey. You may add duplicate fields to a section, but this is discouraged and a confirmation message will prompt you to confirm that you wish to add the duplicate field.
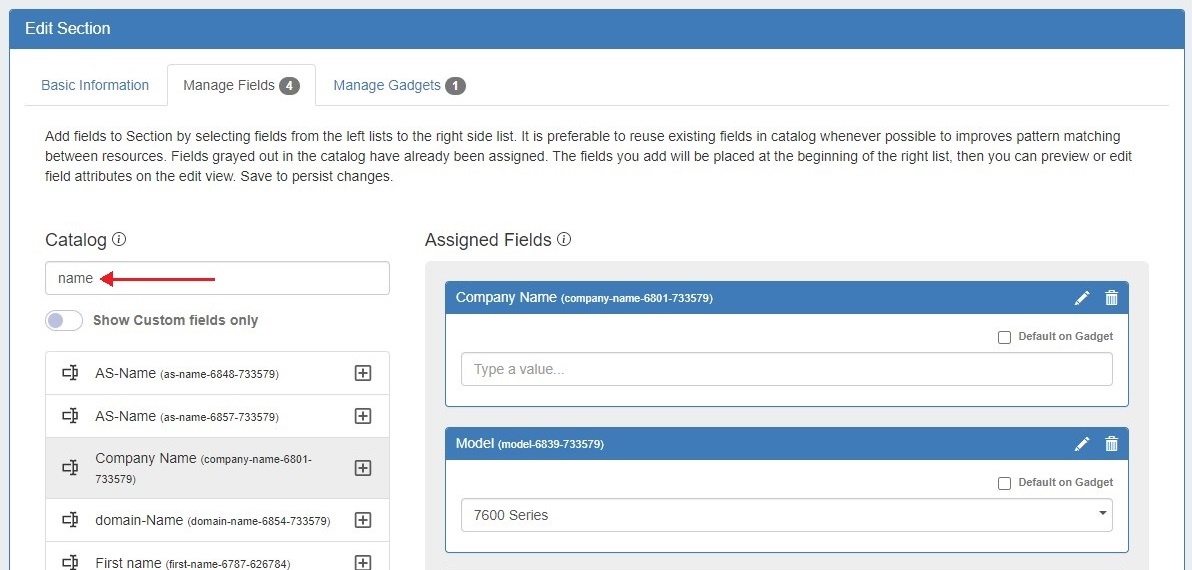
To search for a specific field, type a field name into the searchbox.
Add New Custom Field to a Section
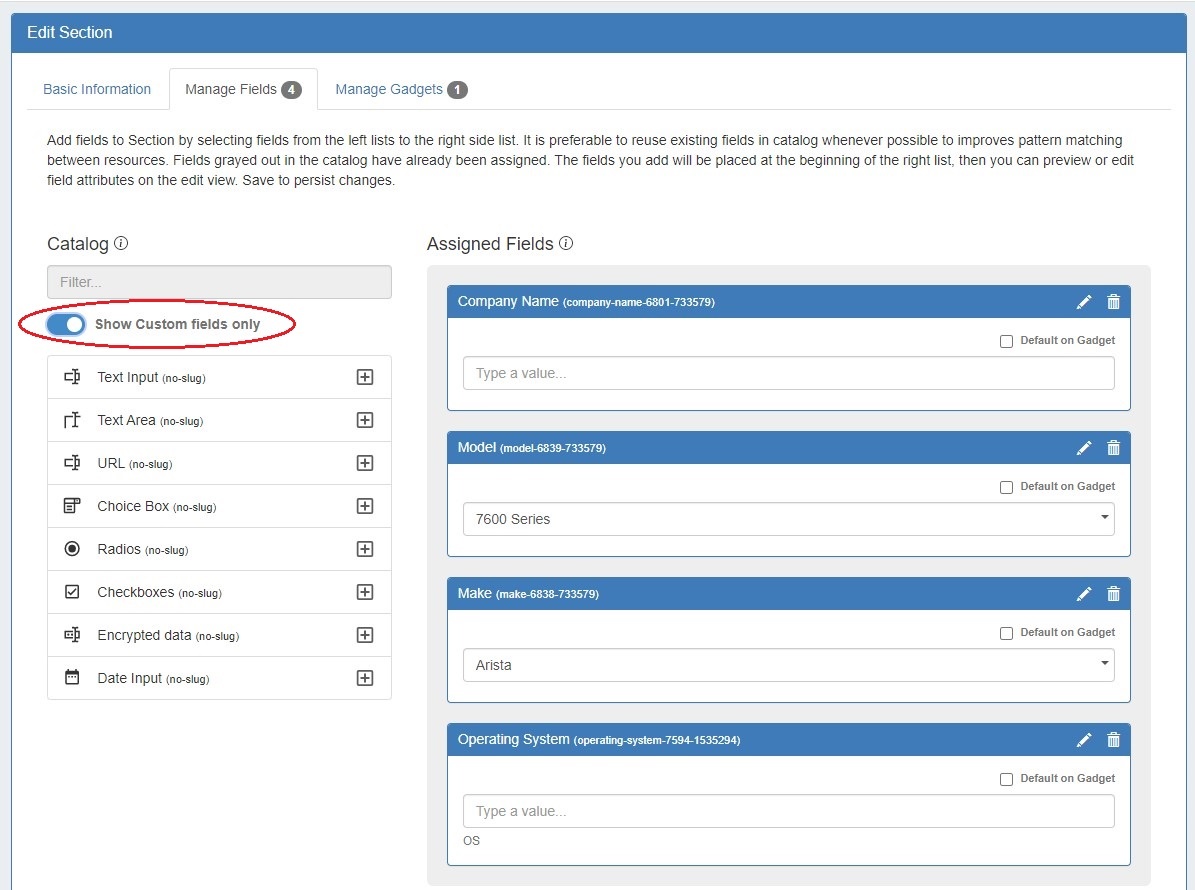
Users can add custom fields of various types (text input, text area, choice box, radios, checkbox, encrypted) to a section. To view only unedited custom fields, enable the toggle below the search box.
Editing/Removing Fields
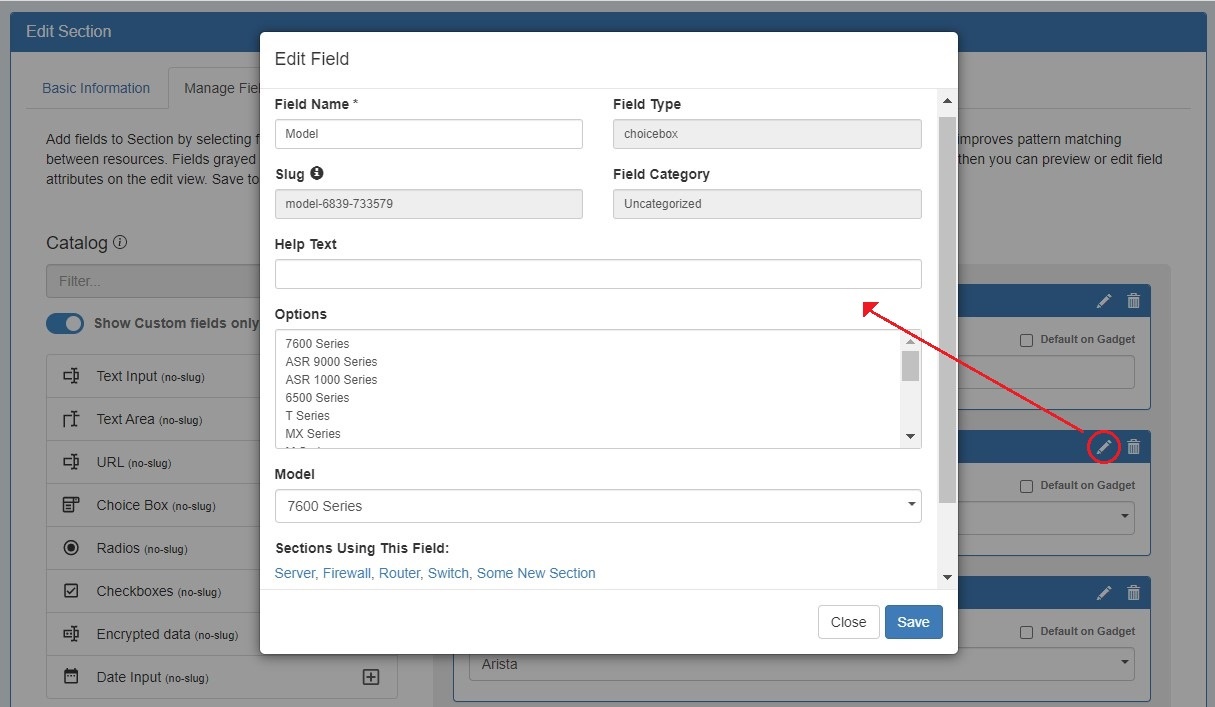
Once fields are added to a section, they may be renamed and have other attributes updated by clicking on the edit icon.
To remove a field, click the delete (trash can) icon. This will remove the field from the "Assigned Fields" column, but the field will still exist for repeat use.
Previewing Fields
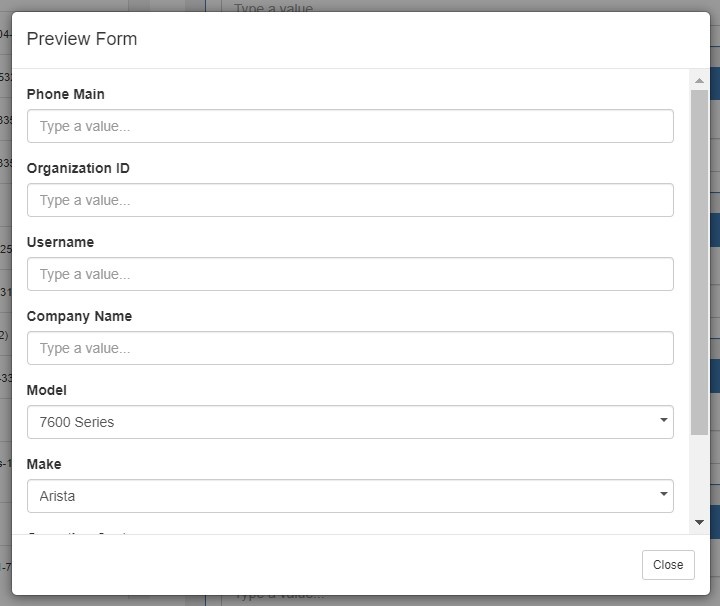
Fields can be previewed by clicking the "Preview Form" button at lower right.
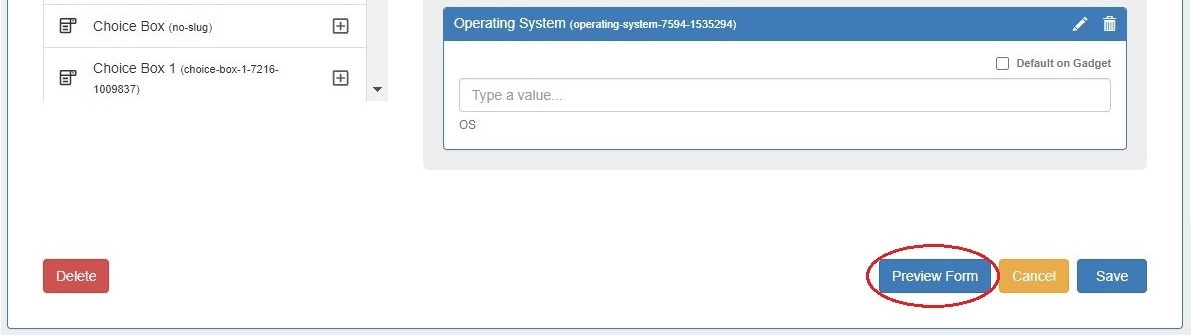
This will open a modal where you can view and test how fields will look and behave.
Default Fields
Users can designate fields to be auto-added to the Field Gadget for all resources assigned to a section by selecting the checkbox "Default on Gadget" once a field has been added to the Assigned Fields column.

Using the Field Gadget
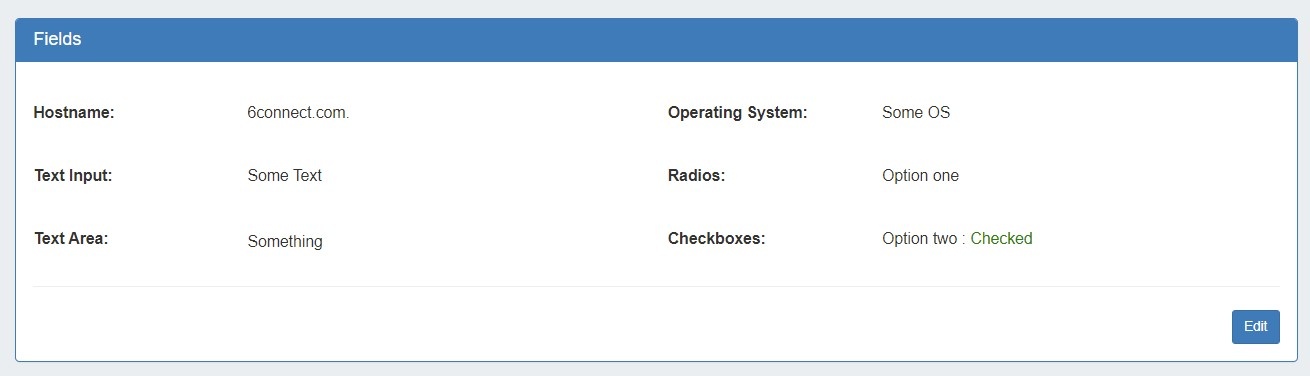
The Field Gadget displays the information fields that have been added to the section, and have been added for the specific resource that is being viewed.
Users may add enabled fields to the resource, edit field values, and remove fields from the resource through this gadget.
Manage Resource Fields
The Field Gadget and the individual fields must both be enabled and added to the resource's section before they can be used in the Field Gadget on the resource entry page.
Once the fields are added to the section, they will be available to add to the Field Gadget for any resource of that section, from the Field Gadget's "Add New Field" dropdown.
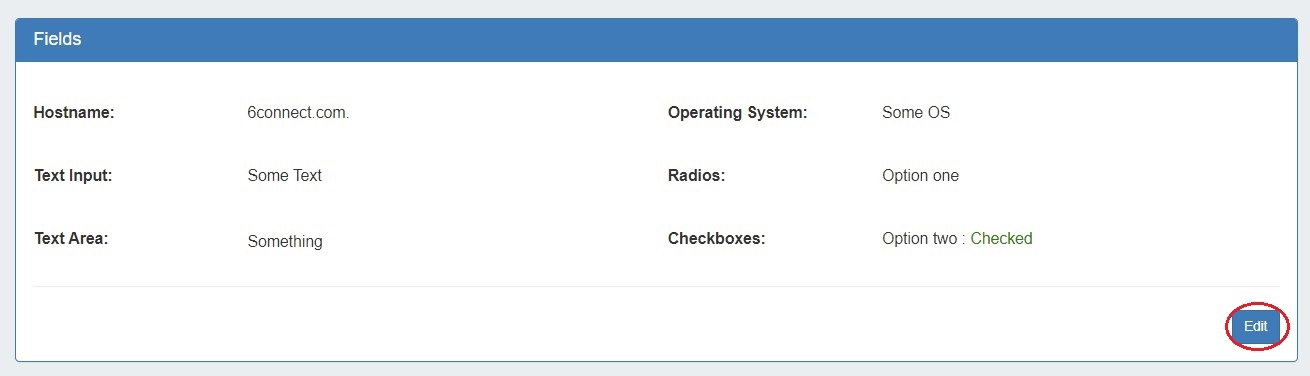
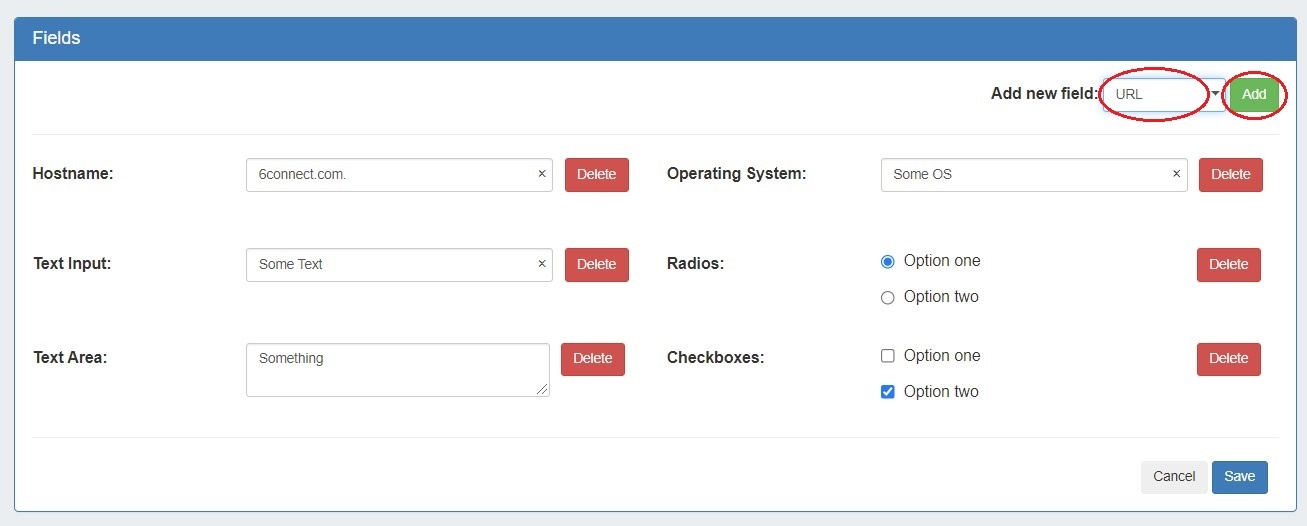
To Add, Edit, or Remove fields, click the "Edit" Button at the bottom right corner of the Field Gadget.
To add an available field to the gadget, select one of the available fields from the "Add New Field:" dropdown, then click "Add".
Once added, the field will be available to edit or remove.
Edit the field value(s) by typing into the input box, and/or selecting the desired option, then click "Save". You may also remove a field from the gadget by clicking "Delete" - it will be available to re-add later, if needed.
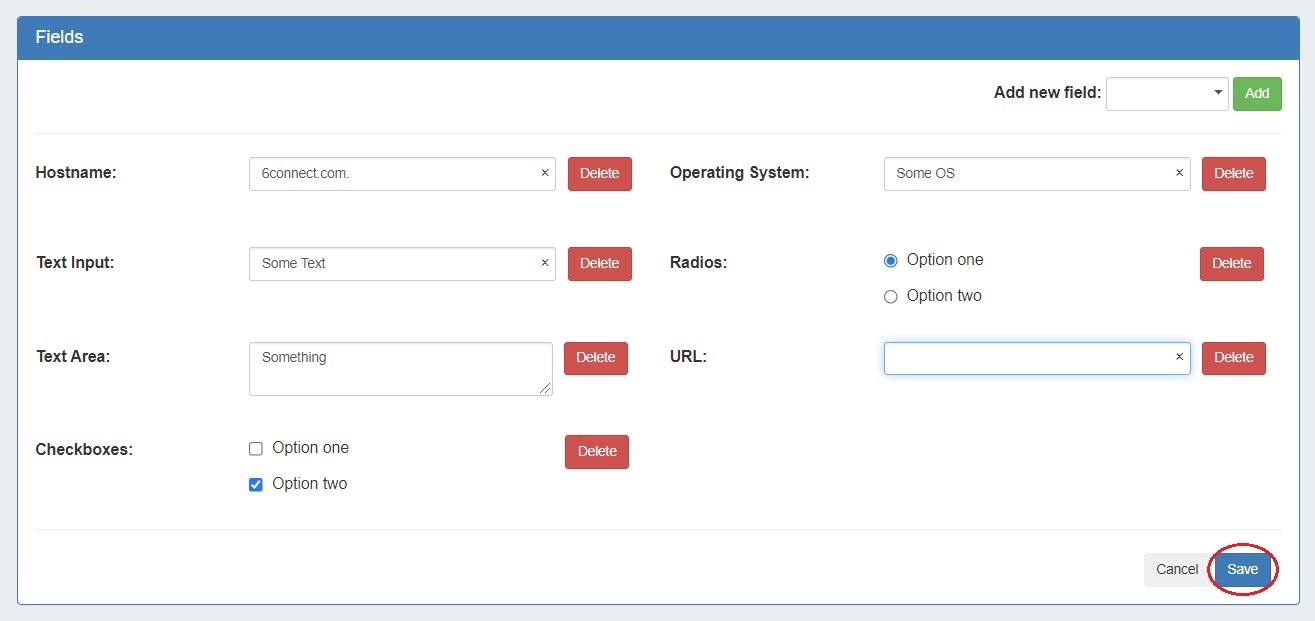
When done with your edits, click "Save" to return to view mode.
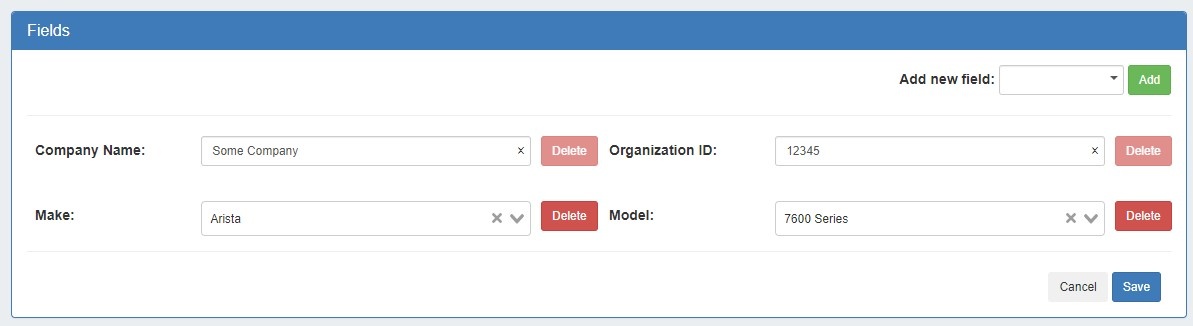
A Note on Default Fields
Because default fields cannot be removed from the Field Gadget, the "Delete" button for these fields appears slightly shaded.
Exporting Fields
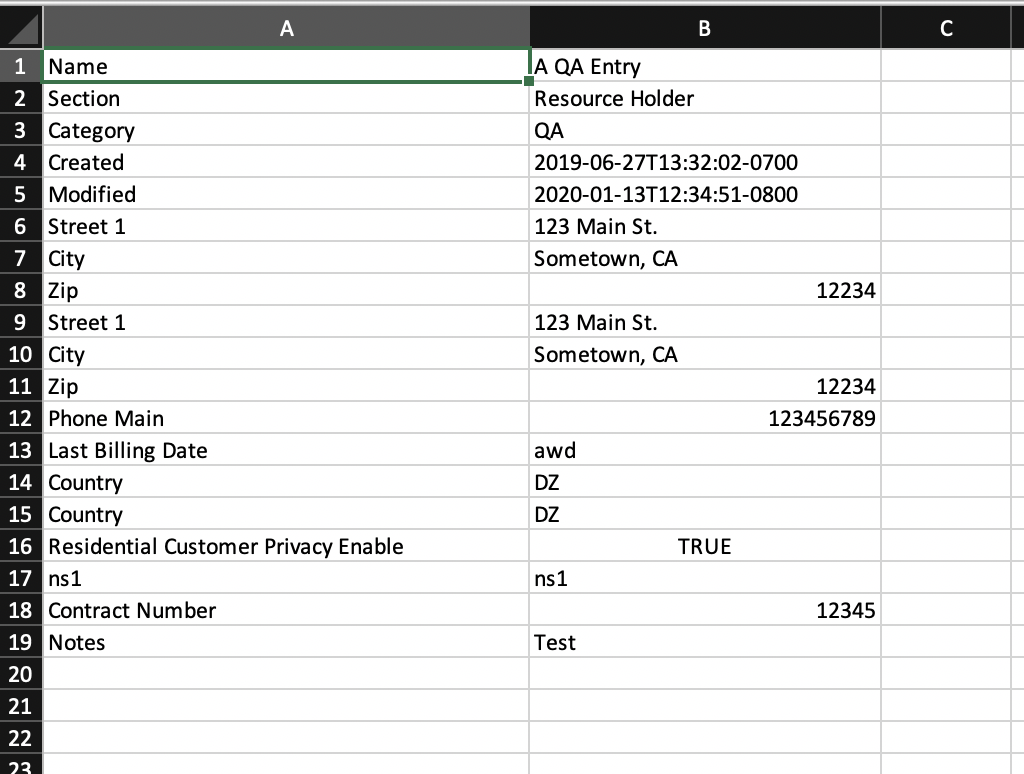
Resource entry pages have an "Export As CSV" button, which generates a .csv file containing the resource's basic field information.
To export the resource, click the "Export as CSV" button in the header on the resource entry page.
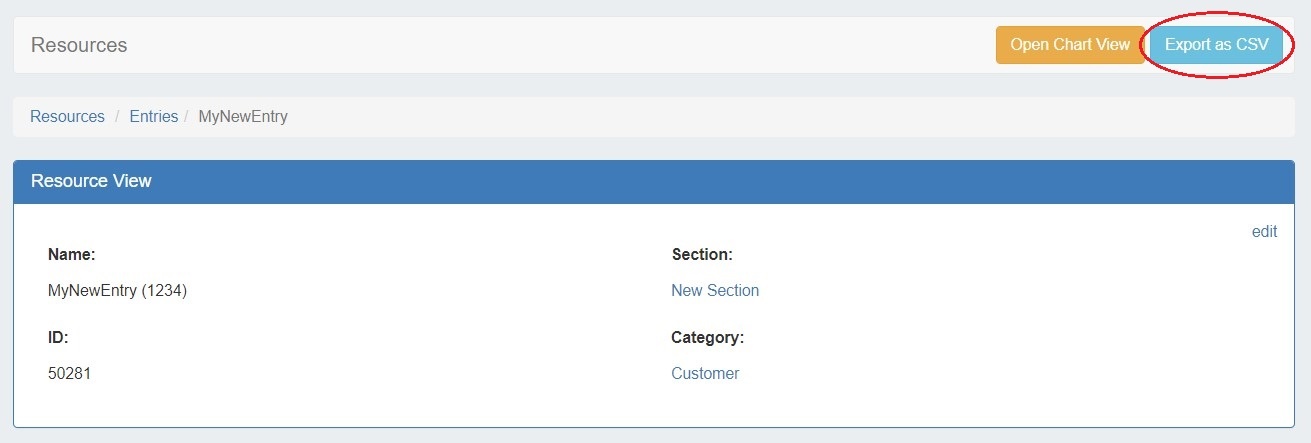
The downloaded .csv file will contain the fields containing values from the Resource View, Contact Info, Tech Info, and Resource Field Gadget(s), with the field name in the first column, and the field values in the second column.
Additional Information
Continue on to the following pages for additional information on Resources in ProVision: