video coming soon
WARNING
Create a List in the List manager
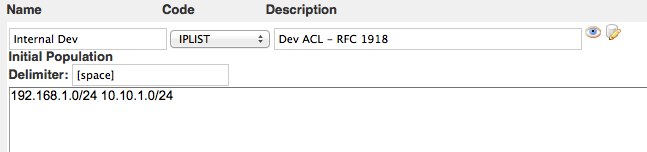
In the Admin screen, go to the Data Import Tab and click on the "List Management" button. You will be presented with the options to Create a New List and also Manage Lists. To create a list, enter in the descriptive information and ensure that the Code dropdown is marked "IPLIST".

Press the Eye icon and you will be presented with en editing area to populate IP data including an option for the data delimeter (you can also do this from the Manage Lists section). Click on the Pencil icon to save your changes, the List will then be moved to the Manage Lists section below.
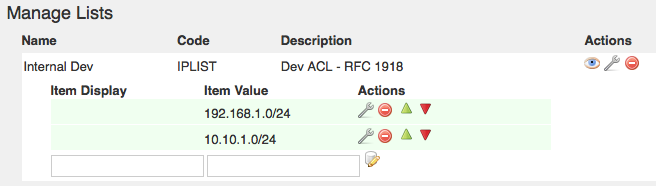
The List will now be available from the Manage Lists display area and can now be assigned to a Server View.
Define and Assign a View to the DNS Server
In the Admin screen, go to the DNS Admin Tab.
With a DNS server selected and Enable Views marked "Yes", you will then have the option to define a View.
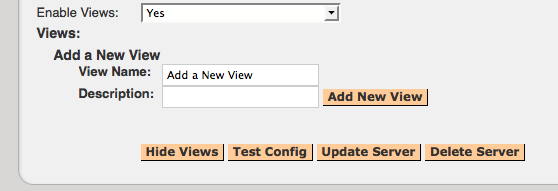
Enter identifying information for the View you are creating and click the "Add New View" button.

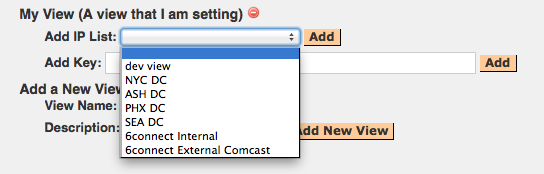
Once the View is created, you can select the IP List that you want to assign to this View by pressing the "Add" button.
Assigning other Directives
With the IP List assigned, you can either assign additional Key/Value pairs or add another IP List to apply to the View.

A Note on Directives
For example, if you wanted to allow recursion, you would simply enter "allow-recursion" as a Key, with a Value of "on".
Assign a View to a DNS Zone Record
When viewing a DNS Zone, ensure that the Zone is linked to a the server with a DNS View enabled. Double-click on the zone record to edit it. Click on the Glove icon and it will bring up the DNS Views menu where you can select the View to apply to the zone record. Click on the Pencil icon for the View and the Pencil icon for the Zone record to make sure all changes are saved.

Push the zone out like normal and the View should be applied as expected. You can also preview the zone from the "Show Zone" area of the screen that will be visible once you push the zone out successfully. This will also display the History for the zone if a rollback is necessary.