Adding/Deleting IP Address Aggregates
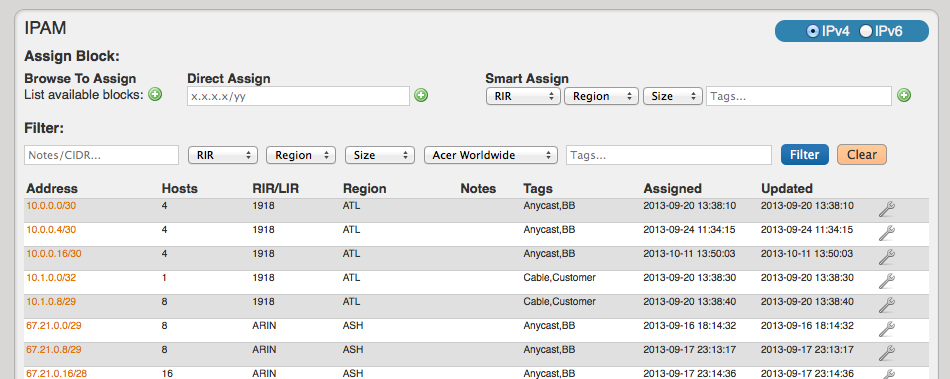
In the standard IPAM page - you should have an option to "Add Aggregate"
Once clicked, you should get a more detailed screen to add an aggregate block
When a block is added, you will be able to see it on the IPAM page
To Delete the aggregate - press the red icon and you will have the option delete the aggregate.
Requirements to Delete an IP Aggregate
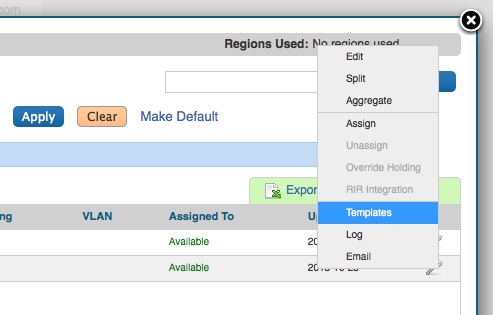
In order to delete an IP Aggregate, all resources need to be "unassigned". Once they are unassigned from their respective resources, the "Apply Template" drop down will permit the function "Aggregate" which will bring the IP block back to it's original size.
Once the block is back to it's original size and there are no subnets assigned, the IP Aggregate can be deleted.
Architecting IP Address Blocks
Splitting/Aggregating blocks manually
To split a block manually - you can use the functions from the Manage screen for any aggregate
Splitting/Aggregating blocks with Templates
When you first import a block, you can select to use the Auto Splitting function from the main IPAM page
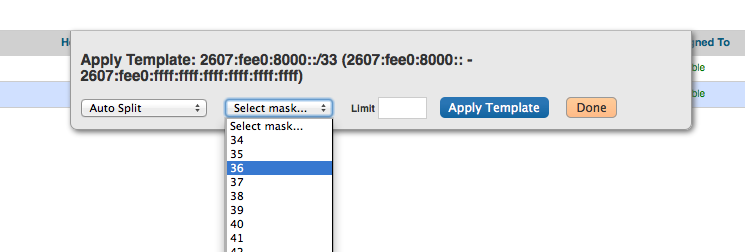
or you can also use the "Templates" on the IPAM Manage screen for the specific block
and then select the auto split parameters from there
IP Block parameters
When you have your IP blocks laid out, you can then modify their attributes, split them further, assign them, etc. Select the "Edit" option for a given block to get the following menu
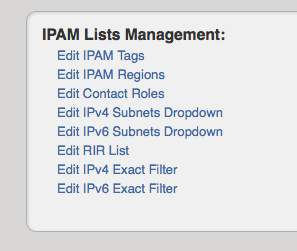
From here you can set a variety of attributes for a given block. All of these values are also customizable from the Admin screen - IPAM Admin.
Assigning IP Space
To assign space, you do it using the IPAM Gadget
Or you can assign blocks manually using the "Assign" function
Please note that once a block is assigned, you will also have other options available, including reverse DNS, and IP subassignments
Sub Assigning IP Space
To allow sub assignments, just check the Allow sub assignments check box under Edit. Once the allow sub assignments box is checked, the block may be further split and assigned to other resources. Split blocks may also be re-claimed to the originally assigned resource and re-aggregated. When allow sub assignments is checked, the block is counted as allocated, but not assigned - various statistics in IPAM, on the dashboard, and reporting will reflect this. Sub assignments can be useful for tracking IPs assigned to a customer with multiple subsidaries, or locations.
Unassigning IP Space
When a block is assigned, you will then have the option of unassigning the block from the resource and returning it to the Holding Tank. To return IP space in the Holding Tank to the Available Pool - there are two methods:
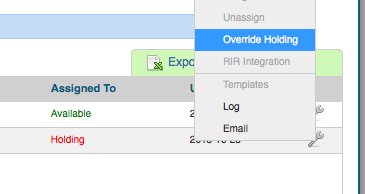
1) Manually override the holding tank
2) Process the Holding Tank via the Admin screen (this will only process blocks that were present for the specified number of days


